4 Night Dolomites Hut-to-Hut Hiking Itinerary
We wanted to experience hut-to-hut hiking in the Dolomites without committing to one of the longer multi-day routes, so we created this circular itinerary around Lagazuoi, CinqueTorri and the Tofane. A large part of our route follows or overlaps with the Alta Via 1, one of the best-known long-distance hiking routes in the Dolomites, but we adapted it into a shorter circular trip that allowed us to start and finish in Passo Falzarego as we knew we could park our hire car there for a few days.
Our route included high mountain trails on well signposted routes, three nights in rifugios, WW1 sites and some spectacular sections of the Alta Via 1, while keeping most days to around eight miles or less.
What is the Alta Via 1?
The Alta Via 1 is a long-distance hiking route through the eastern Dolomites, traditionally beginning at Lago di Braies and travelling south through the mountains. The full route takes considerably longer than our trip, but several stages pass directly through the area we wanted to explore. Not to mention the fact that the Passo Falzarego Pass was where the Italian and Austrian troops were stationed, you quickly go from the Italian settlements at Cinque Torri and then over to the Austrian trenches carved into the Lagazuoi mountain face.
Our plan was simple, a circular route, no more than 8 miles a day, manageable elevation for both of us and plenty of stops for good Italian food. This is the exact route we hiked in July 2026, taking us through Lagazuoi, Rifugio Giussani, Rifugio Scoiattoli before returning to Rifugio Lagazuoi.
Our route at a glance:
Day 1: Arrive in the Dolomites
Day 2: Park at Passo Falzarego, Cable car to Lagazuoi, Lunch at Rifugio Dibona and finish at Rifugio Giussani
Day 3: Rifugio Giussani, lunch at Rifugio Cinque Torri and finish at Rifugio Scoiattoli
Day 4: Rifugio Scoiattoli, Passo Falzarego and finish at Rifugio Lagazuoi
Day 5: Rifugio Lagazuoi, back to car and then fly home
So, if you want a taste of the Alta Via 1 but don’t have time to complete the full trek, this route gives you the chance to experience some of its most impressive sections while returning to the same starting point.
Day #1: Land in Venice
Hotel: Al Sasso di Stria, Livinallongo del Col di Lana
Evening: Due to work commitments, we had to fly in the evening. This was not ideal at we didn’t get to our hotel until around 2am. We were able to message the hotel before we left the UK to make arrangements for the key to be left somewhere for us. They were honestly amazing, they went above and beyond to make sure we had a smooth arrival and were able to head straight to our room. I cannot recommend them enough.
Fly 18:35 Land in Venice at 22:05
Pick up car hire from SIXT (the queue was so long and the experience at the desk was not great)
Drive to the hotel (around 3 hours, the last hour was VERY winding on mountain roads)
Day #2: Lagazuoi cable carpark - R Giussani
🚠 Cable car → high traverse → Rifugio Giussani (if the weather is good).
Stay: Rifugio Giussani, 2,580 metres (8,465 feet)
Half board: Euro 73,00 pp (40 deposit paid)
Hiking Time: 6 hours
Morning:
Must be at the carpark for before 8:30am to get a space, we were able to leave our car there for the following days while we hiked
9:00am cable car (Pre-booked) if you prefer, you can hike up to Lagazuoi from the carpark
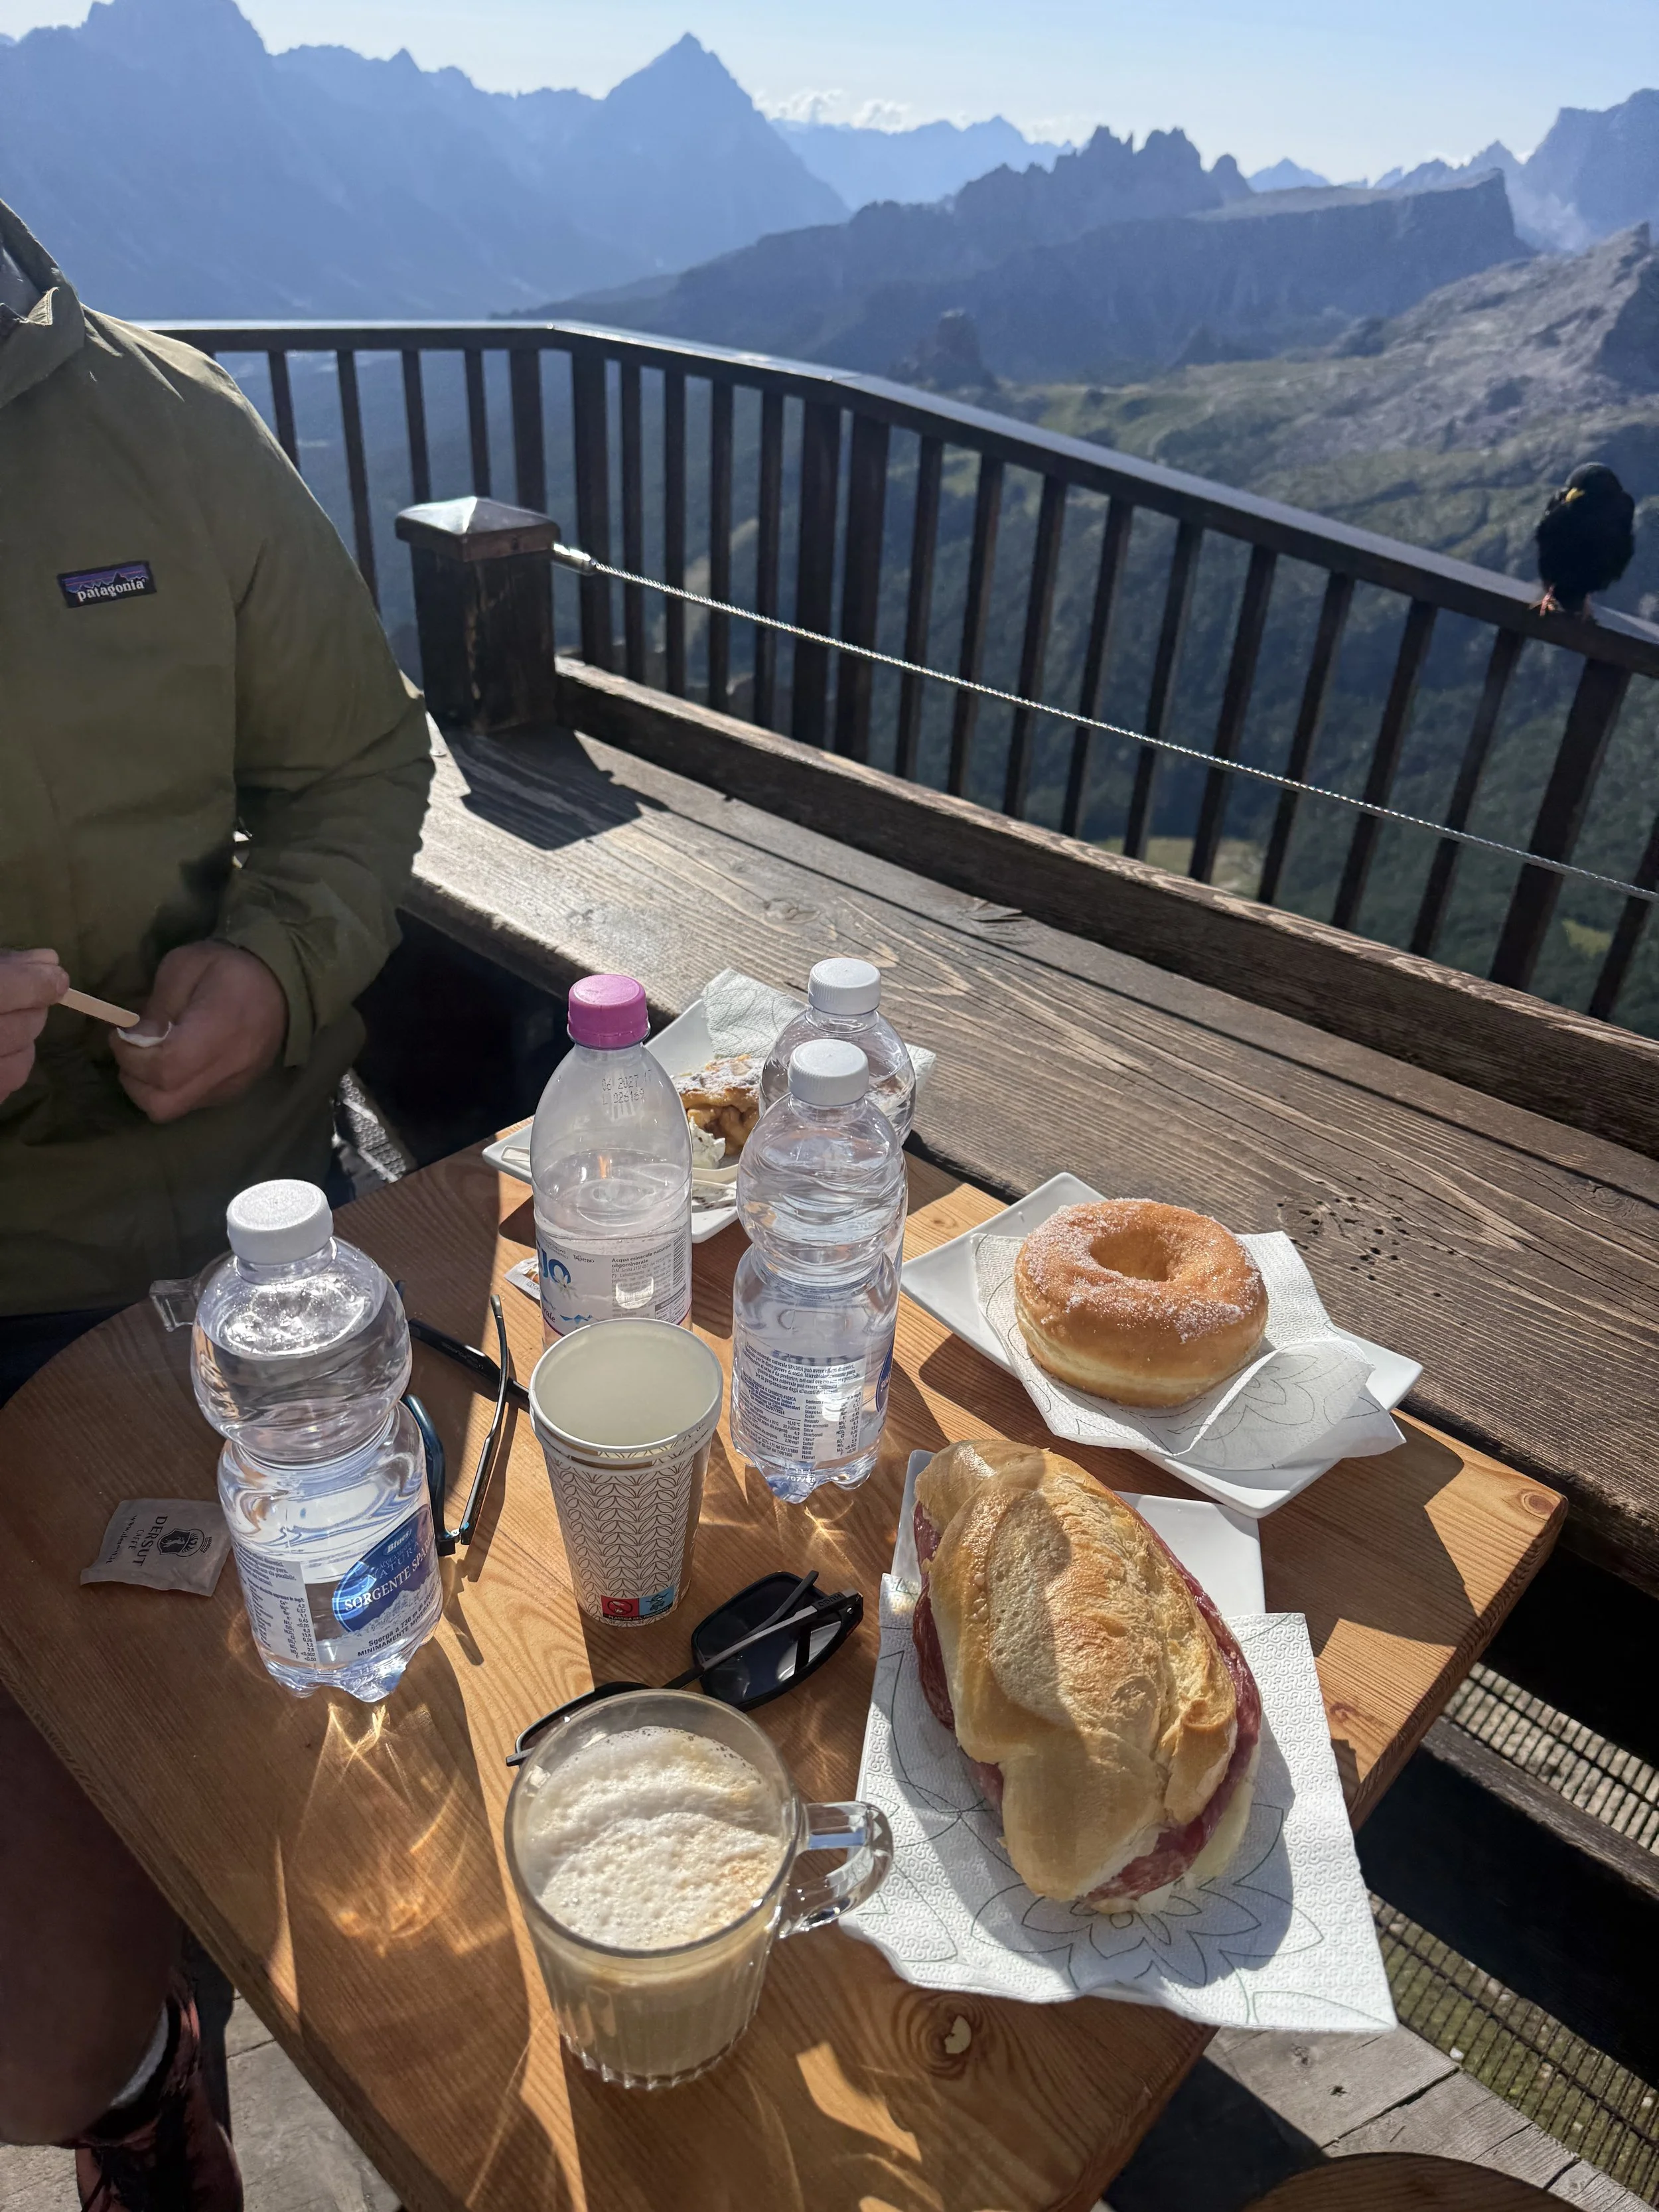
Breakfast at Rifugio Lagazuoi - this was delicious, we walked straight off the cable car and was able to get breakfast sandwiches, pastries, coffee and water. This set us up well for the hike ahead of us.
MORNING / AFTERNOON:
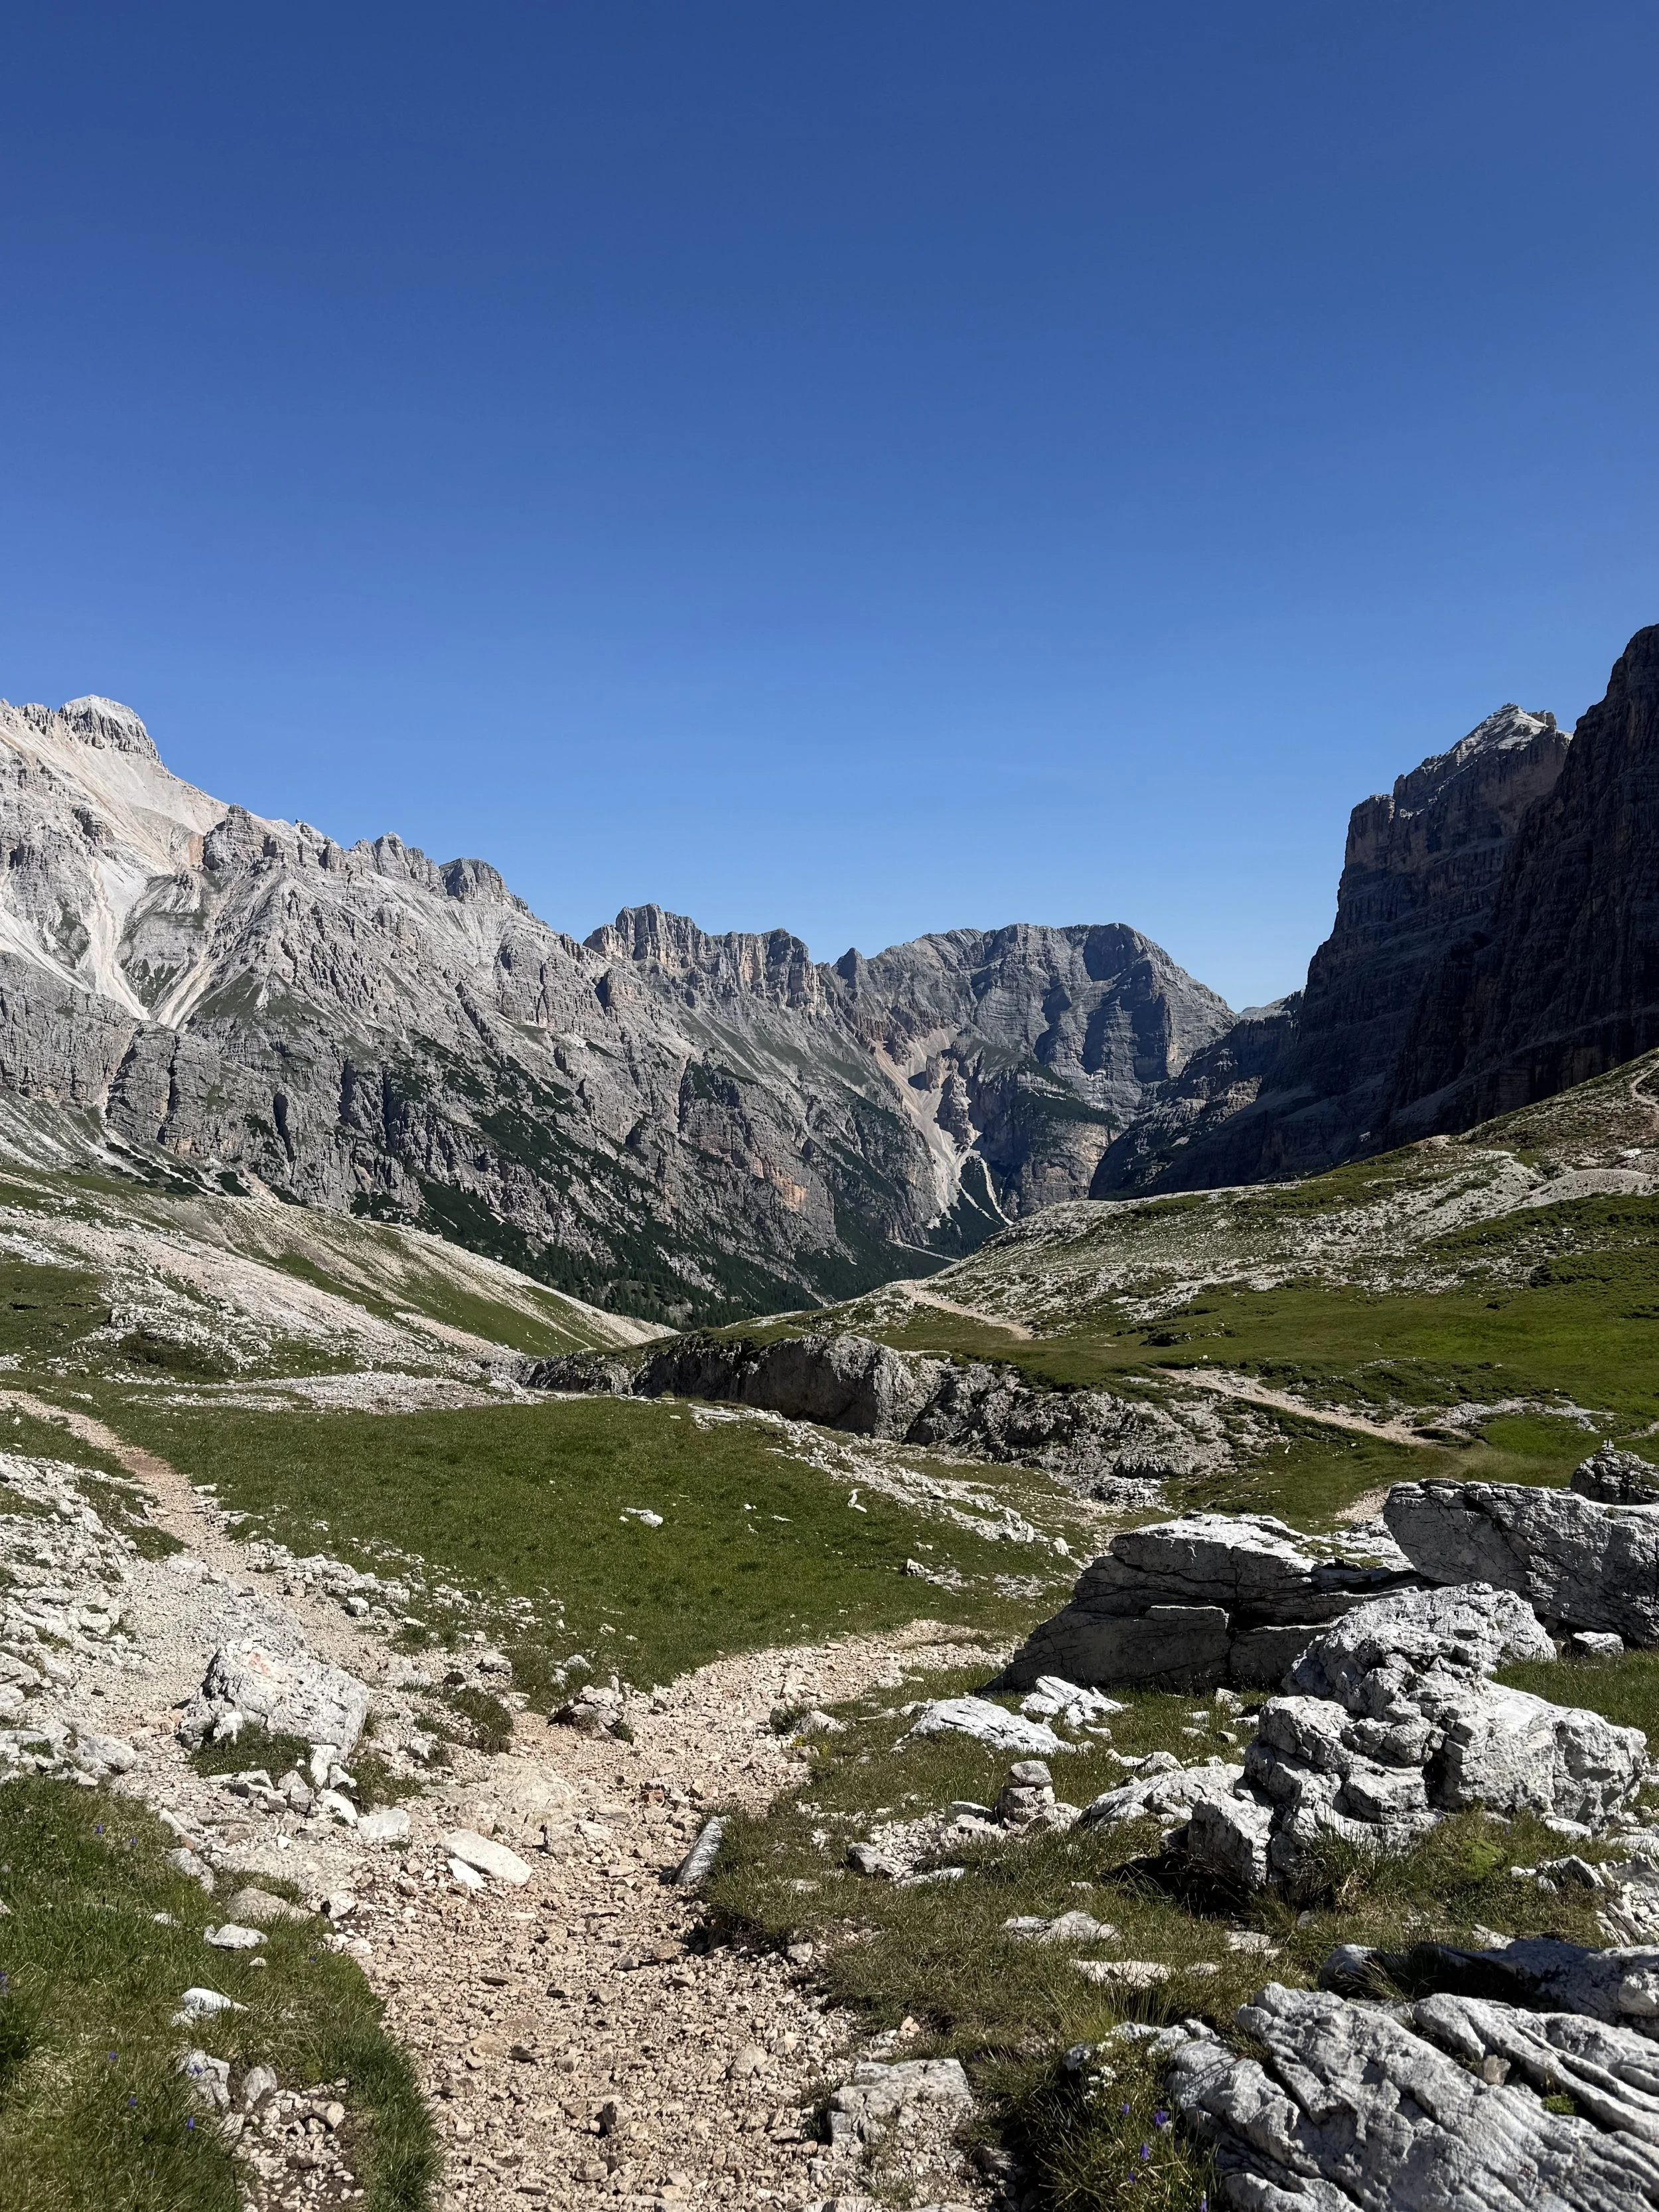
The official Alta Via 1 Stage 4 leaves Rifugio Lagazuoi and heads through Forcella Lagazuoi and Forcella Travenanzes towards Col dei Bos, before continuing towards the Cinque Torri, Averau and Nuvolau area. We used several of these same trails and locations, but changed the route to include an overnight stay at Rifugio Giussanu beneath the Tofane.
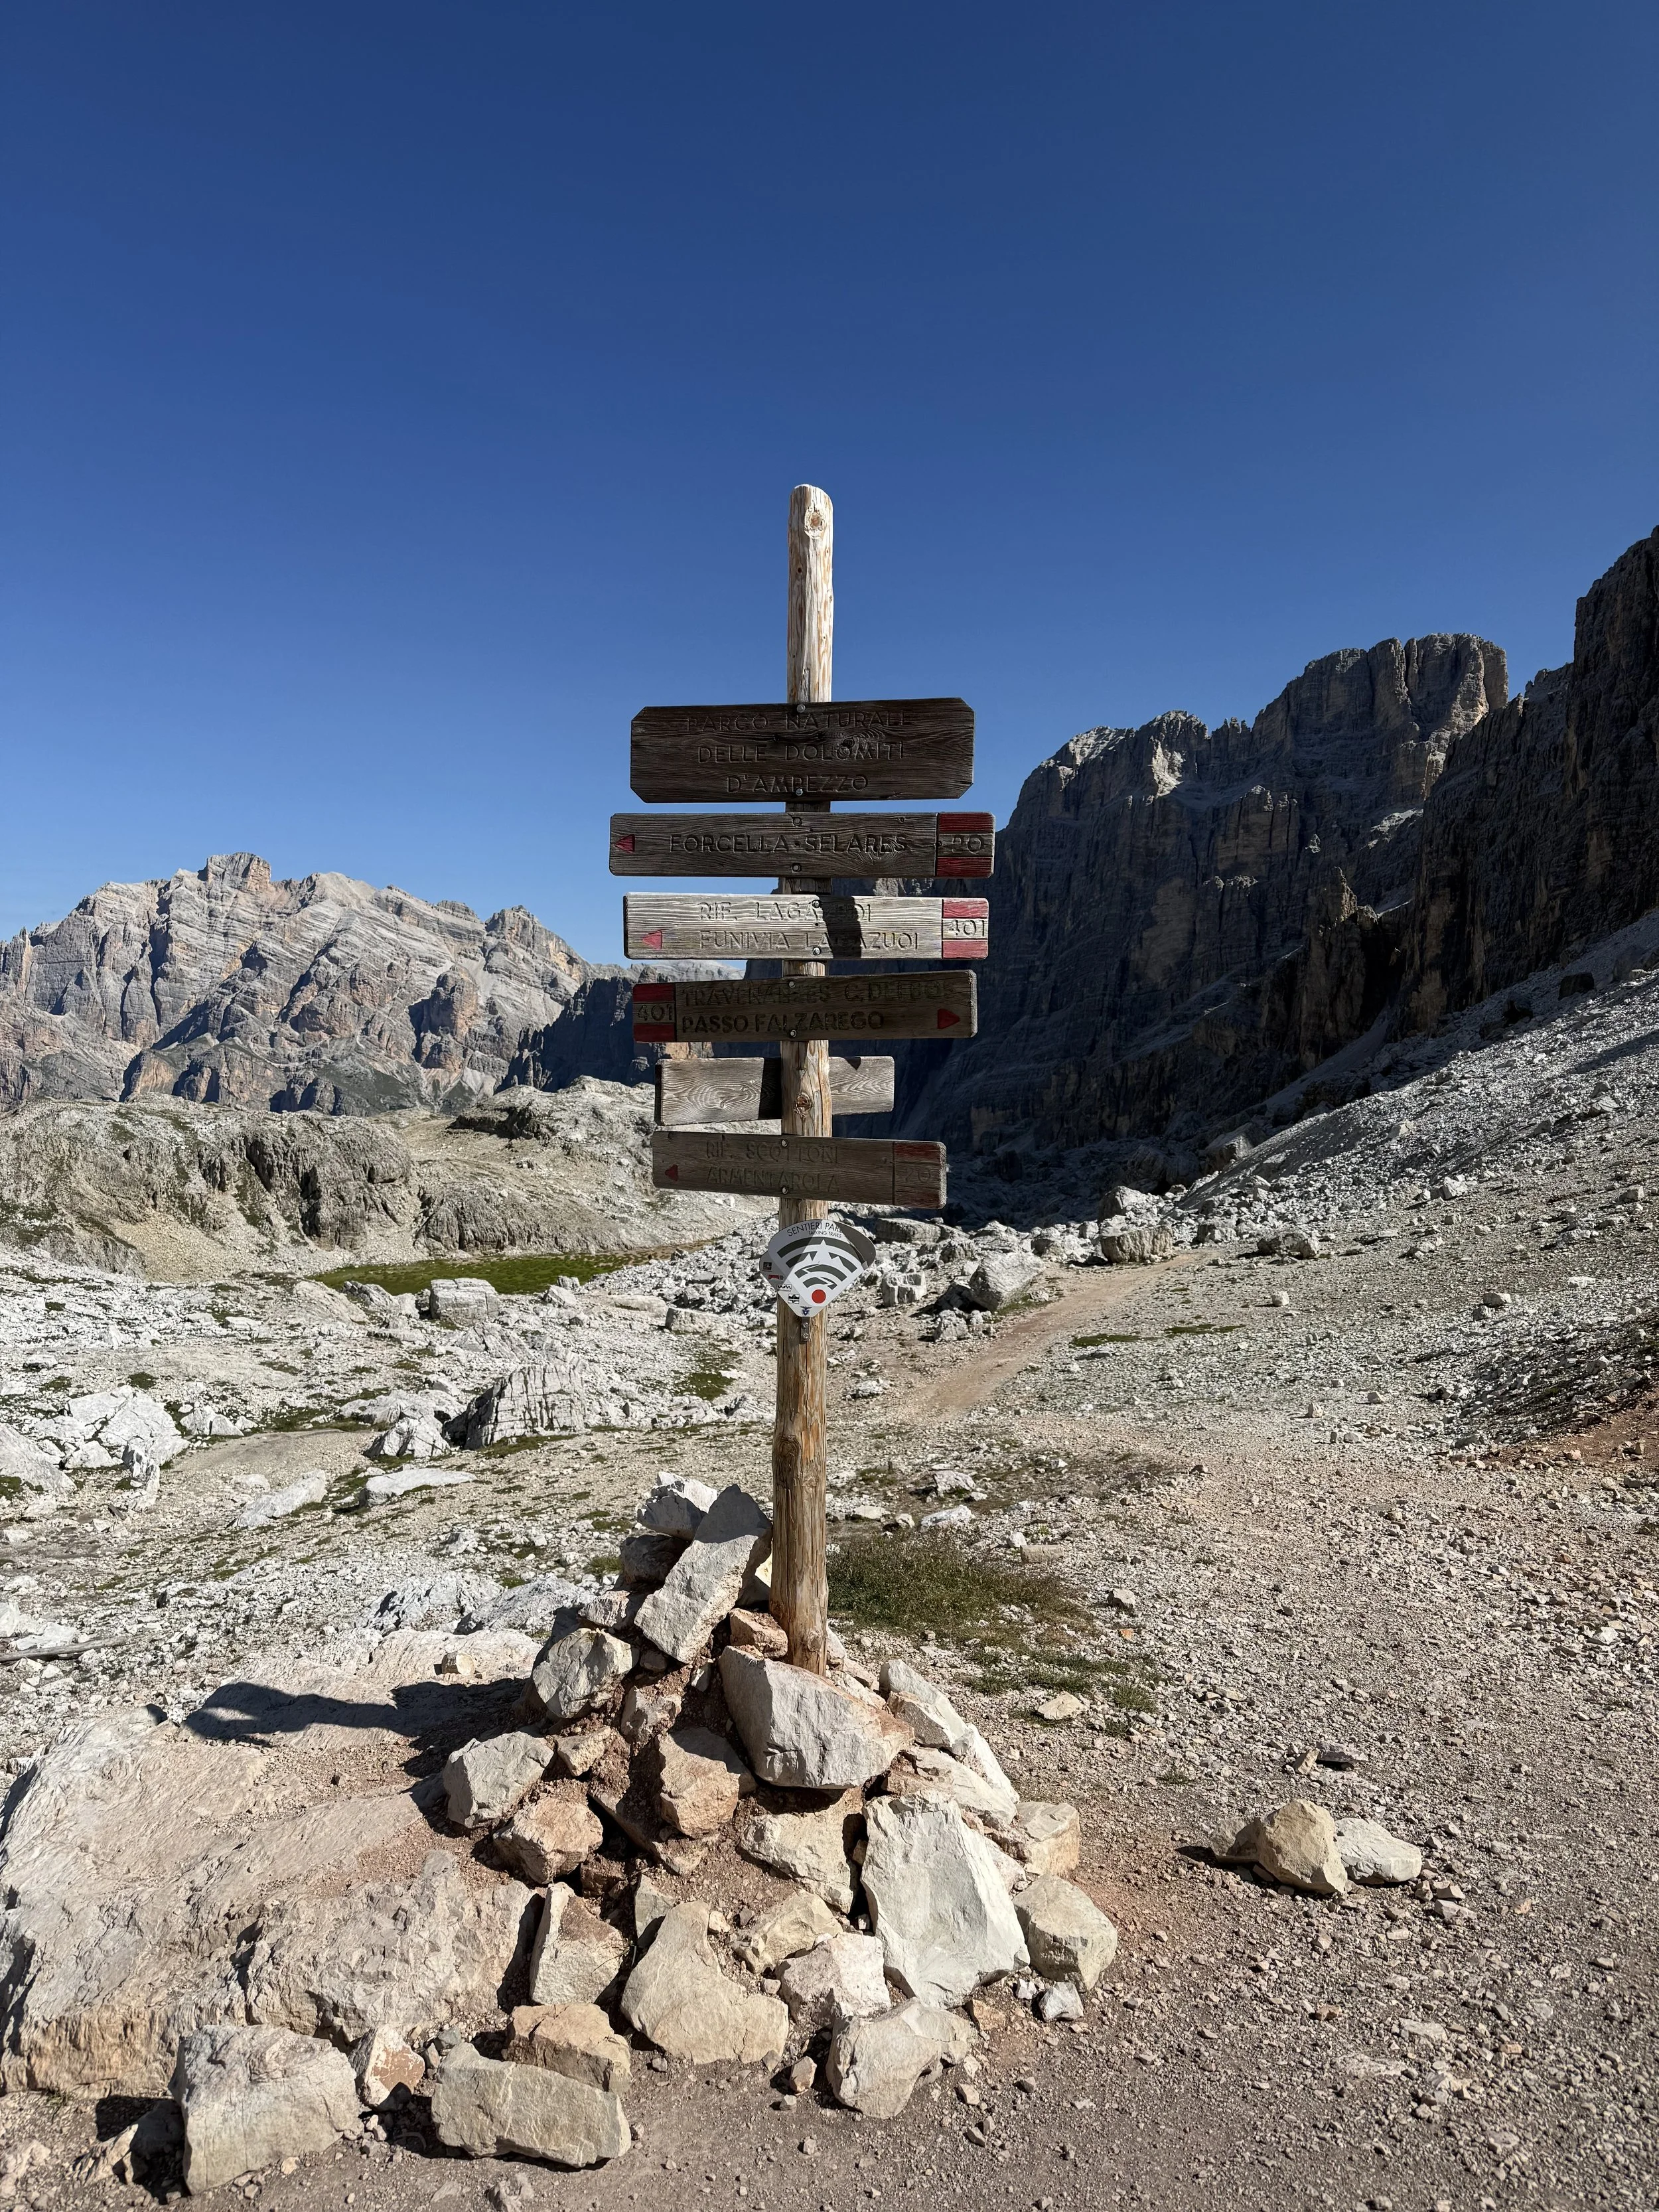
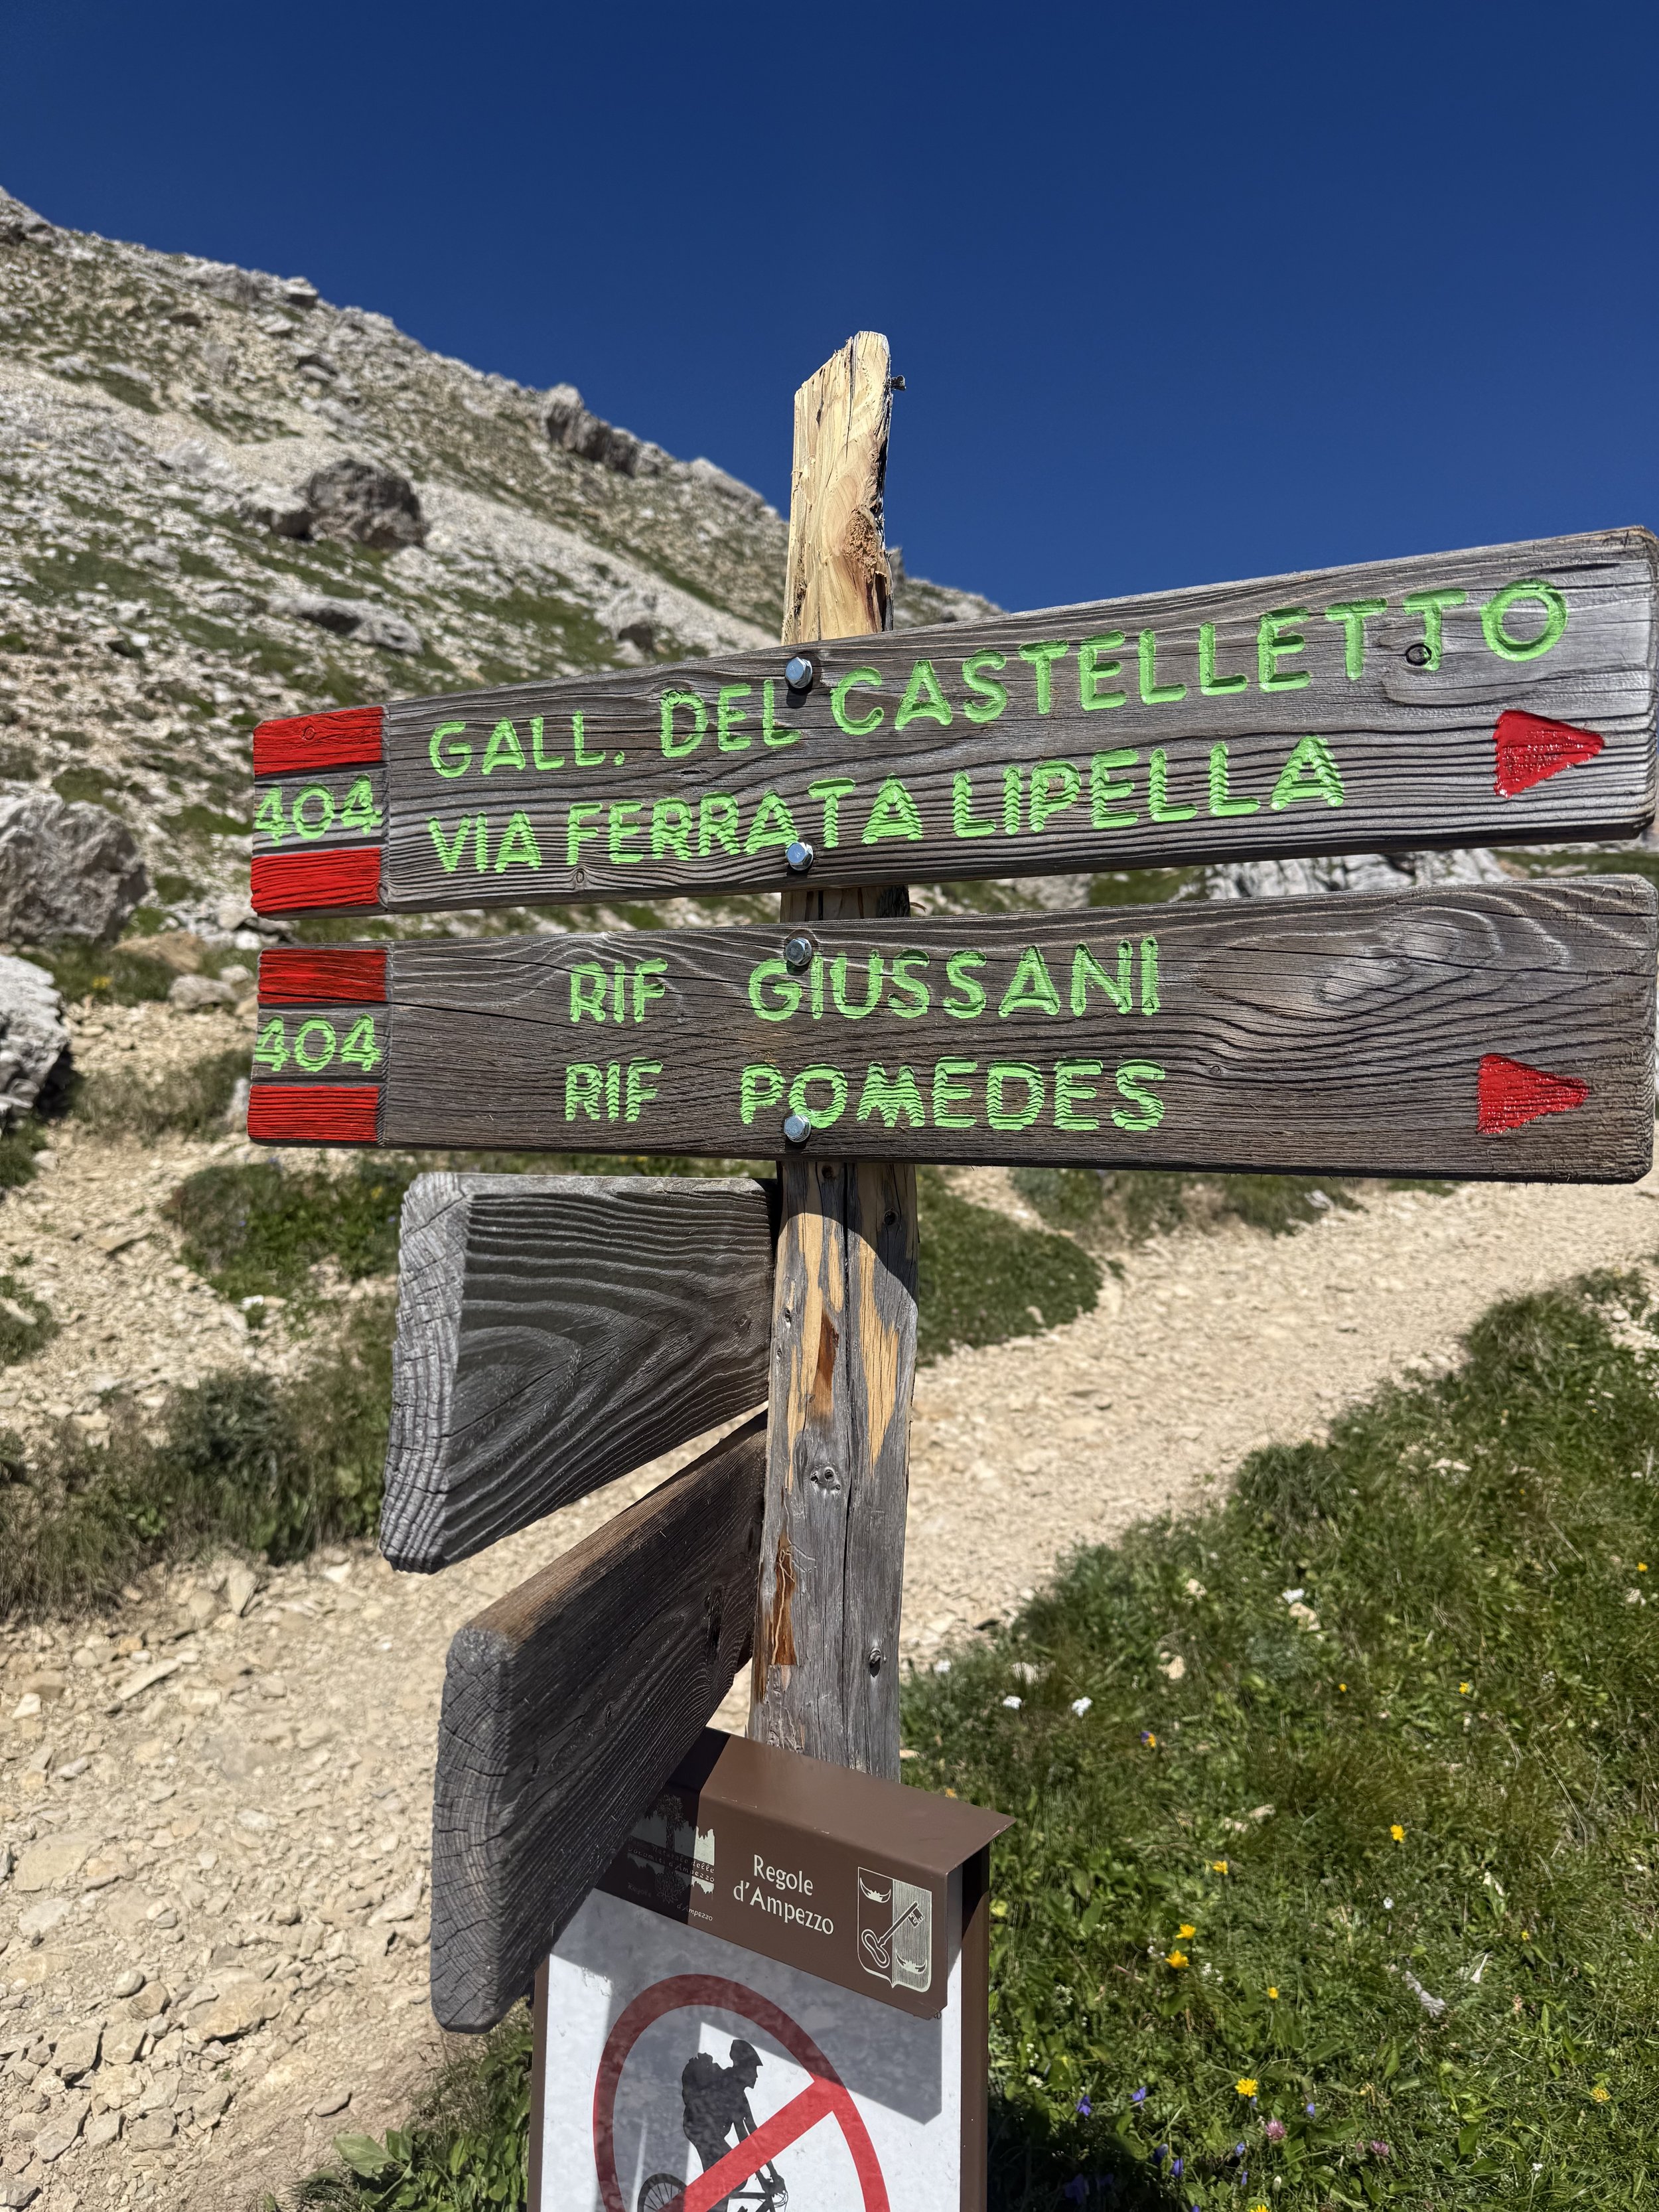
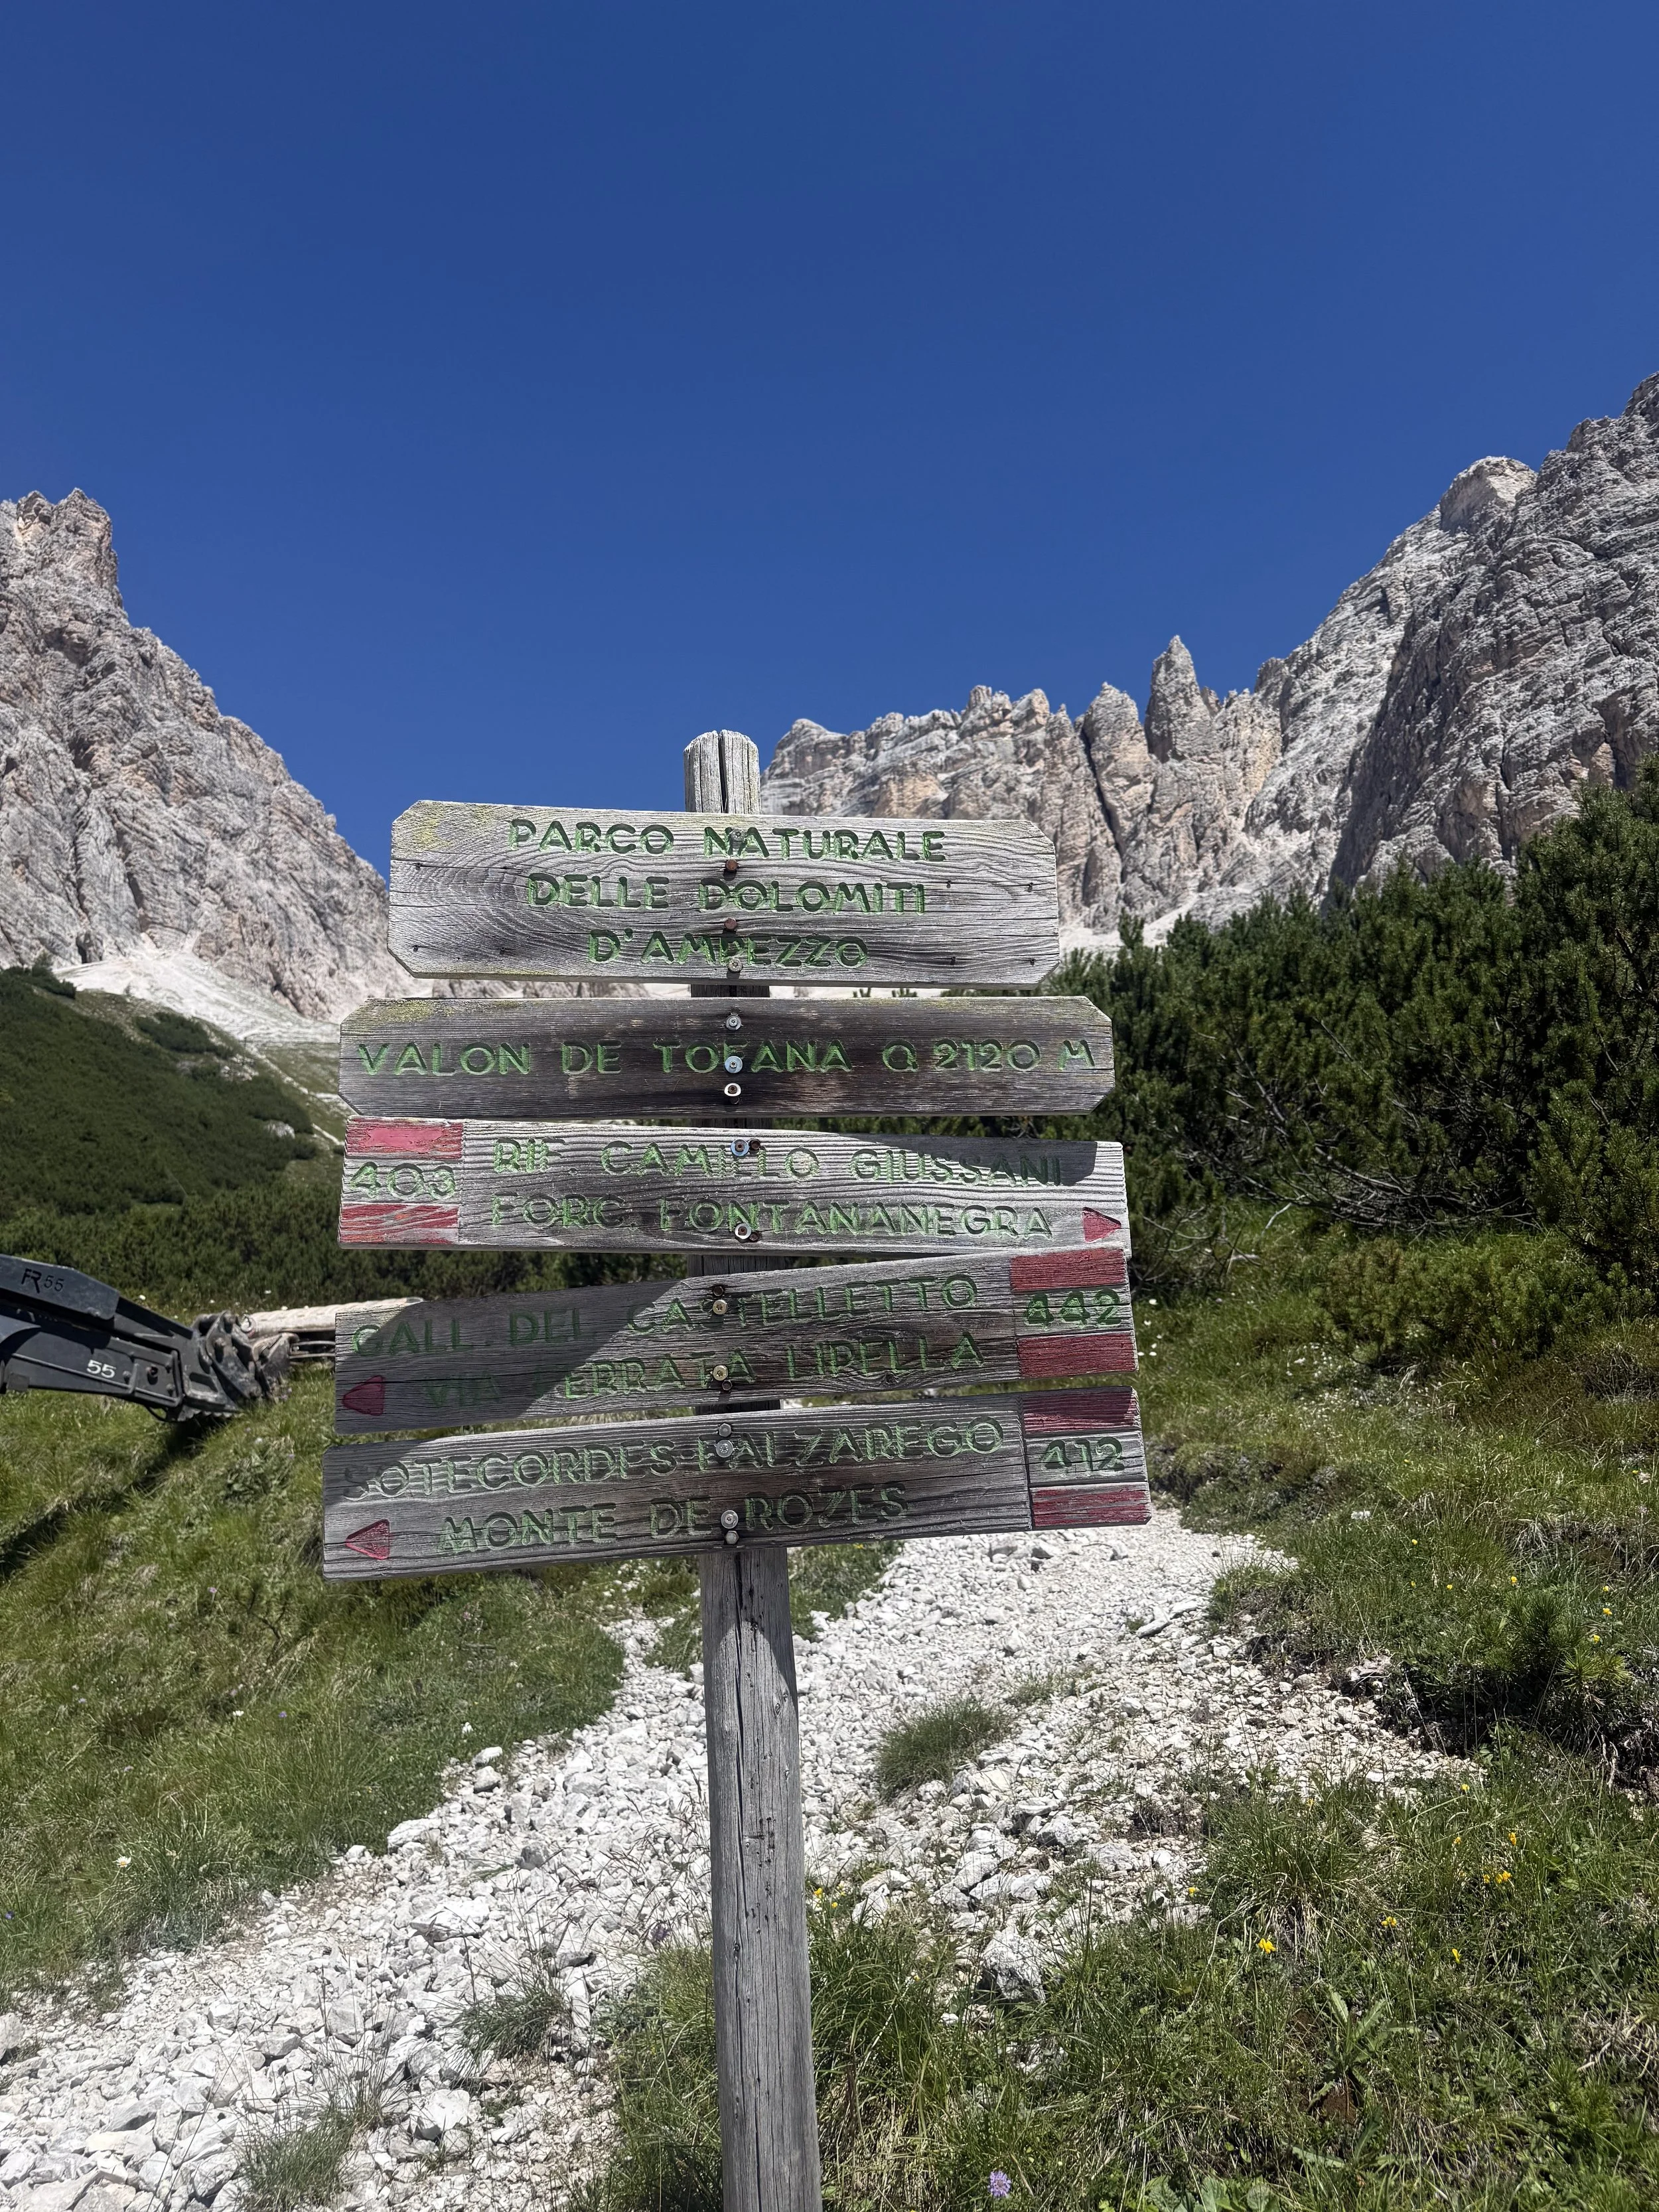
CAI 401 → CAI 402 → Forcella Travenanzes → Col dei Bos → 404 → 403 → Rifugio Giussani
Lagazuoi Refuge
CAI 401
CAI 402
Forcella Col dei Bos
CAI 404
Junction with CAI 403 Rifugio Dibona
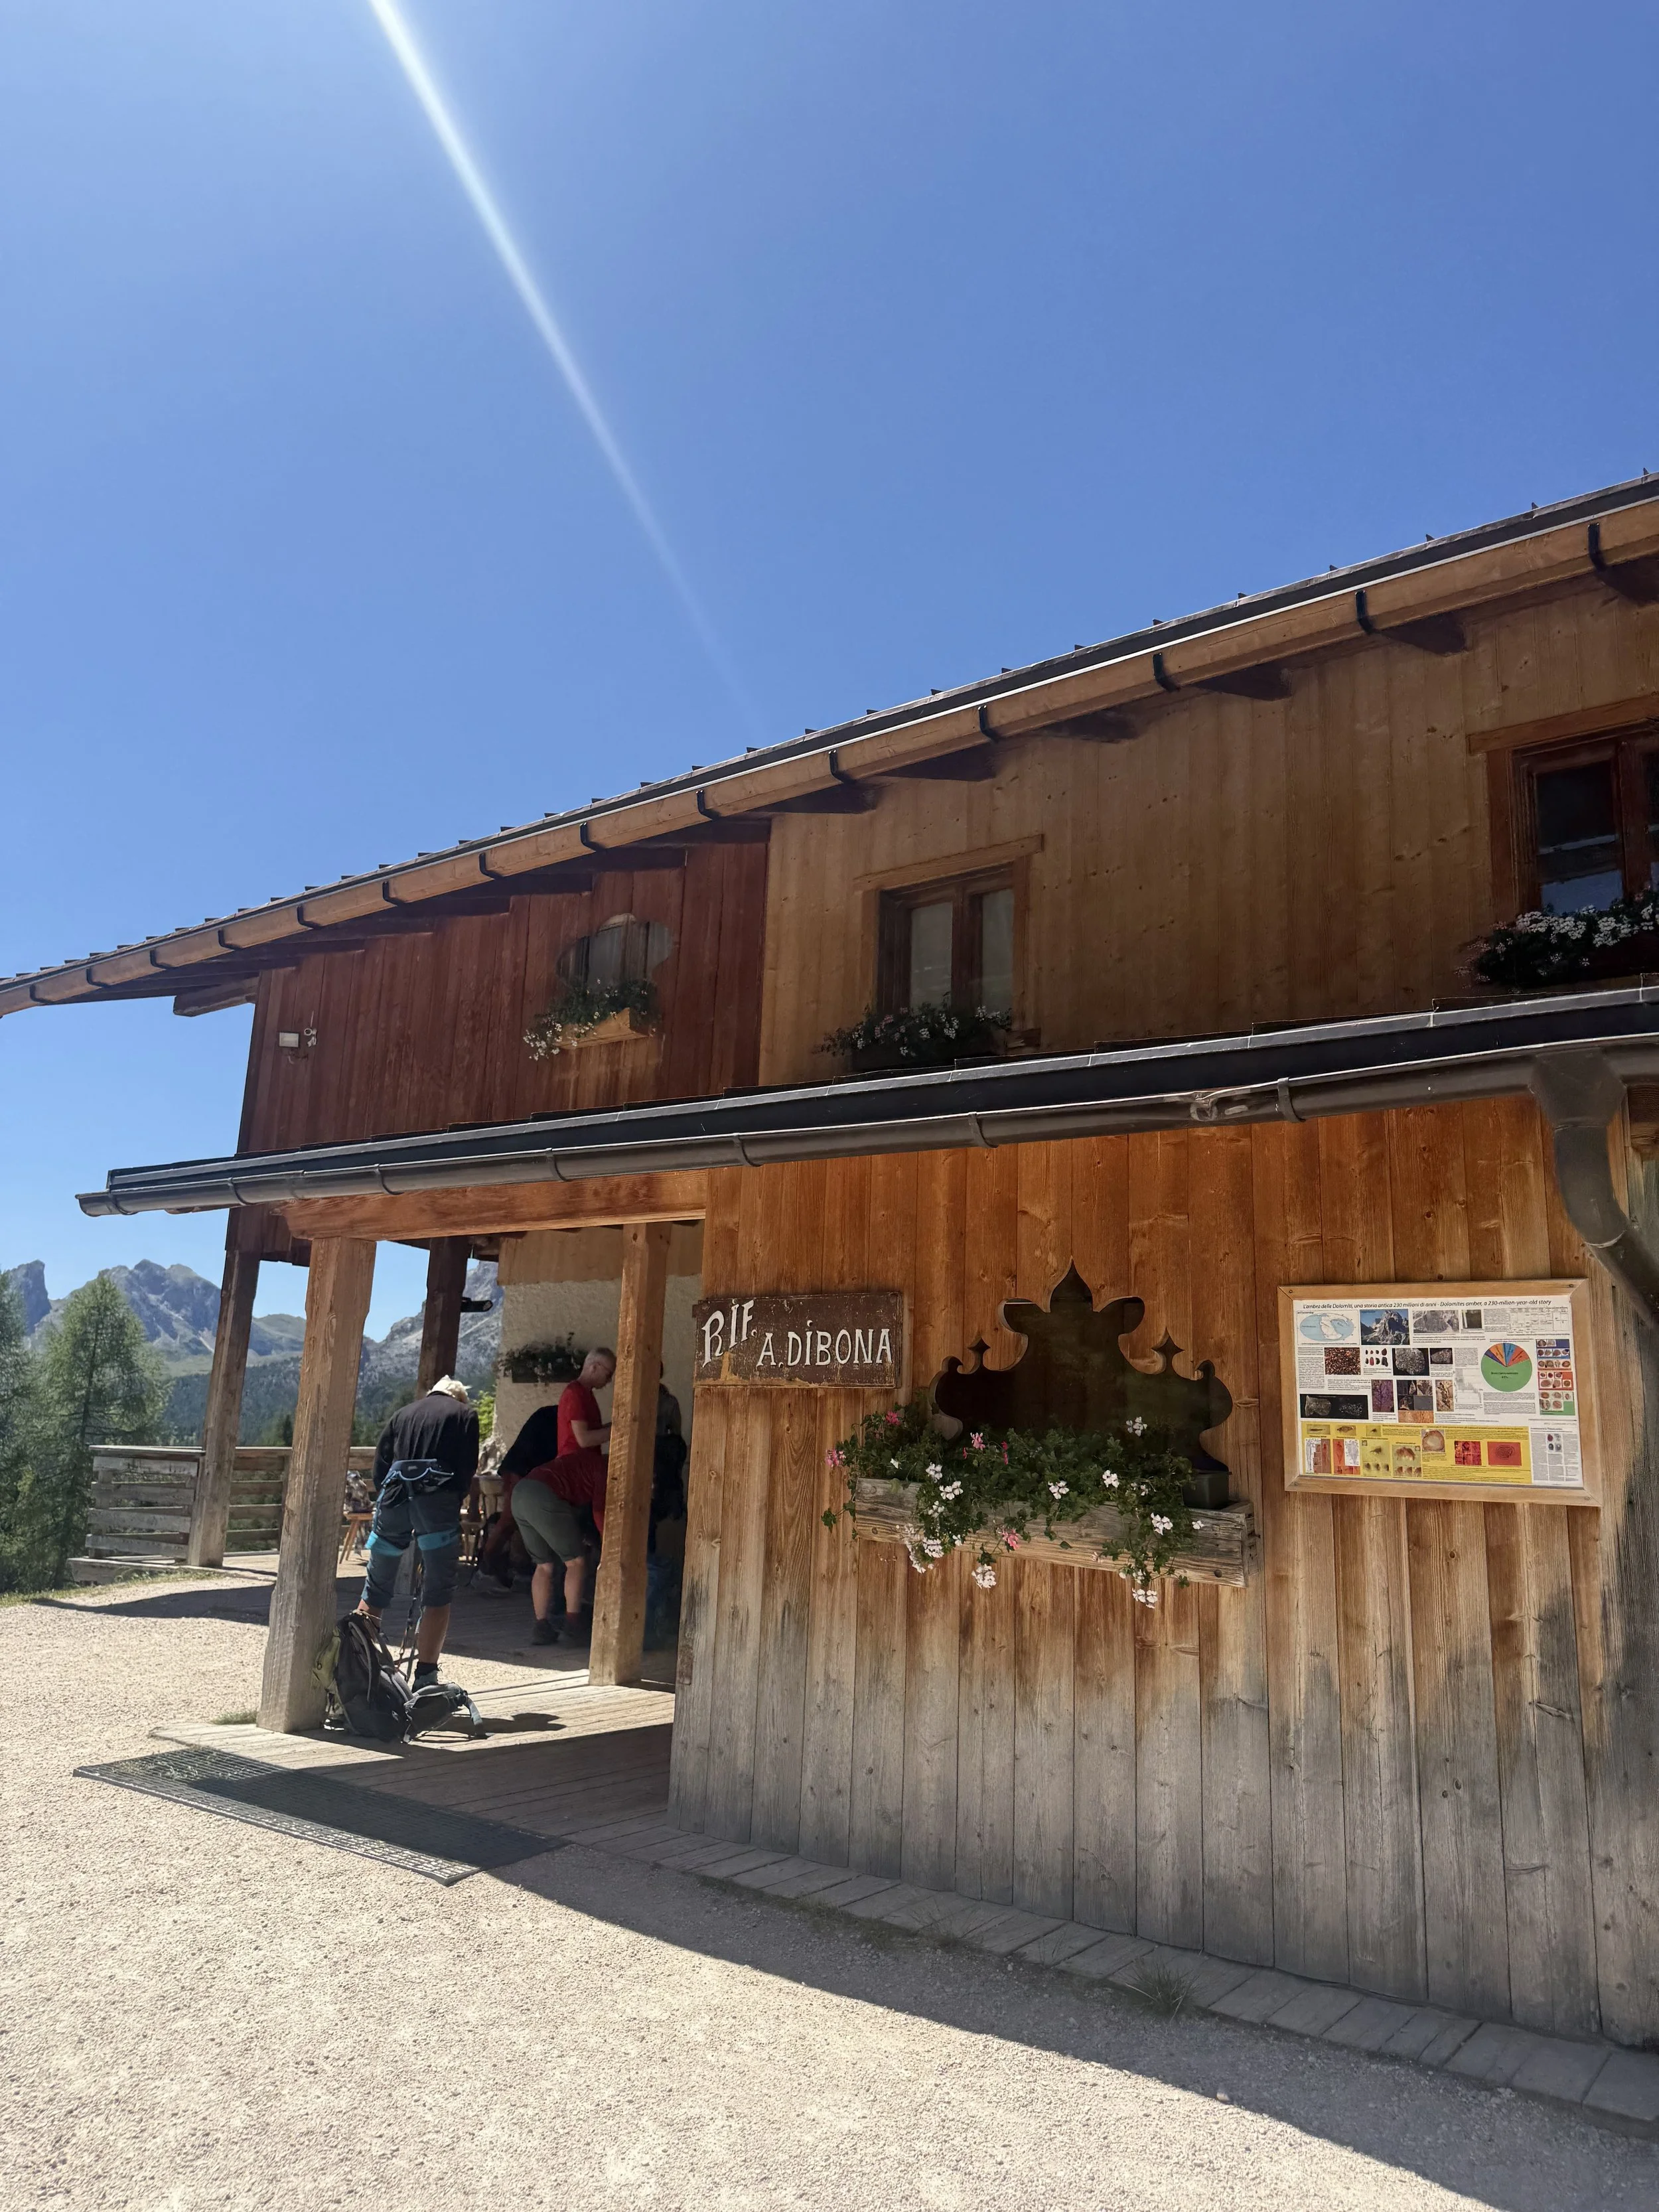
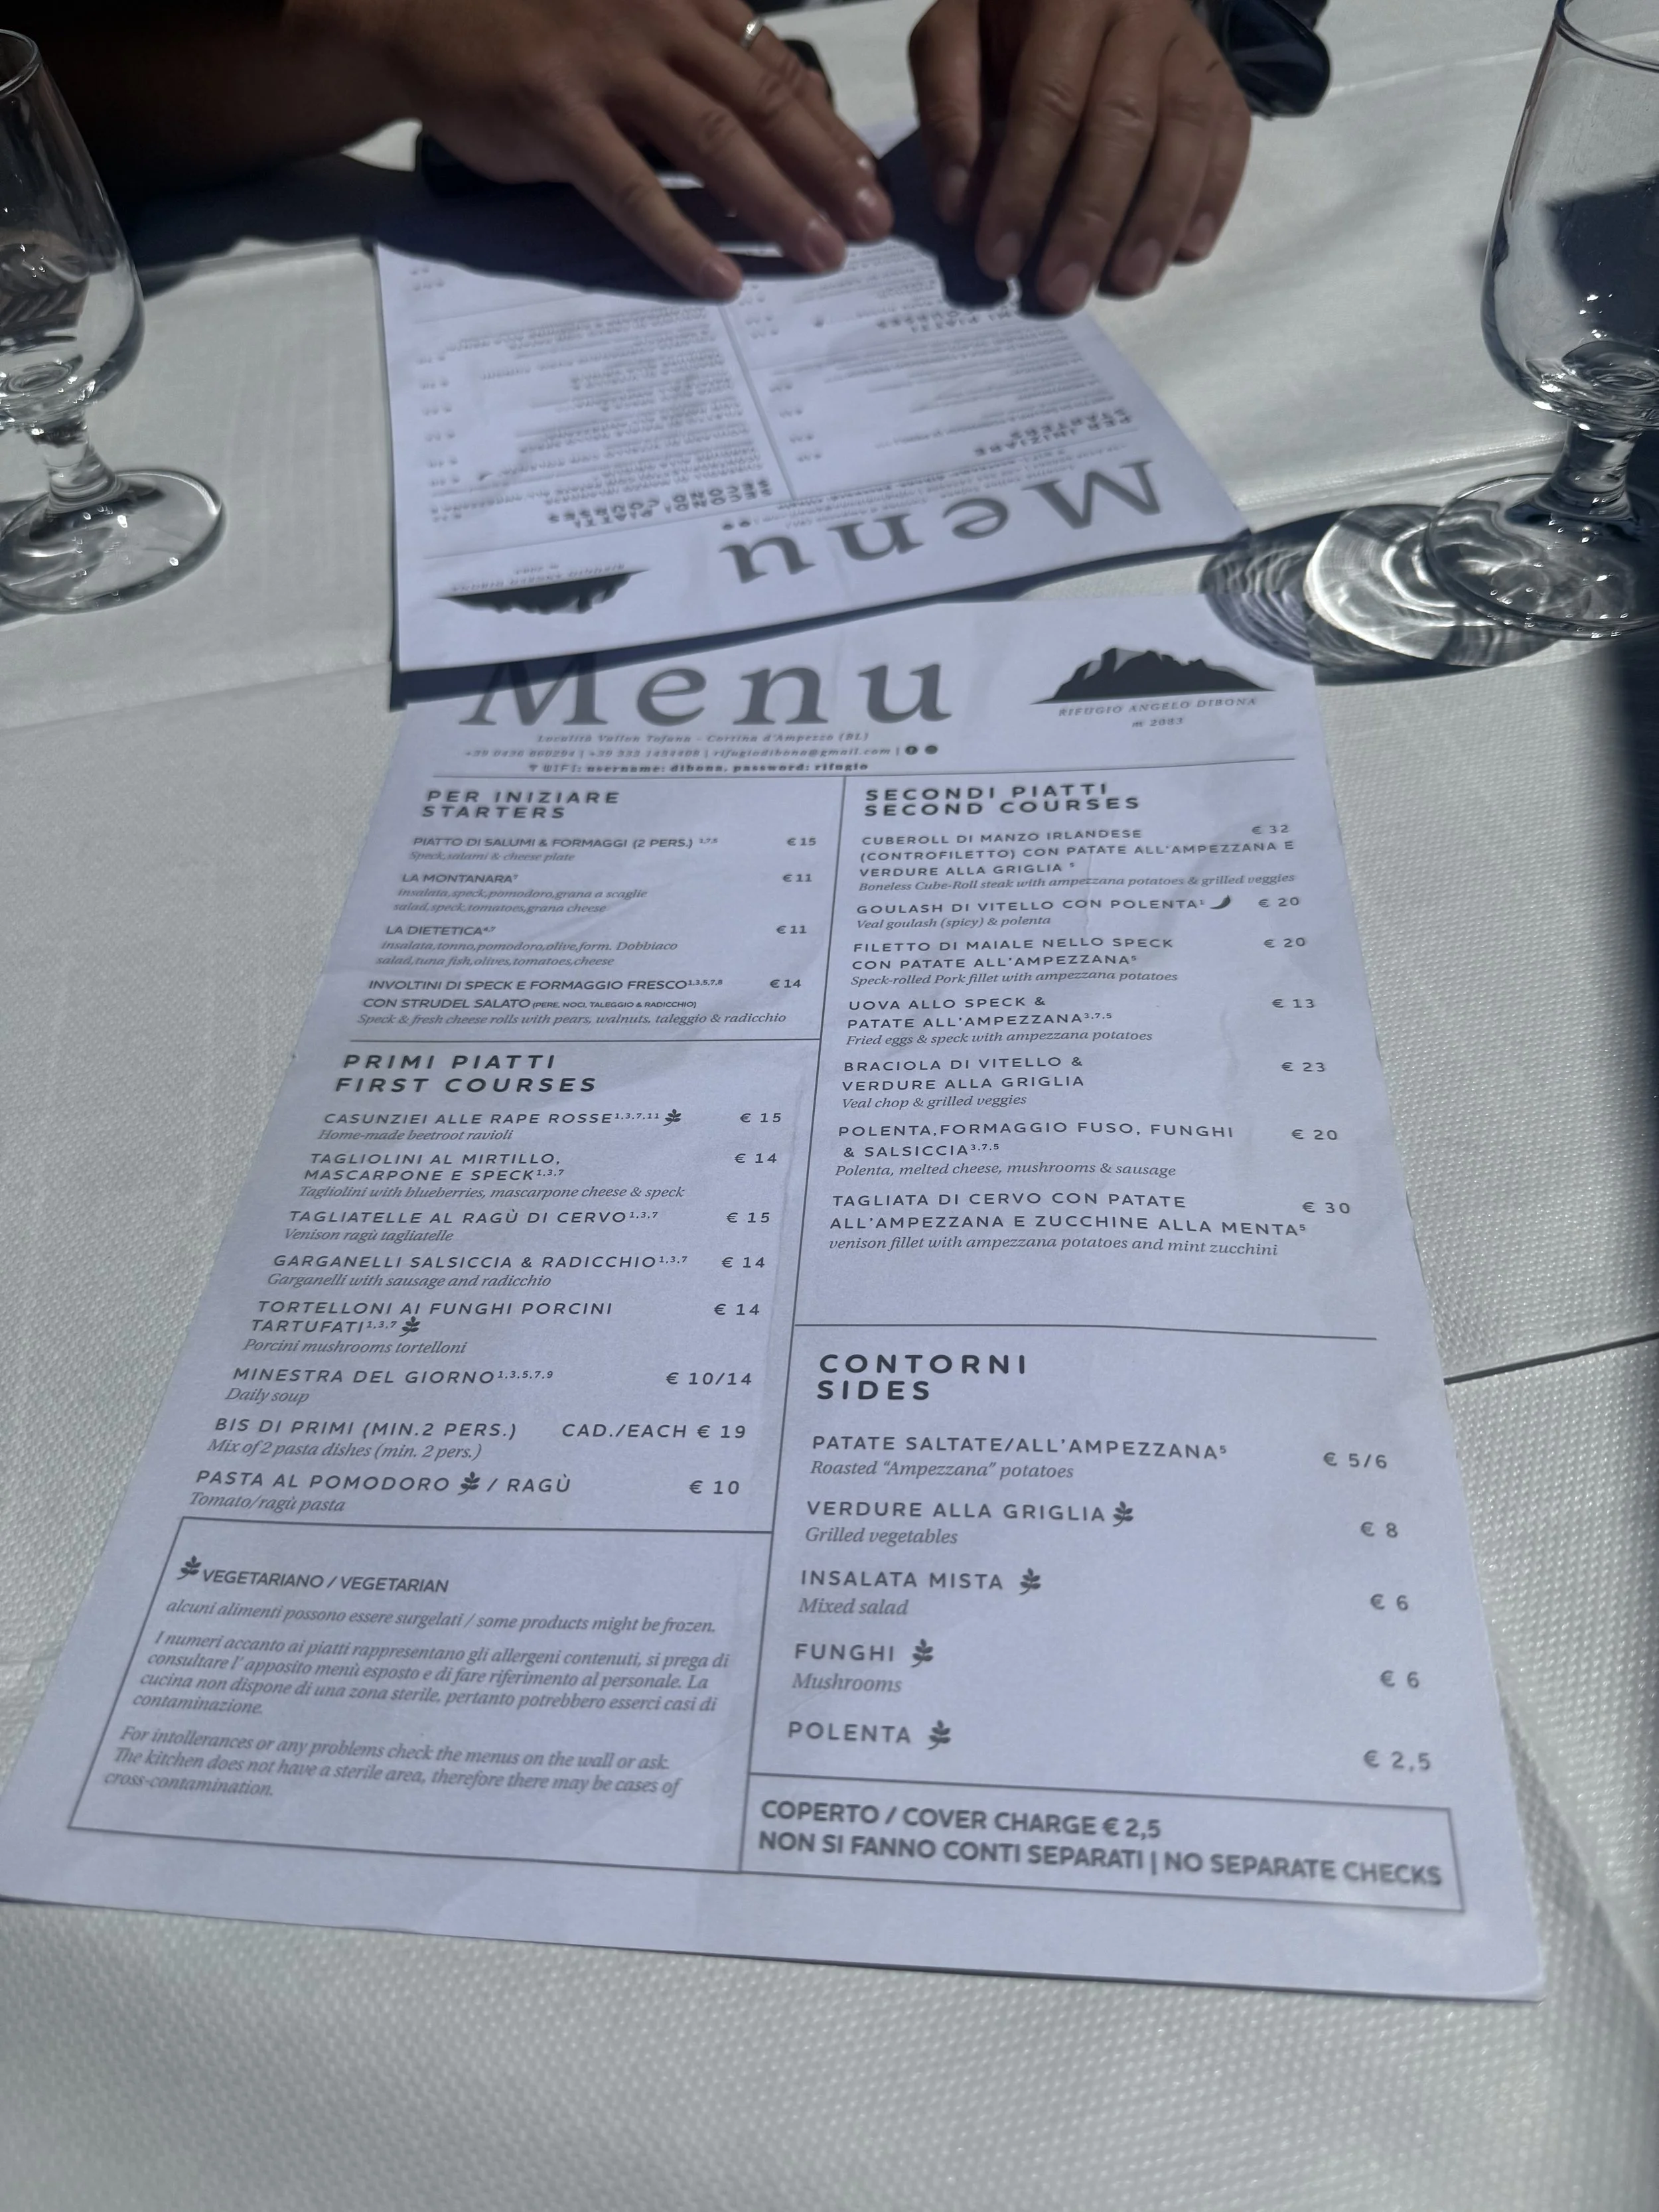
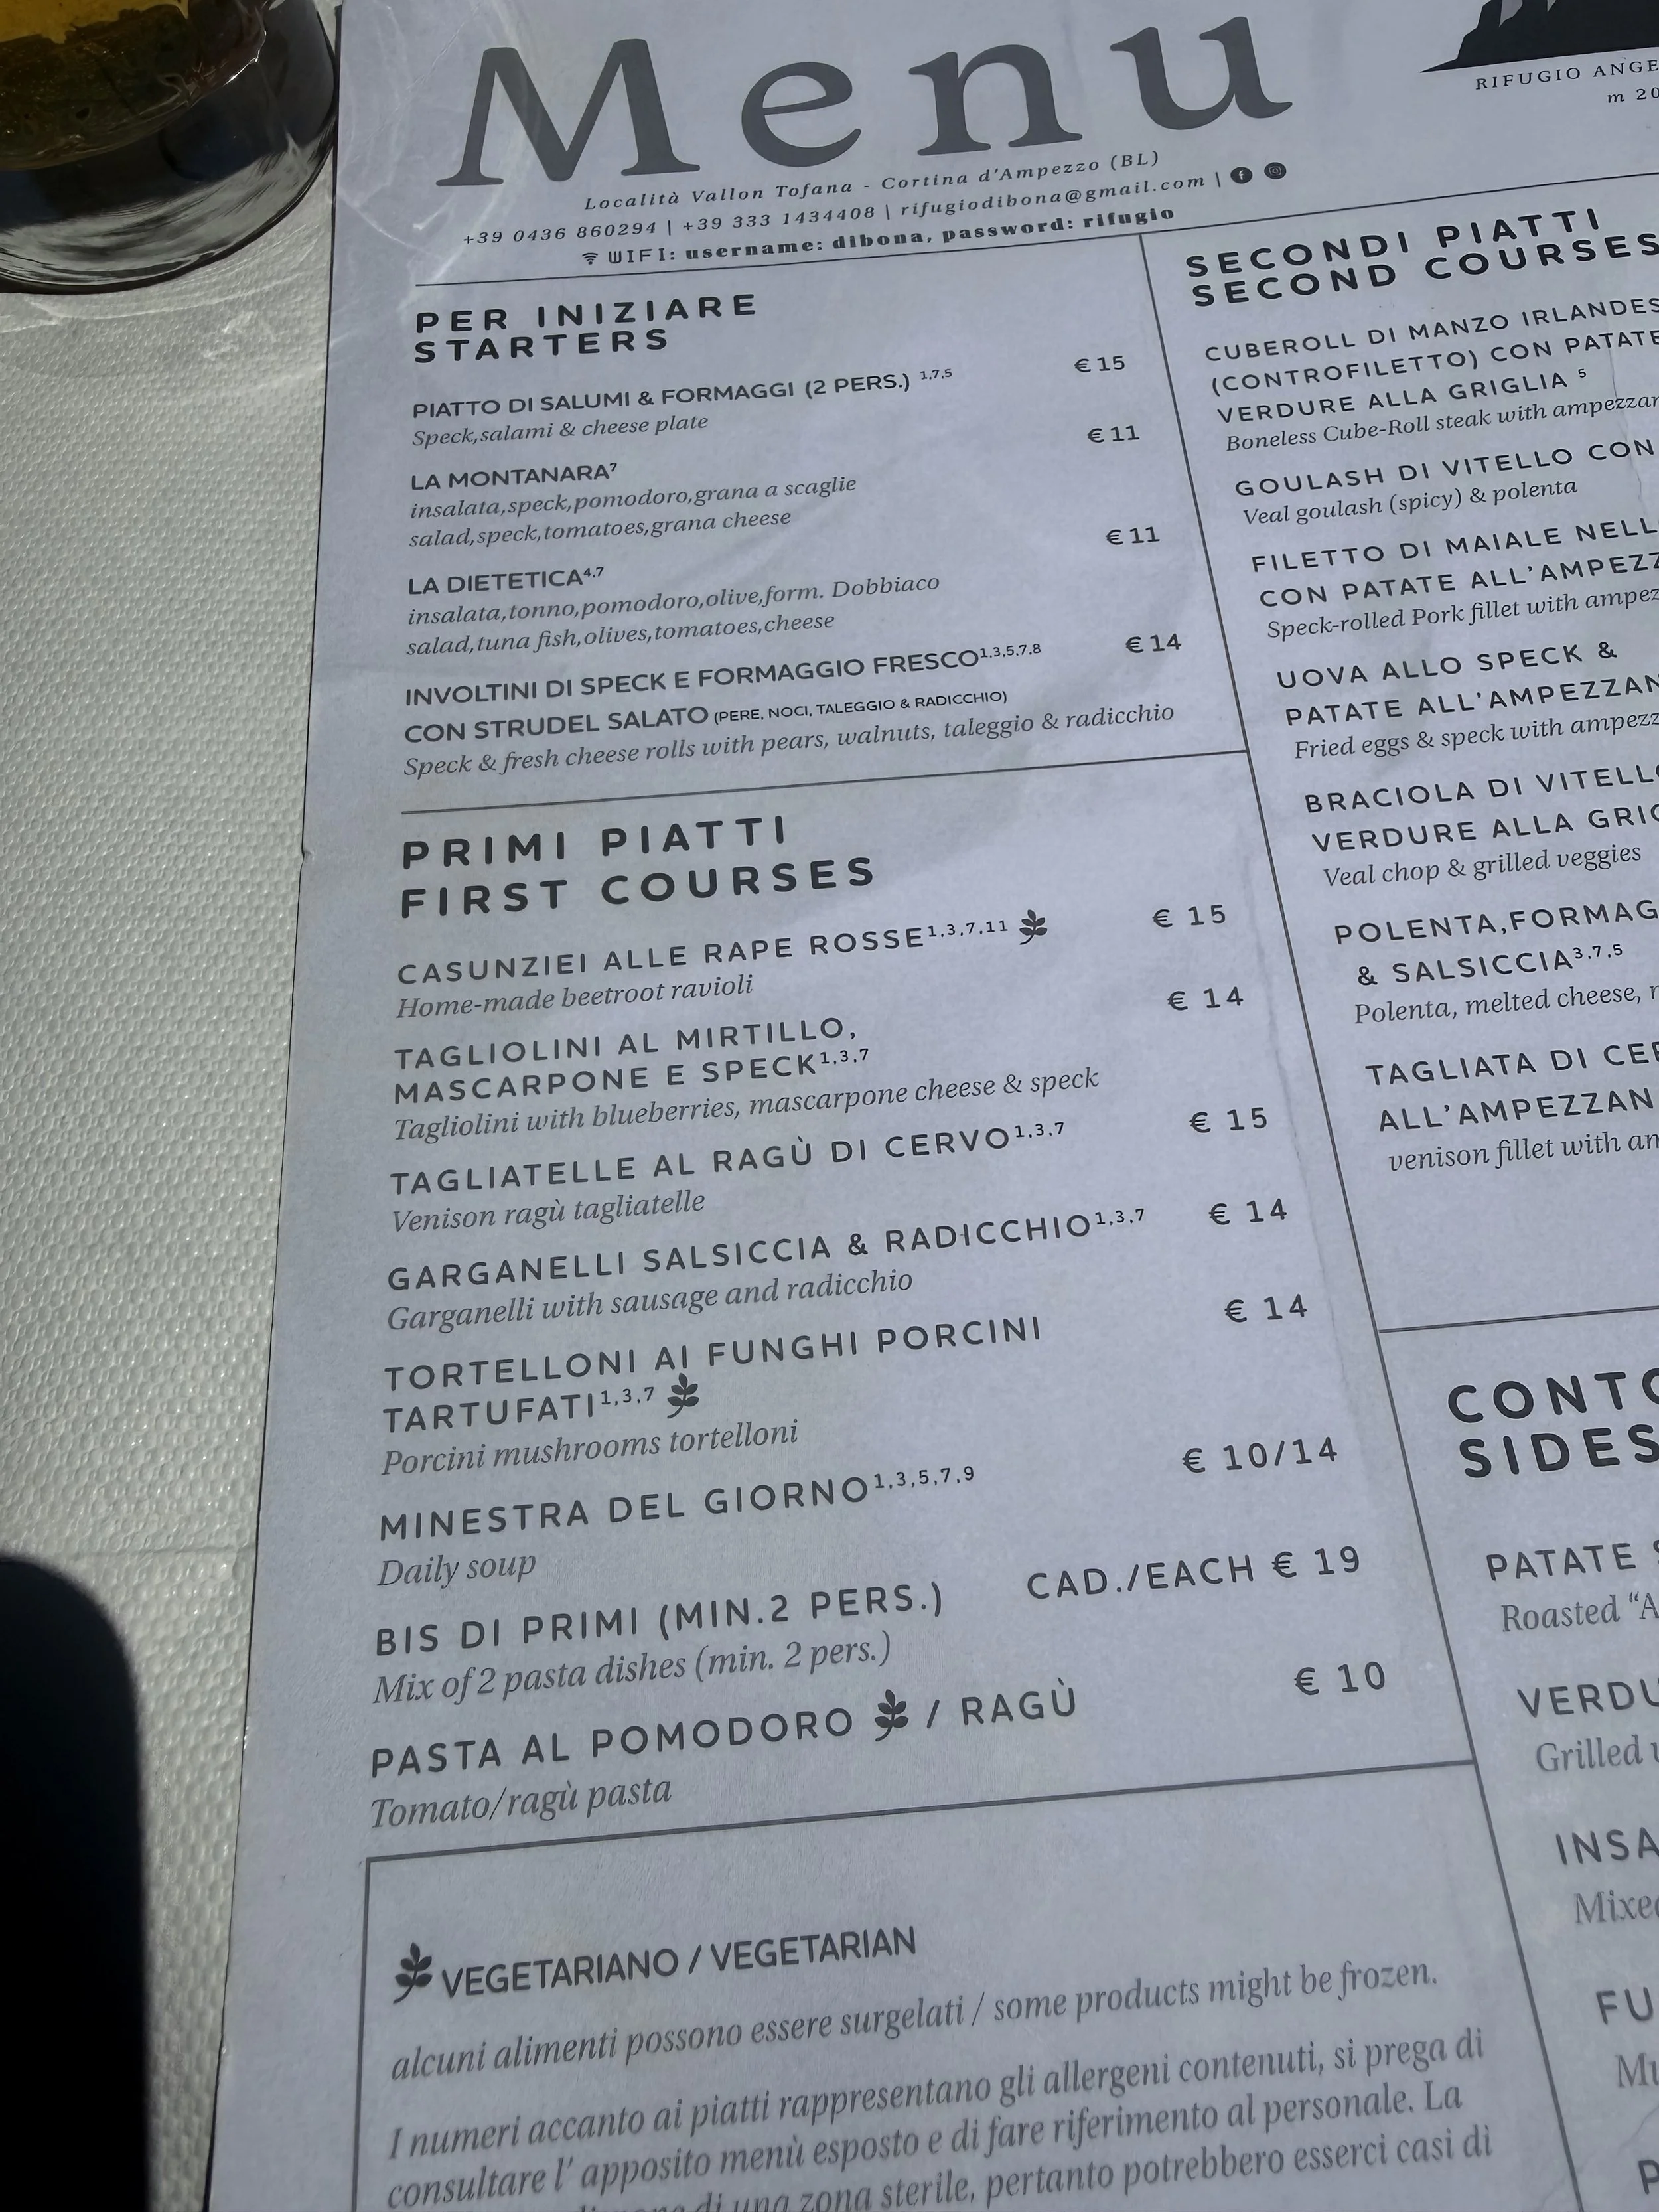
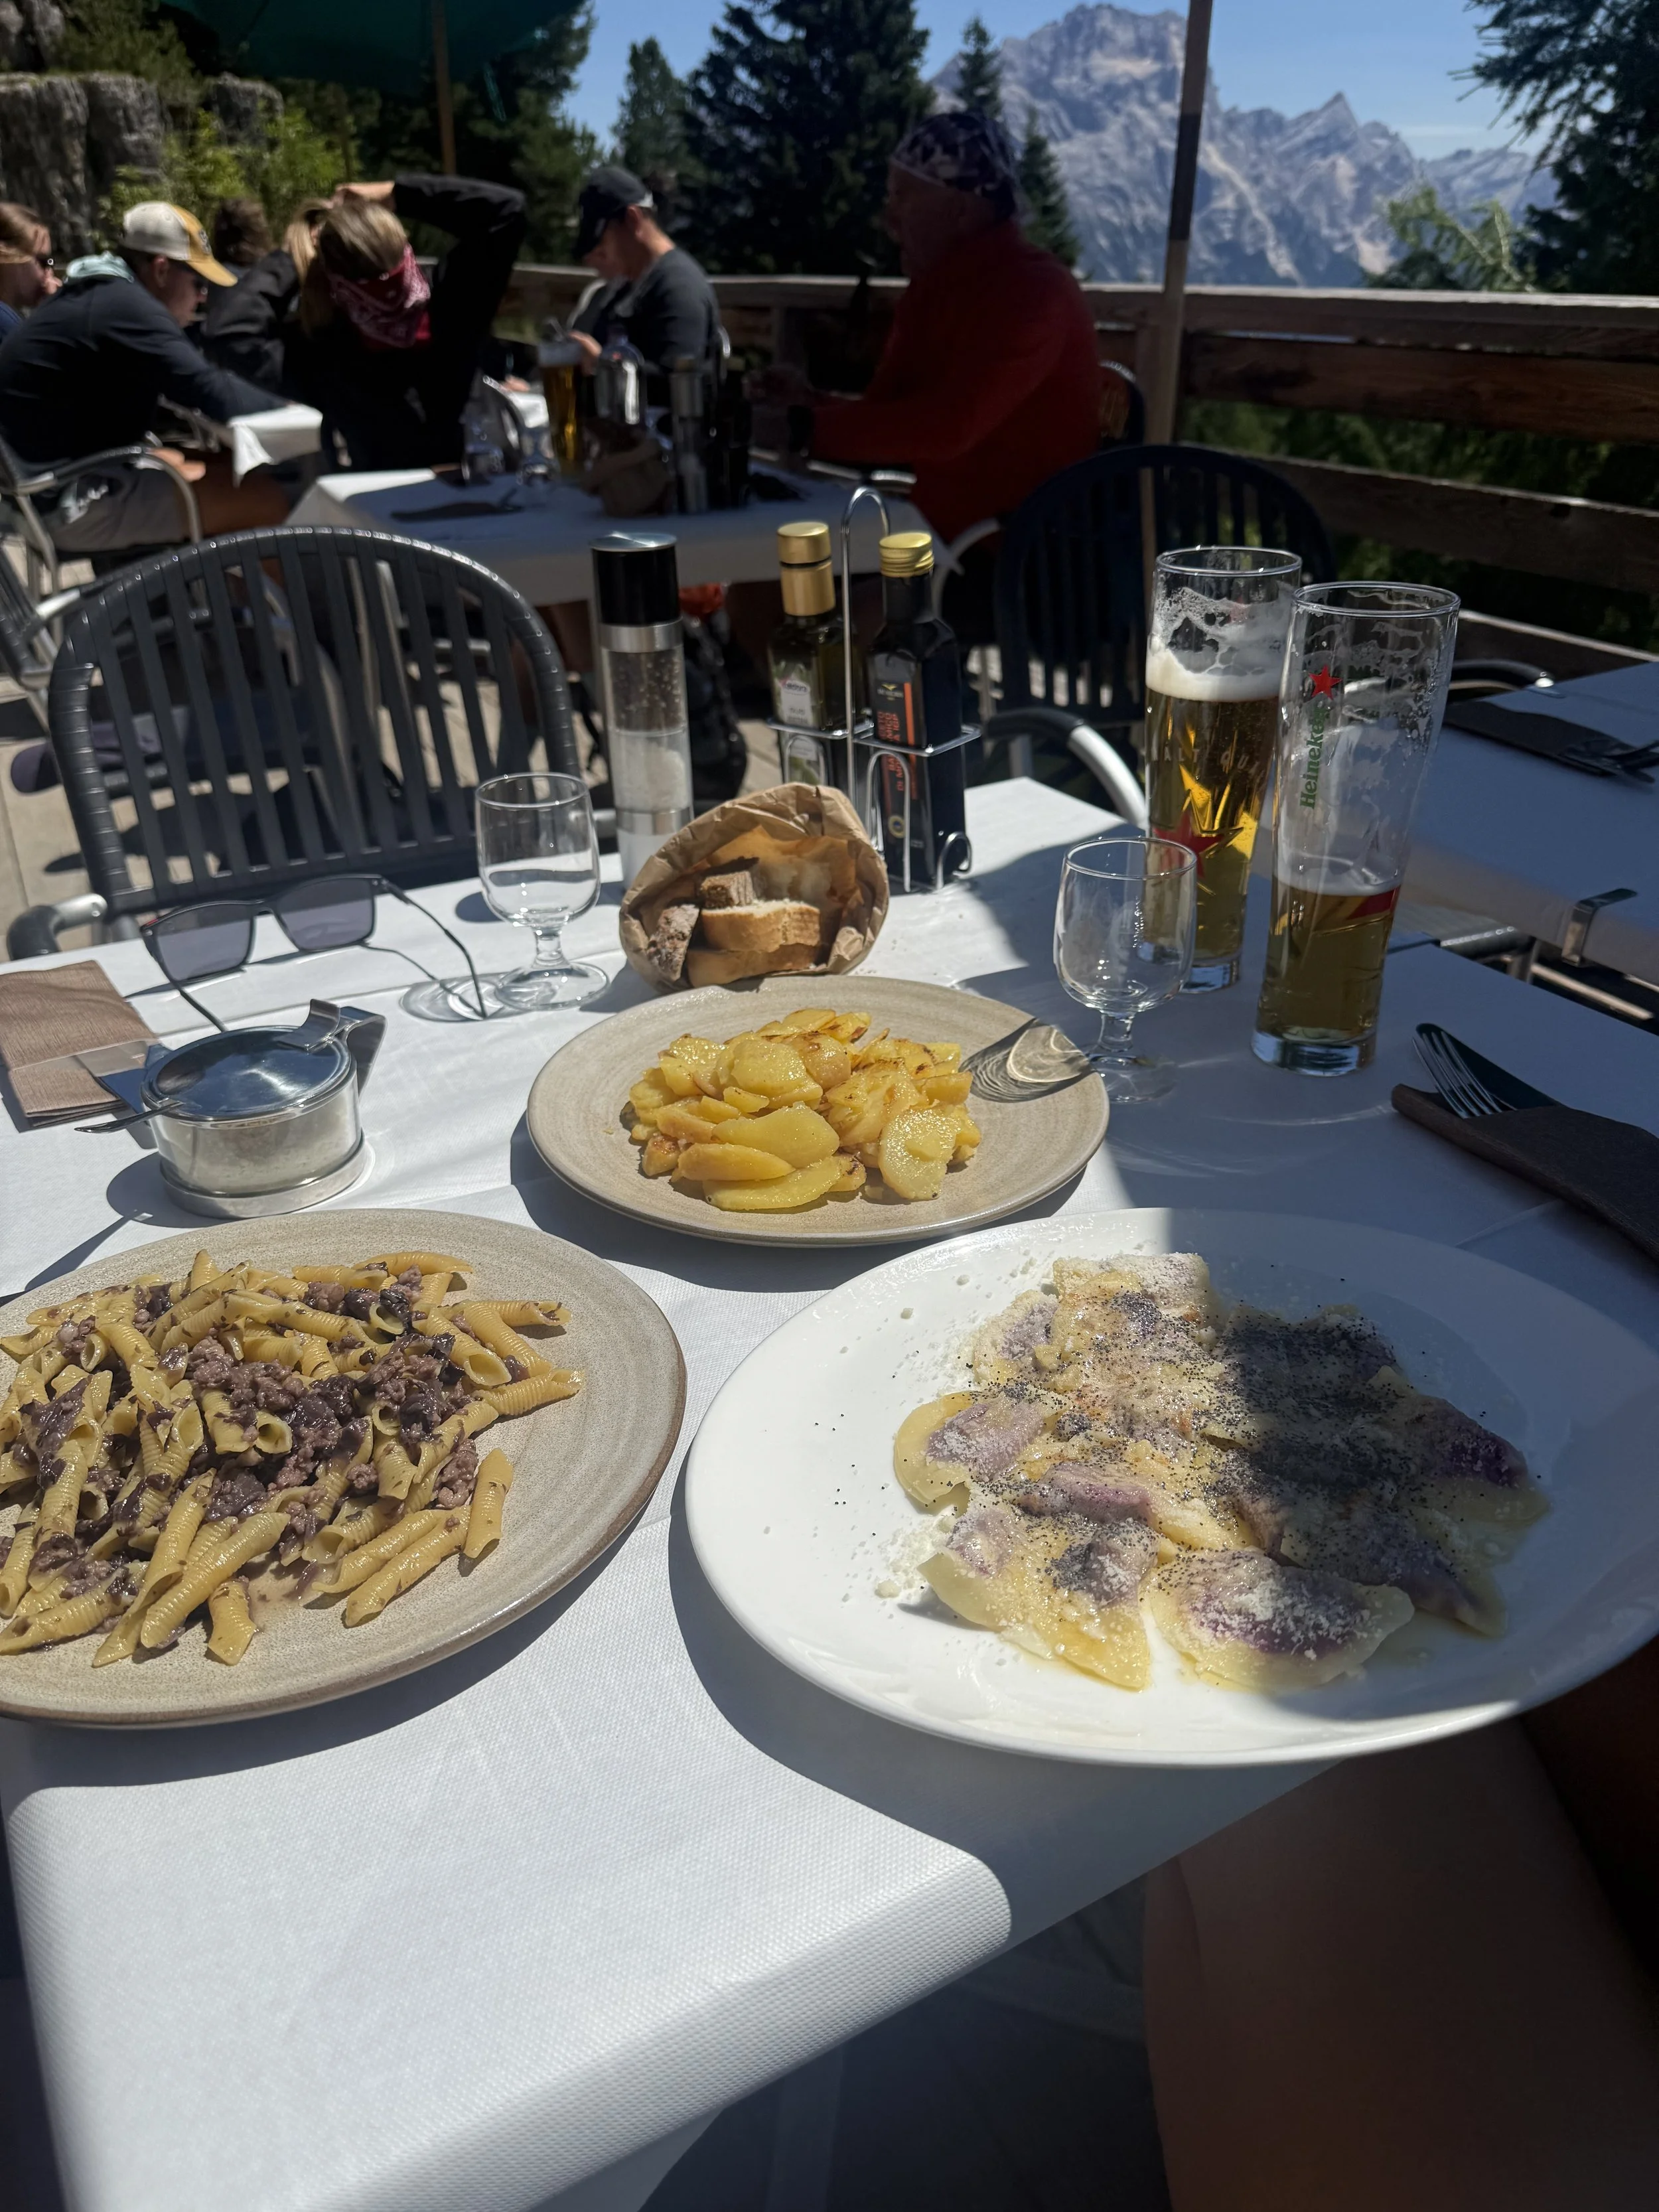
LUNCH at Rifugio Dibona - this was incredible!! The beetroot pasta was out of this world
Rifugio Giussani
Bad weather option which takes the lower route: From Via 412 and Ospedaletti WWI hospitals
Difficulty: Very easy
Time: 3 h 30
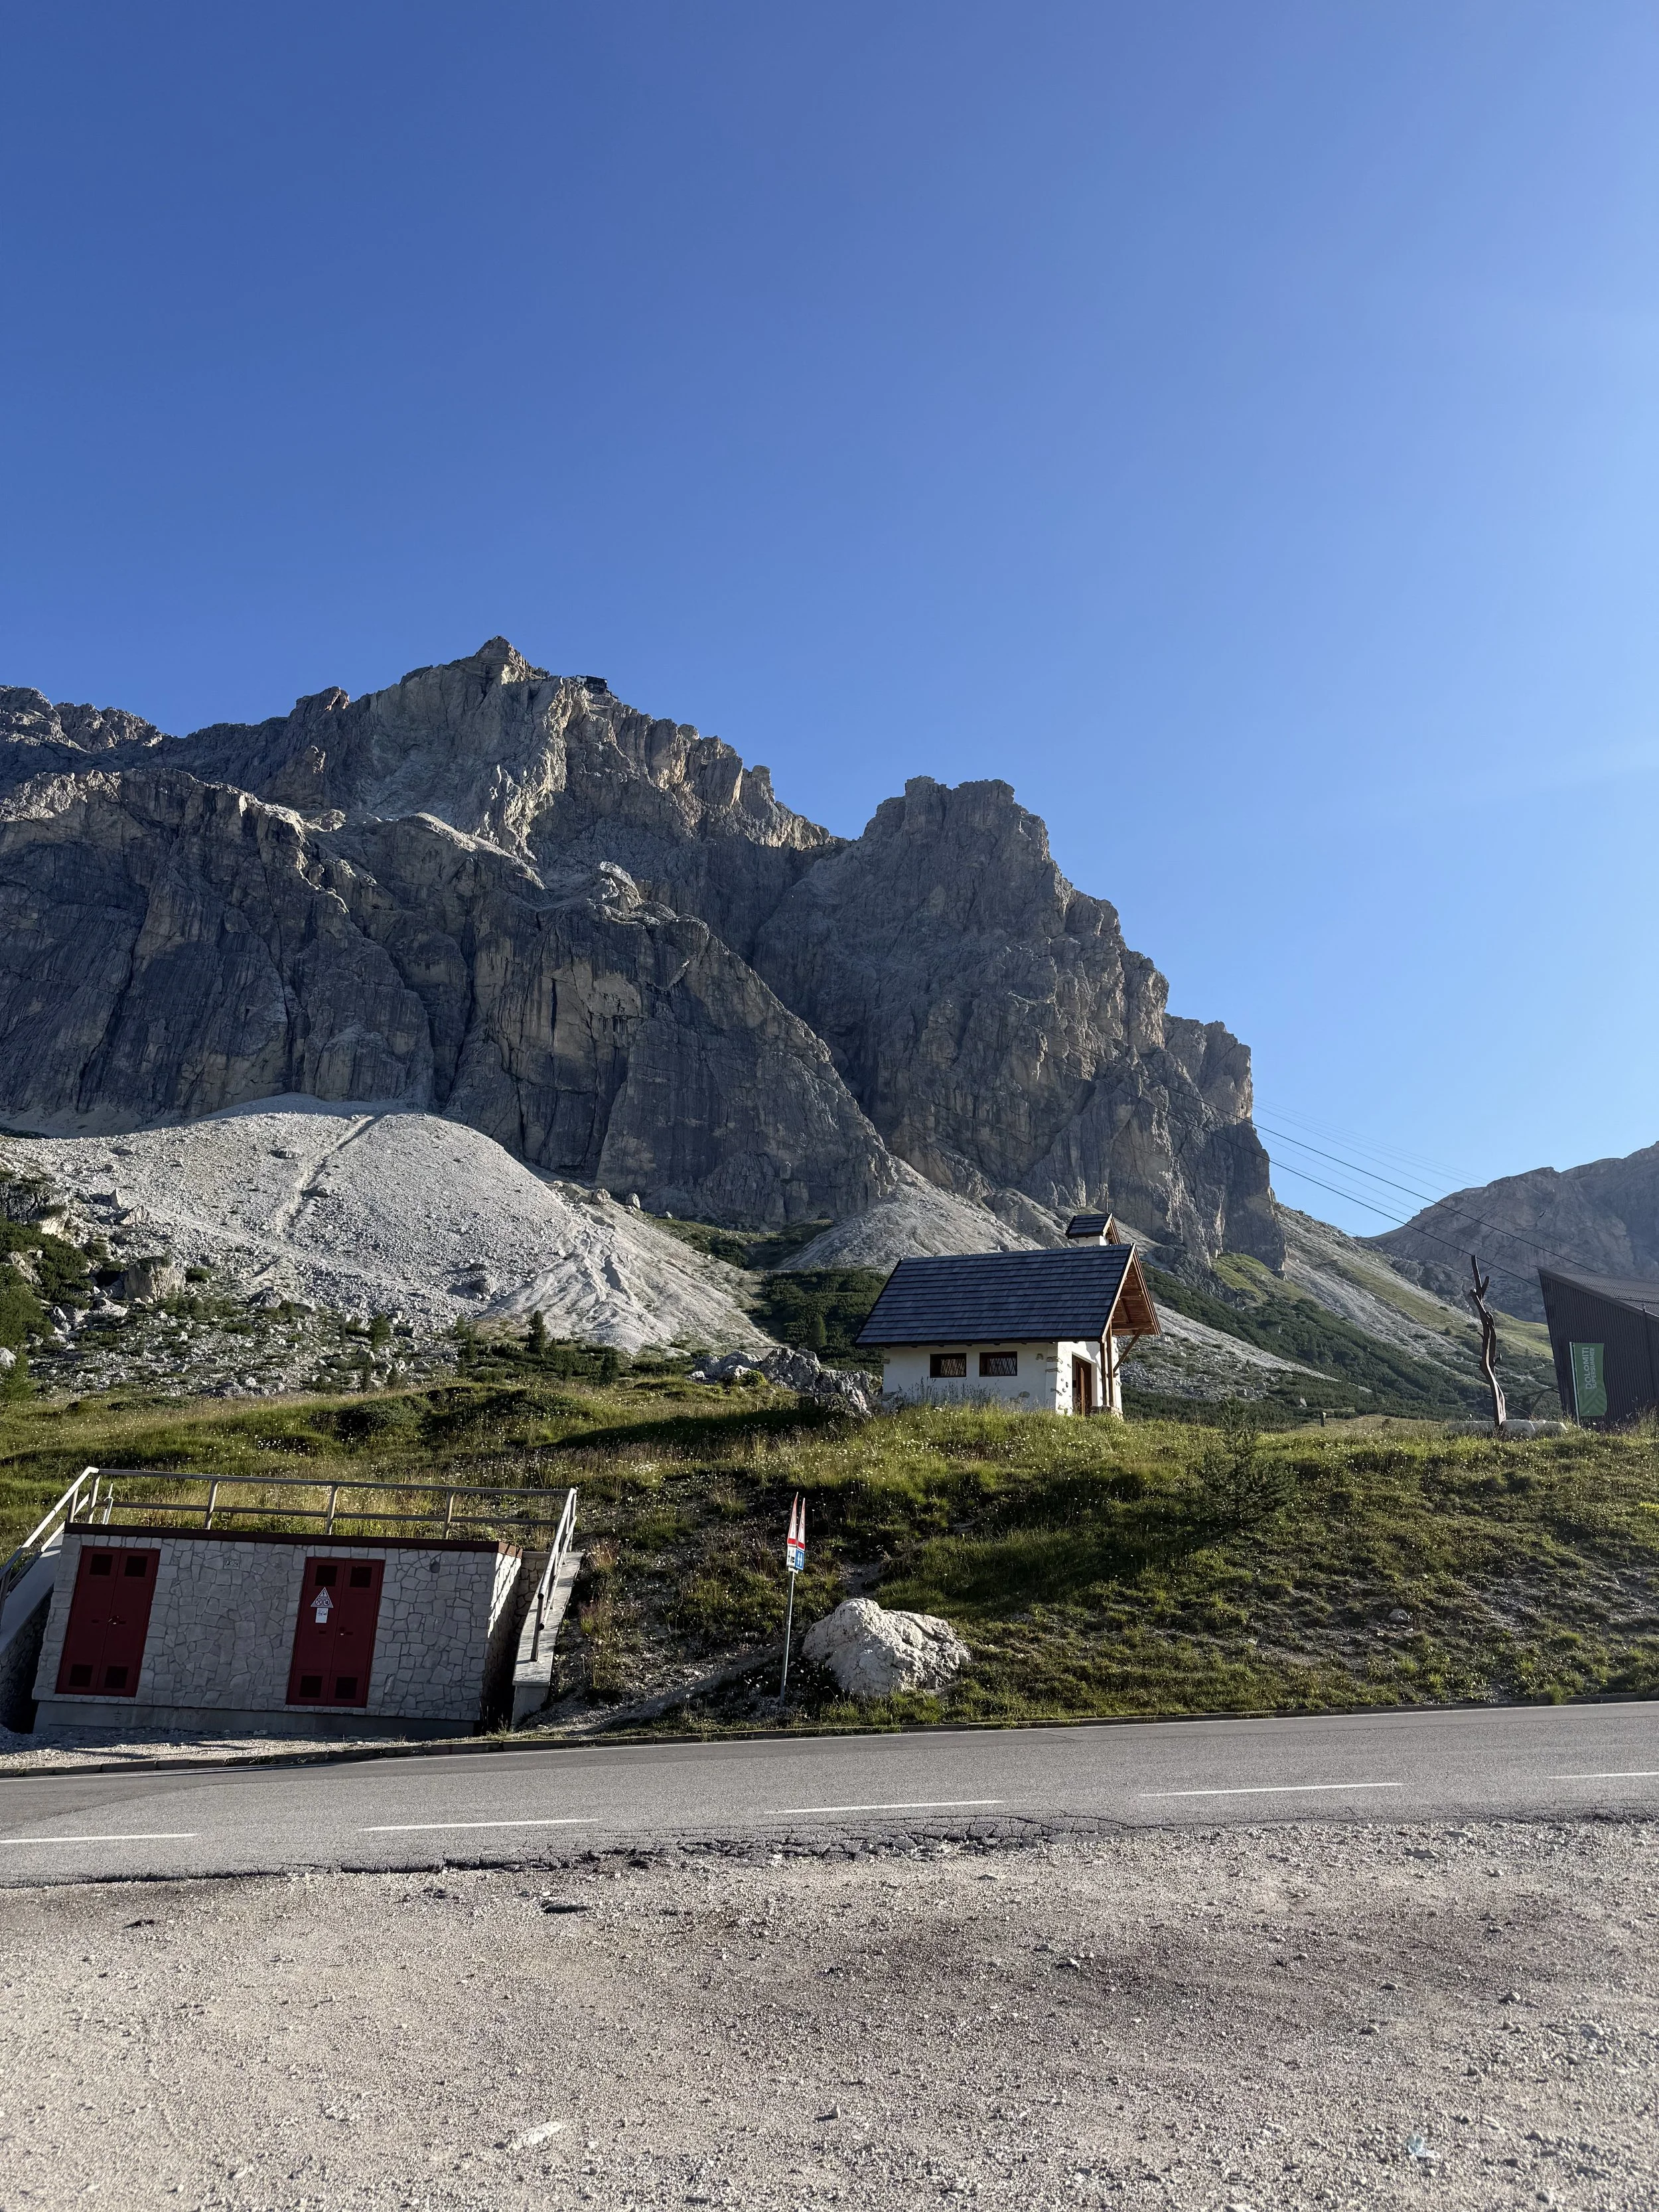
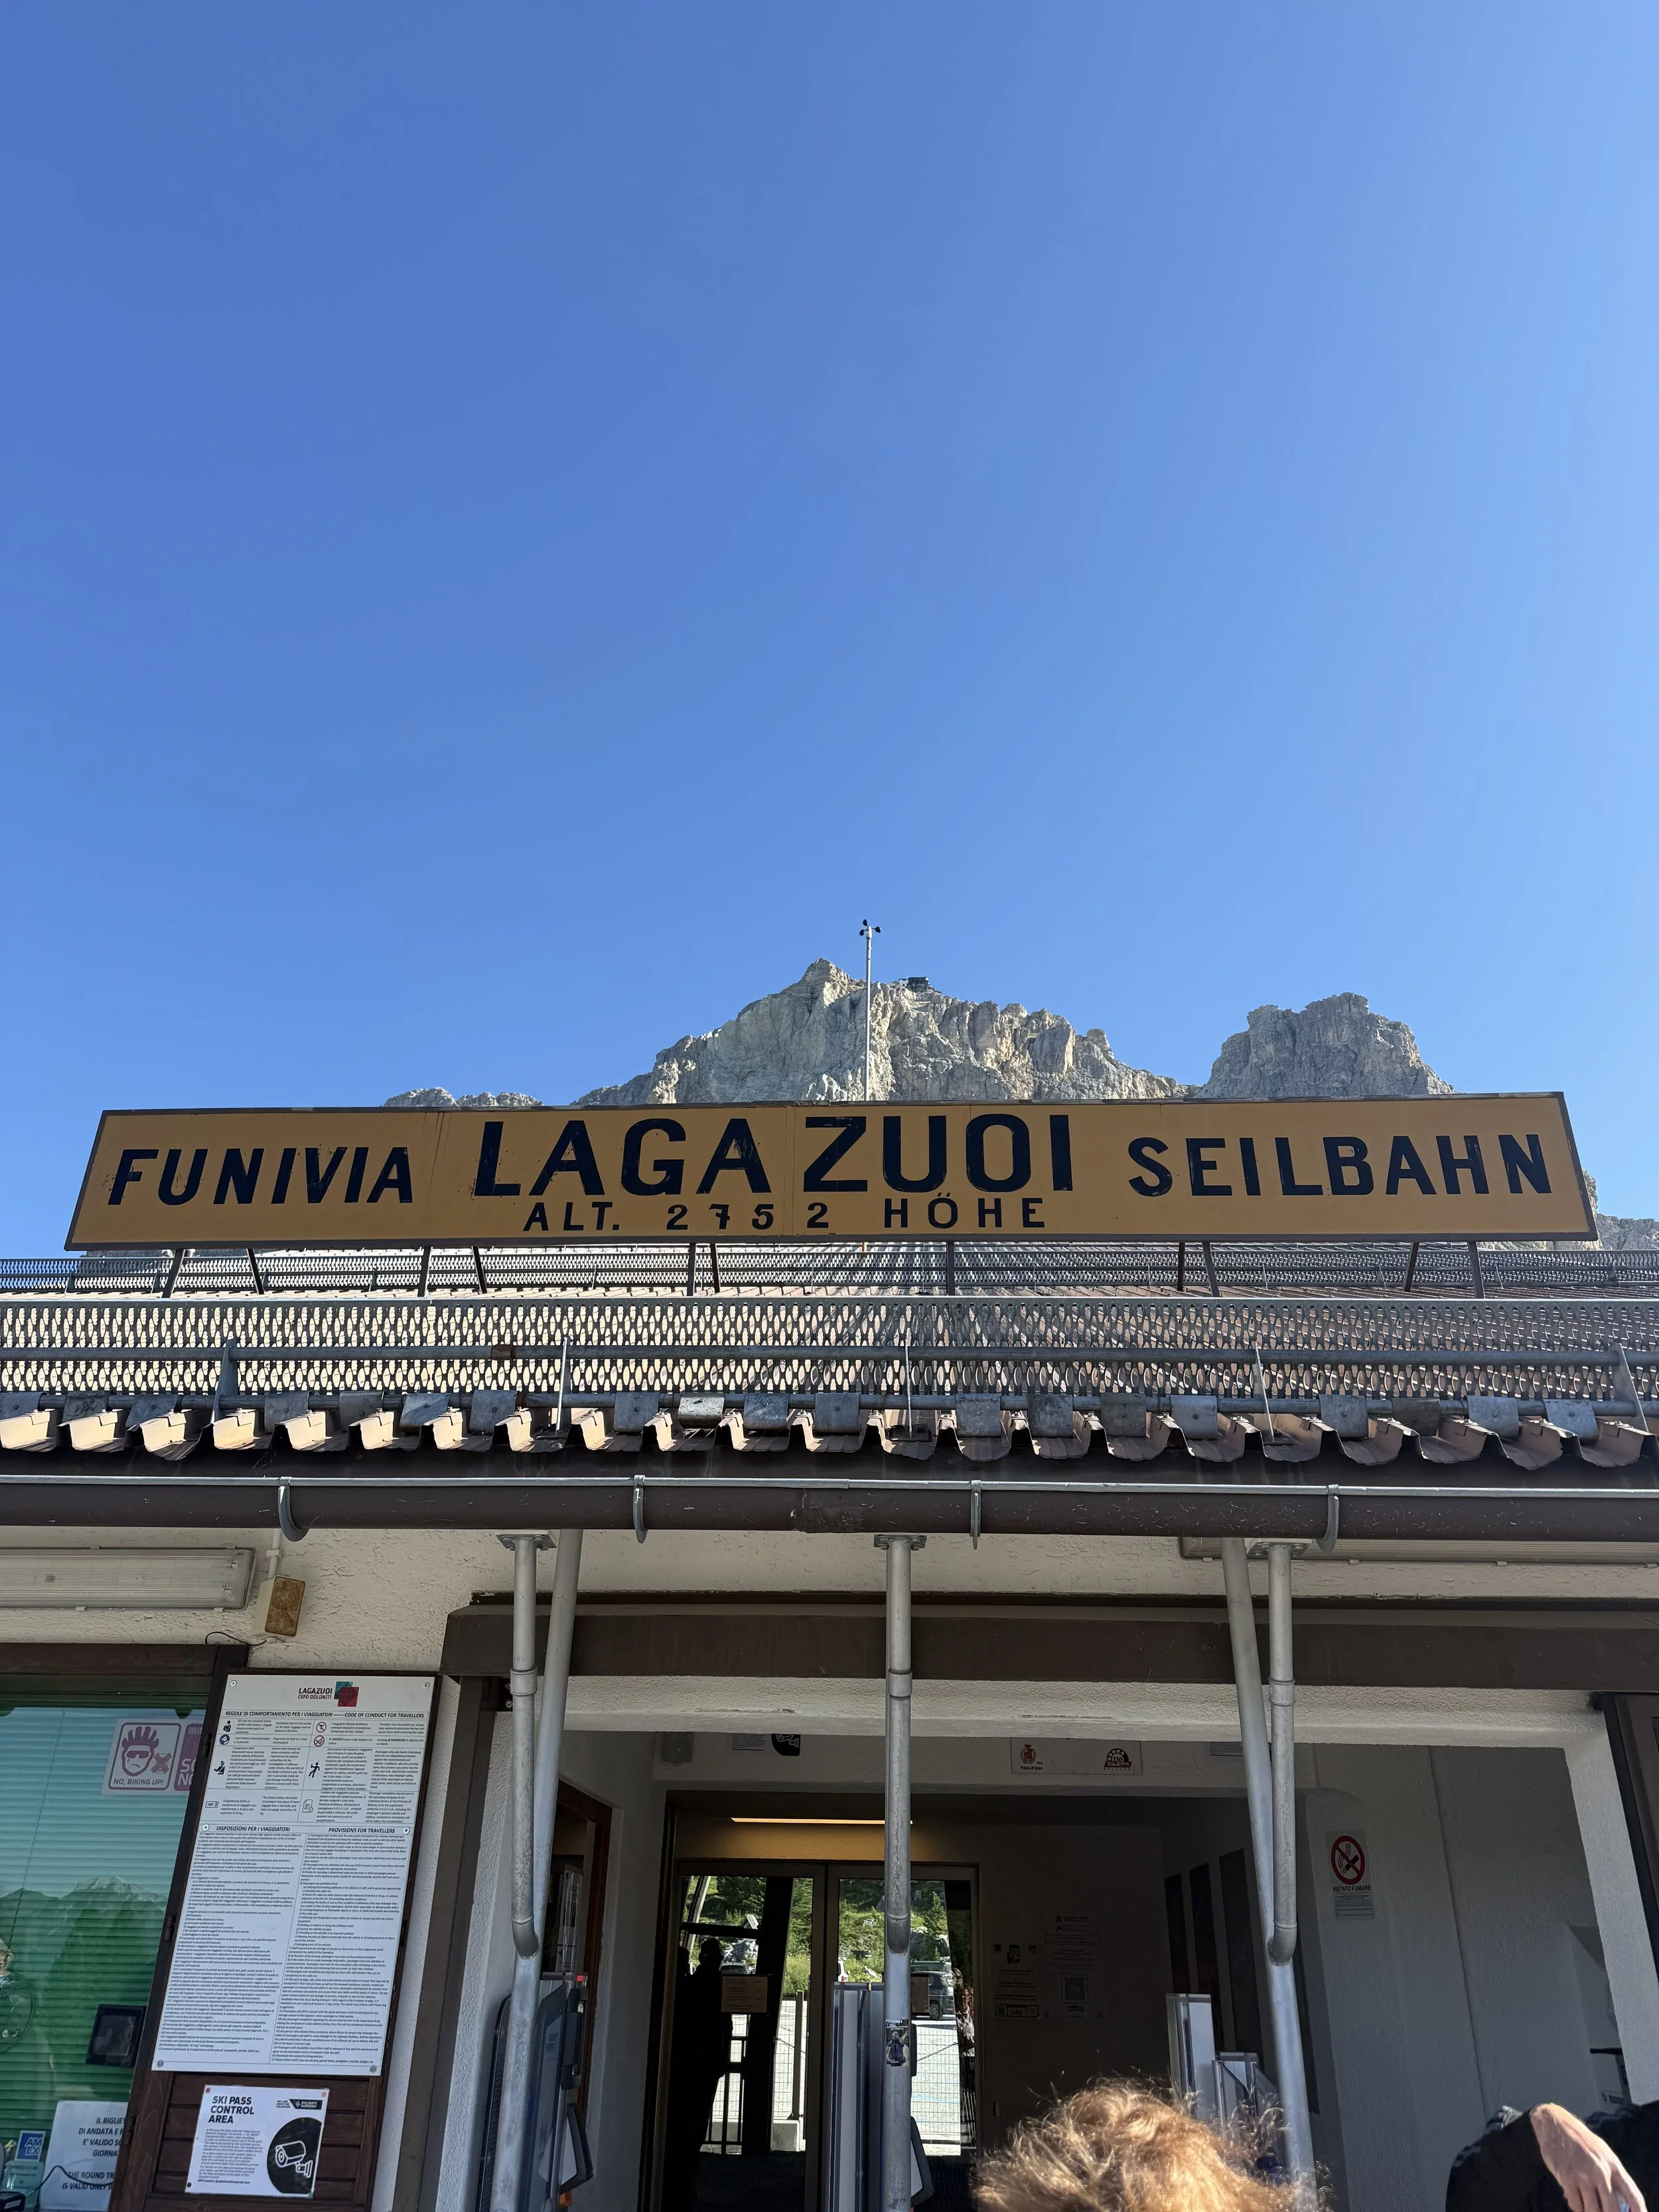
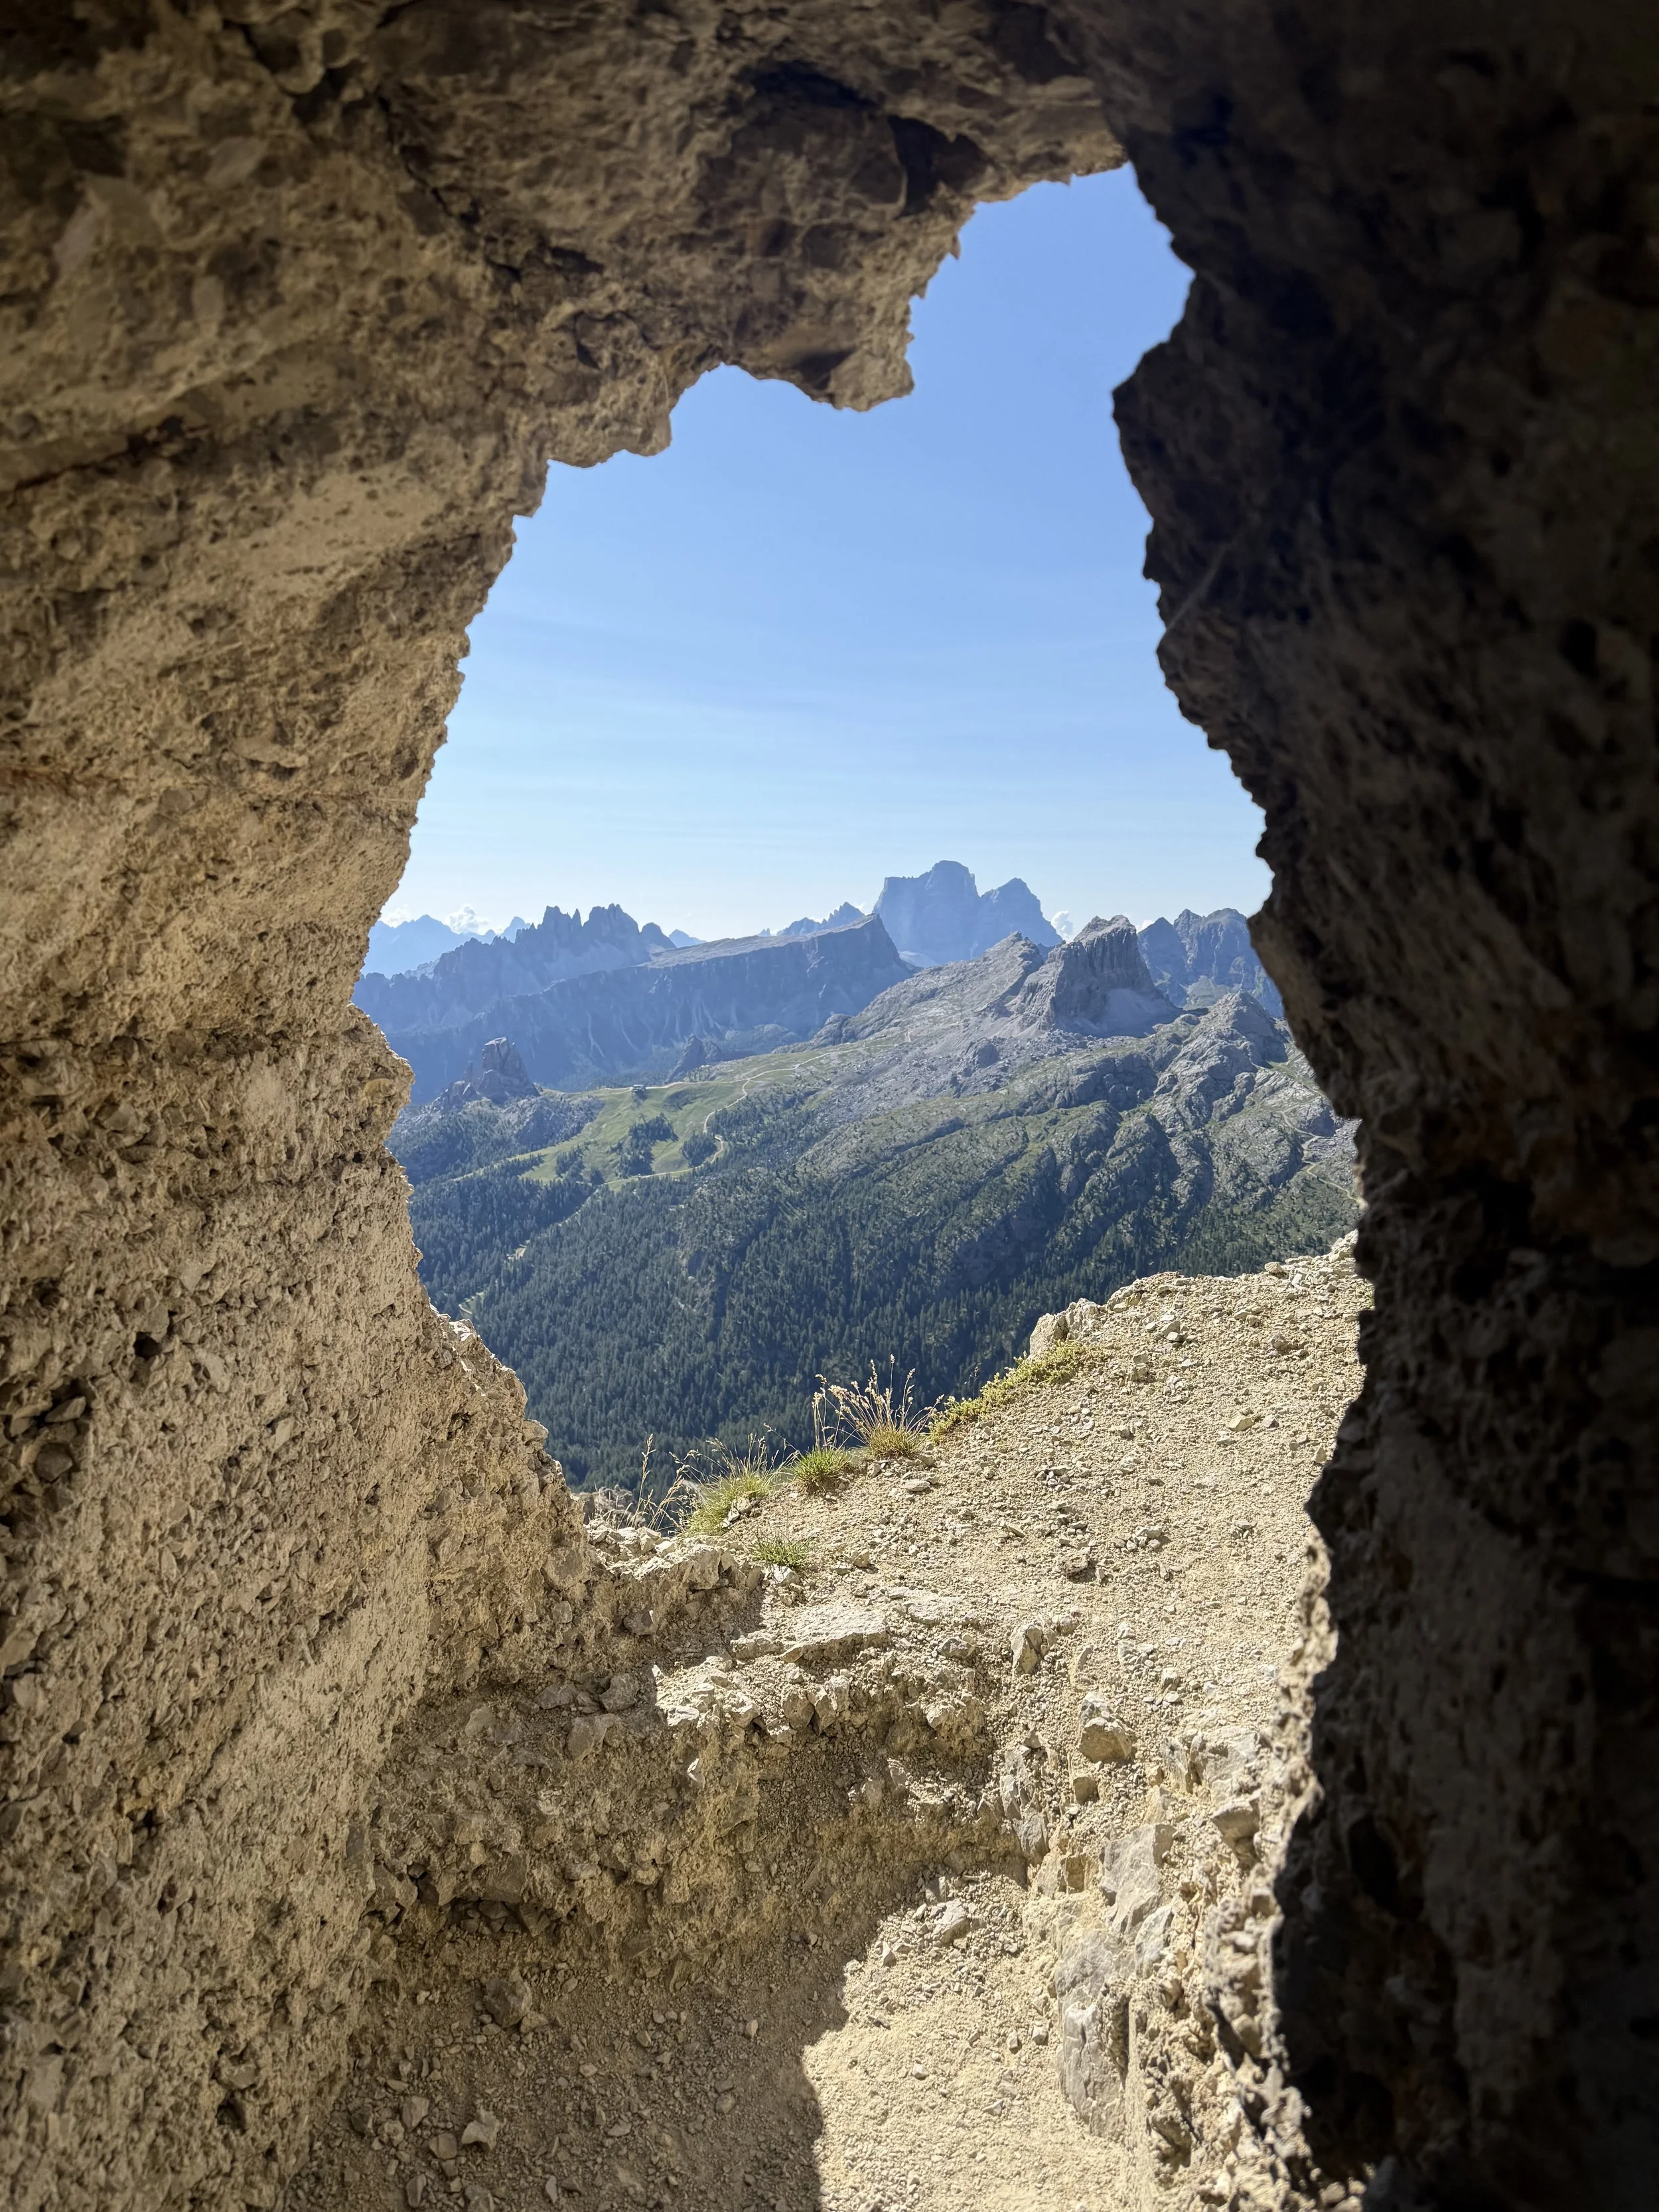
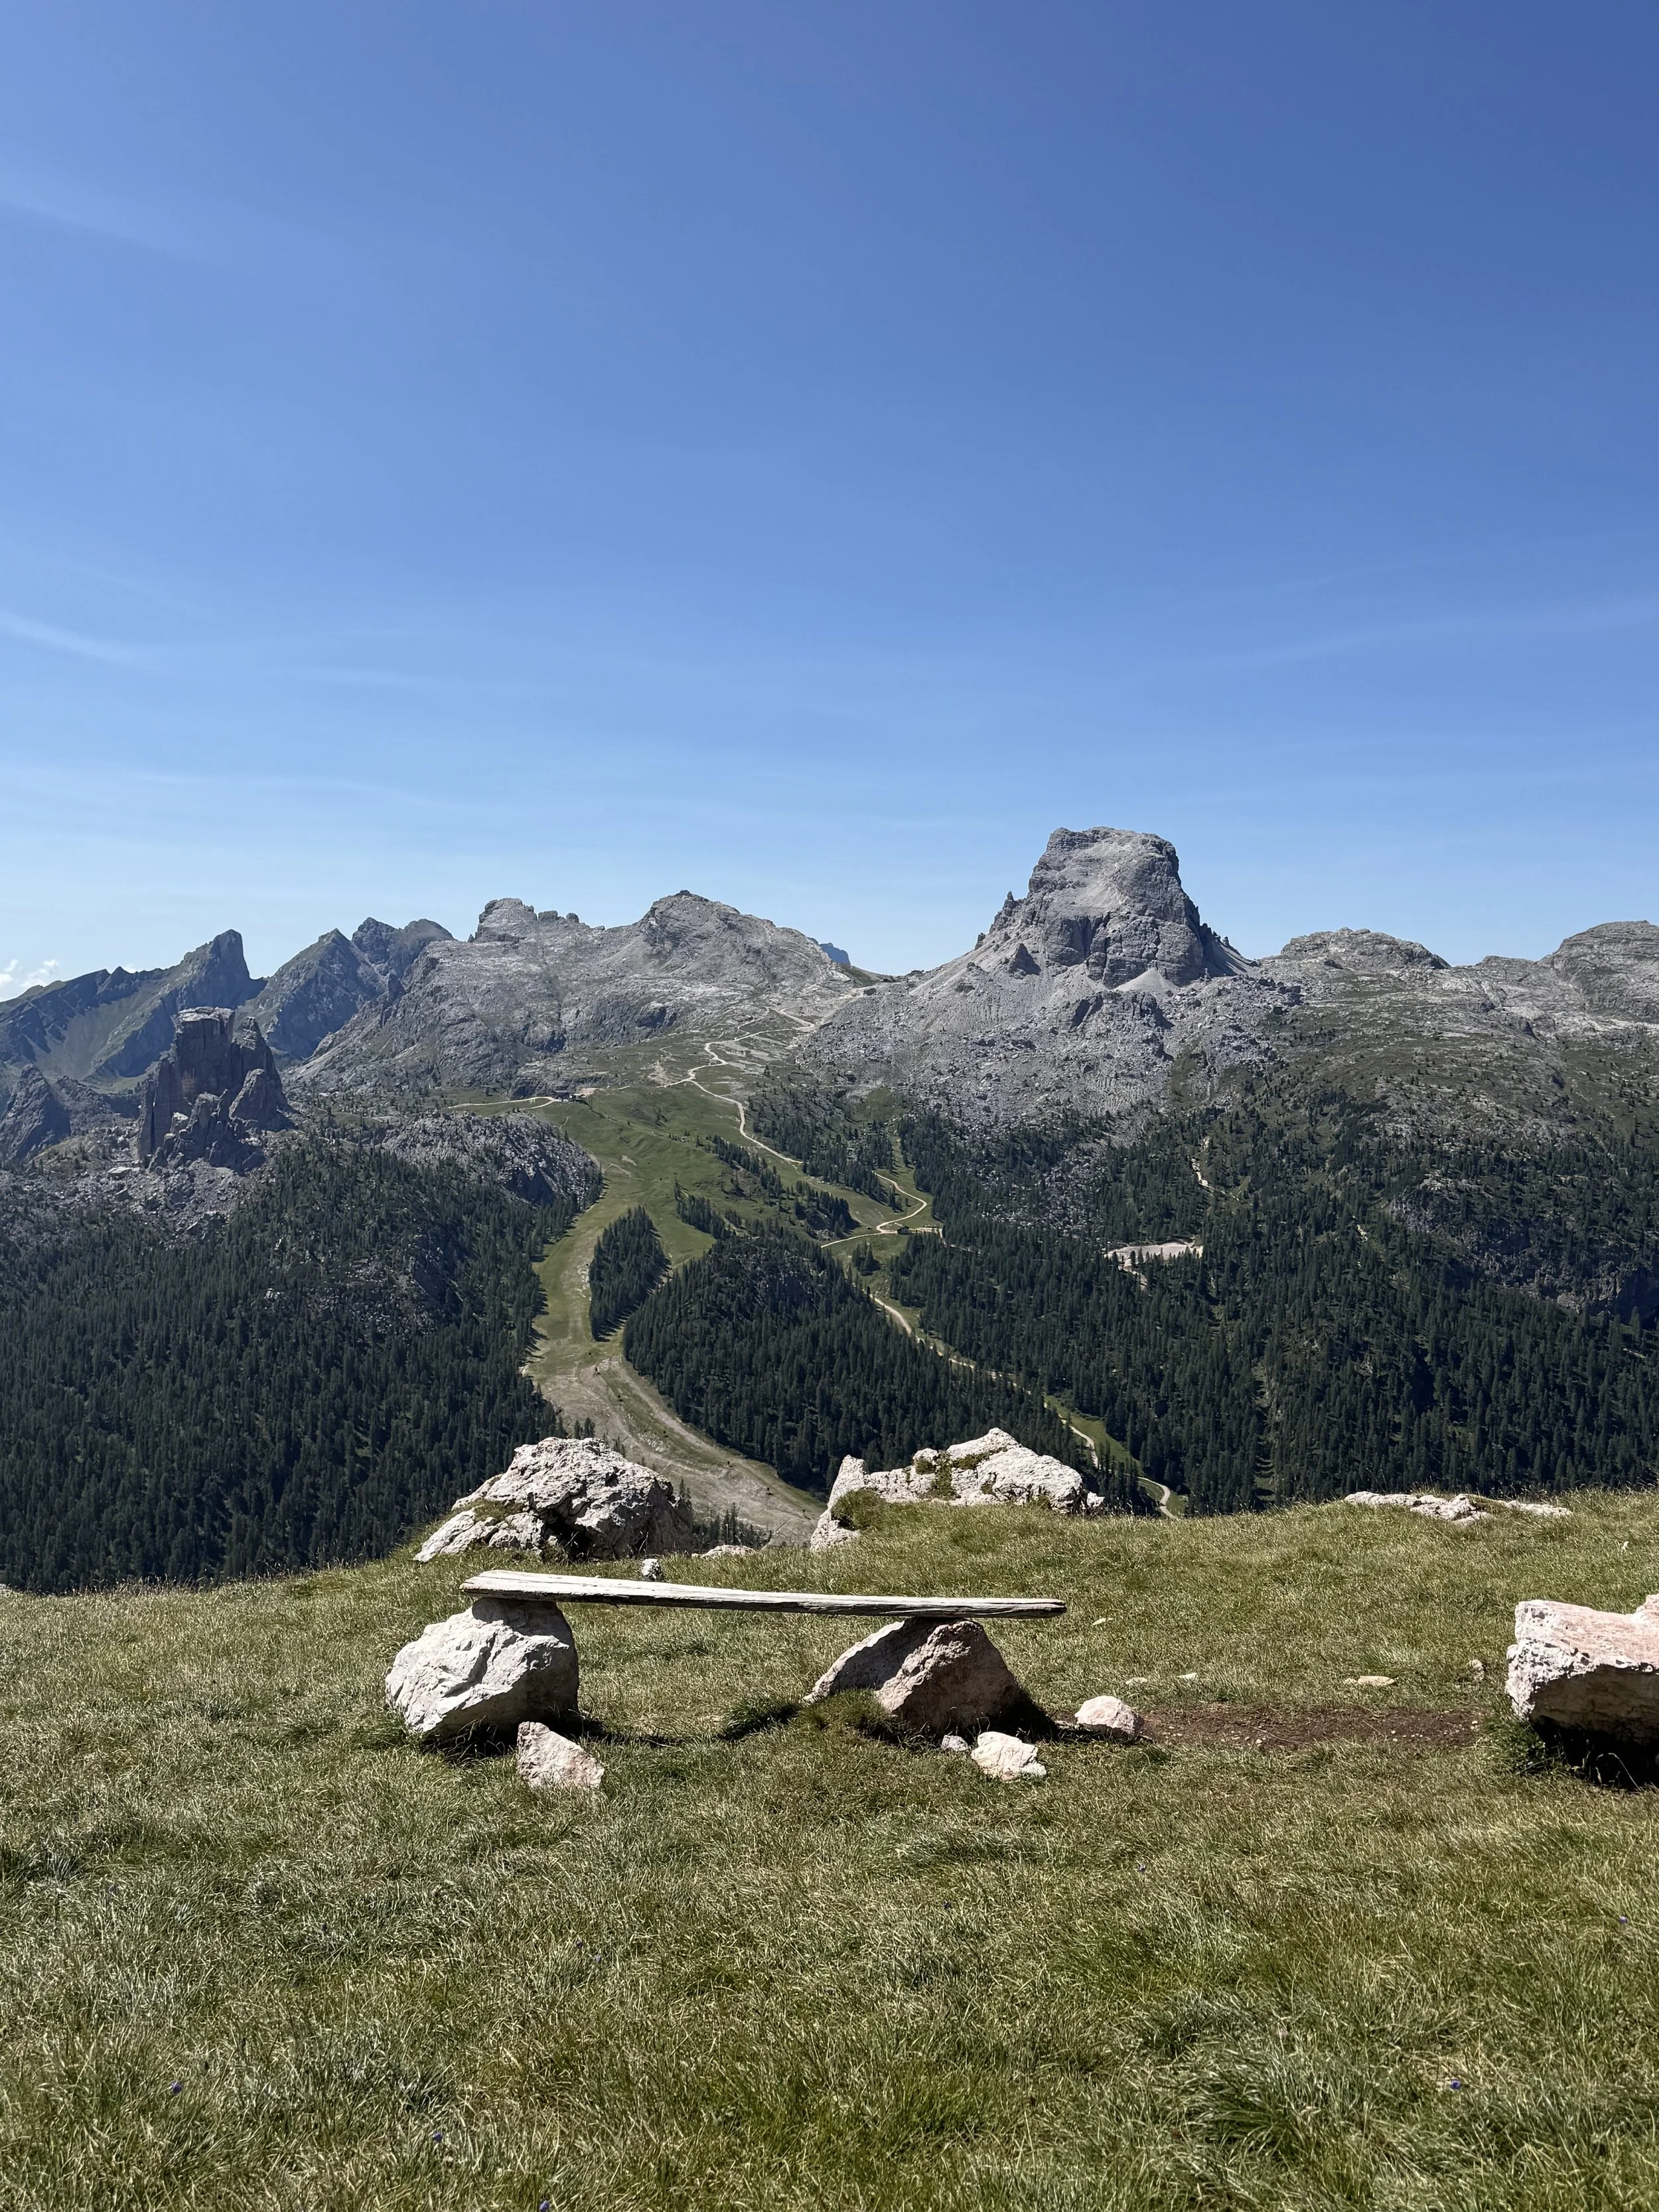
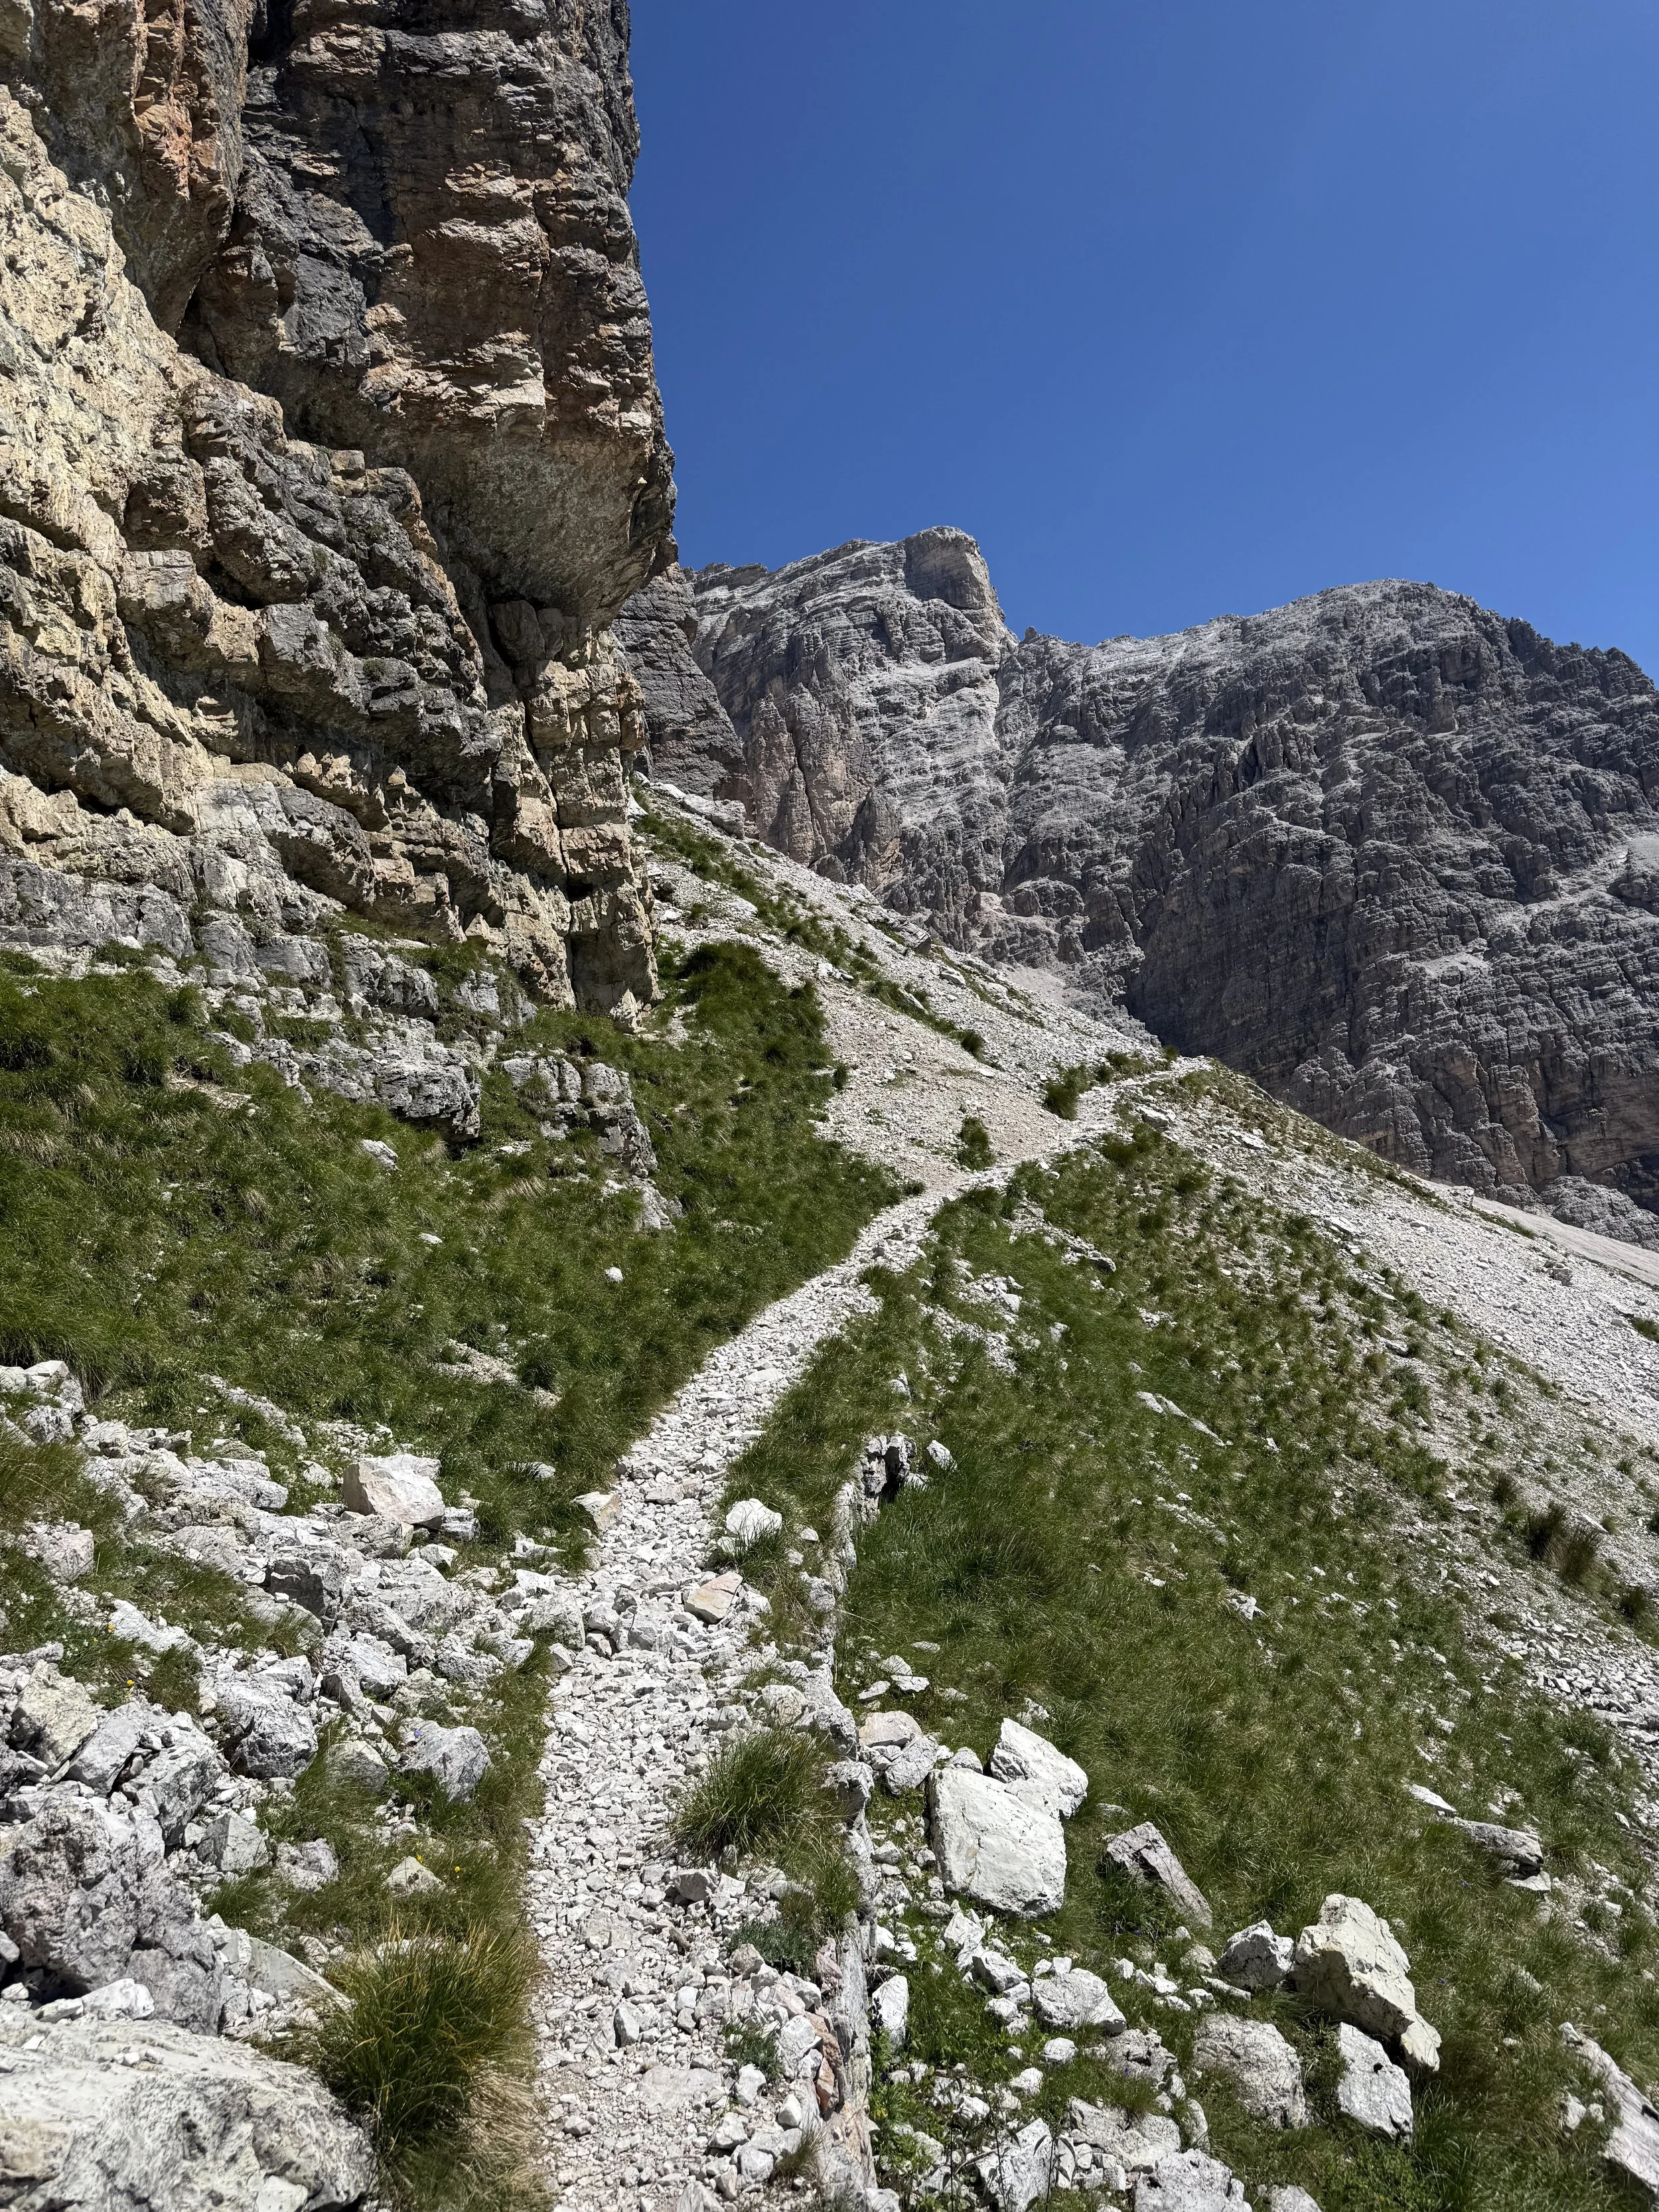
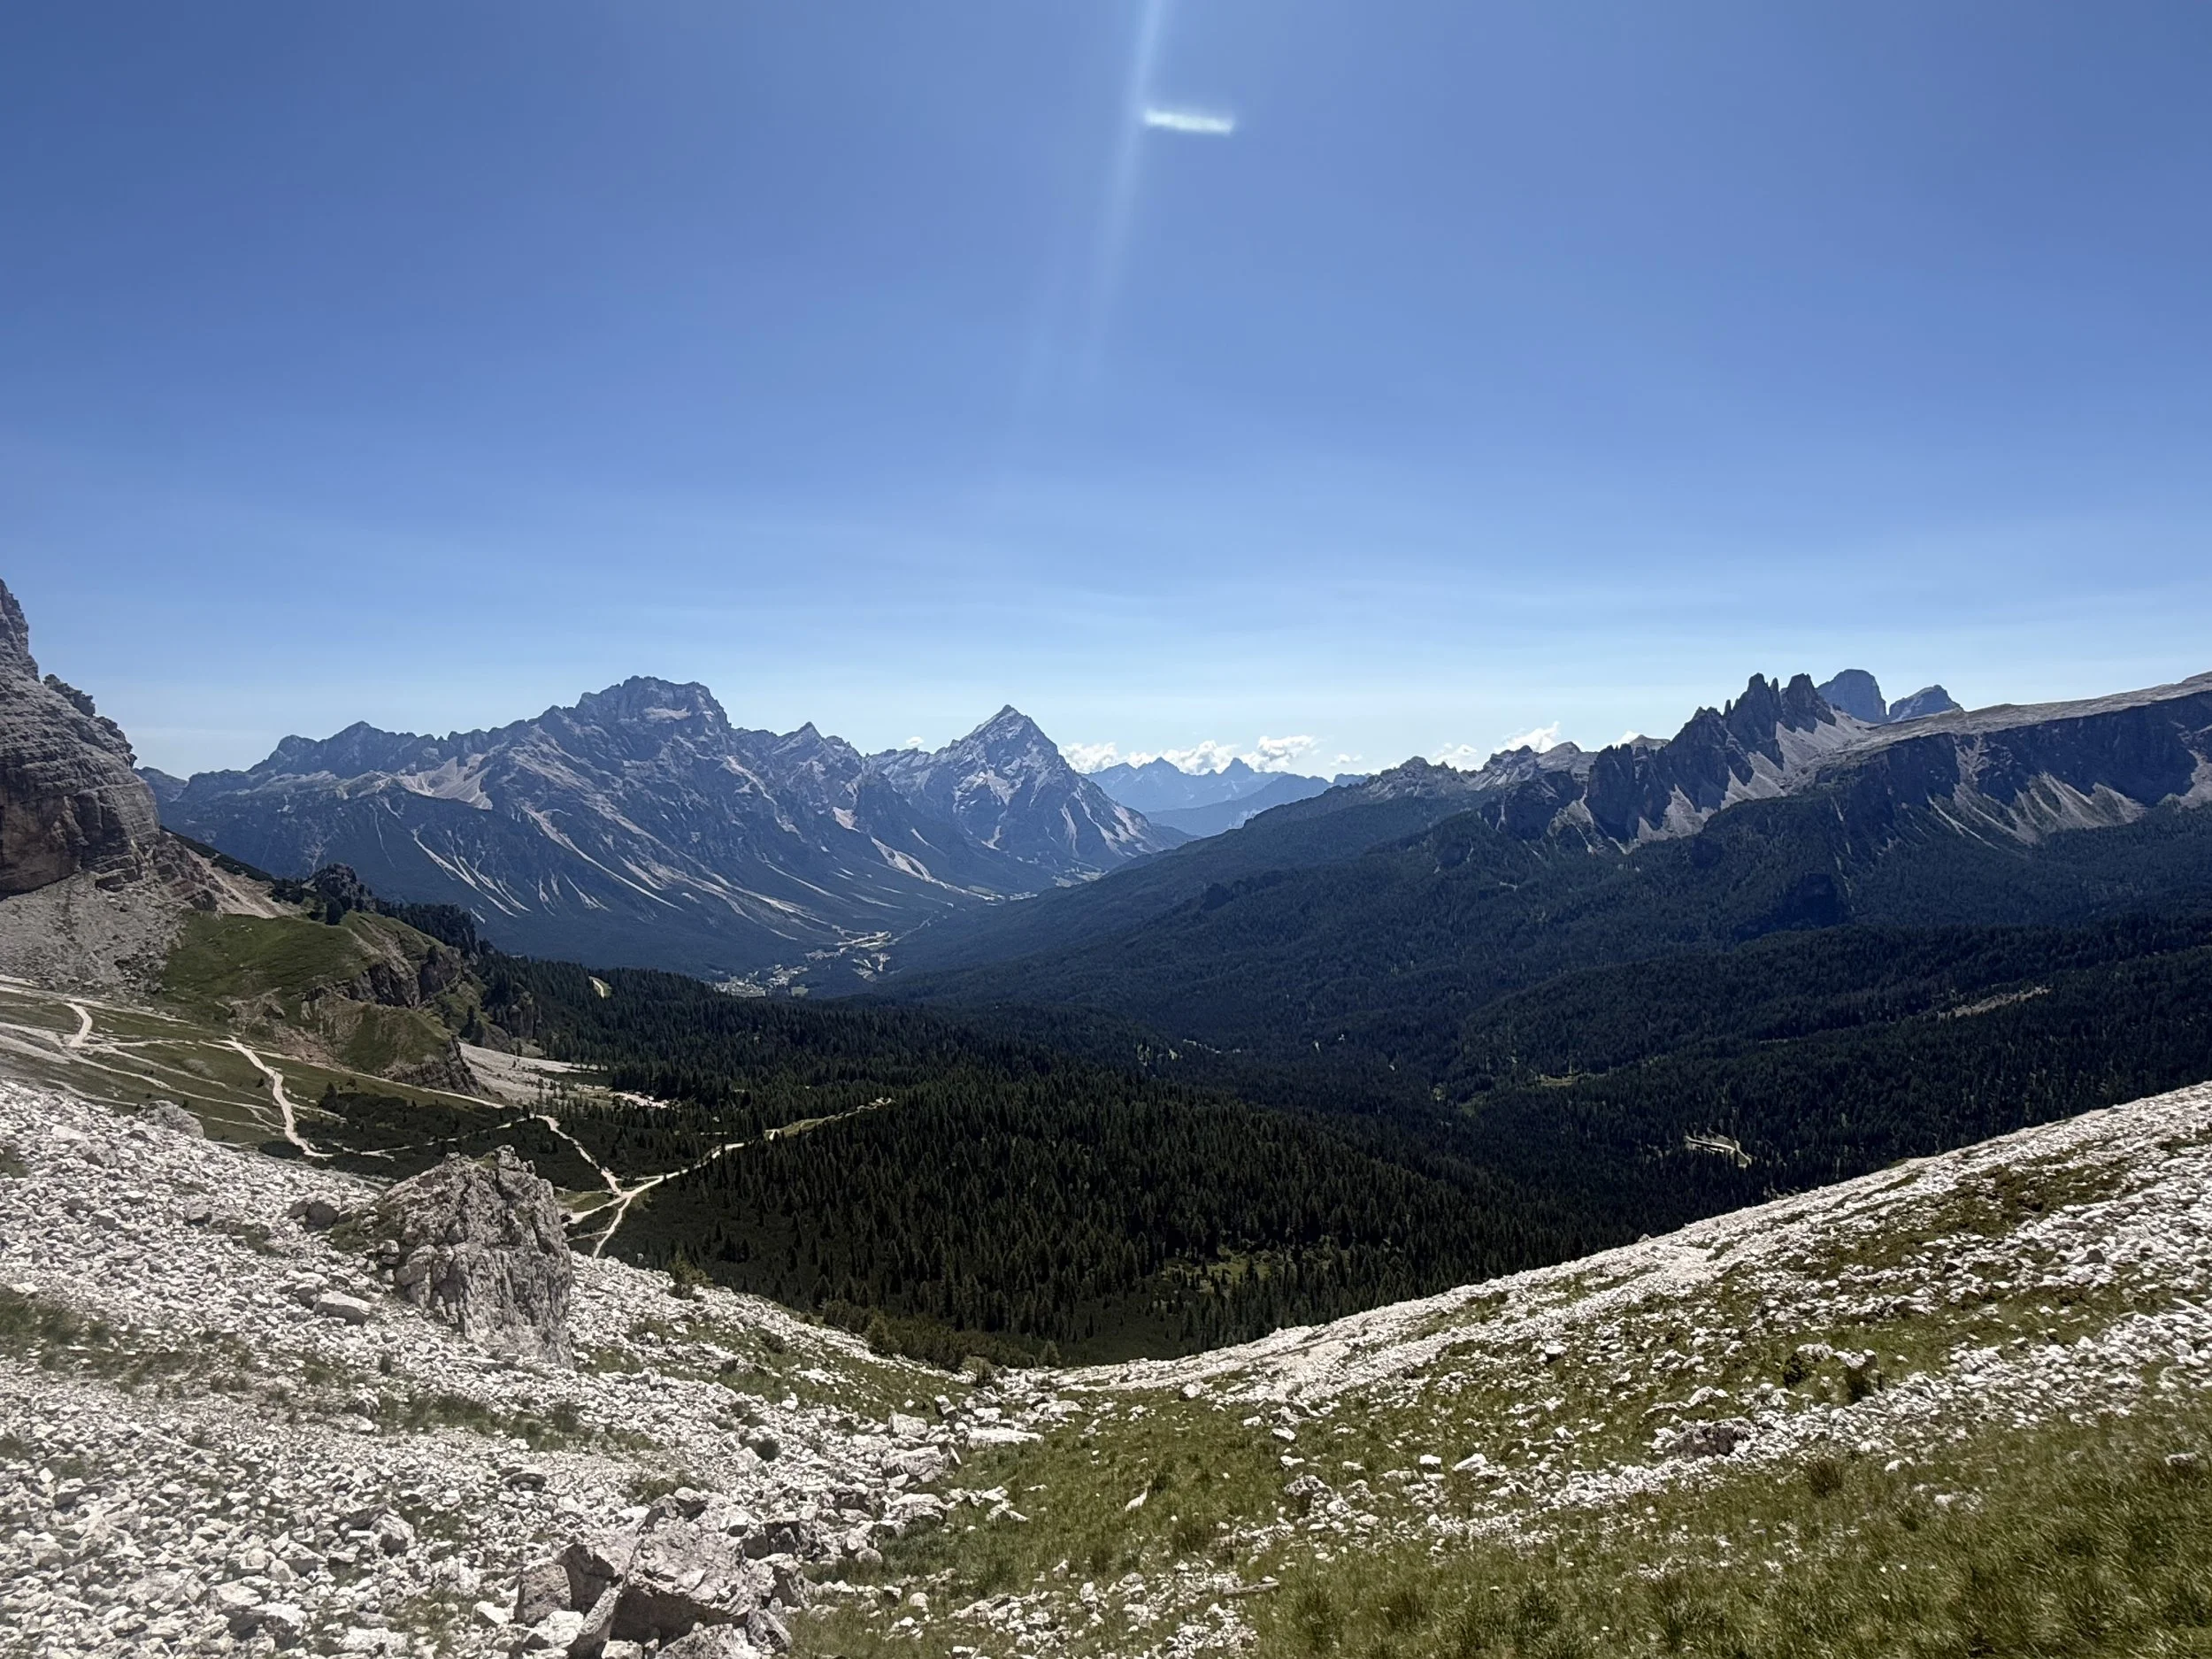
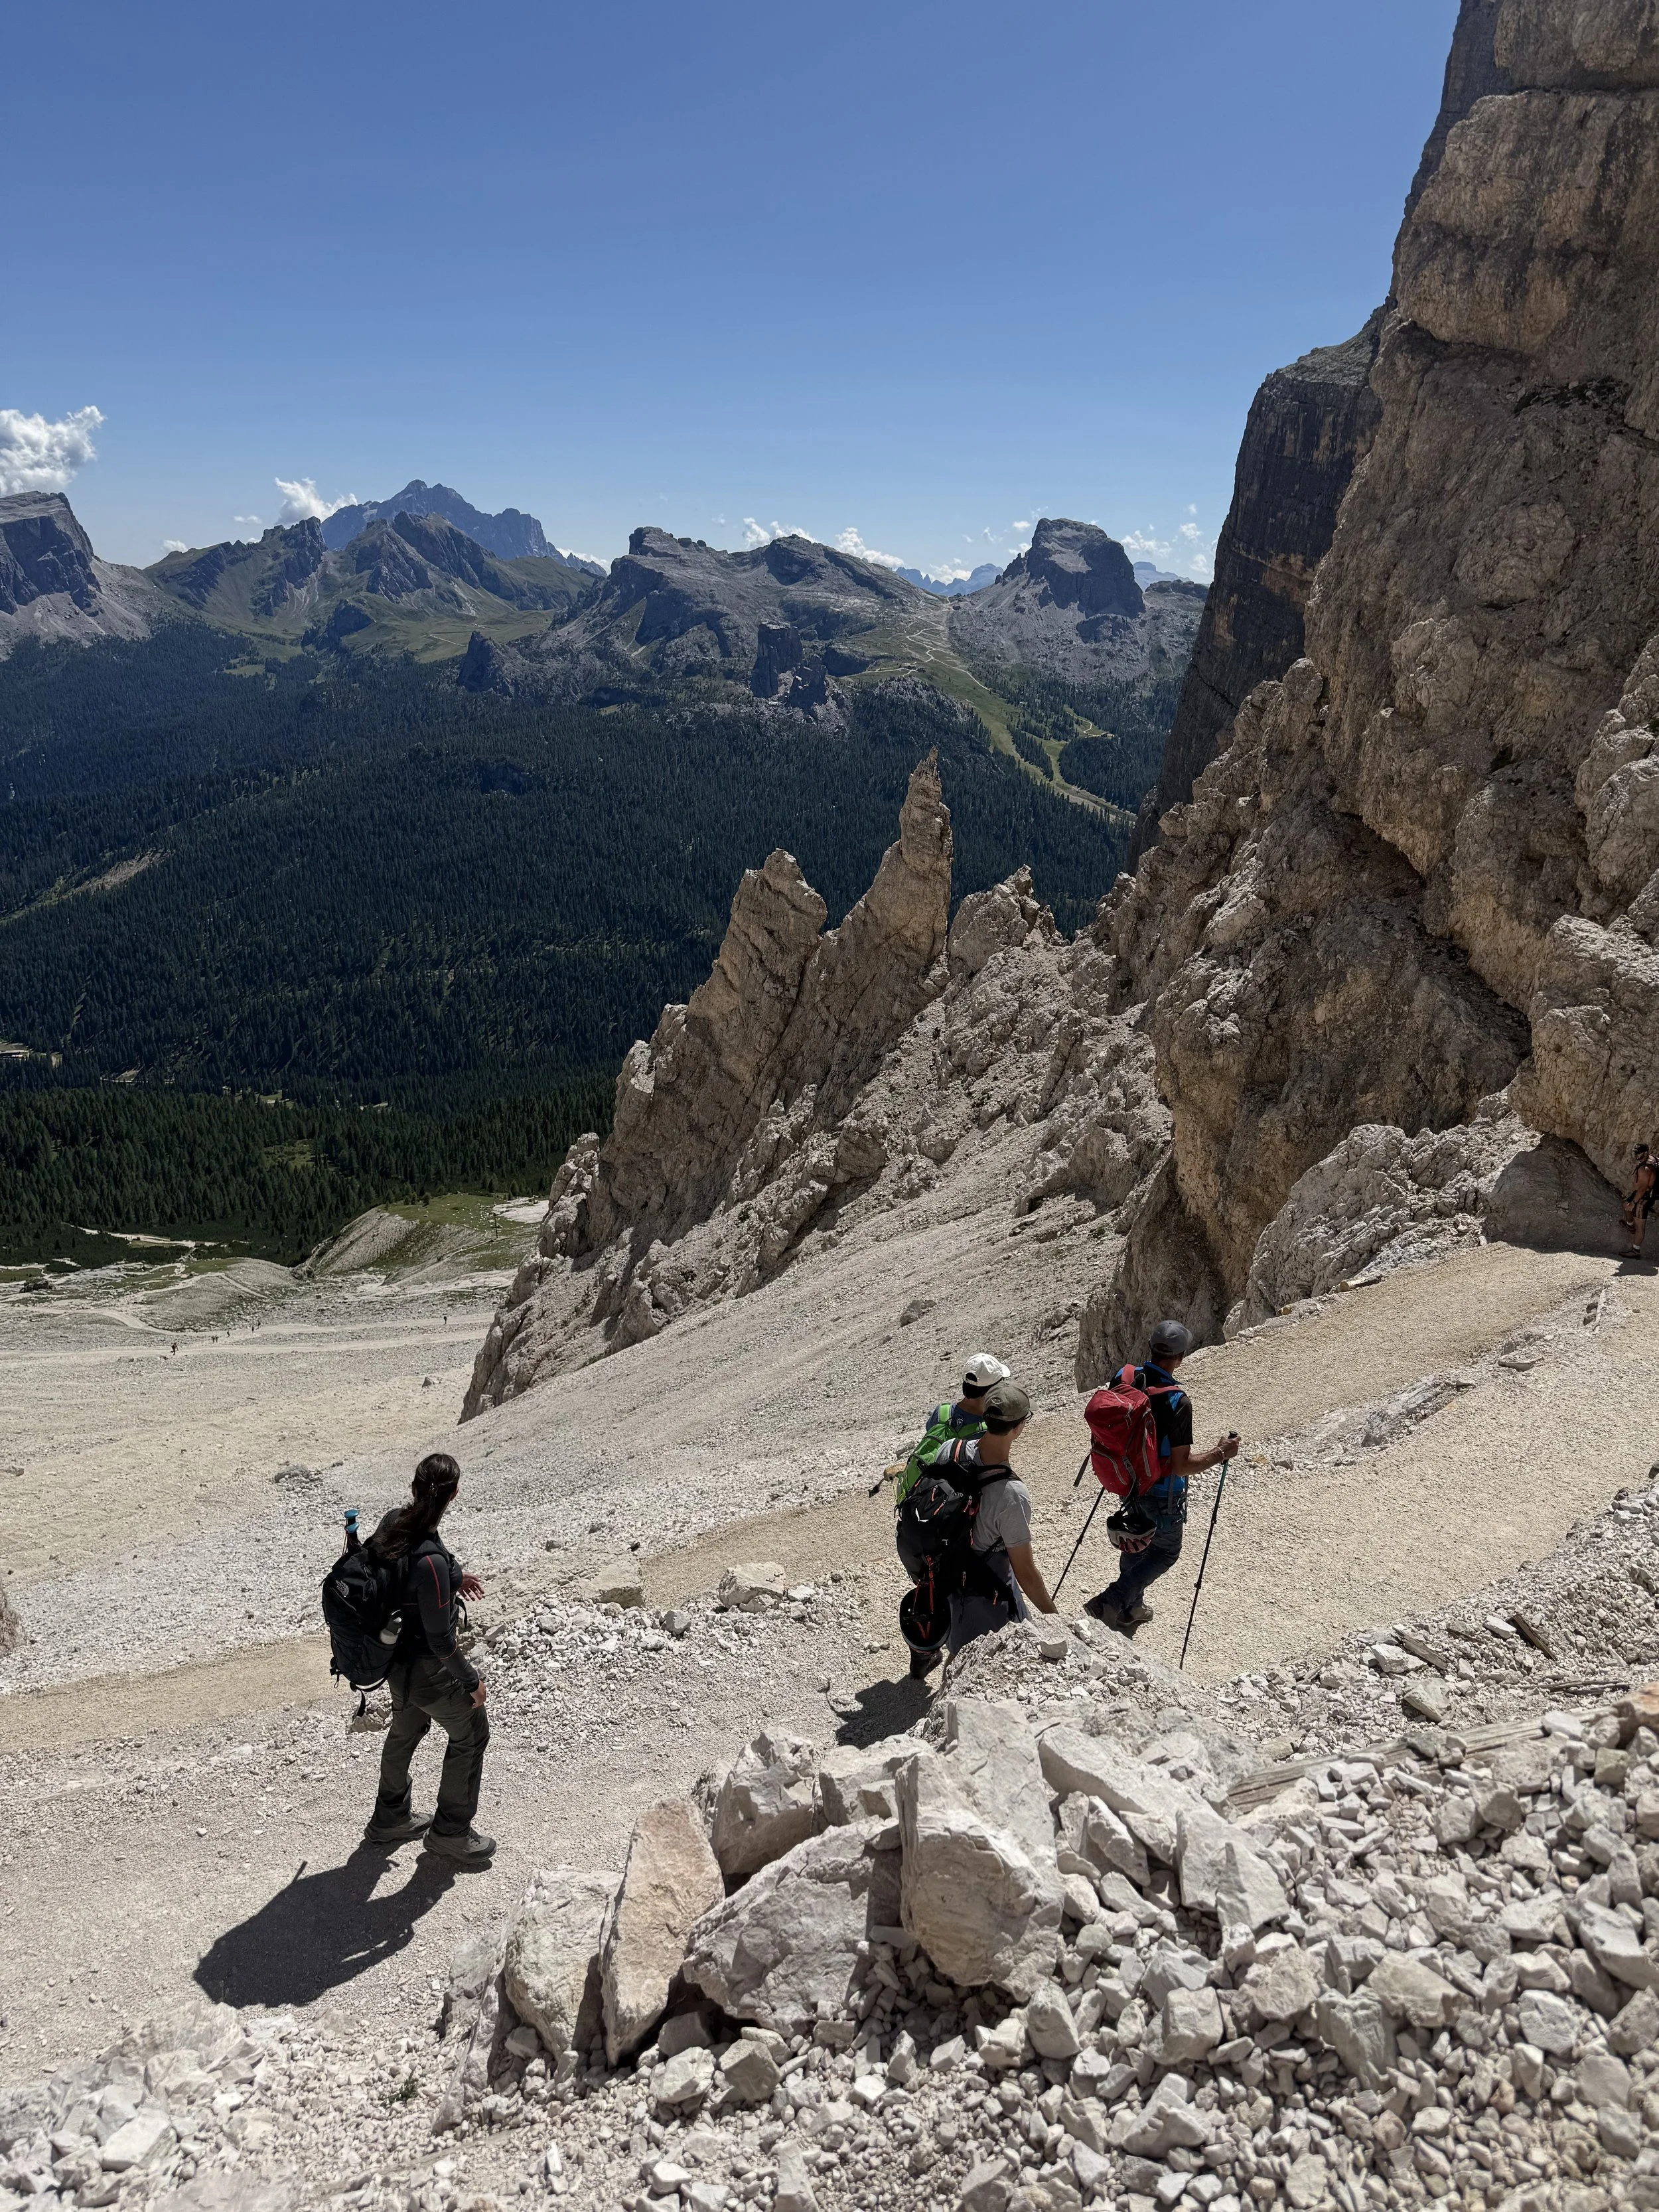
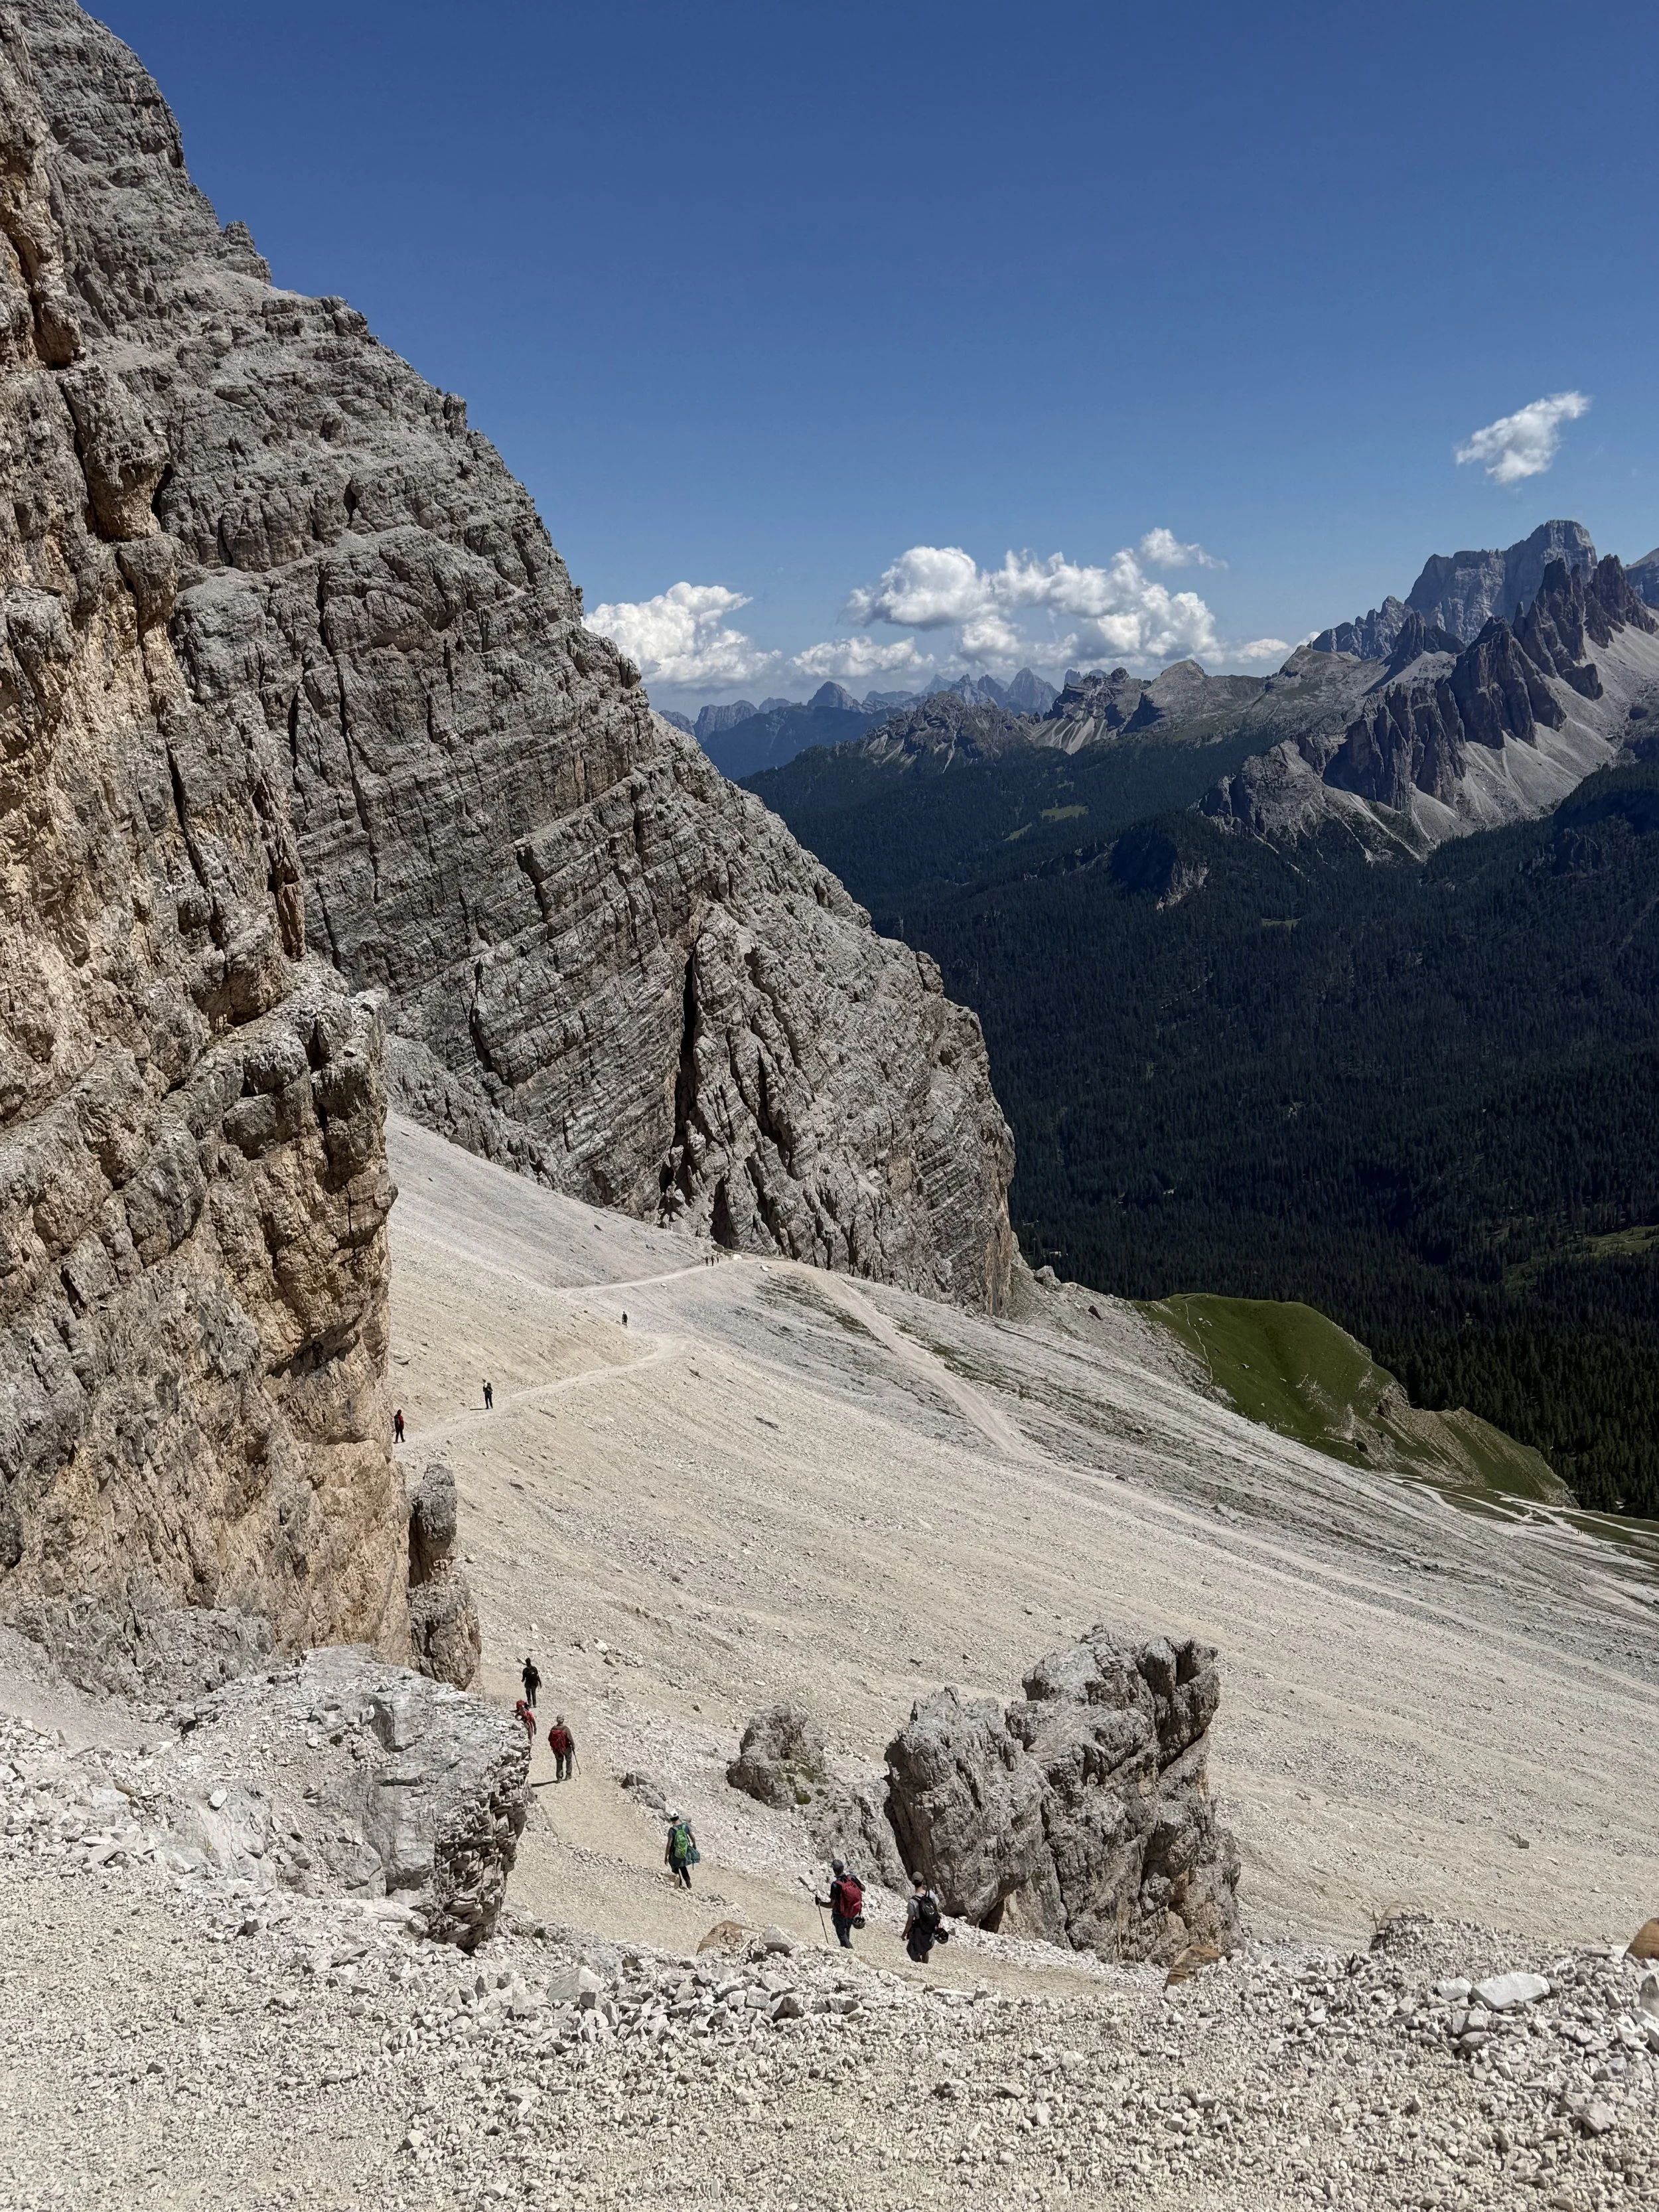
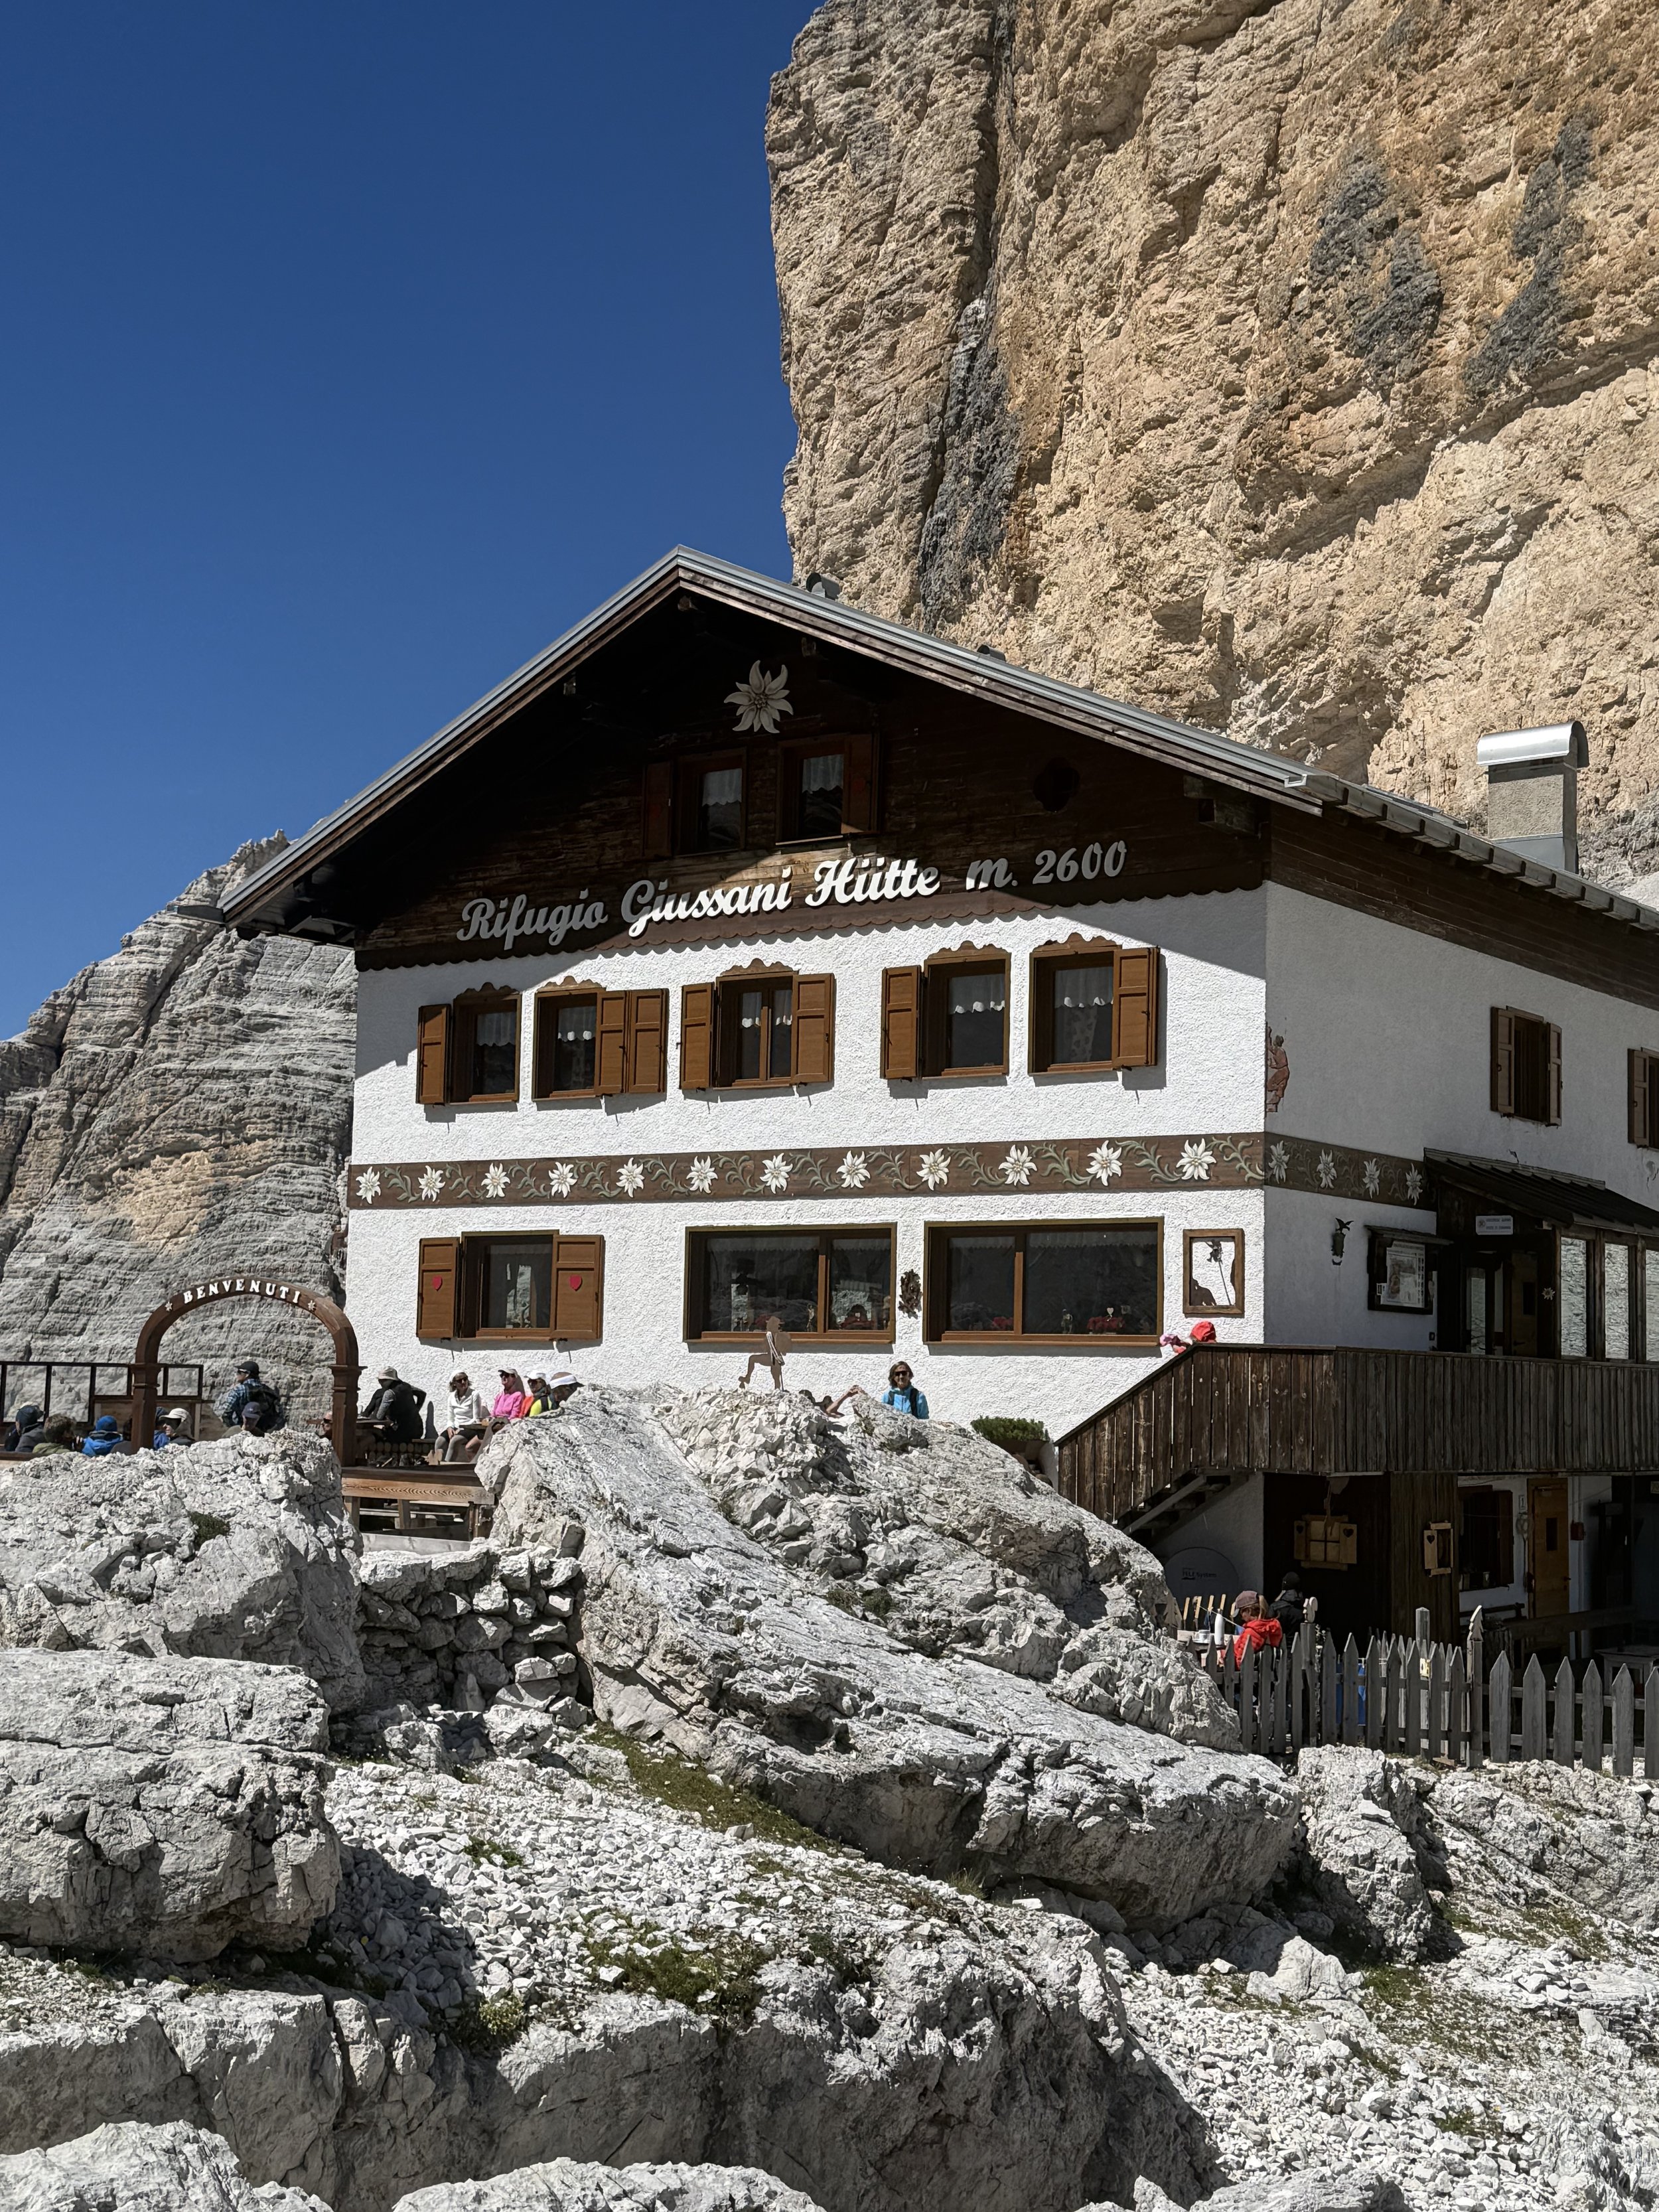
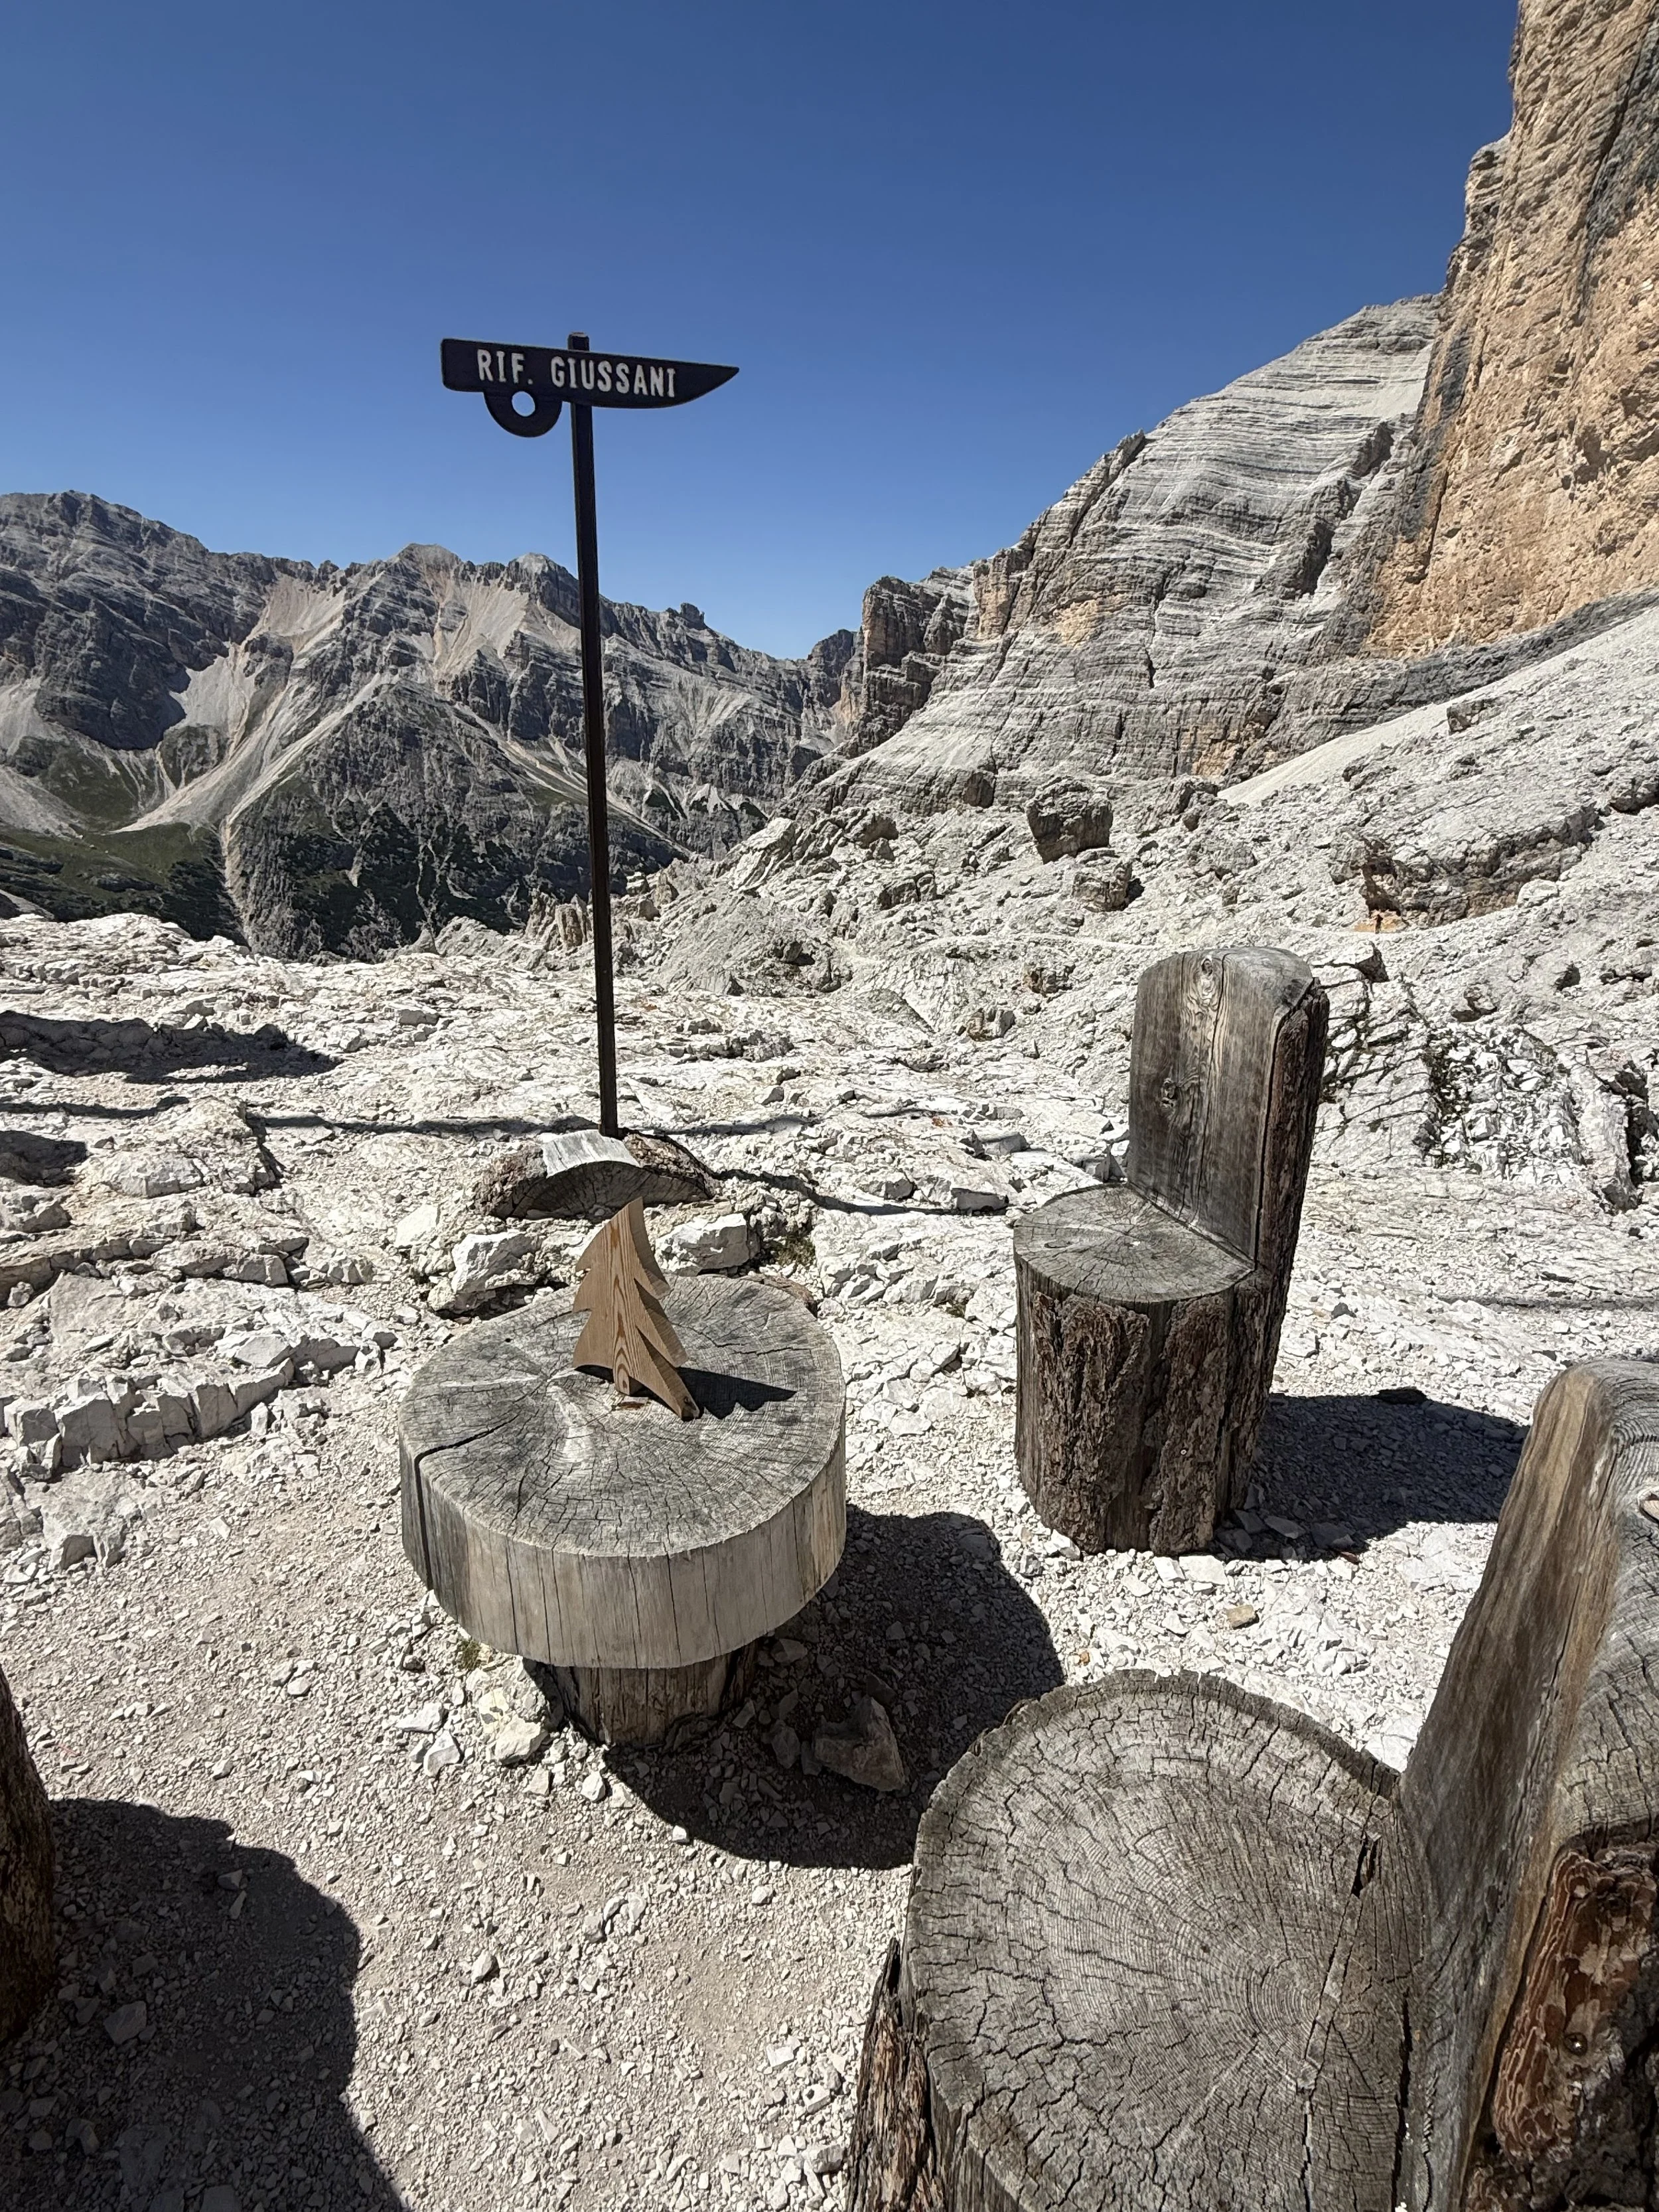
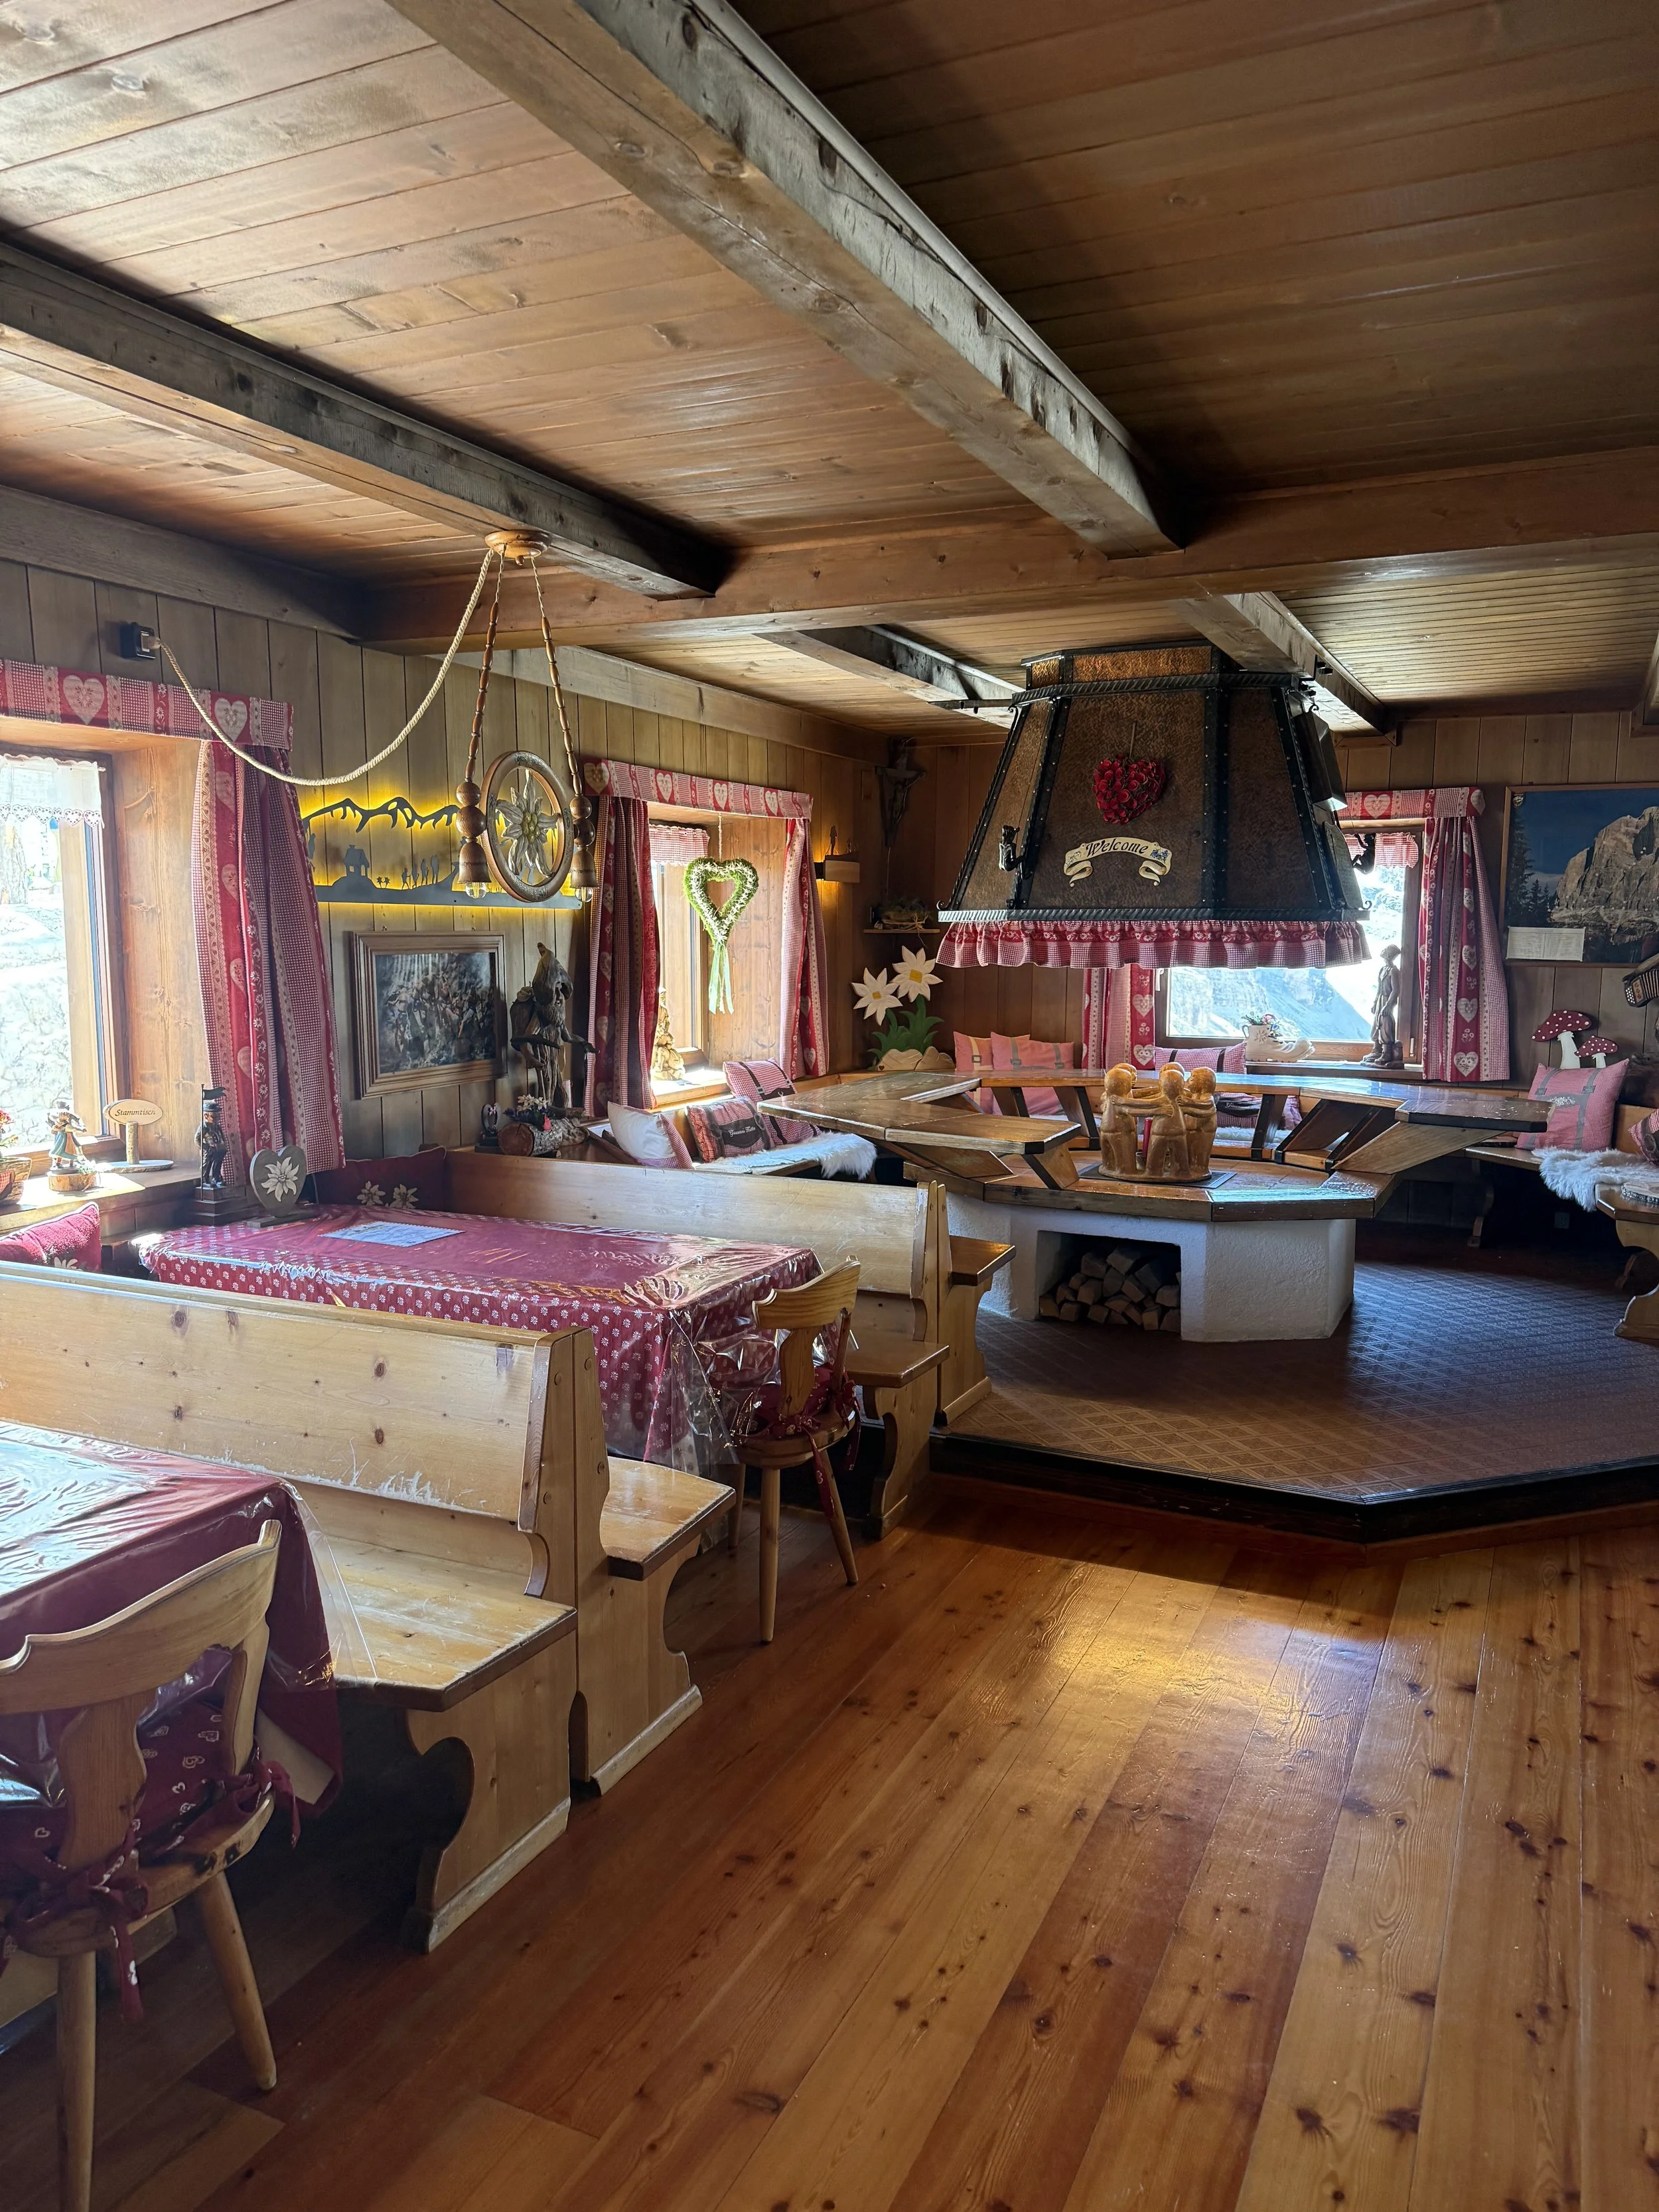
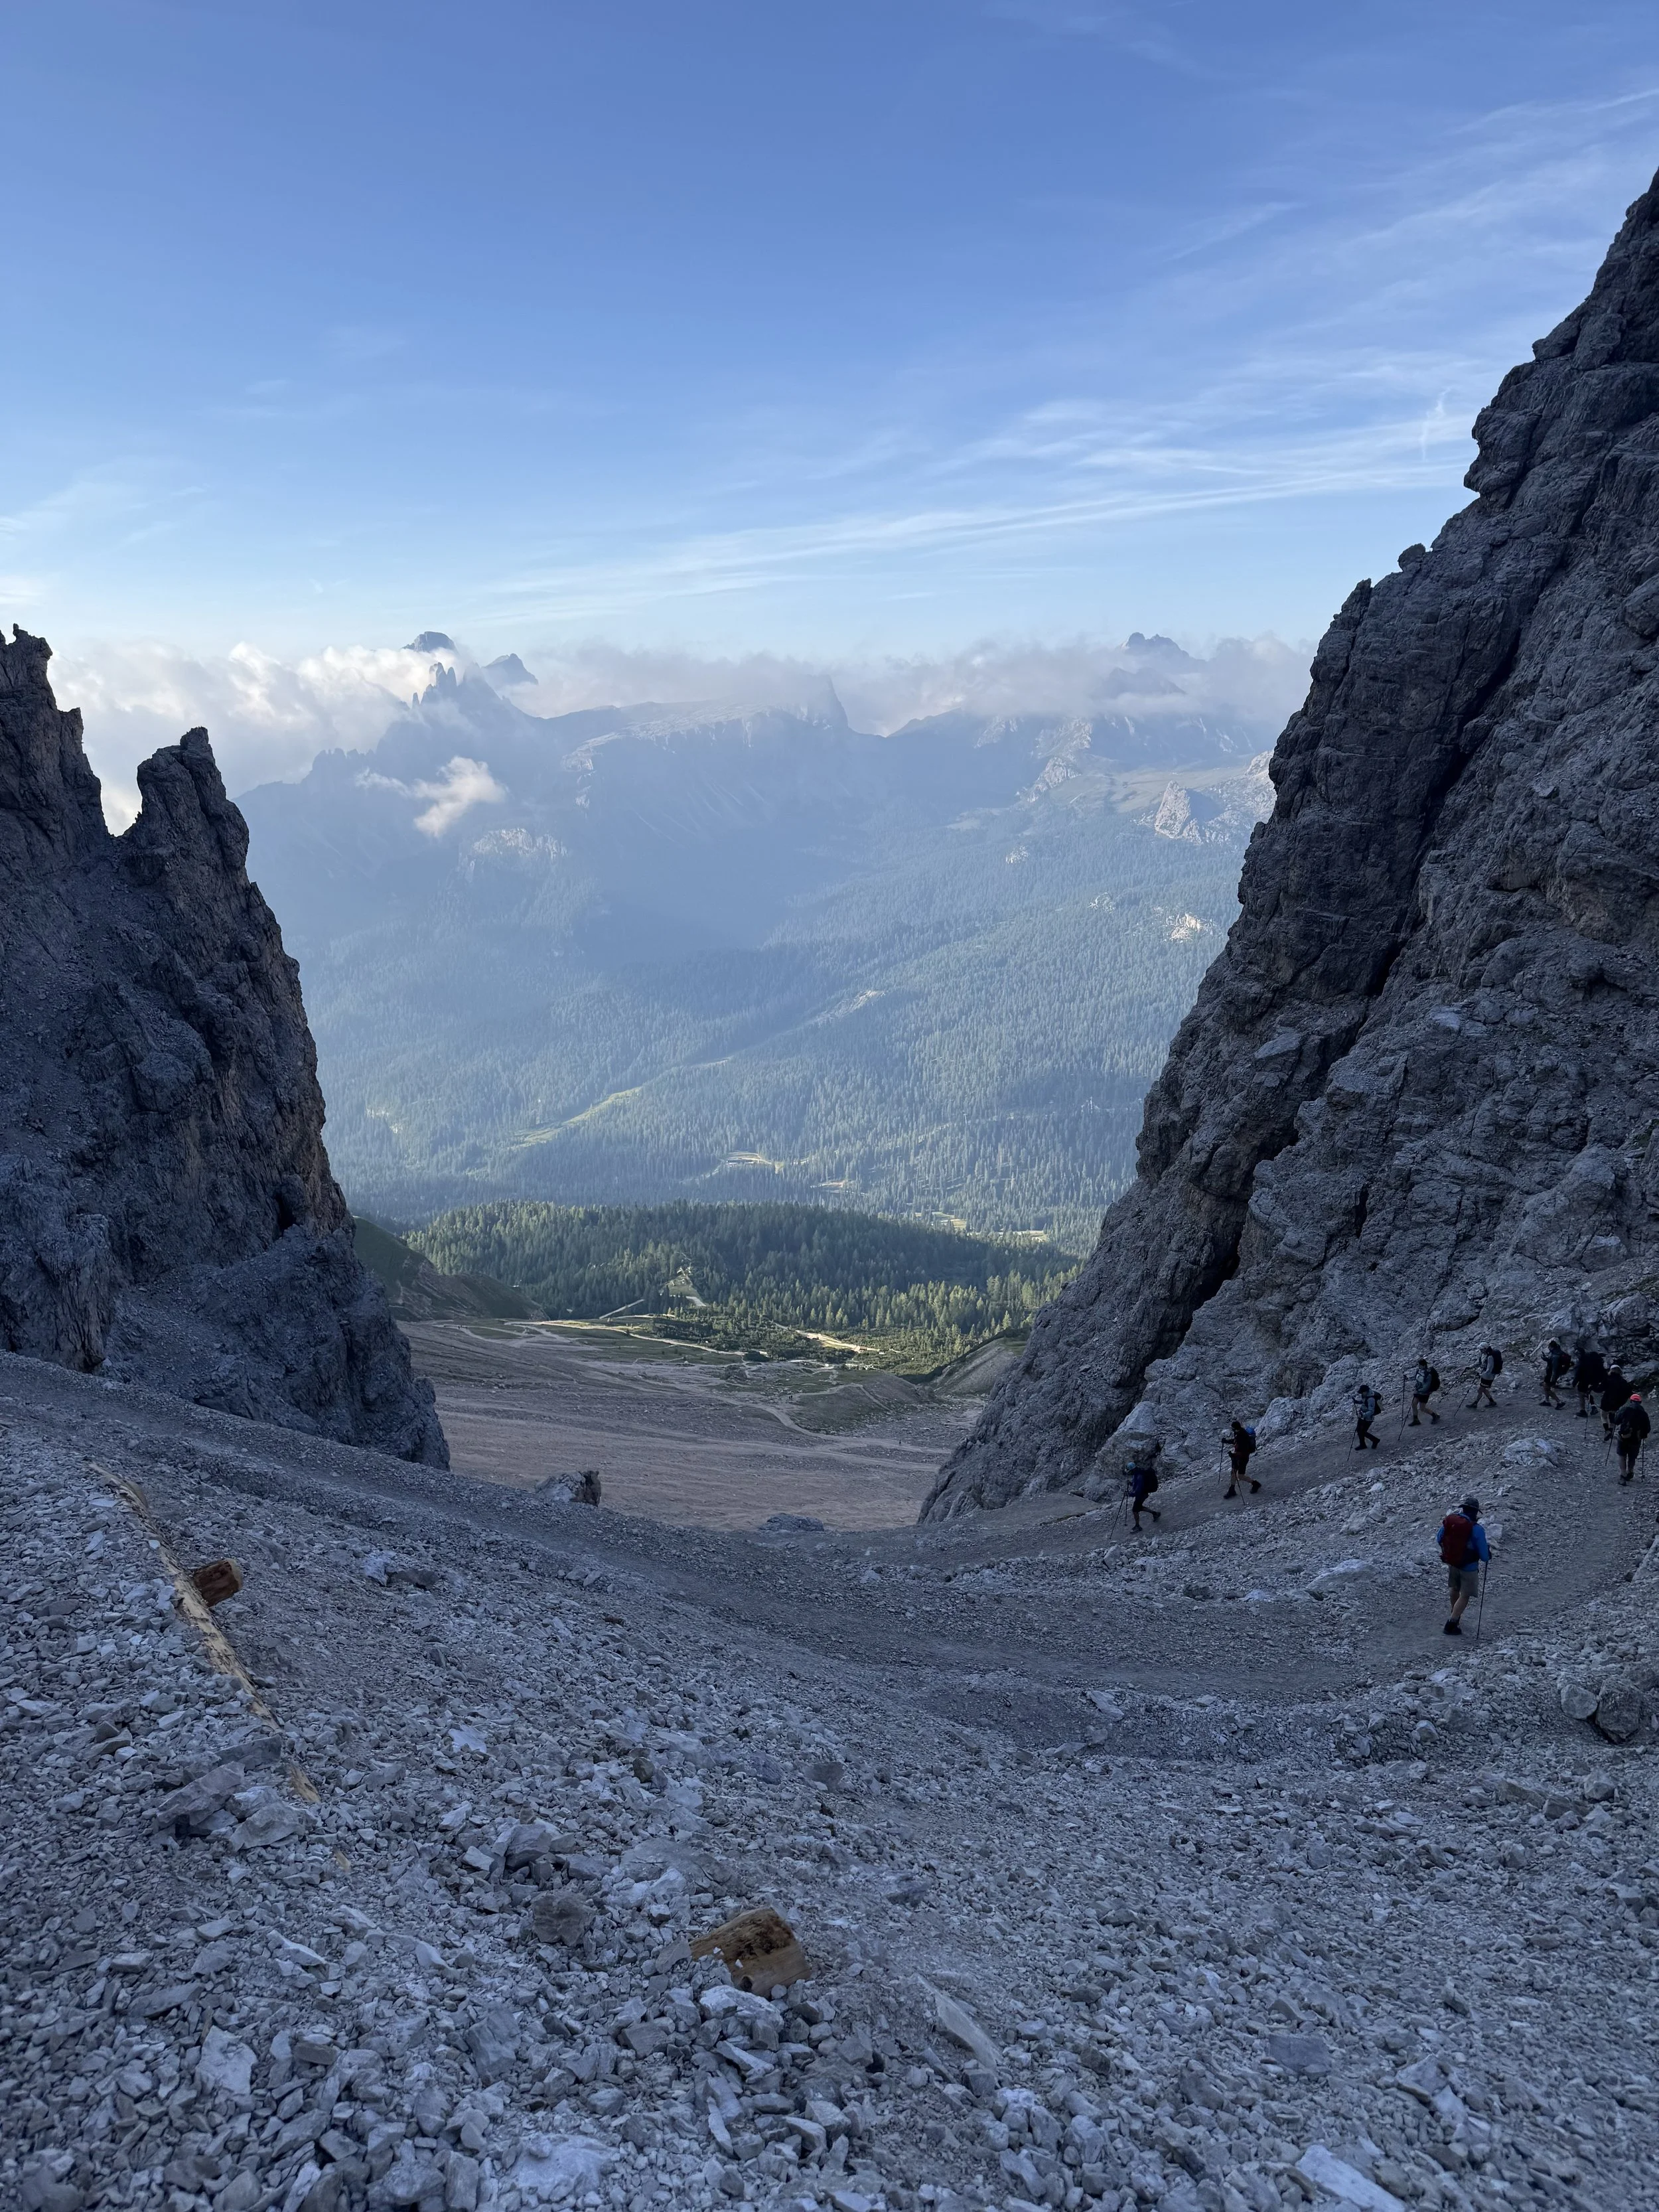
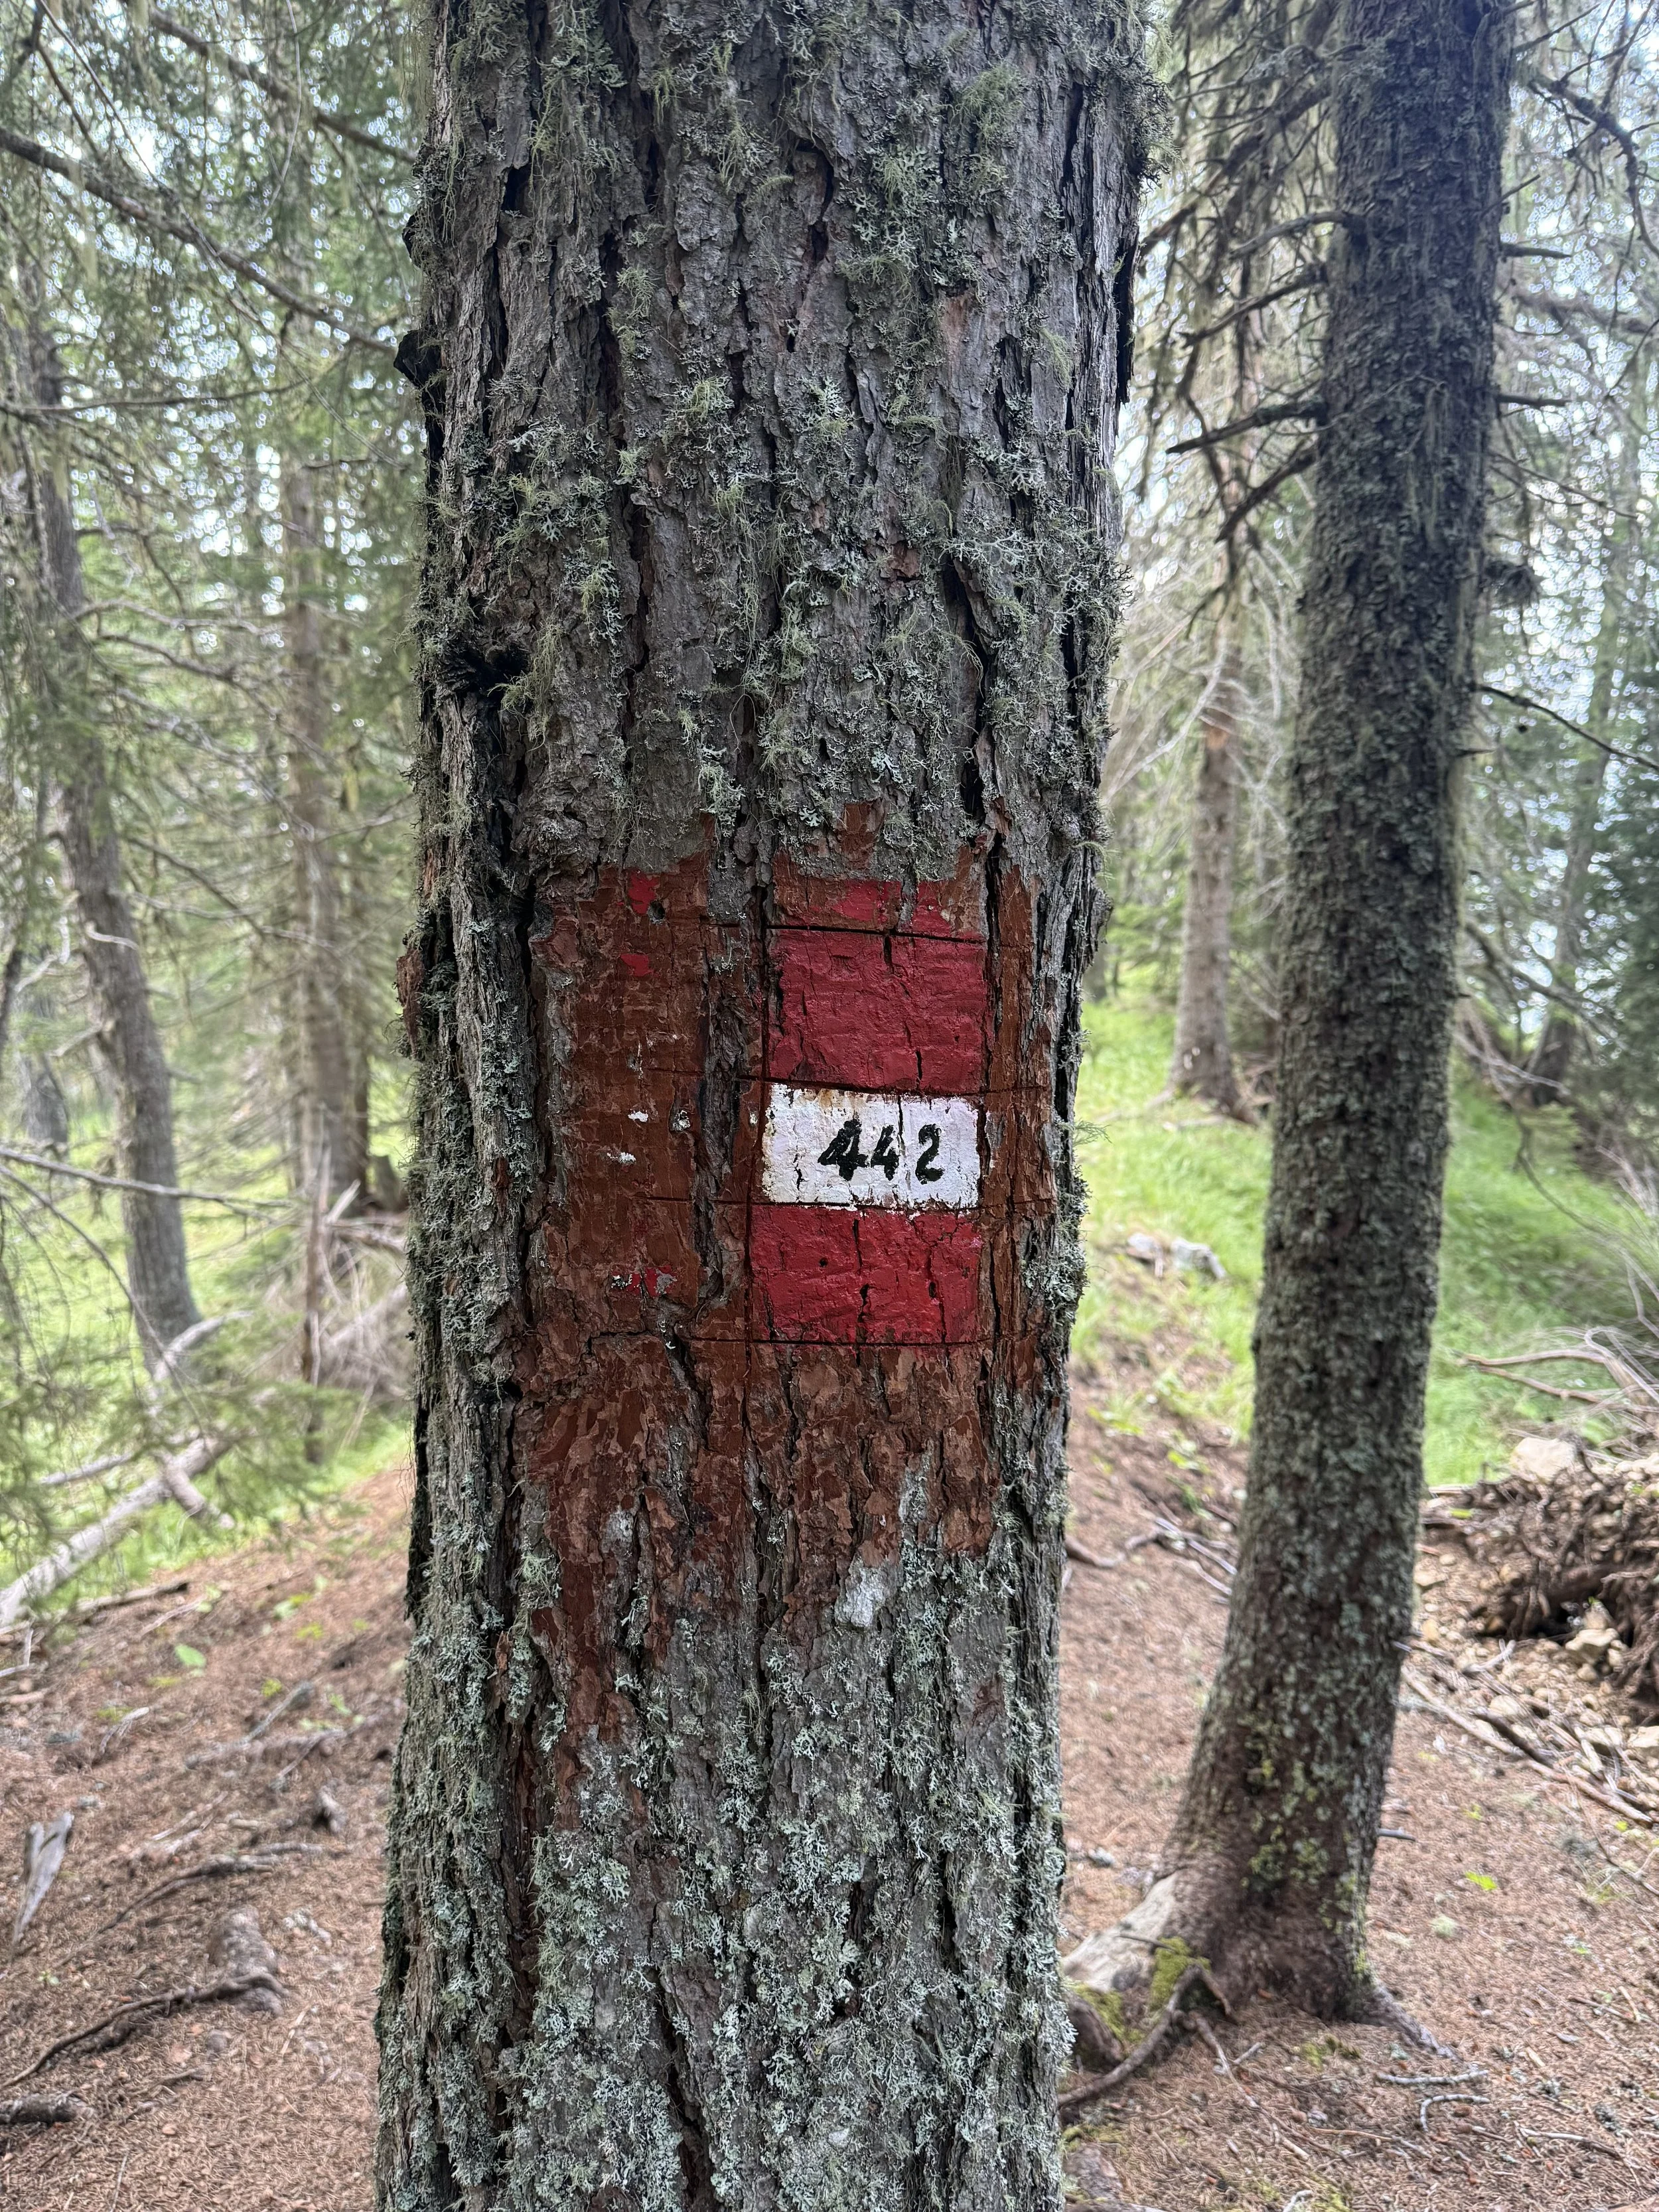
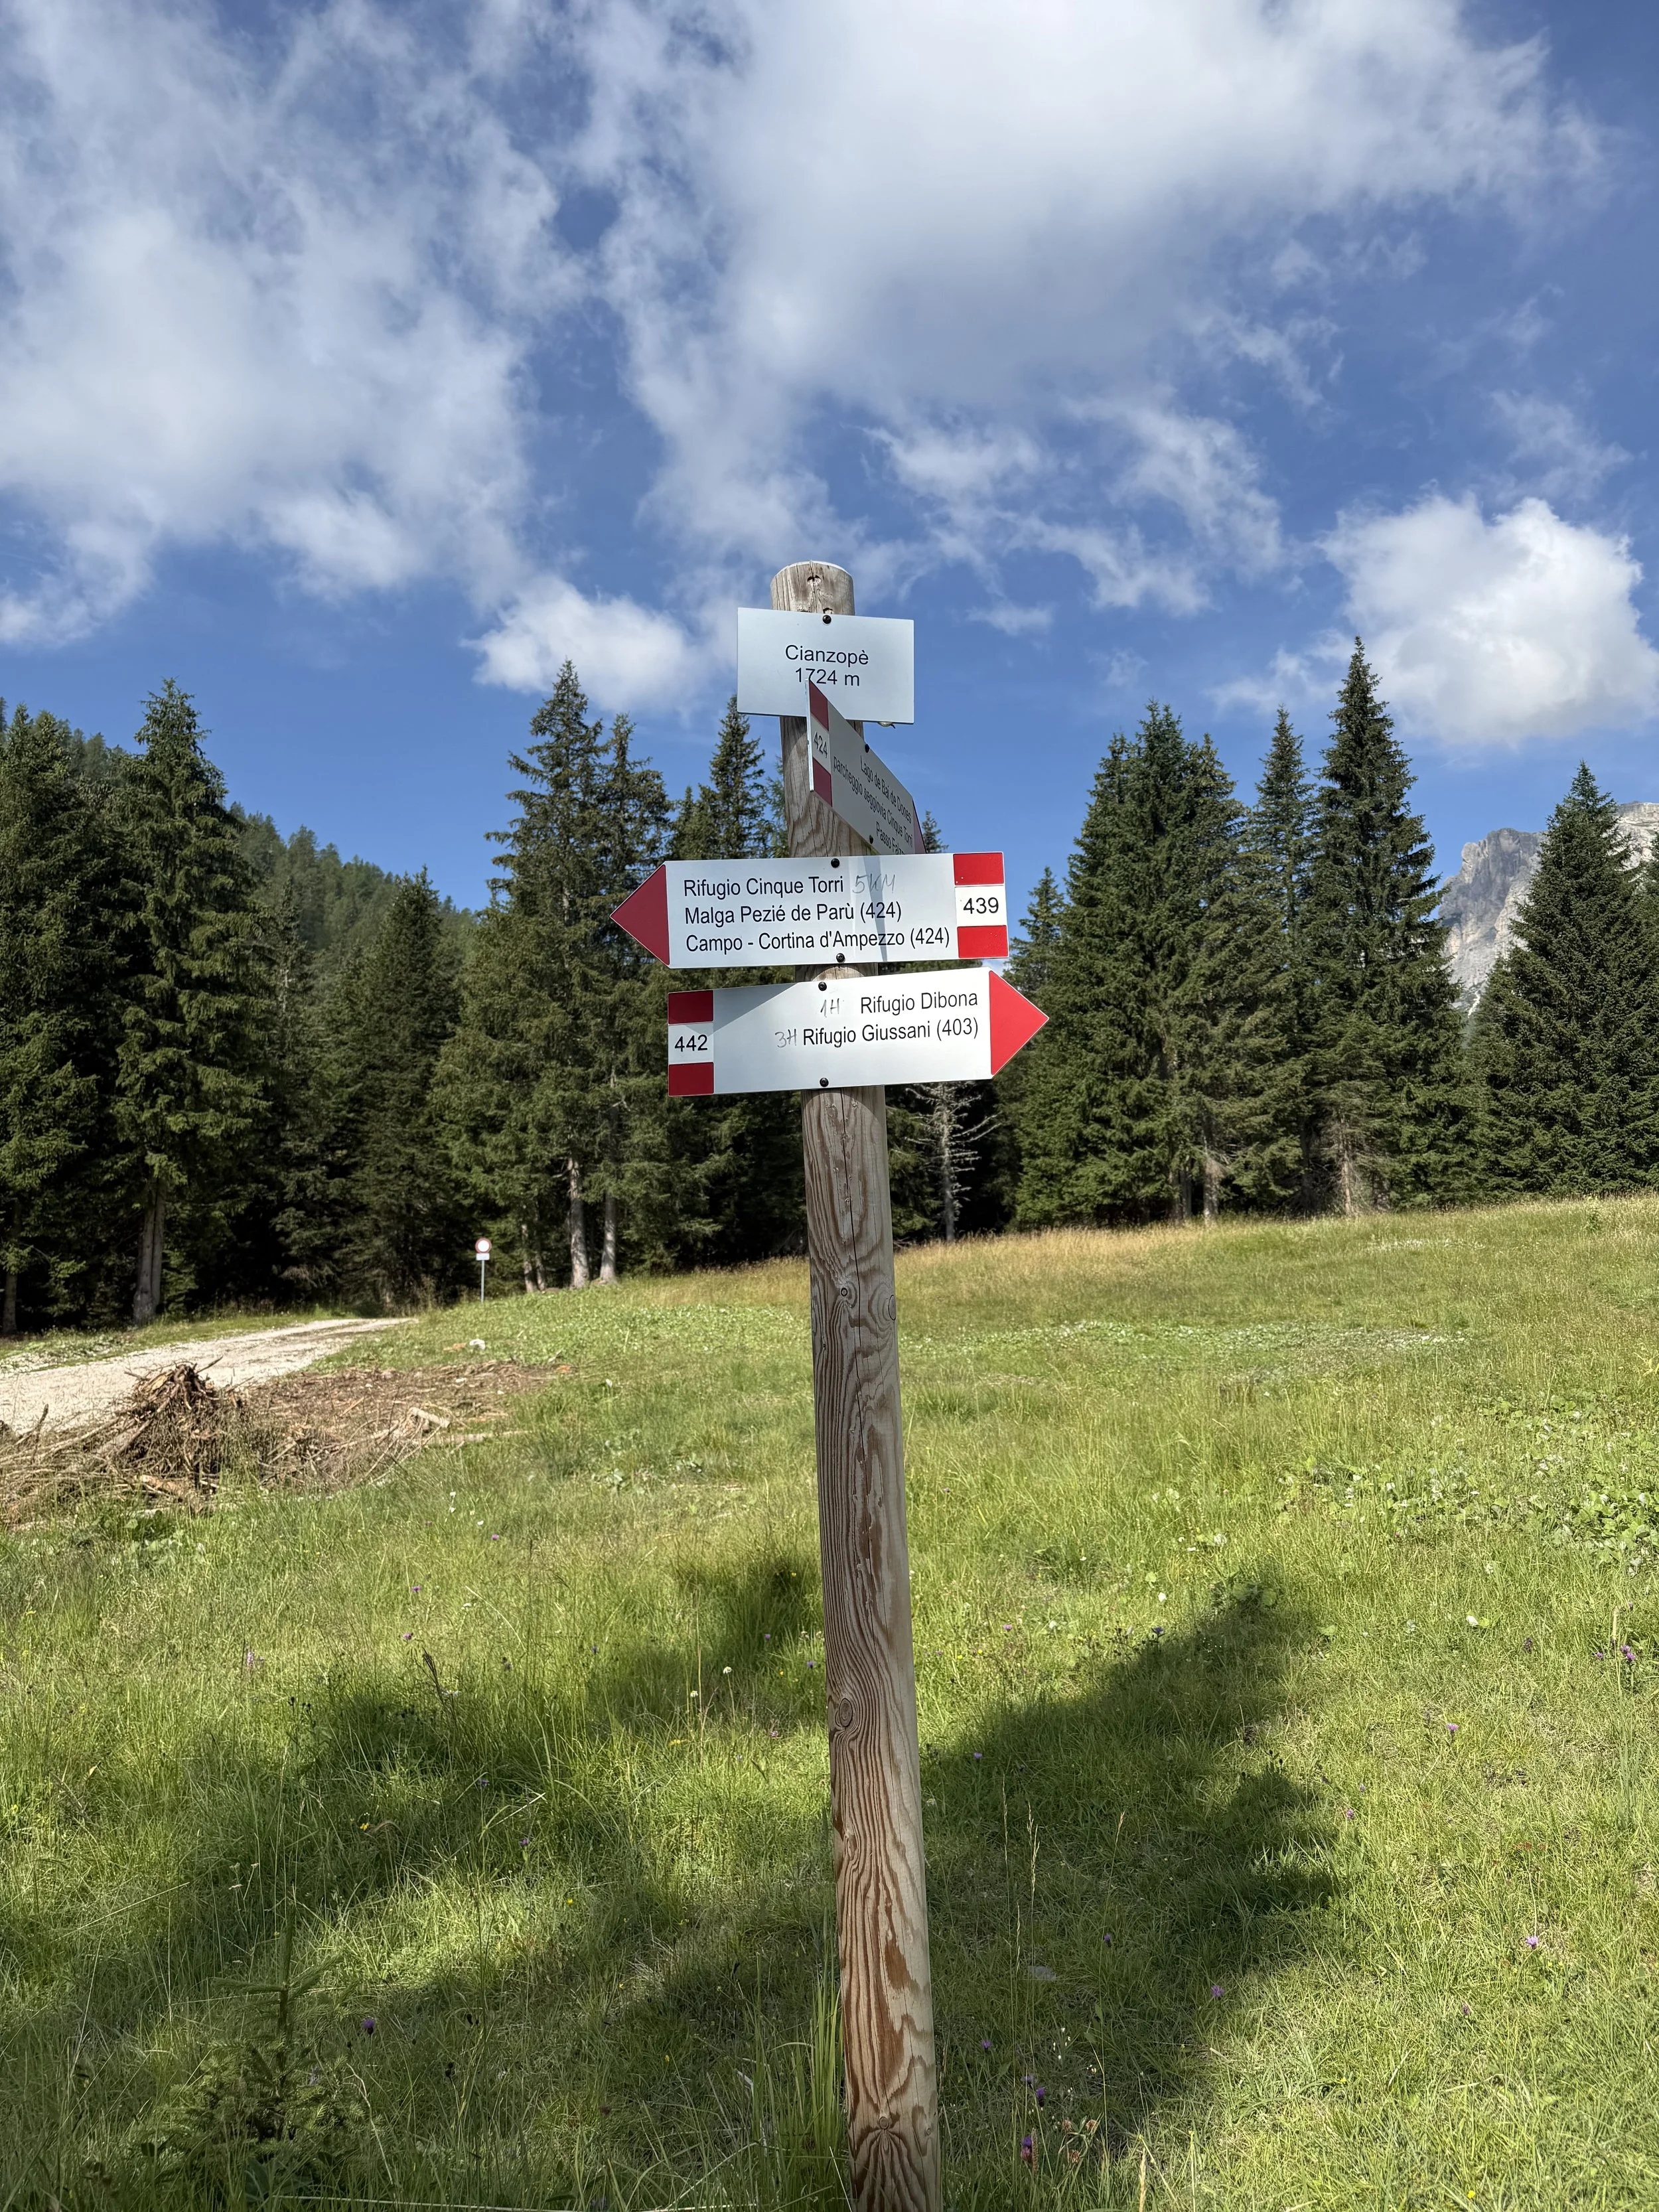
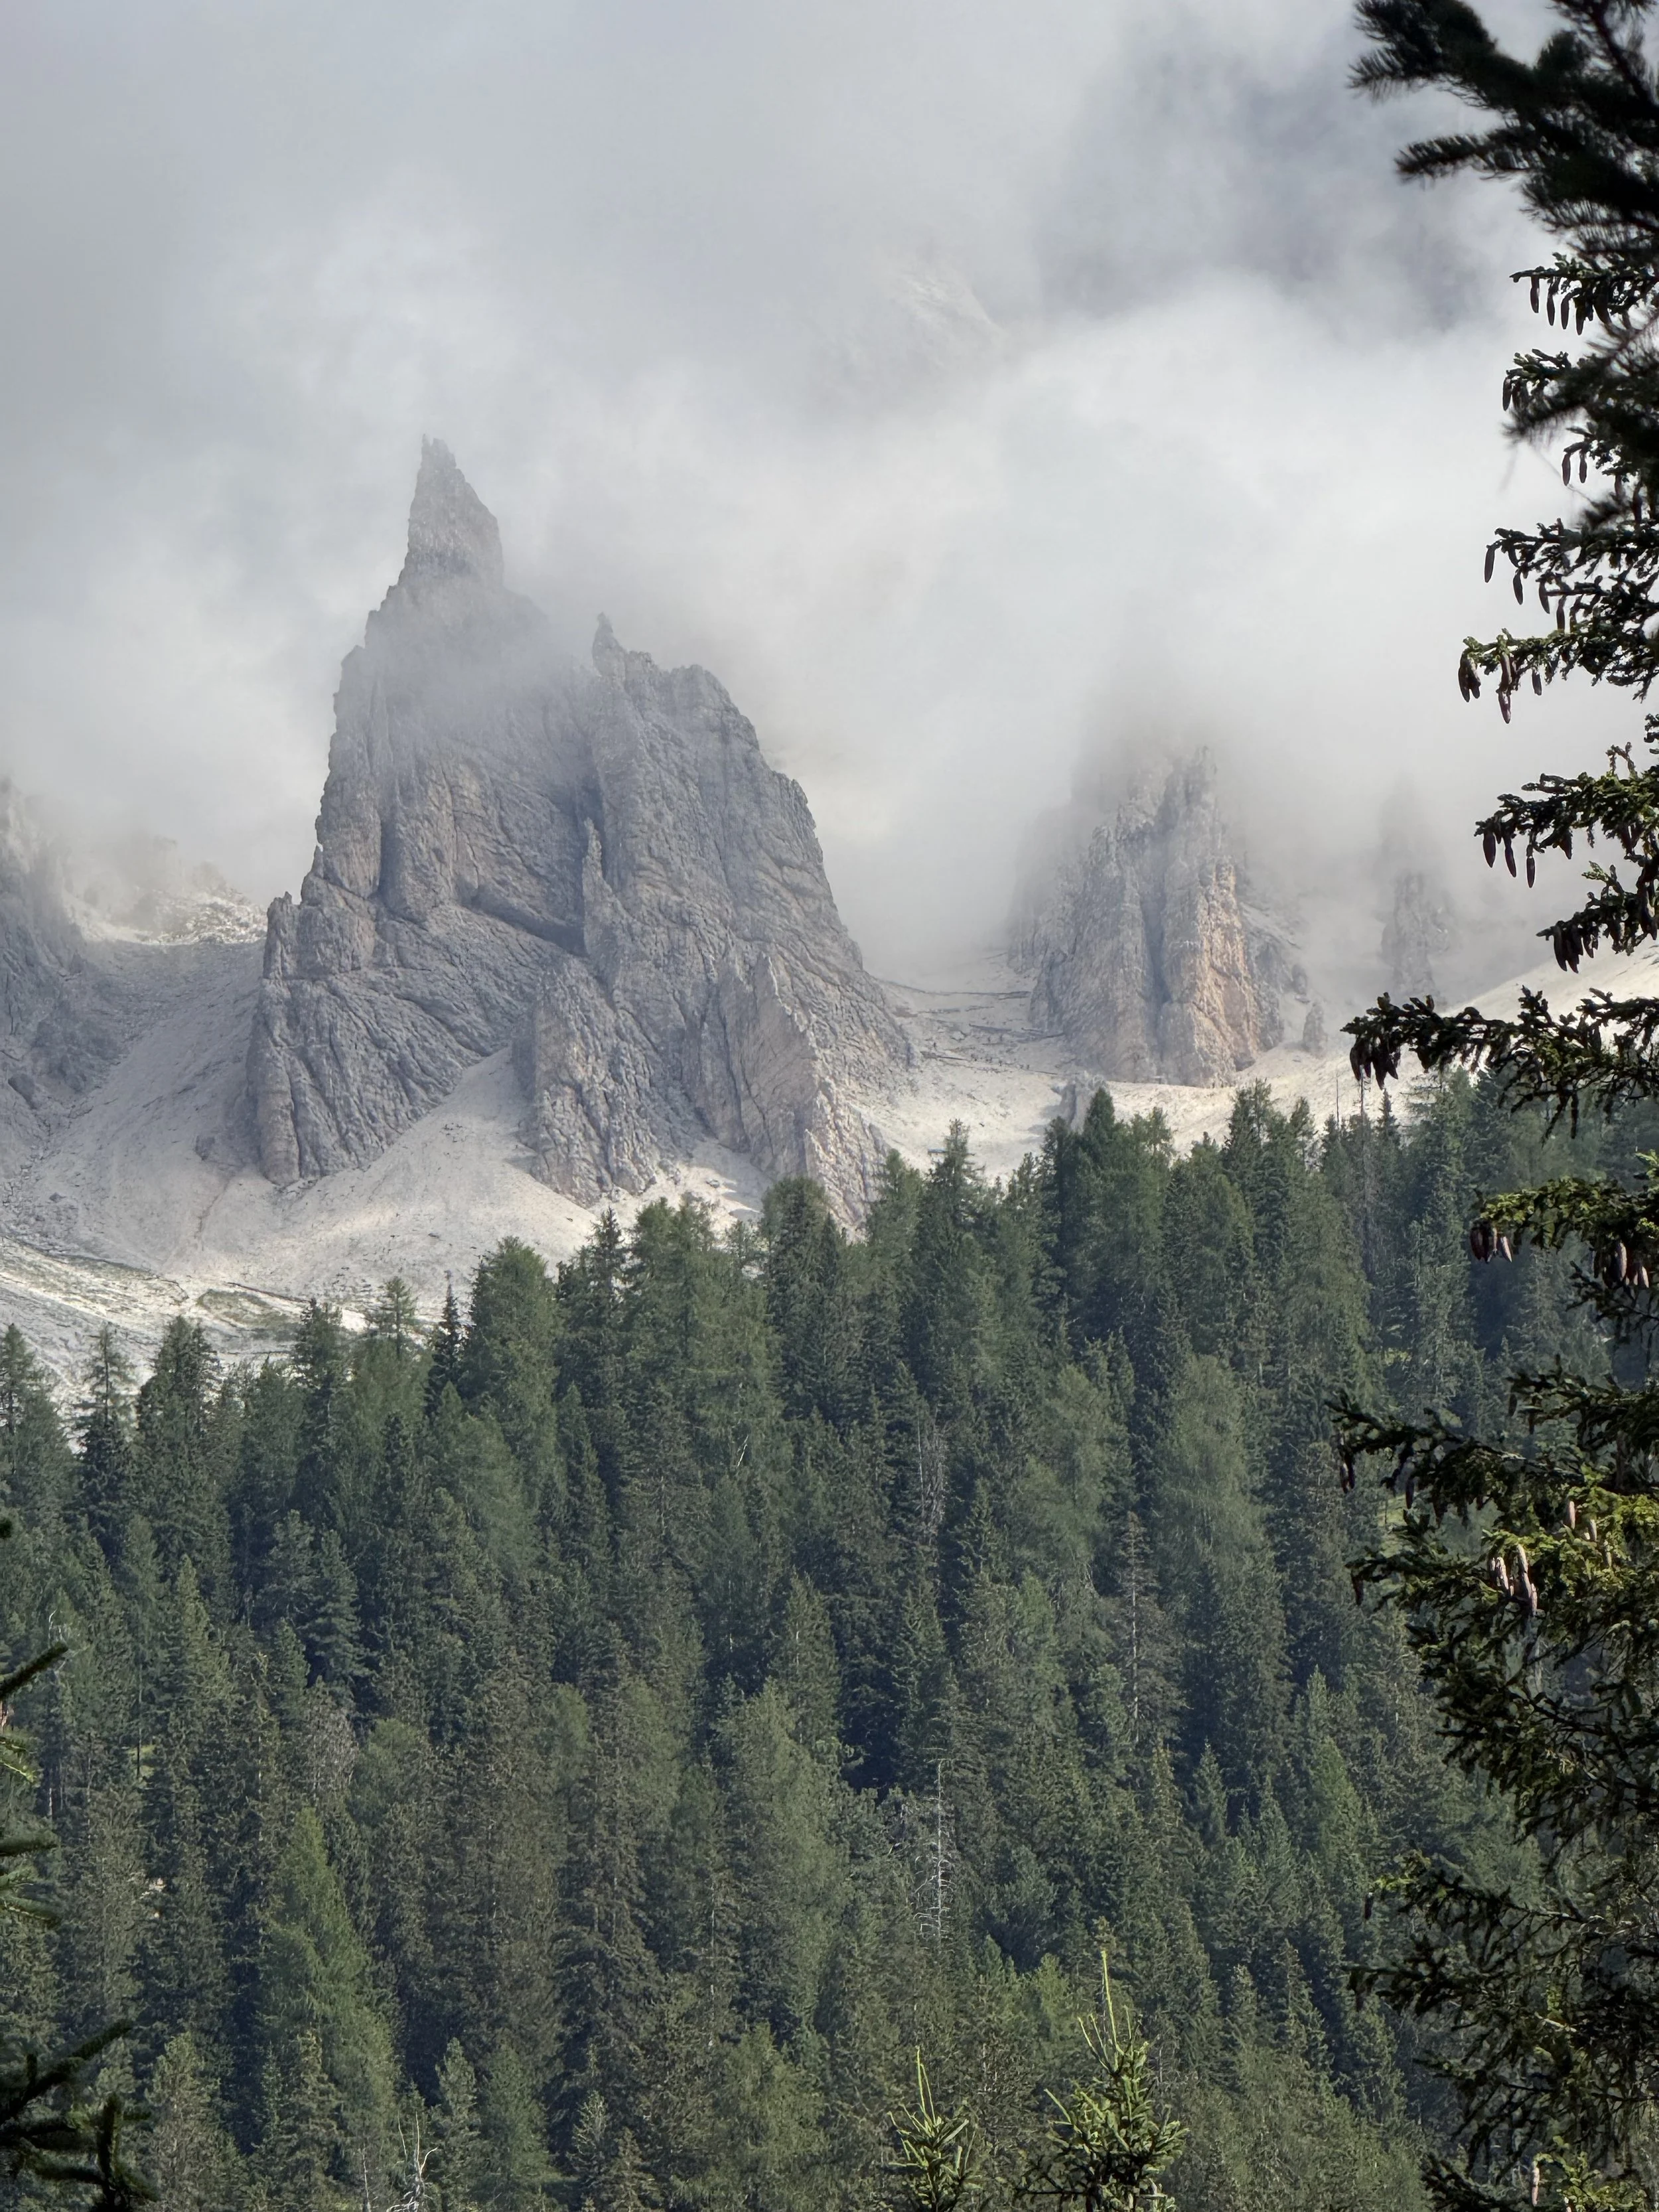
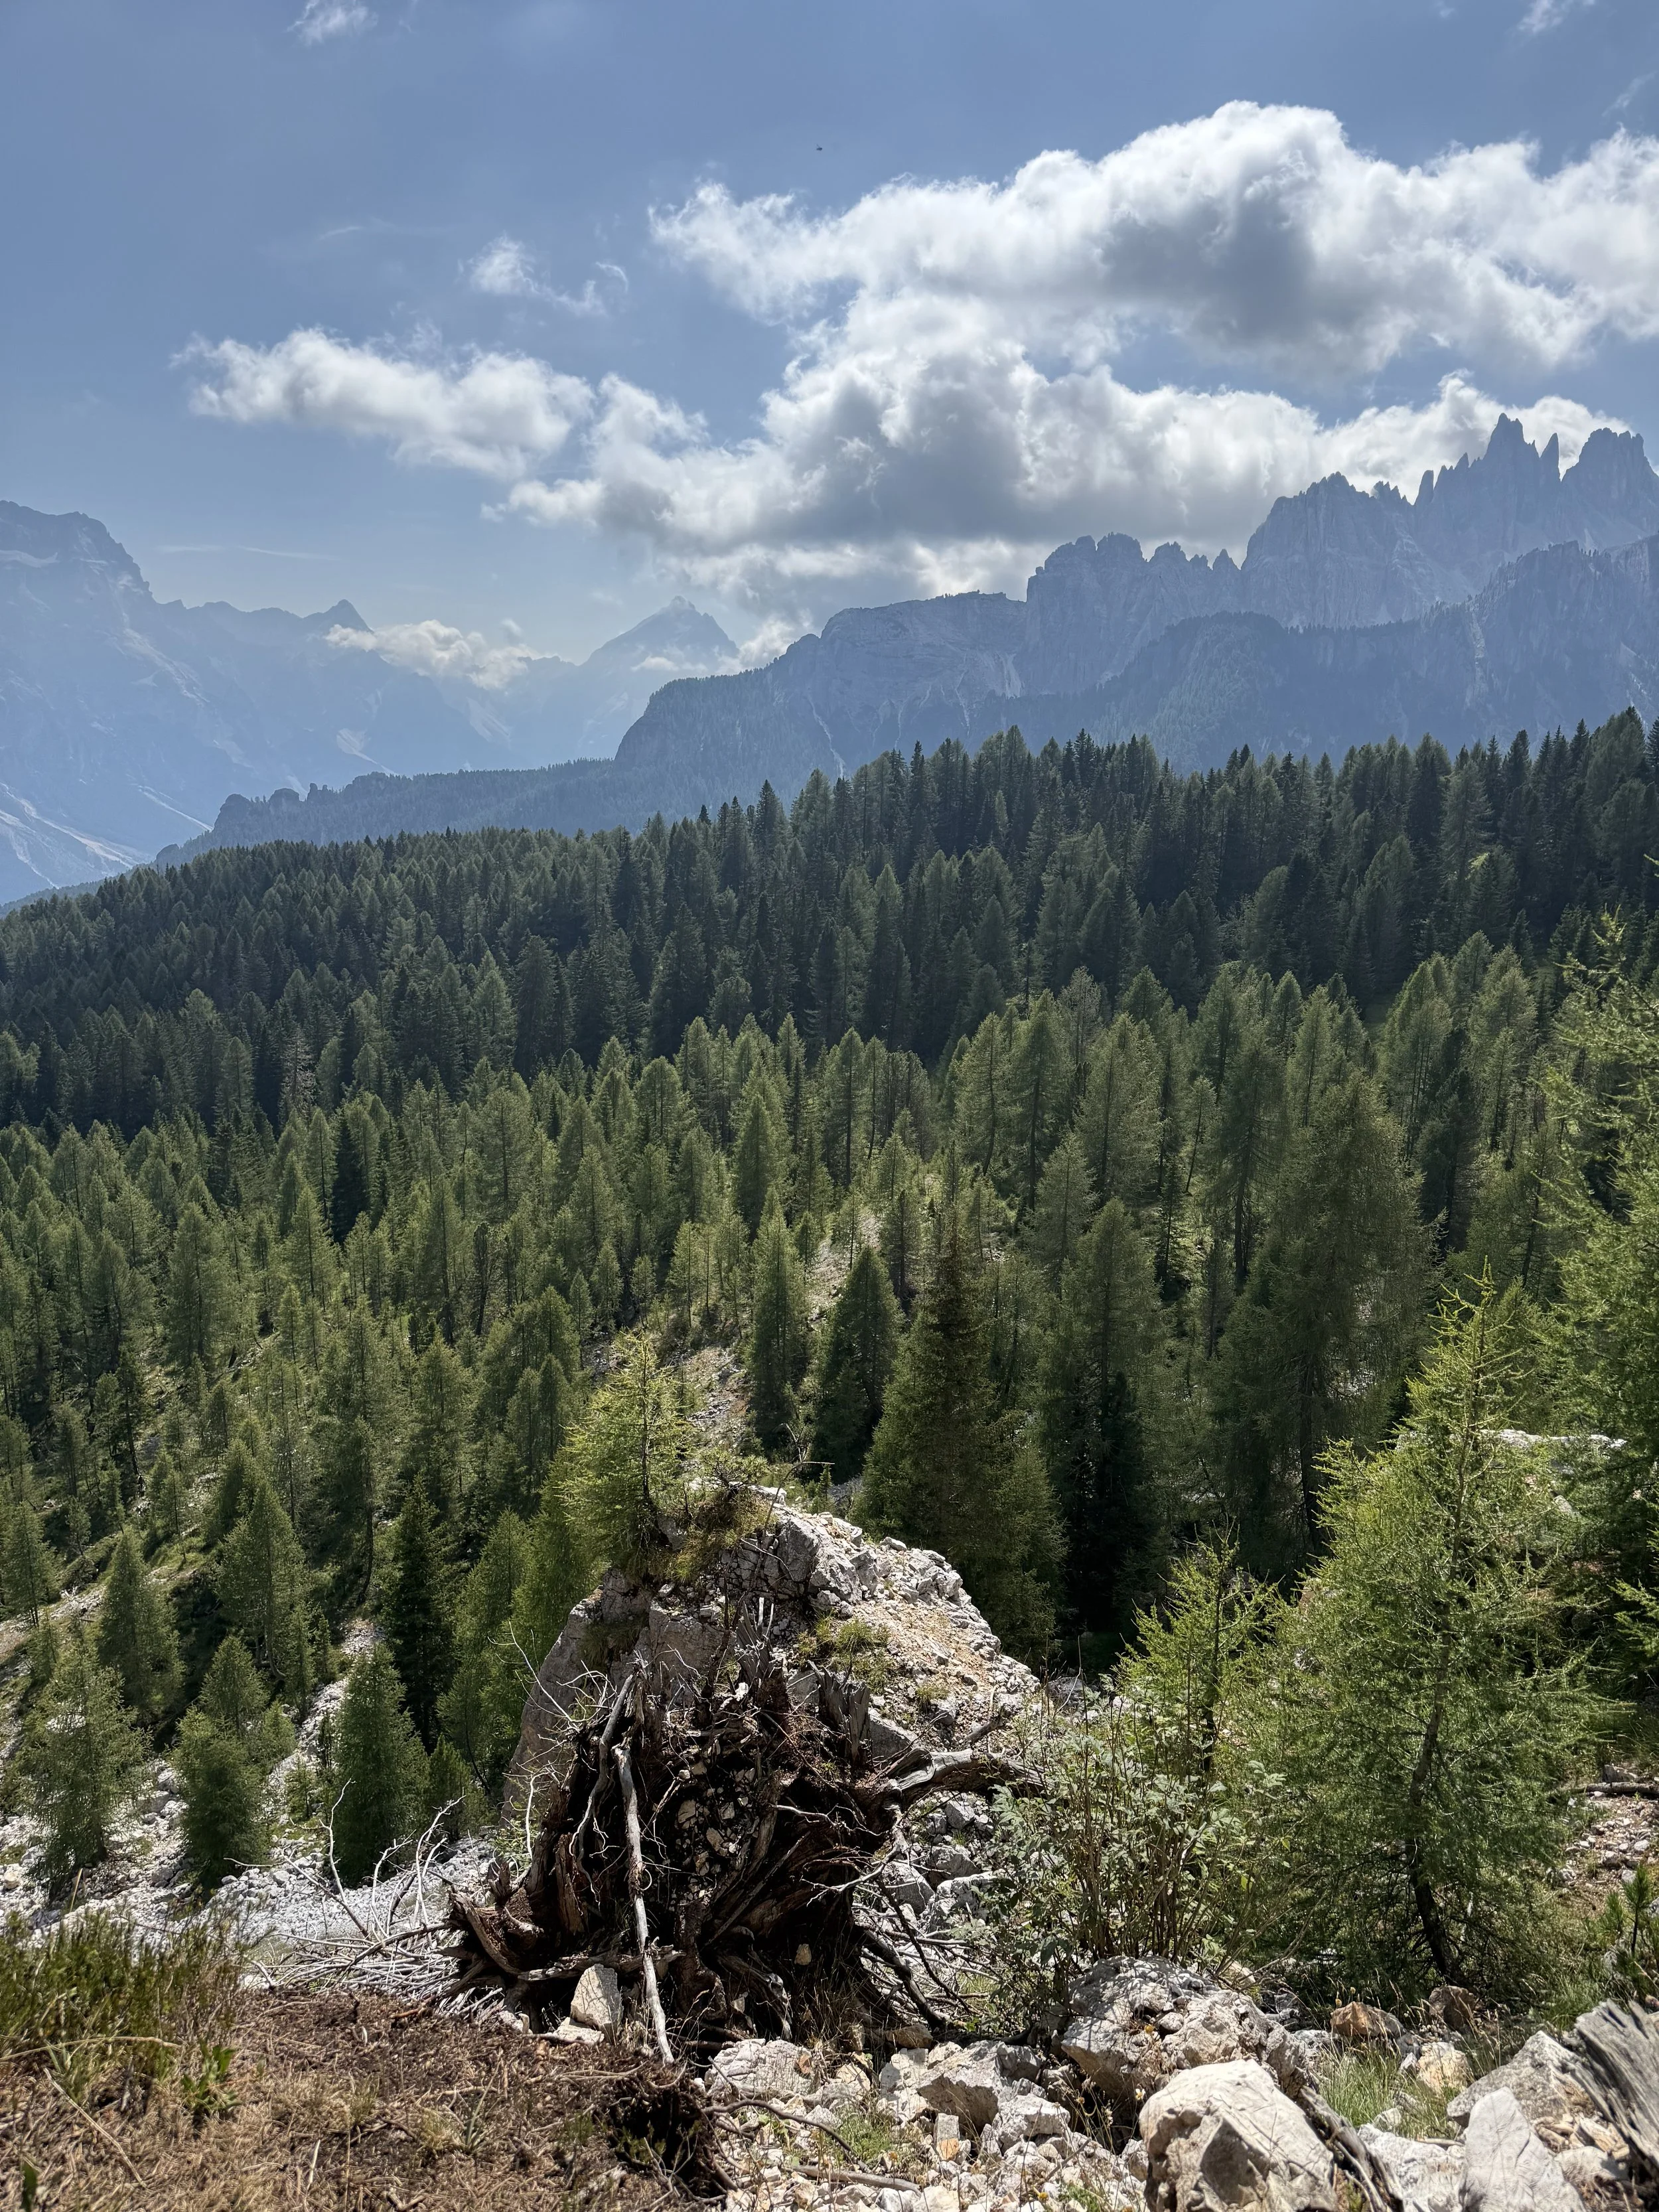
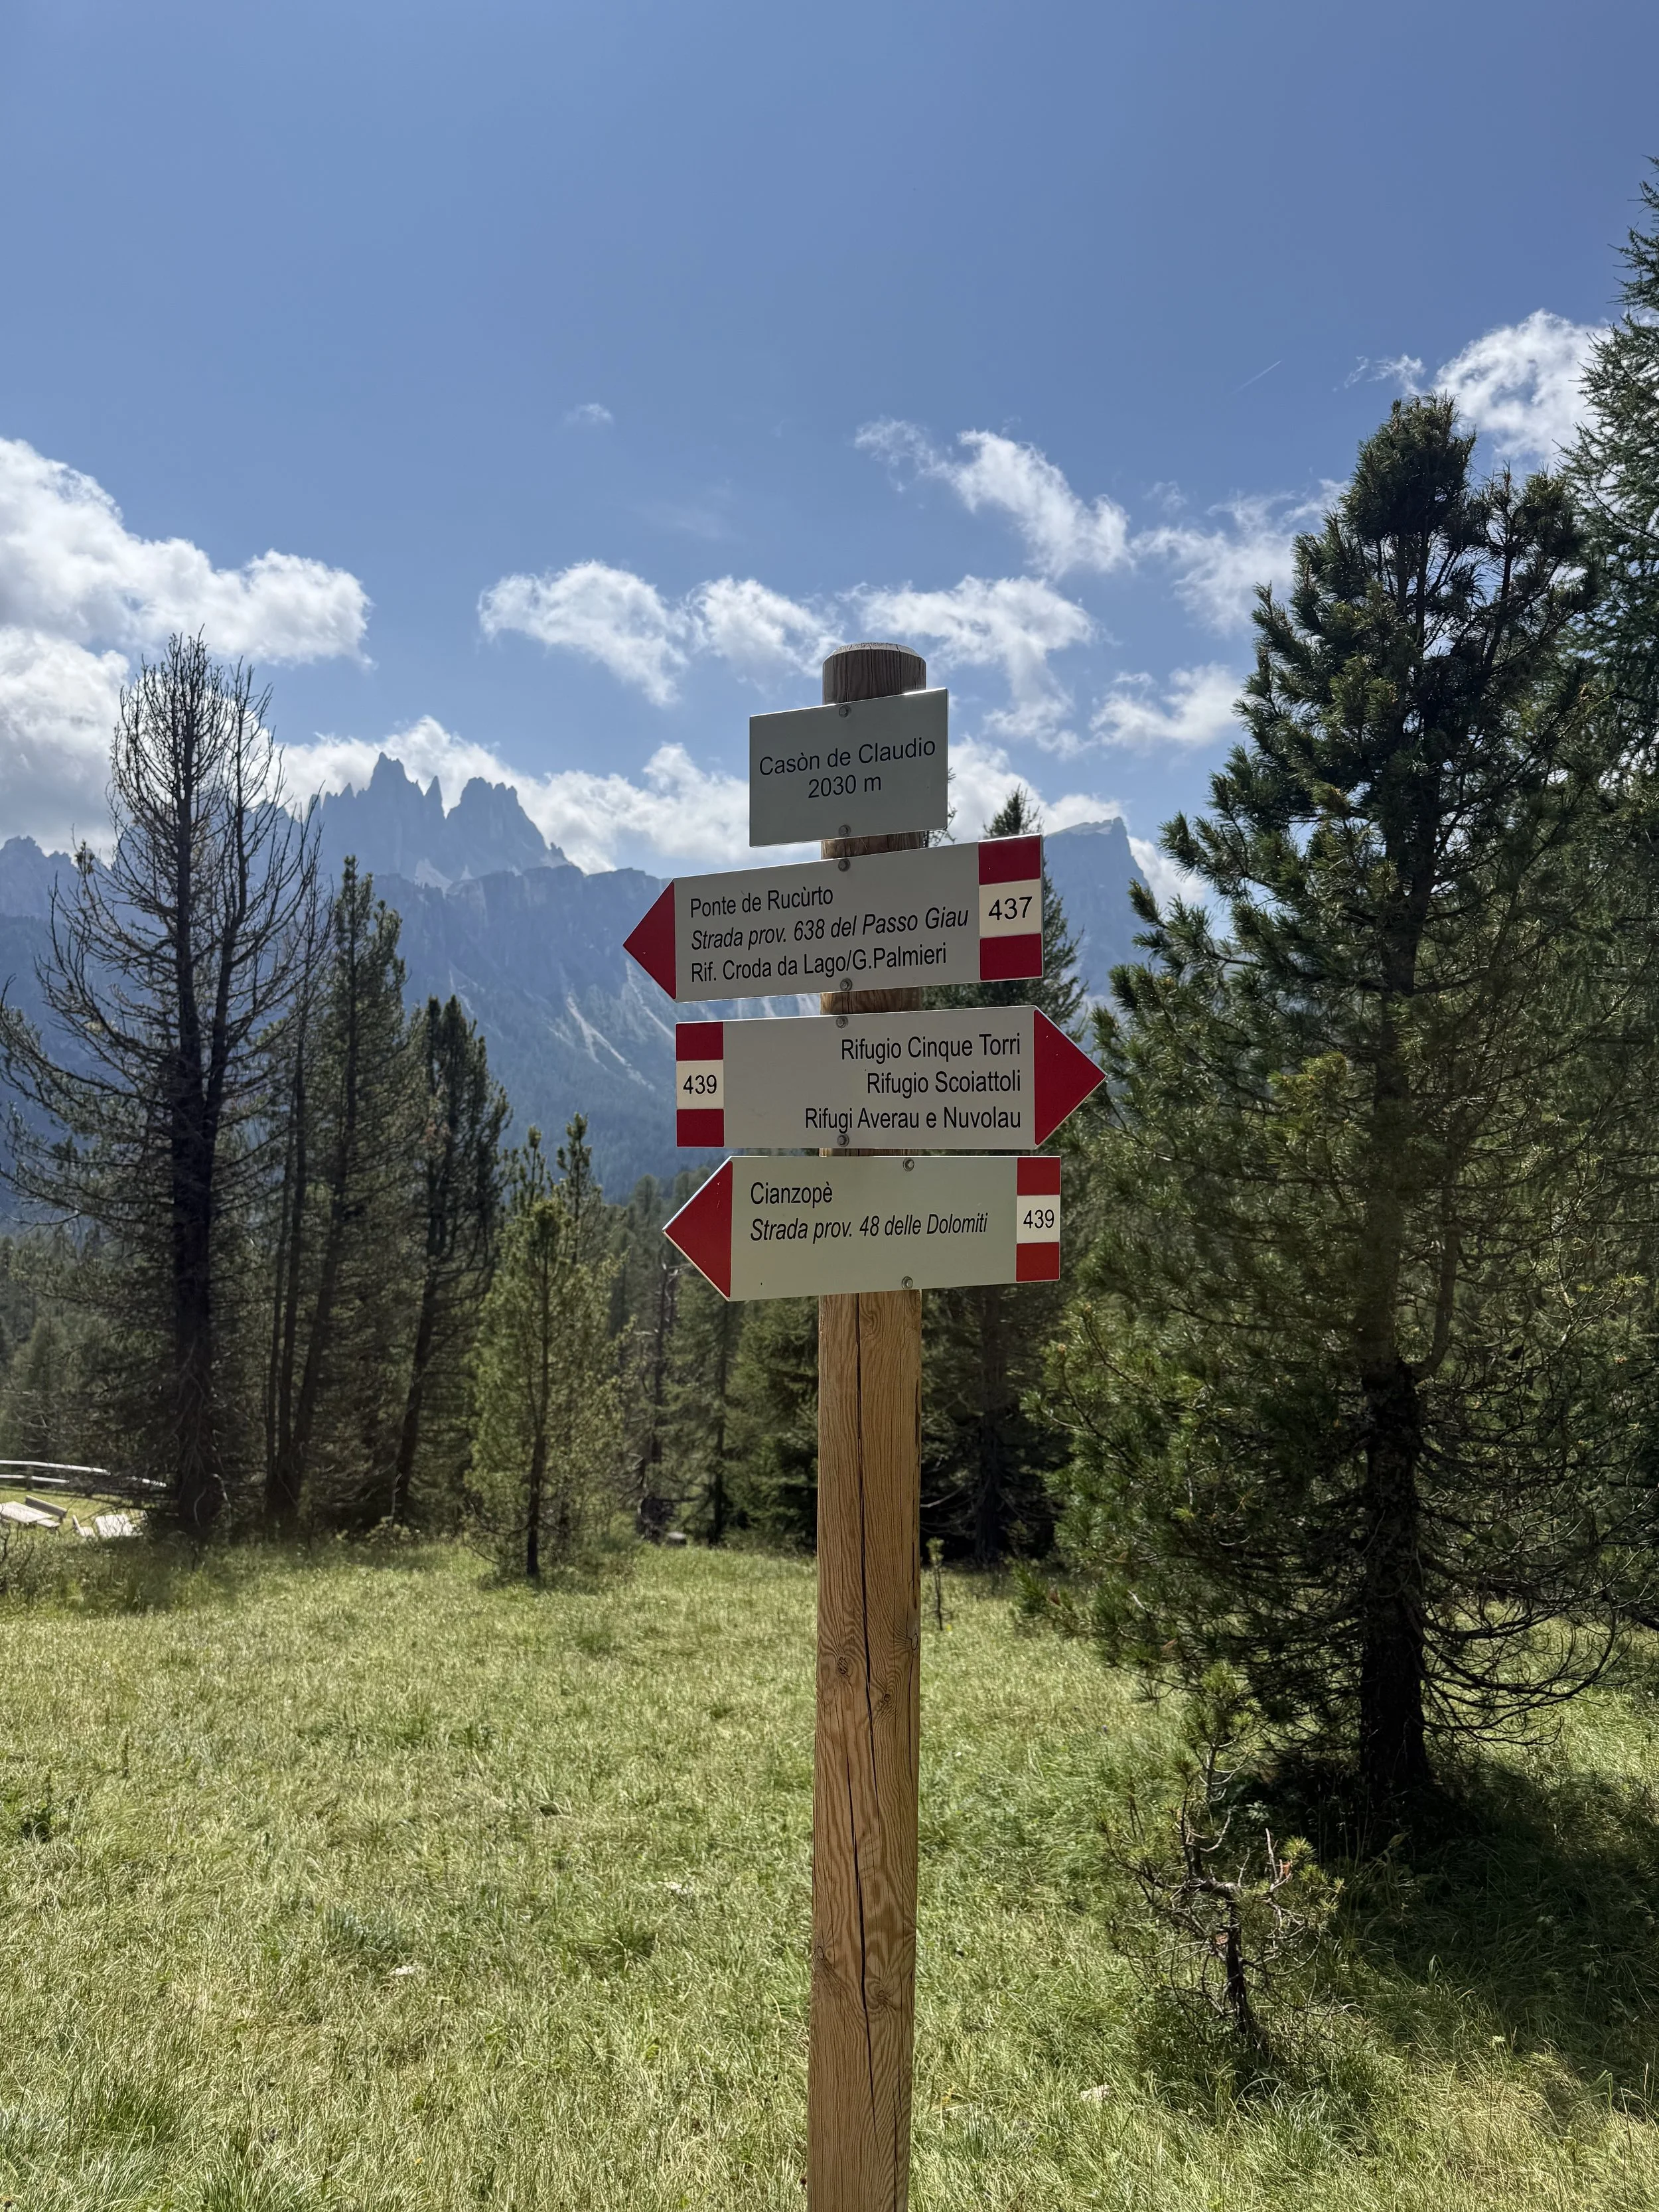
Photos are in order, starting at the Lagazuoi cable car station, breakfast, the route in the morning through the high pass (which is also the Alta Vita route), lunch at Rifugio Dibona and then finally the big push up steep and windy route up to Rifugio Giussani. The final pictures are of the hut and the shared dorm.
Total distance:
4.5miles to lunch at Rifugio Dibona with 500ft elevation
2miles and 1,791ft after lunch up to Rifugio Giussani
Lagazuoi Cable Car - Rigugio Dibona - Rifugio Giussani
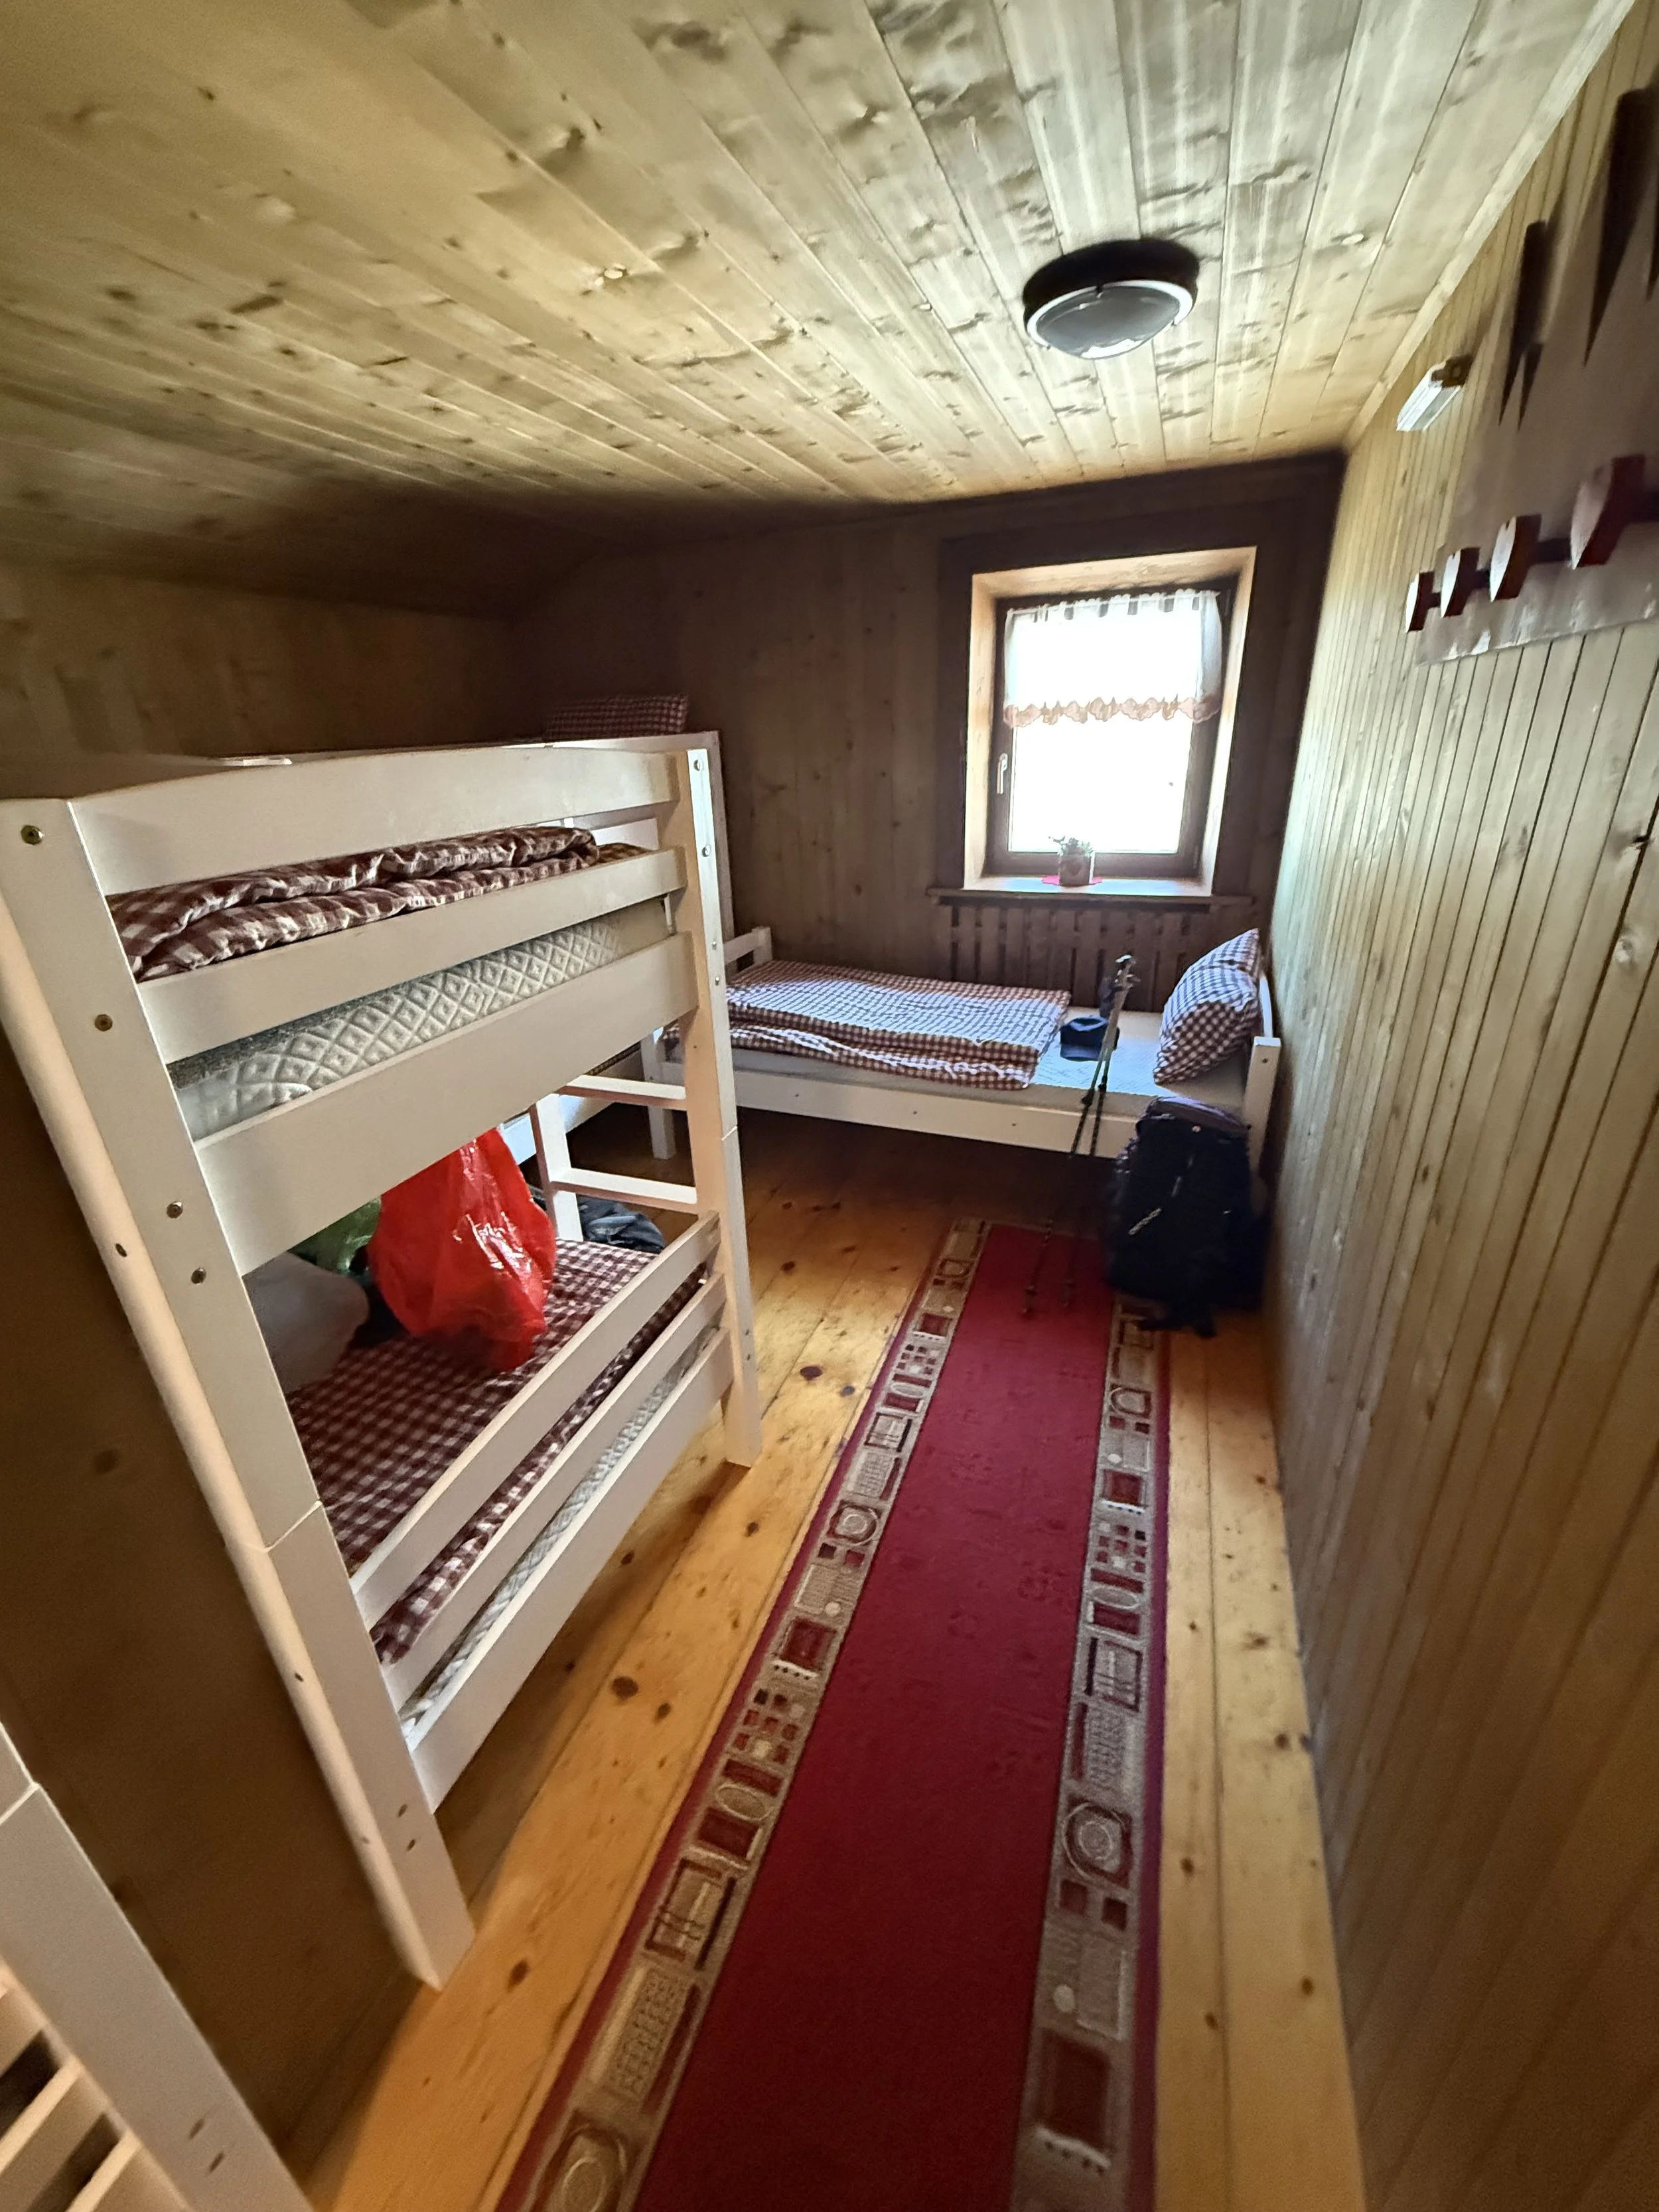
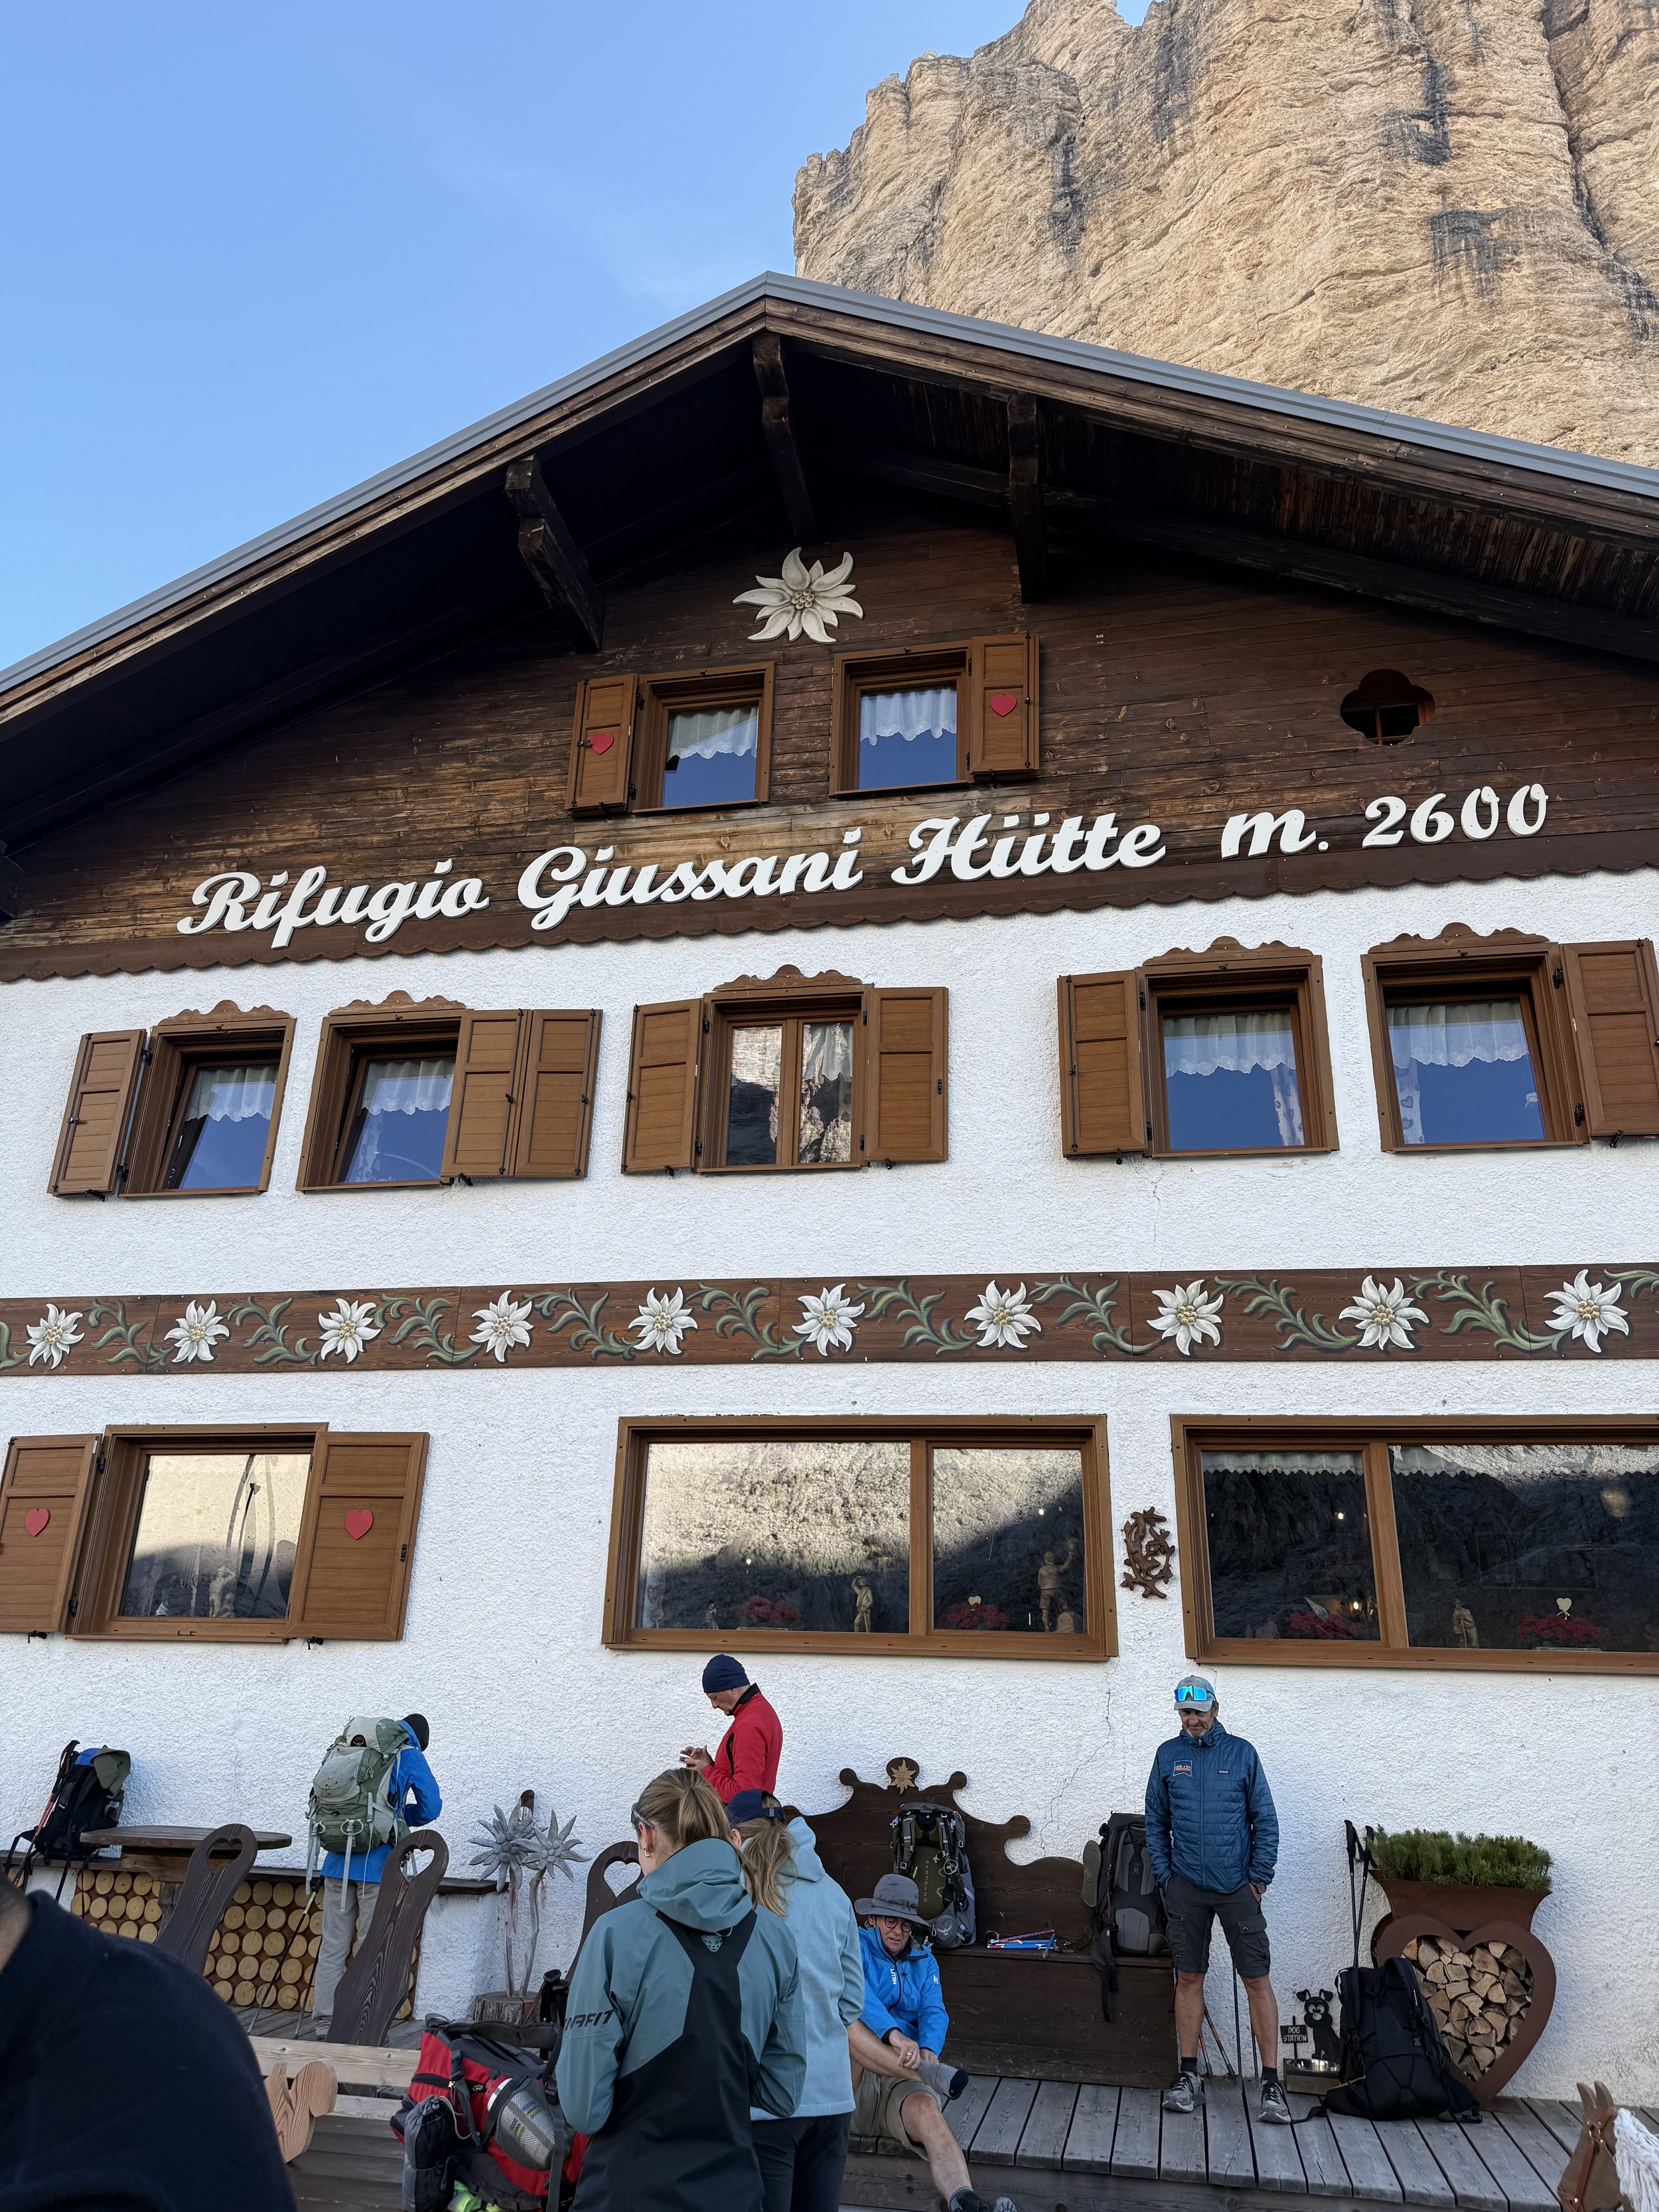
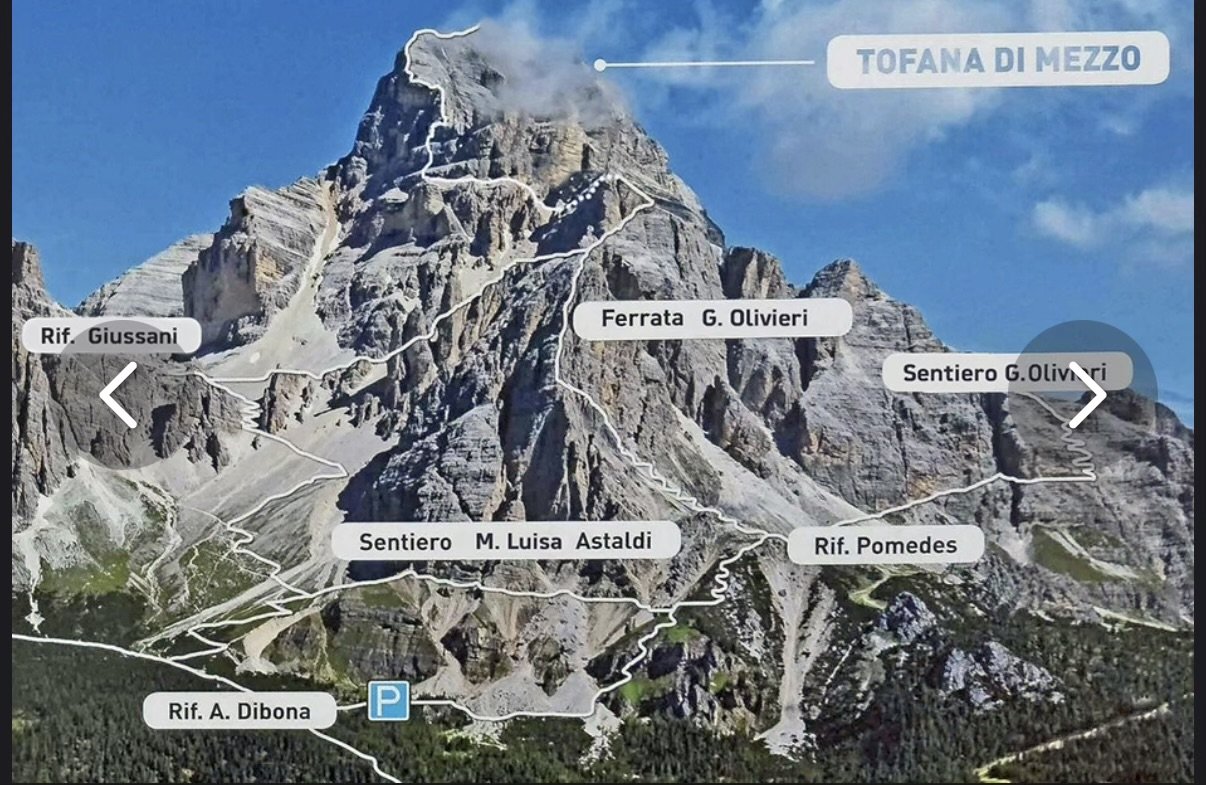
Day #3: Rifugio Giussani - Rifugio Scoiattoli
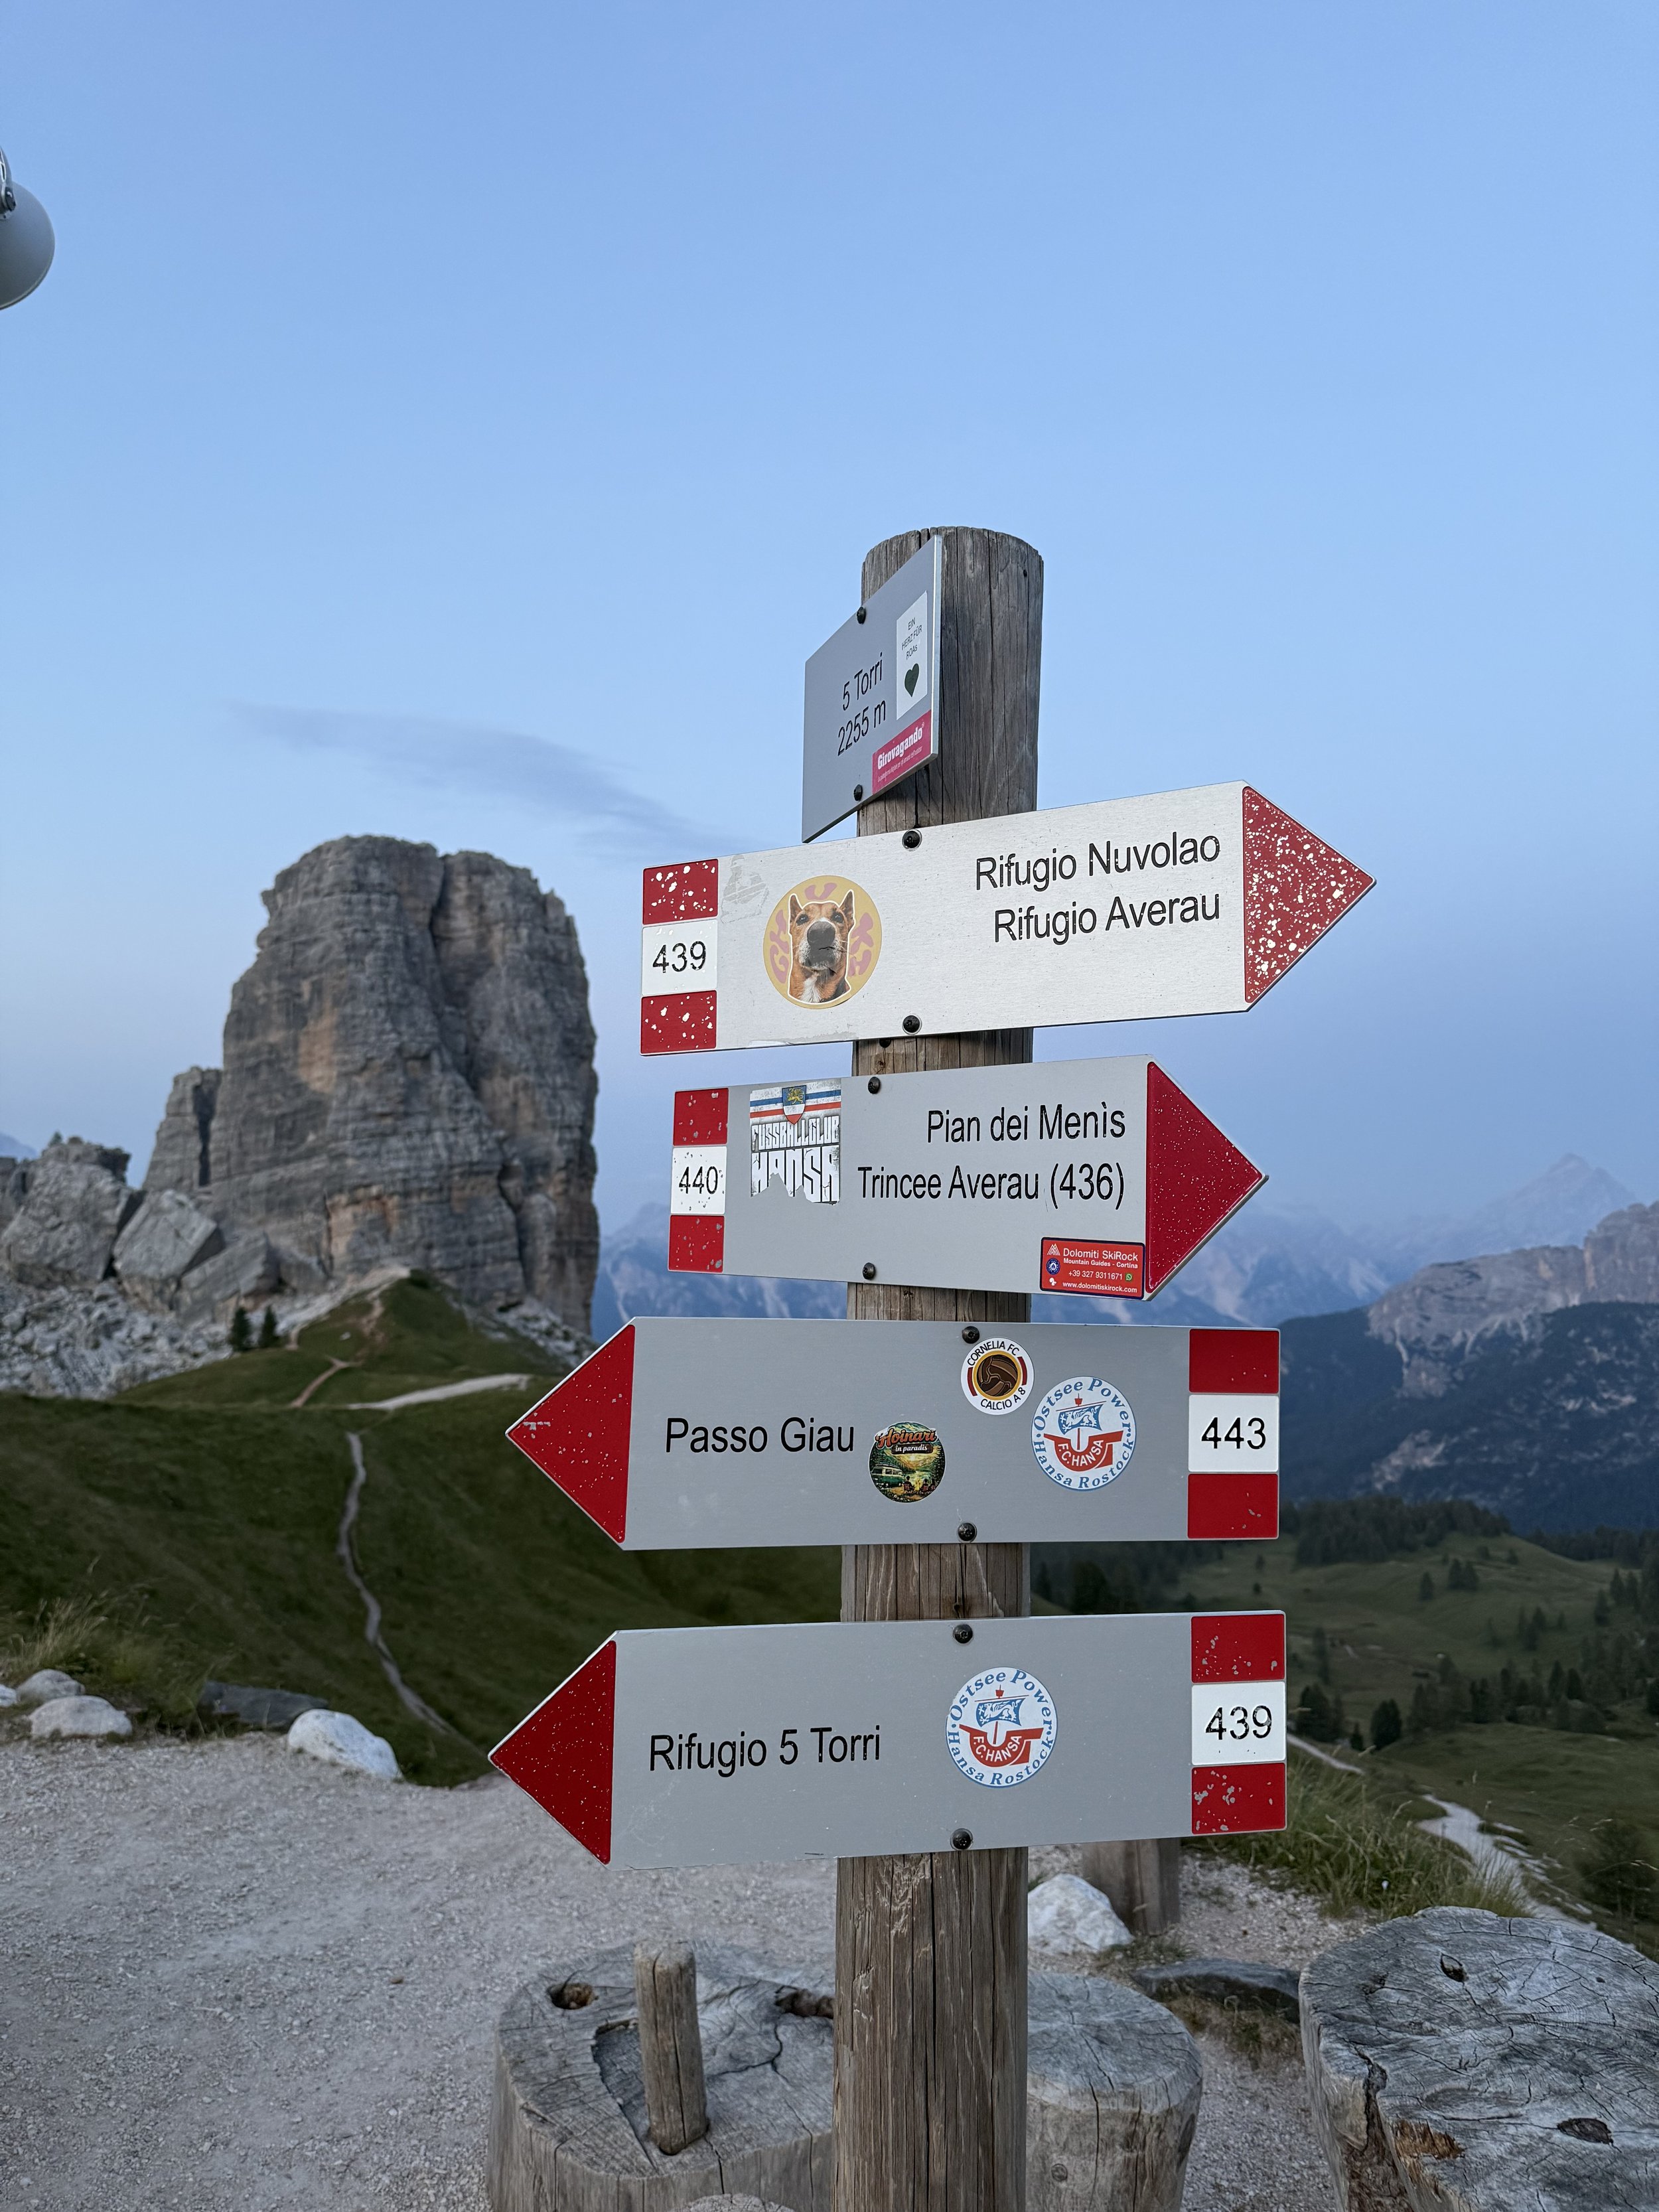
Stay: Rifugio Scoiattoli, 2,255 metres (7,398 feet)
Half board: Euros 270 total (81 deposit paid up-front for a private room)
We set off around 9am and descended from Rifugio Giussani to Rifugio Dibona before continuing to Cinque Torri and Rifugio Scoiattoli.
MORNING: Giussani 403 → Dibona → Scoiattoli → Cinque Torri Loop → Averau → Nuvolau → Scoiattoli
We set off after breakfast and headed to Rifugio Scoittoli, we decided to stop for lunch at Rifugio Cinque Torri.
On the trail no. 440 from the state road between the Falzarego pass and Cortina d'Ampezzo just below Pian dei Menìs, hiking time 1 hour 30 minutes;
From the Falzarego pass on path no. 441, hiking time 2 hours;
AFTERNOON:
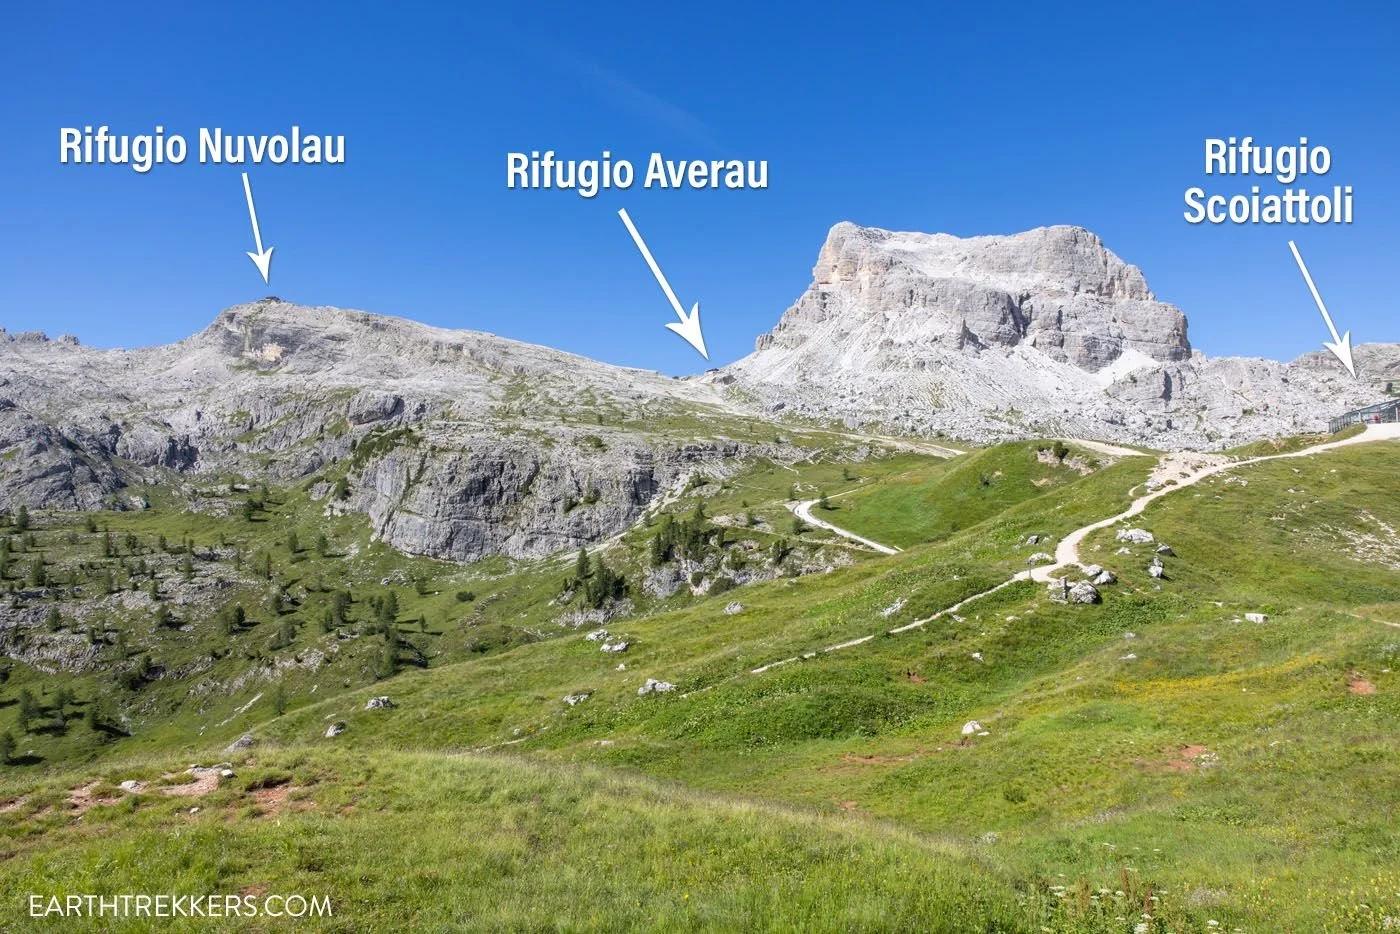
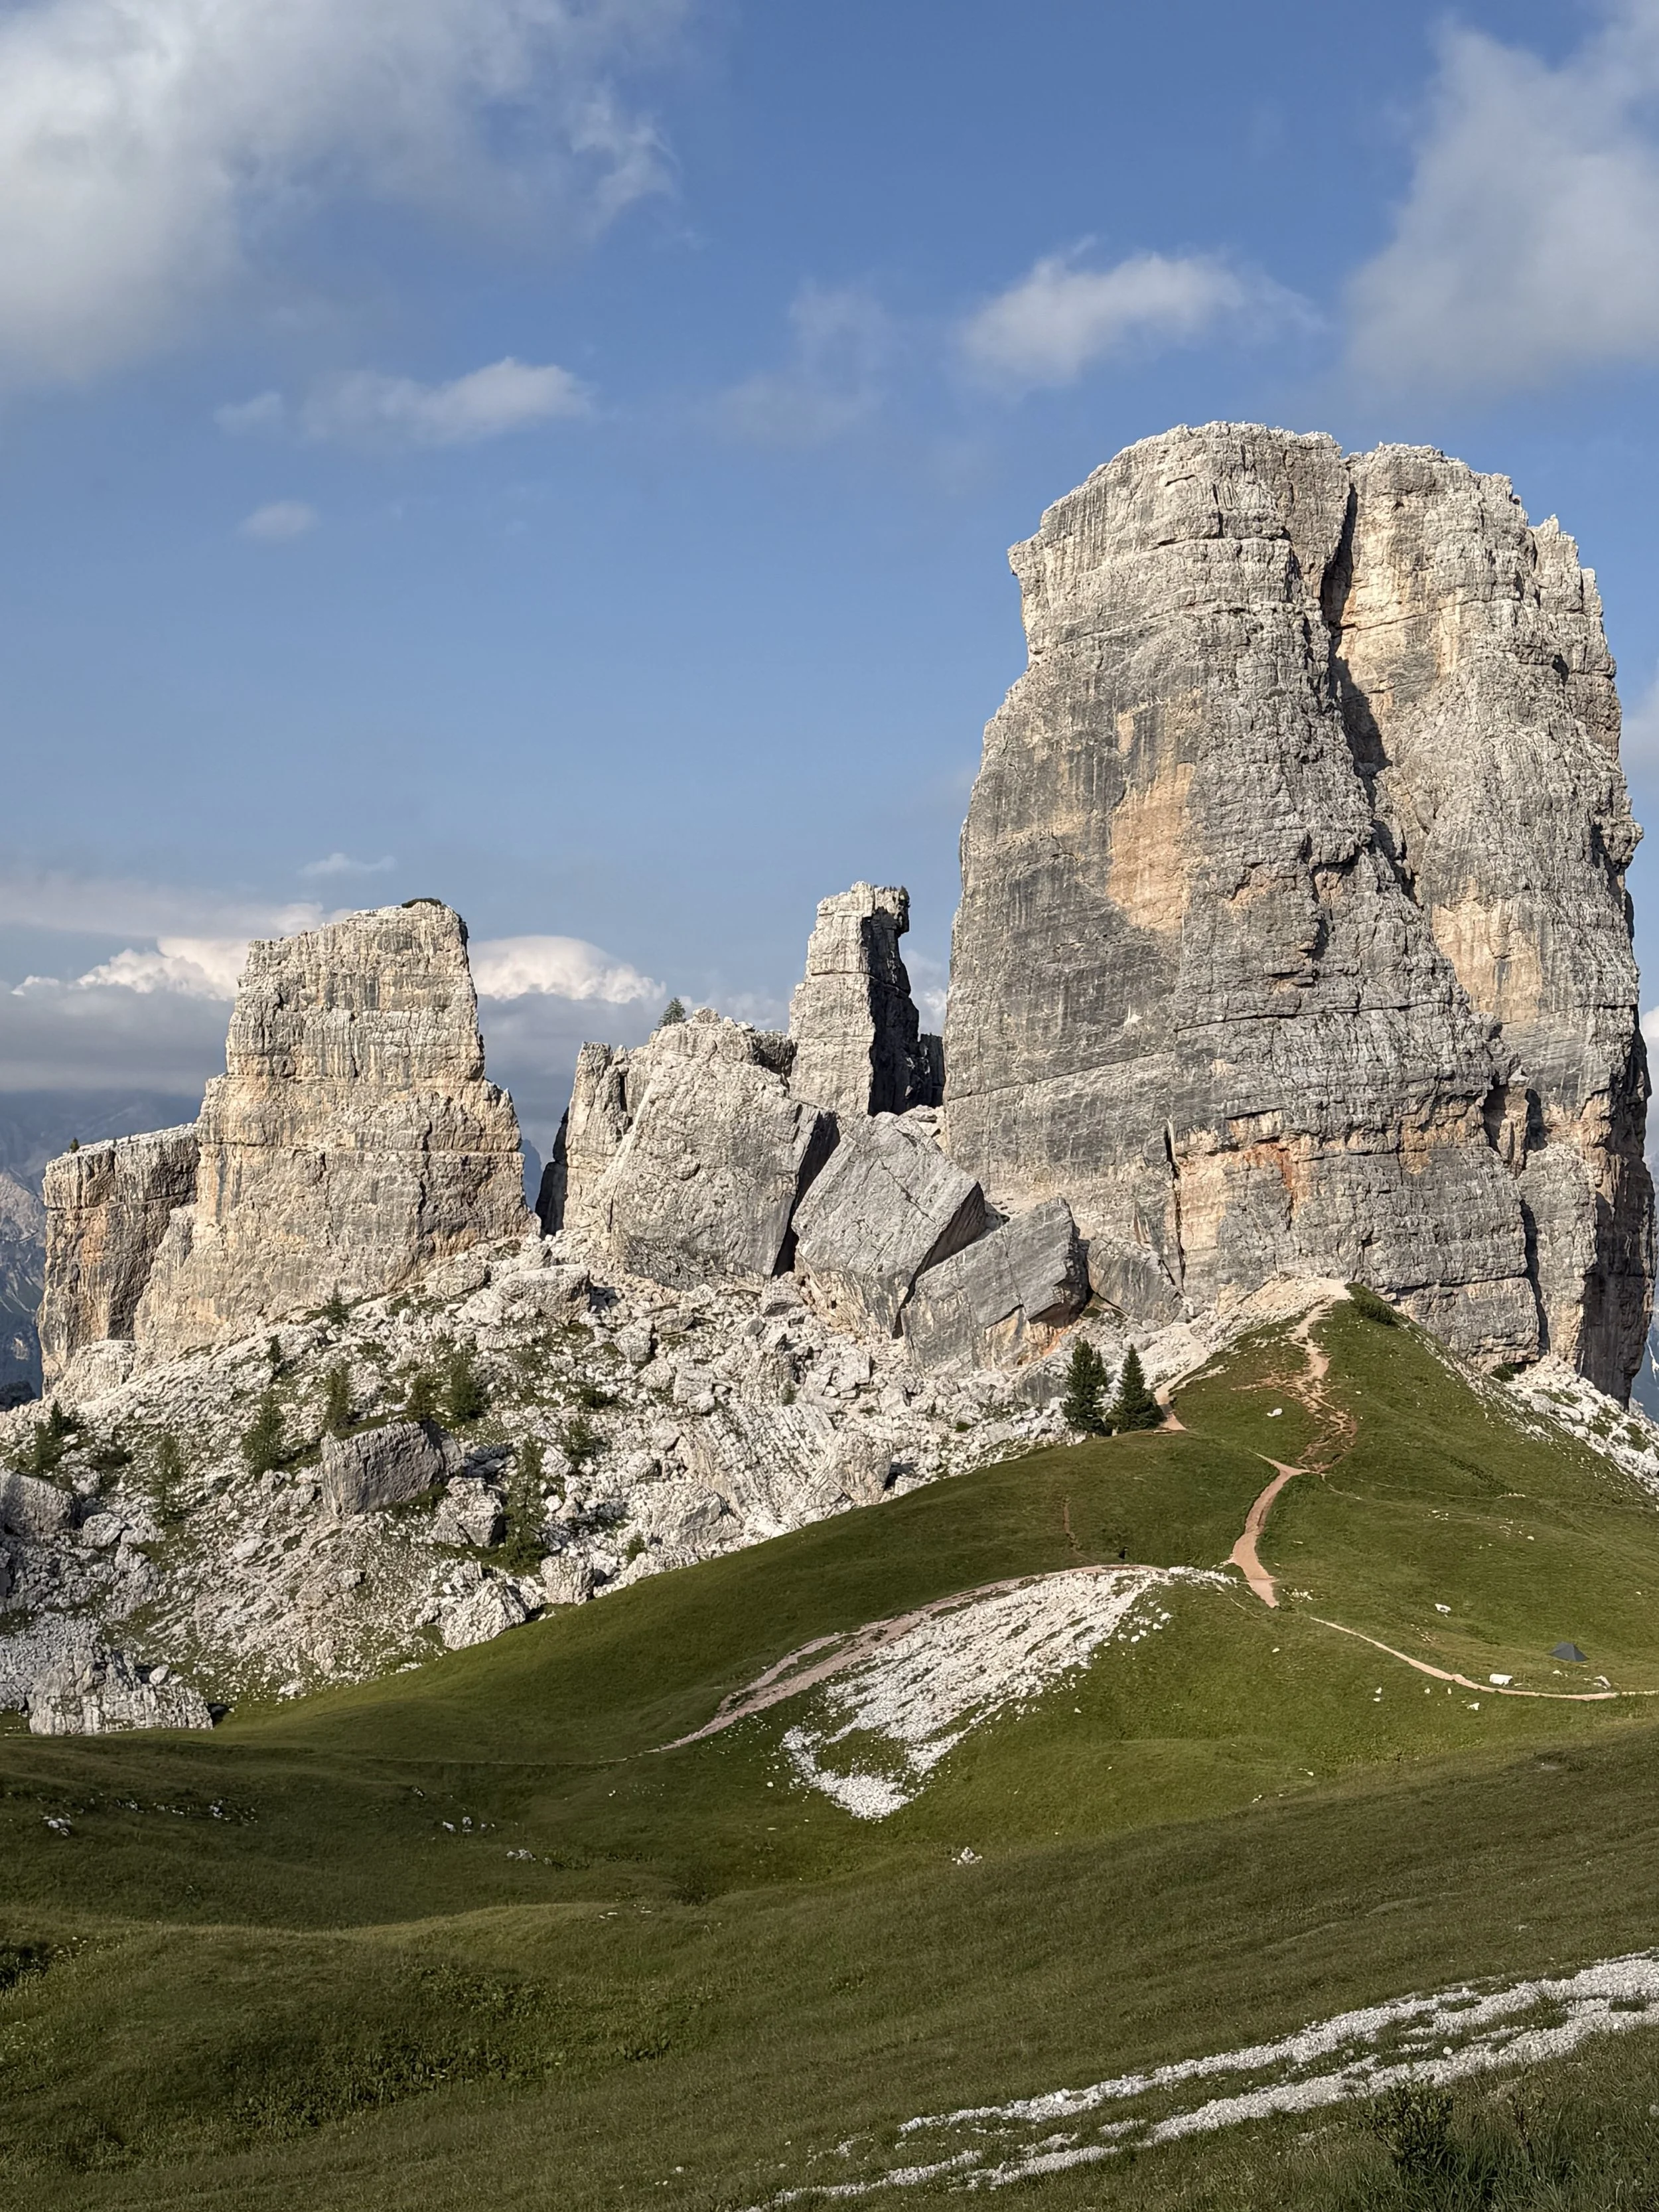
There is an option to go on a mini-adventure to explore, this is the Cinque Tori Hiking Loop (only around 1 mile), Averau and Rifugio Nuvolau (total 1.5 - 2 hours)
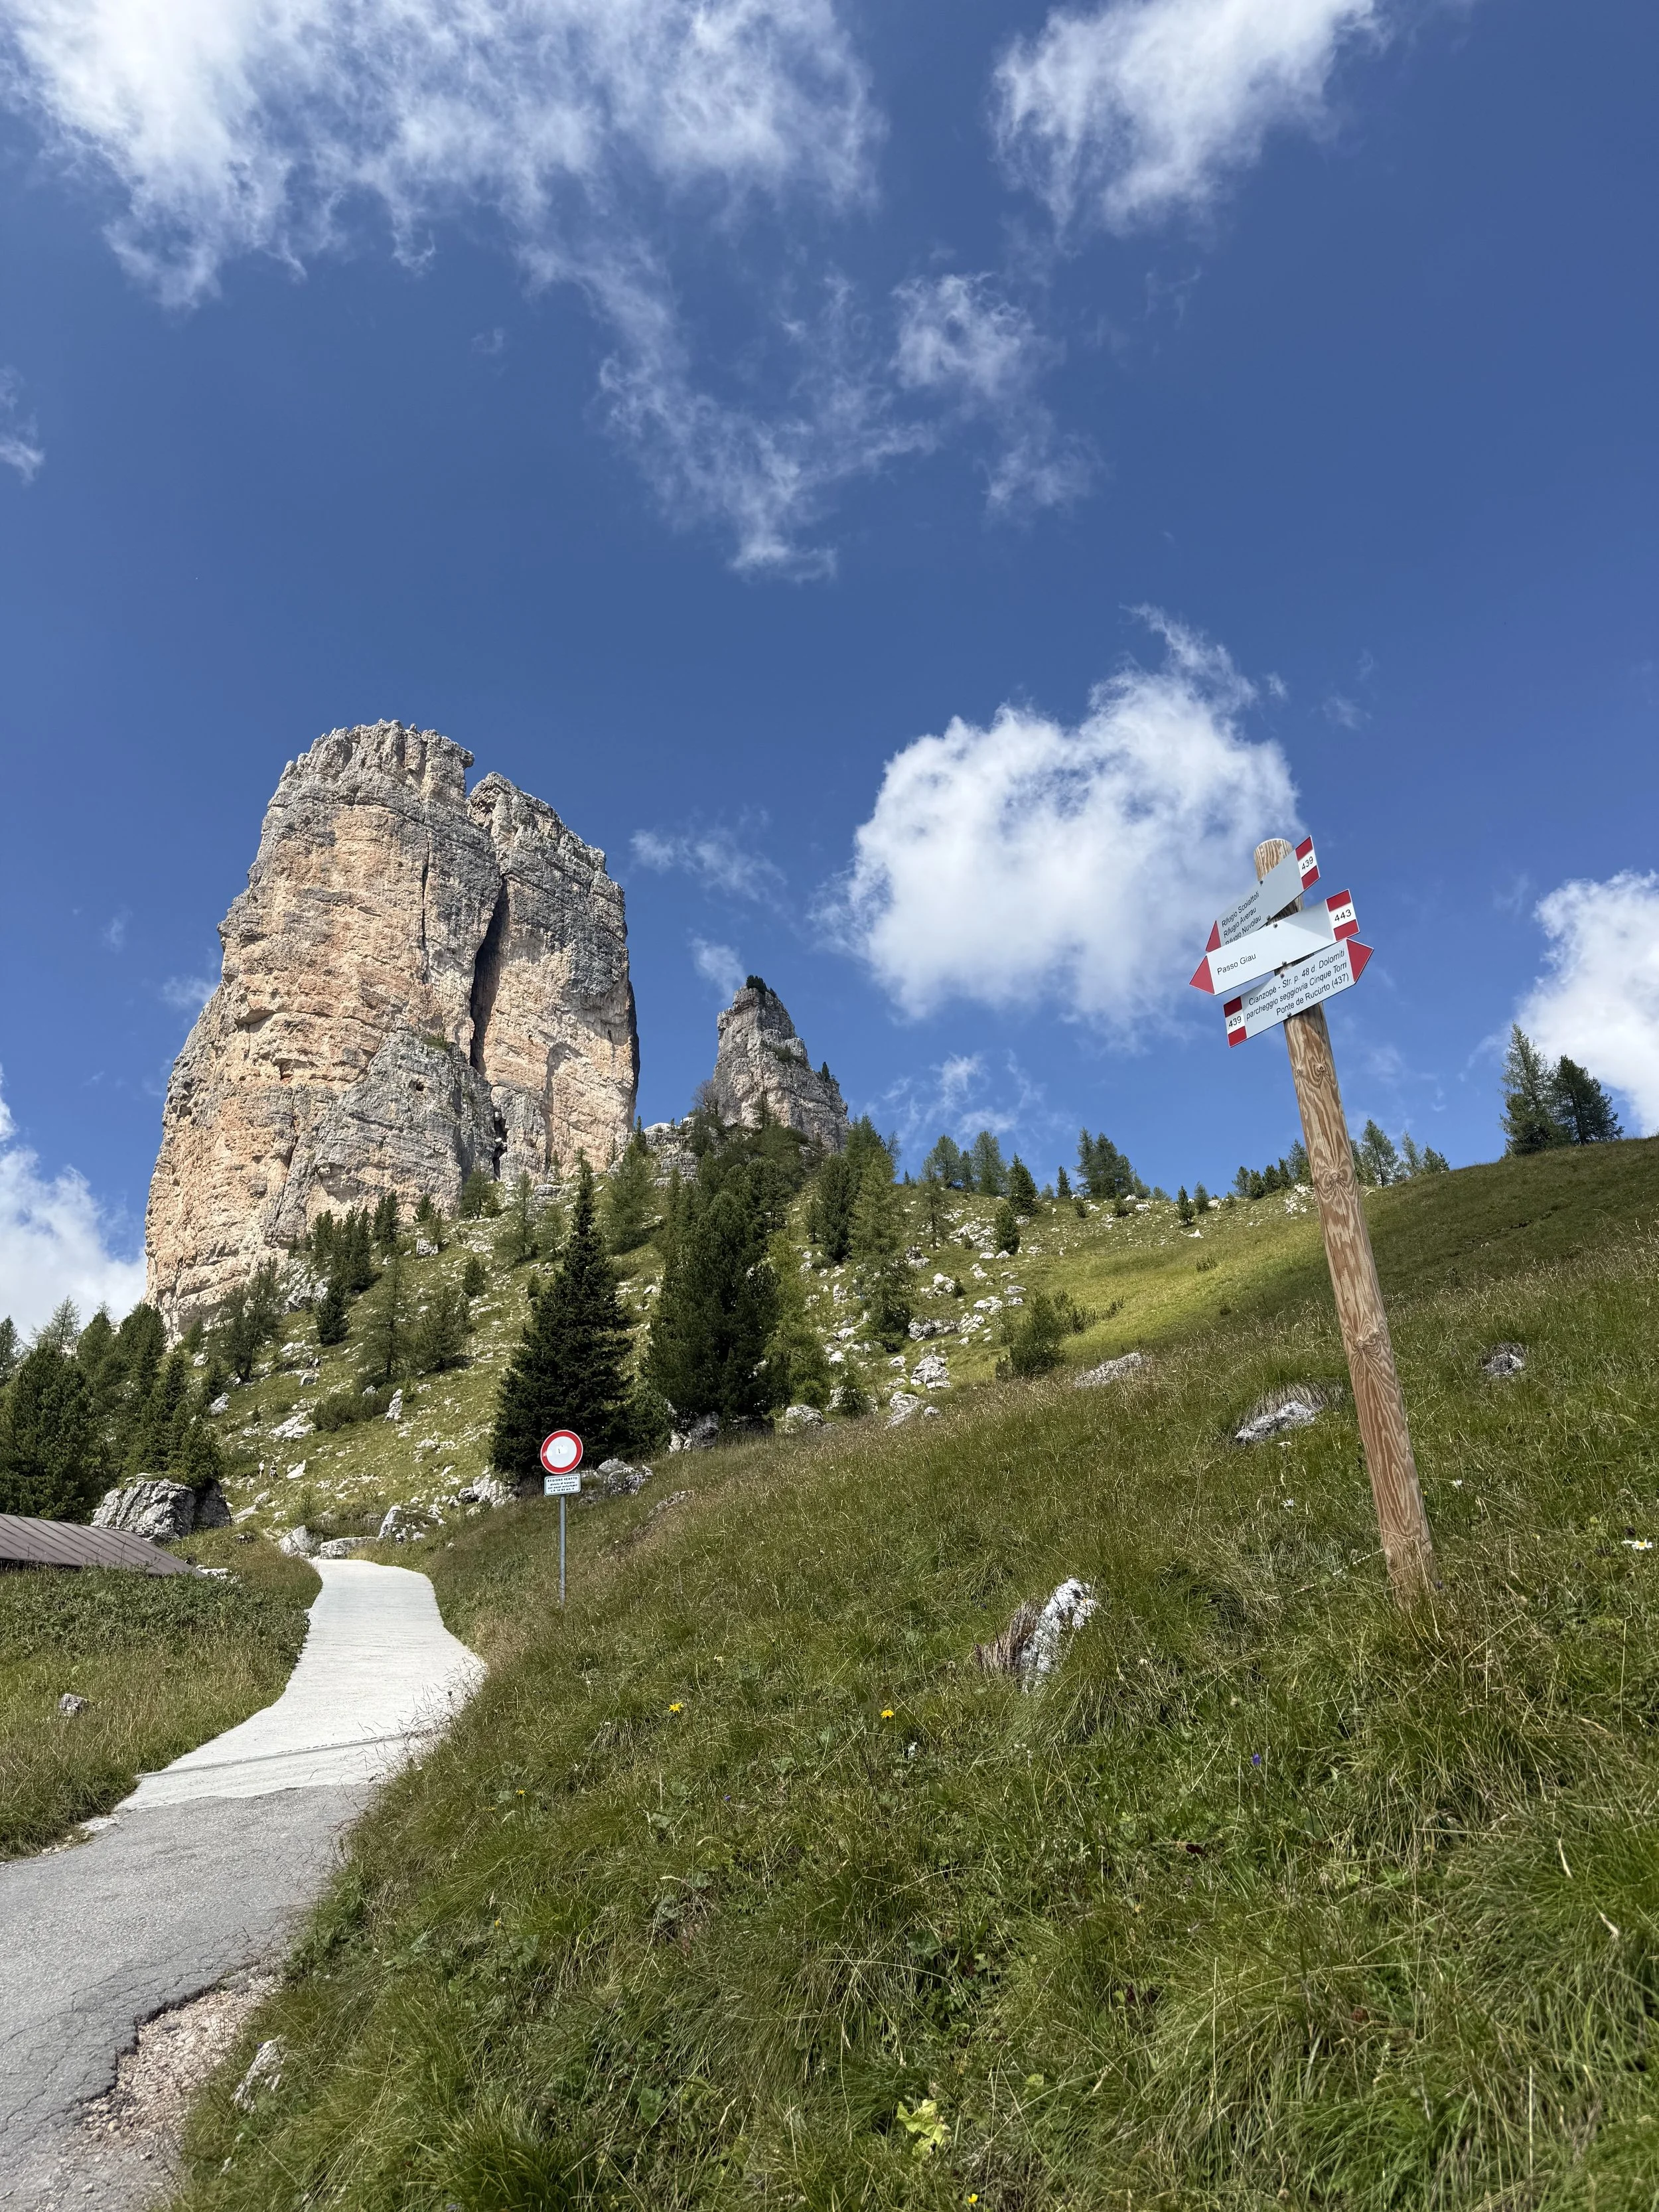
The trail starts next to Rifugio Scoiattoli. Look for the wide, gravel trail that heads towards the Cinque Torri.
The official Nuvolau refuge says: From Rifugio Scoiattoli, follow CAI 439
Time: about 1 hour 15 minutes one way.
It’s easy and straight forward to add 1.5–2 hour round-trip hike (4 km) to both Averau and Nuvolau (this included the Cinque Tori loop)
Rifugio Info: SUMMER Check in max 20.00 Check out 10.00 The chairlift runs from 9.00 to 17.00 clock
The forest road of the 5 Torri is closed from July 1st to September 20th. To access, ask for a code at the refuge the day before
Half Board includes: Bed with bedlinens - 1 Shower towels - Shower - Dinner ( with a choice of 4-5 first courses, 4-5 second courses, including a vegetarian dish, one side dish and dessert ) from 19.00 to 20.00 - Buffet breackfast from 7.00 to 9.00 - Free WIFI - Dressing room.
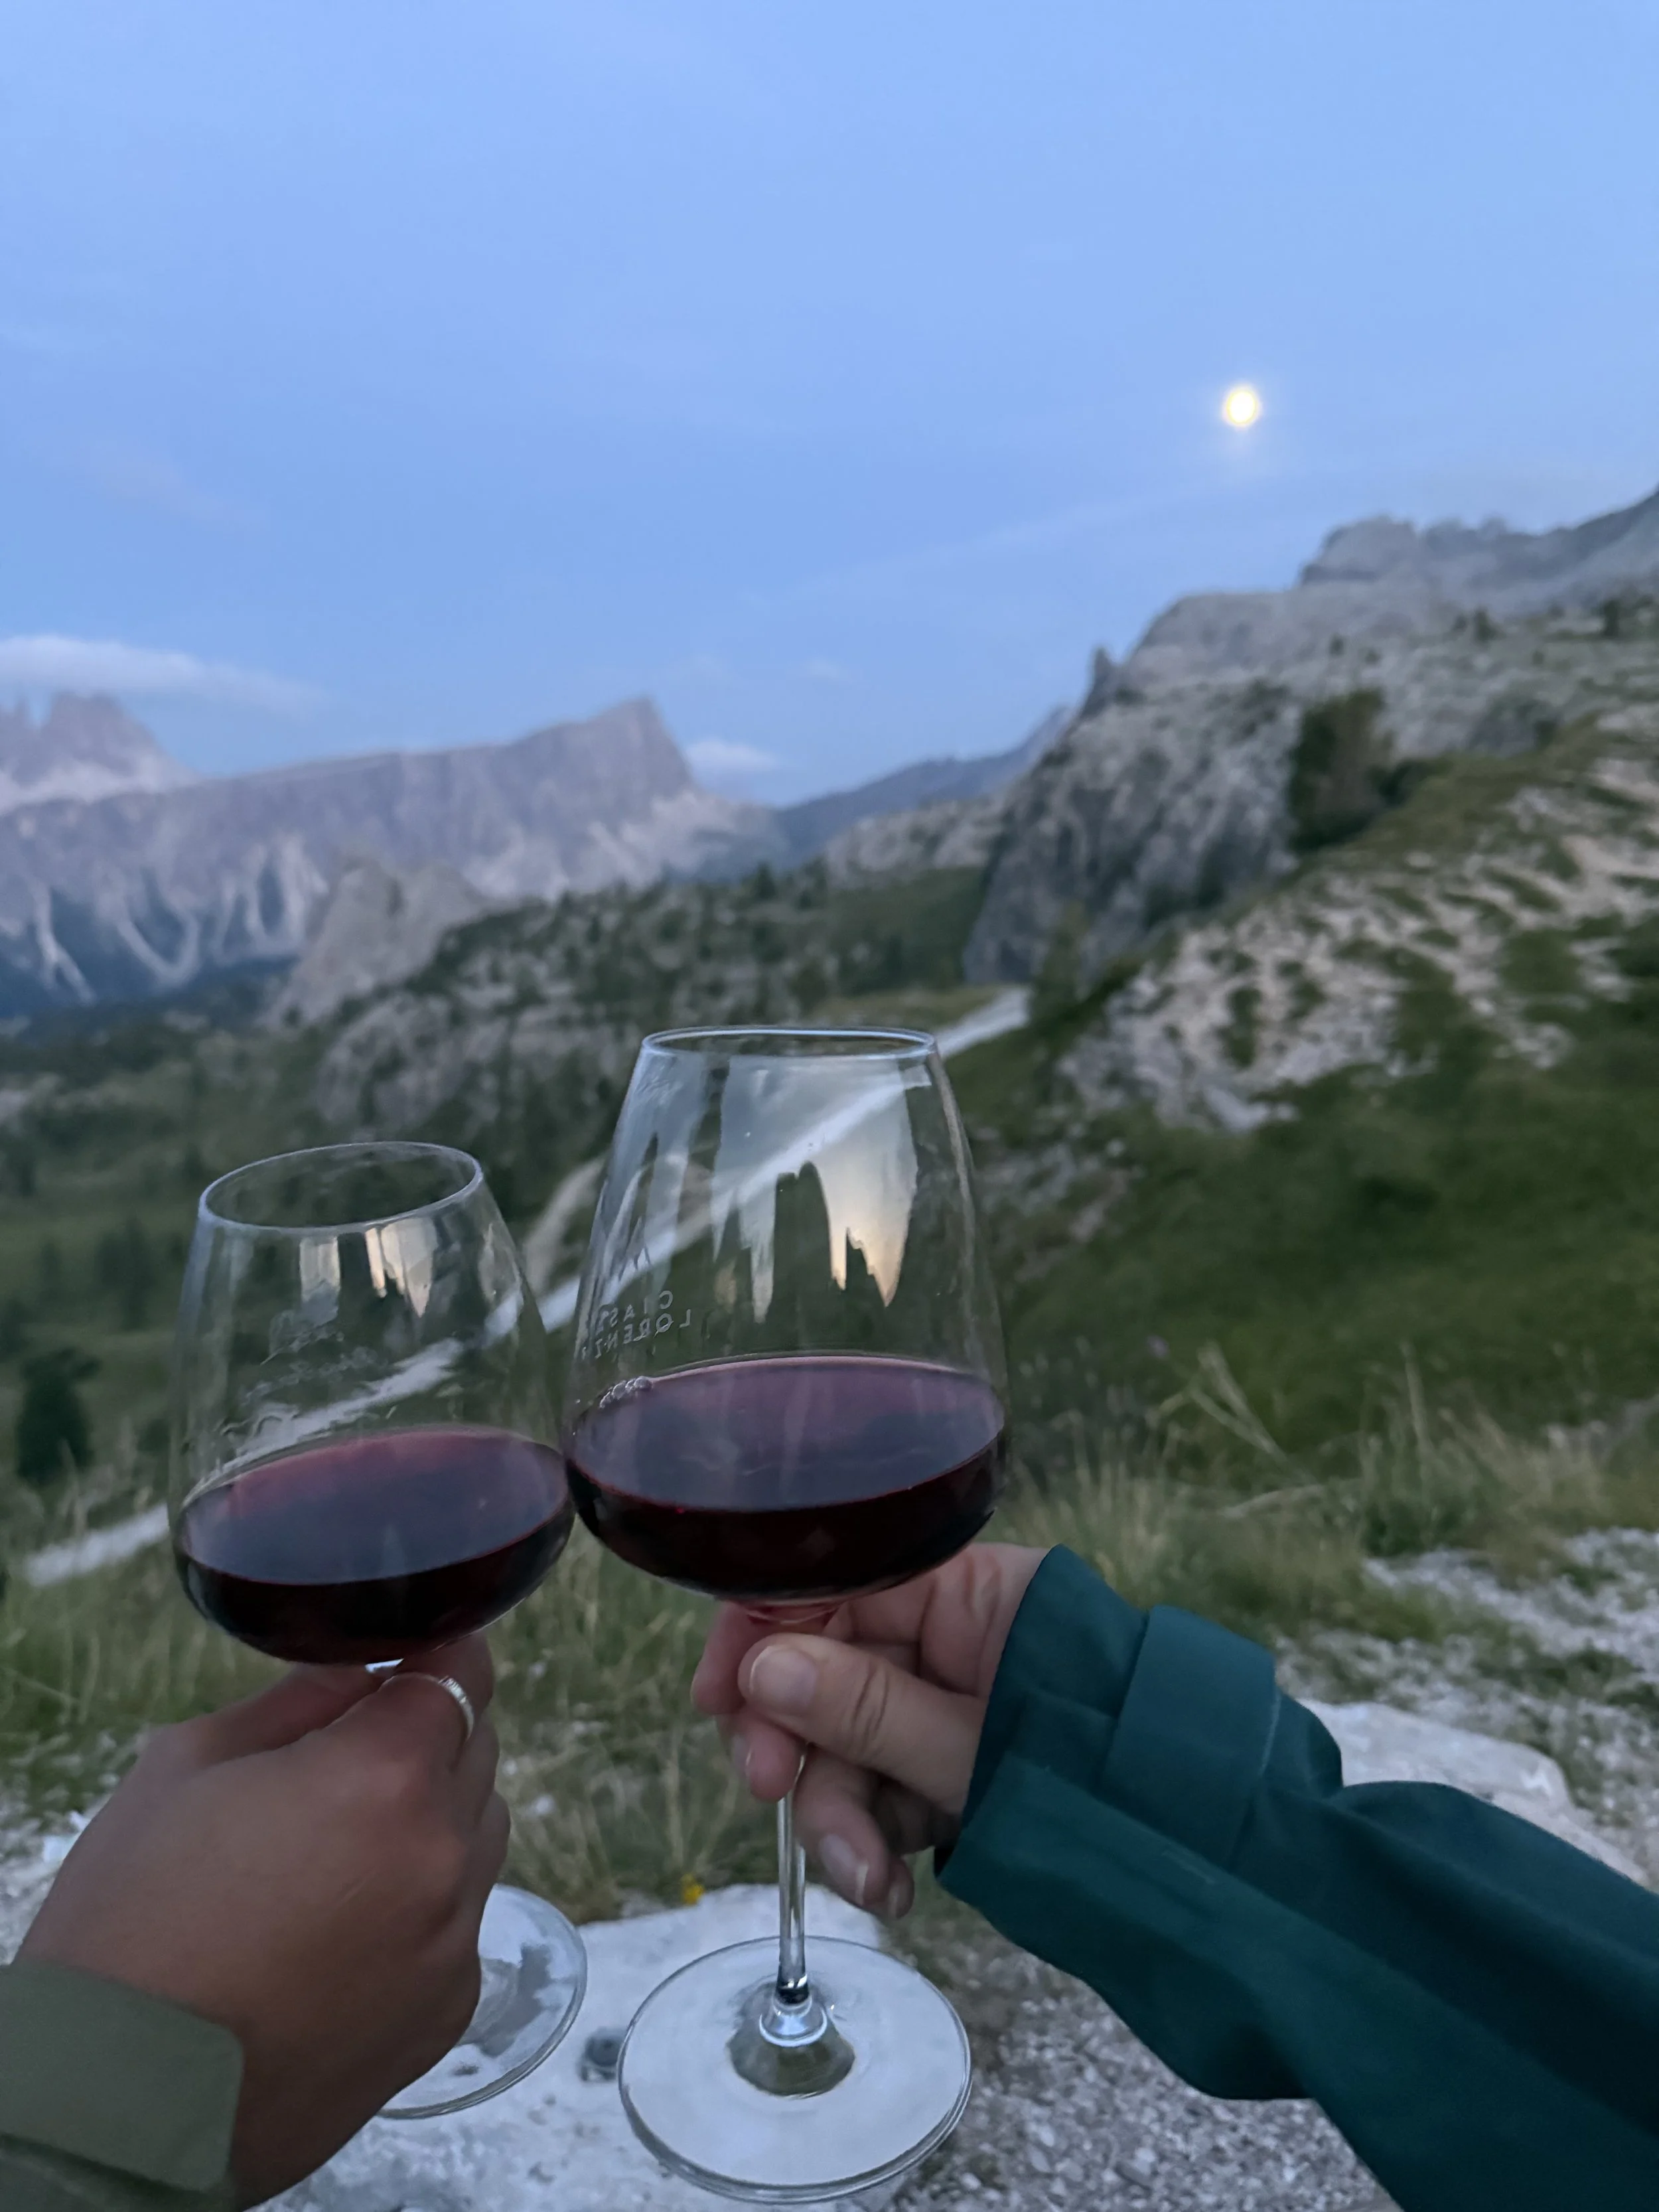
This hut can be reached by a cable car so it is quite busy during the day, once it stops running it gets very peaceful and quiet which means you can explore and surrounding area without the crowds. We had the most amazing evening sat outside drinking a glass of red wine while the sun went down.
Total distance:
Rifugio Giussani to Rigugio 5 Torri - 5miles and 1,404ft elevation, then it’s only 0.5miles to Rifugio Scoiattoli
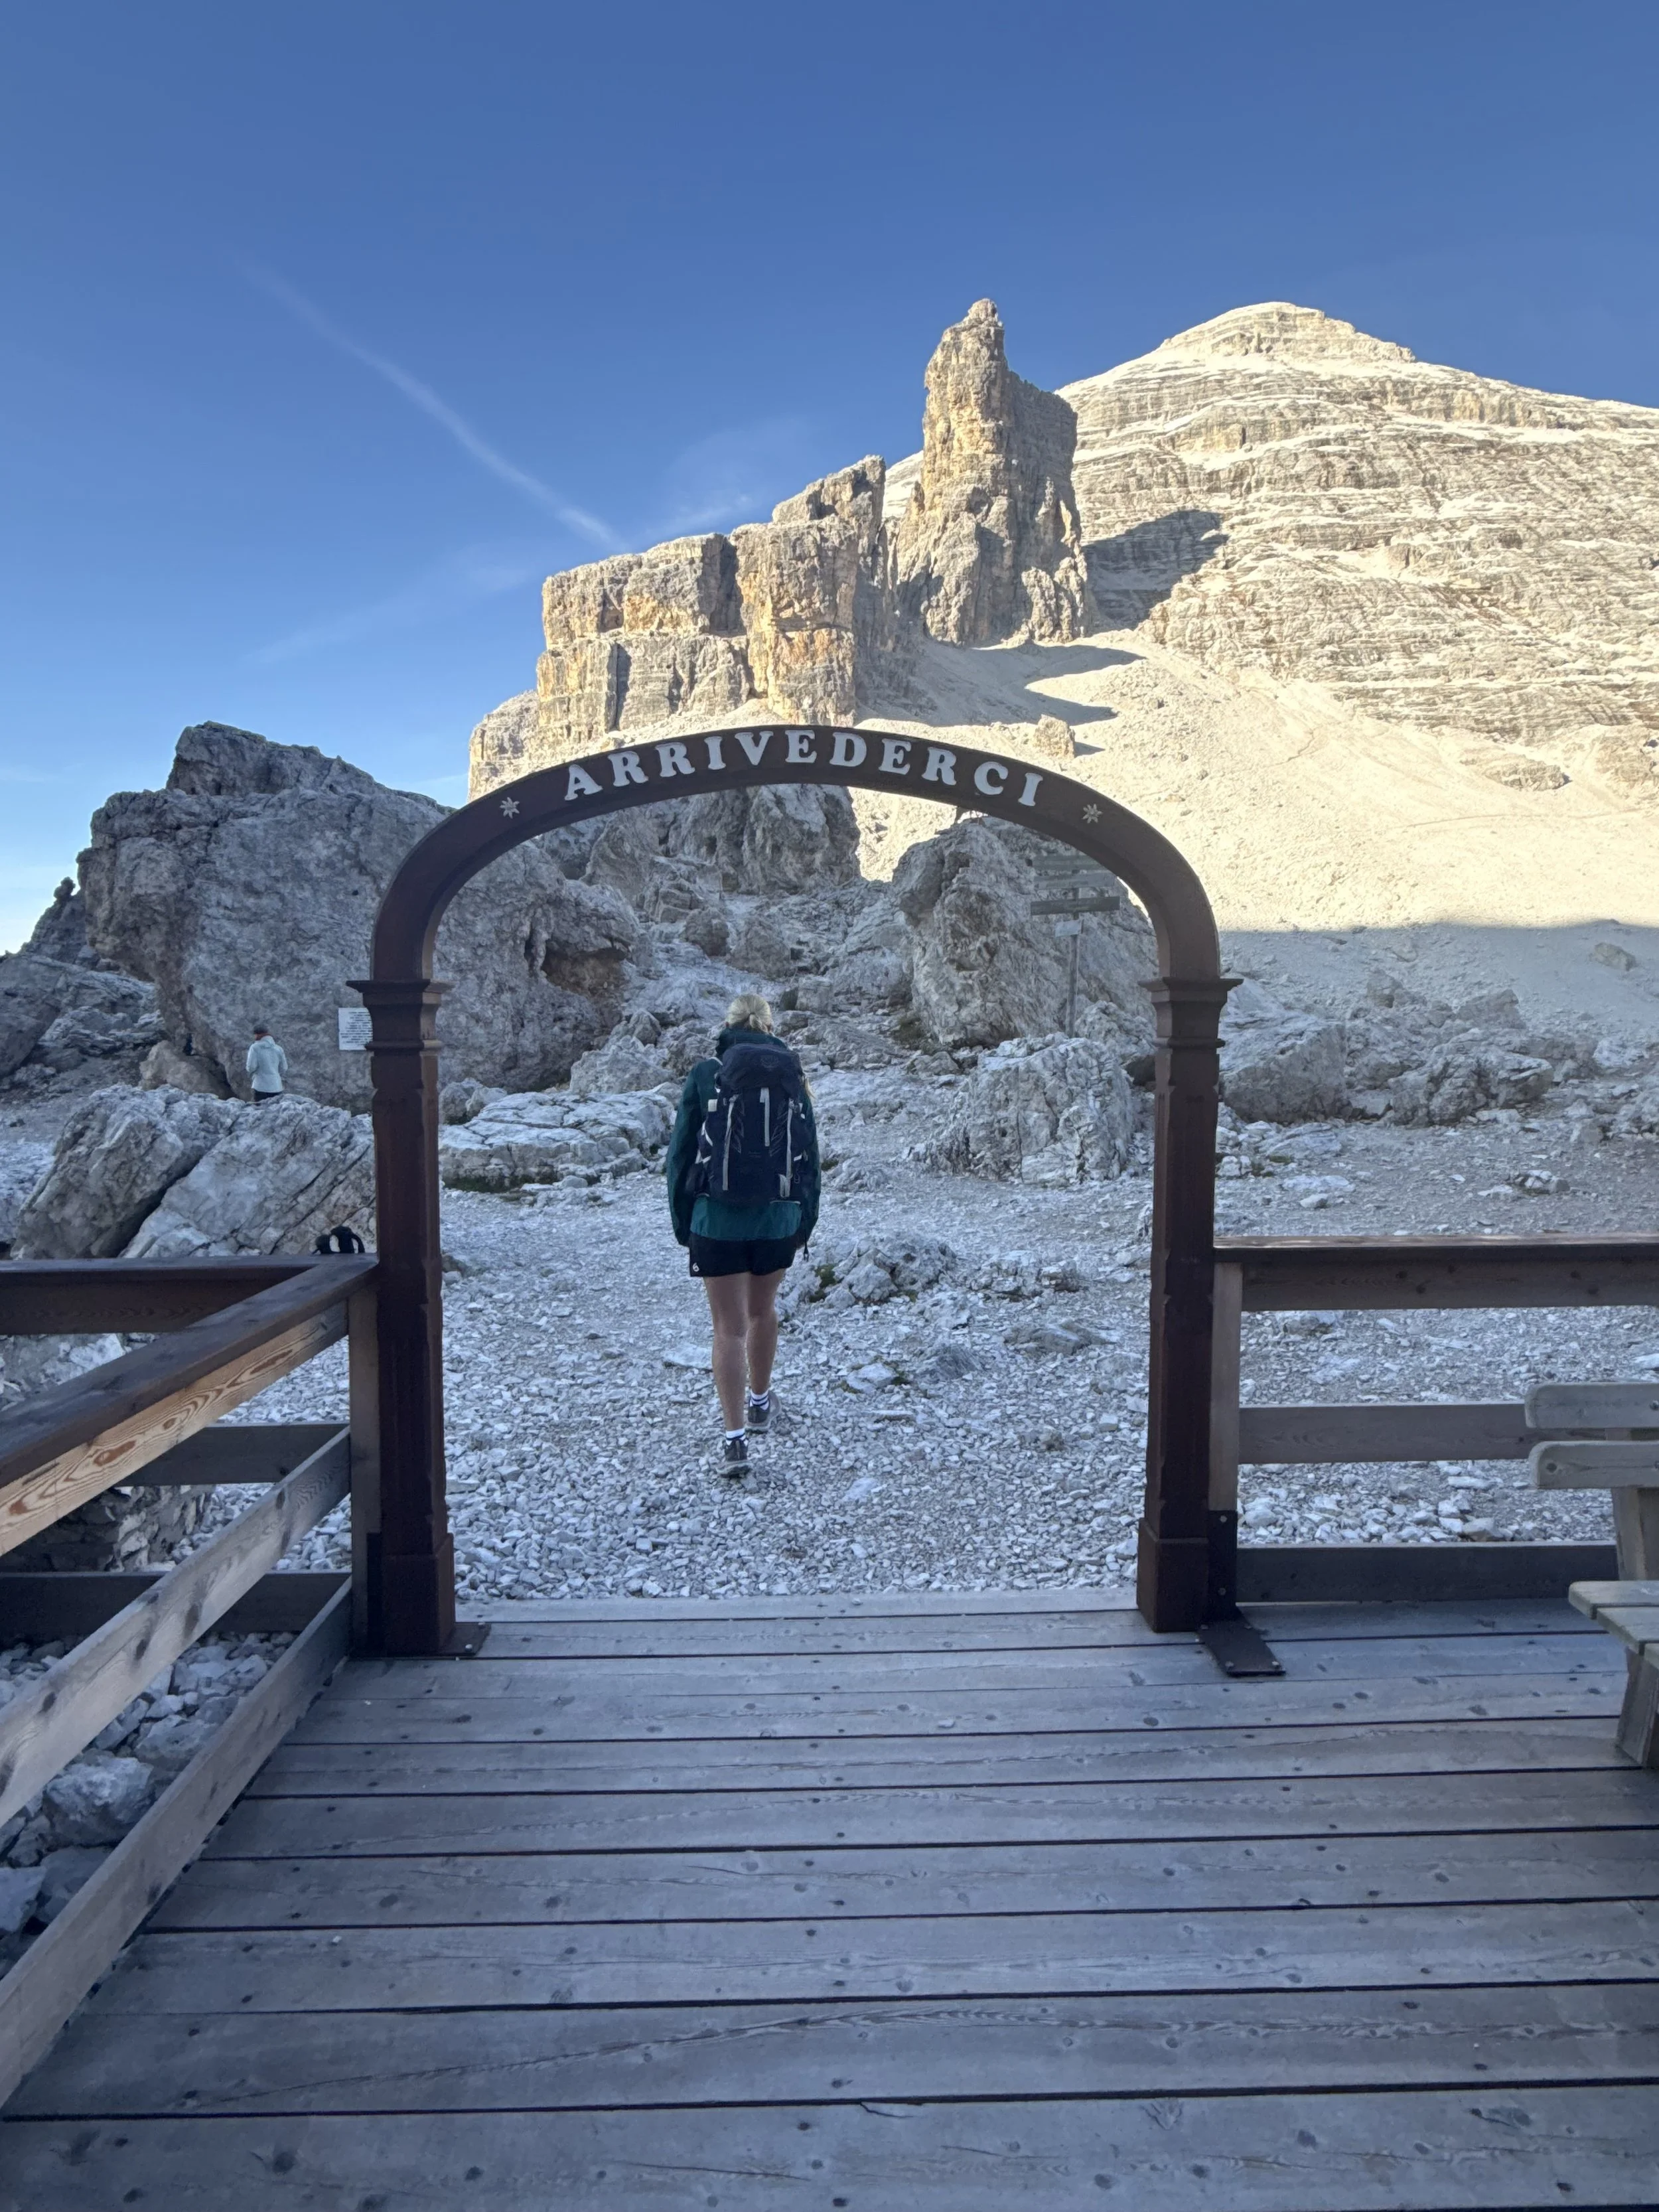
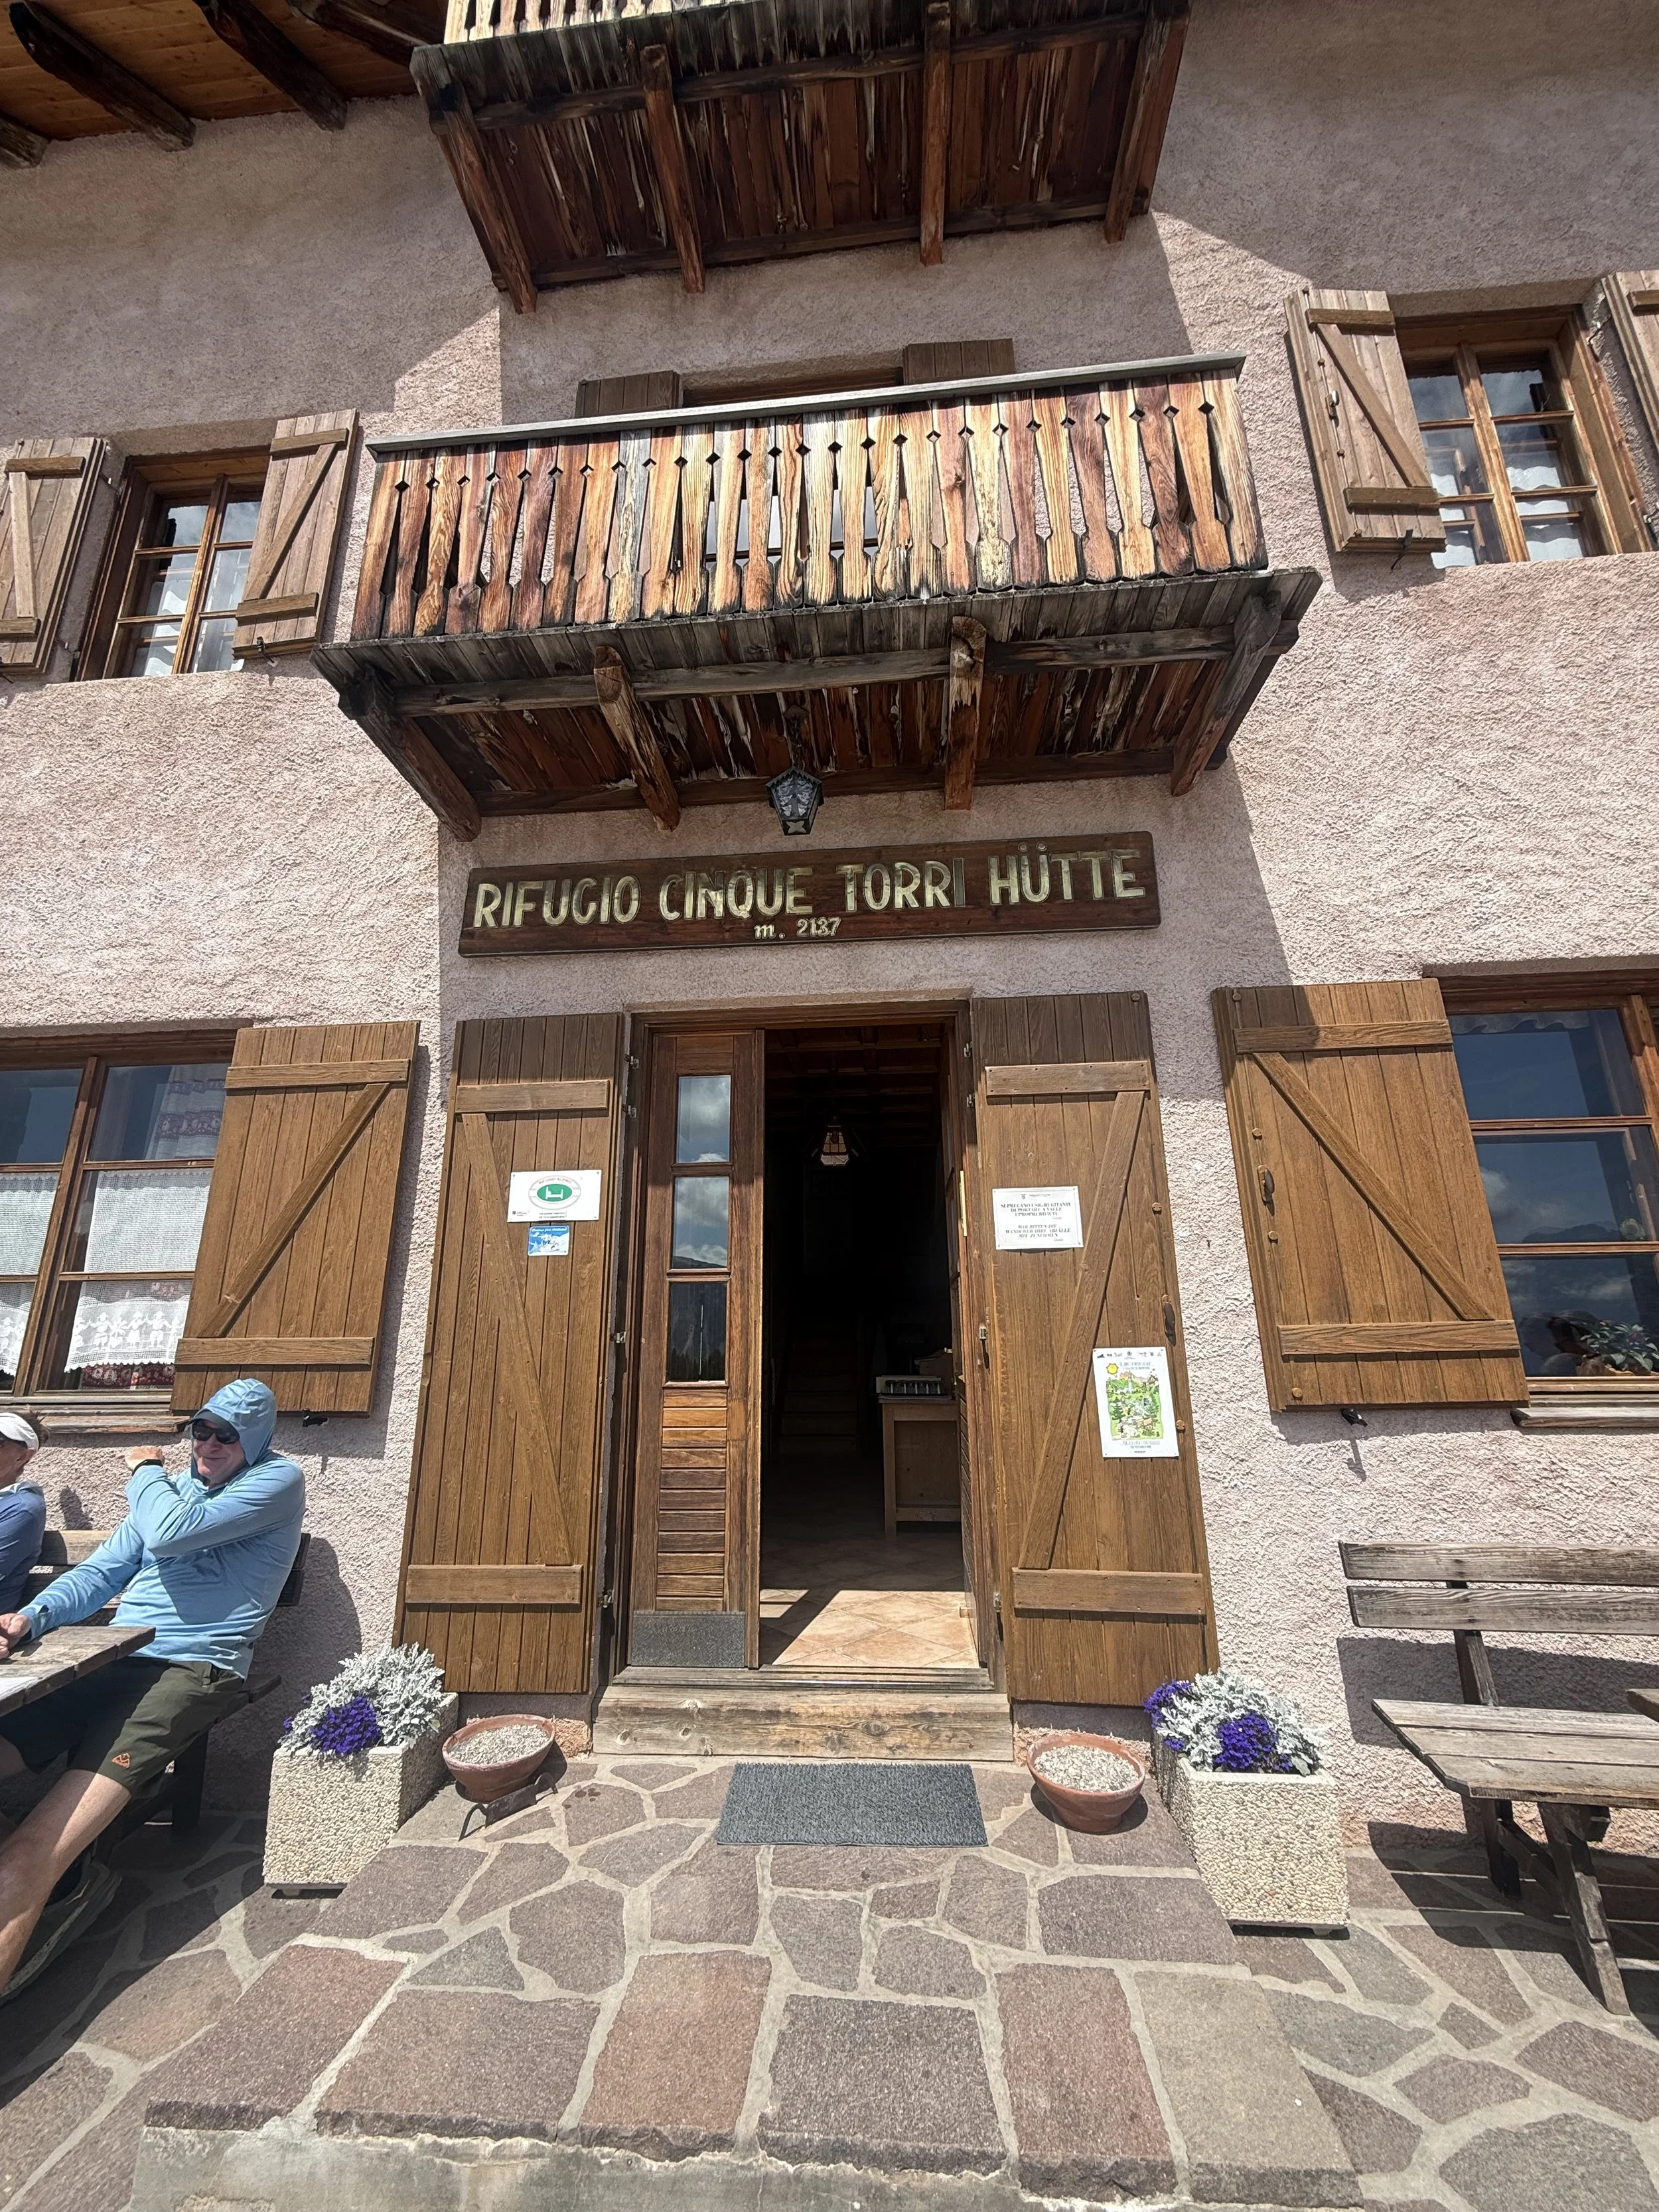
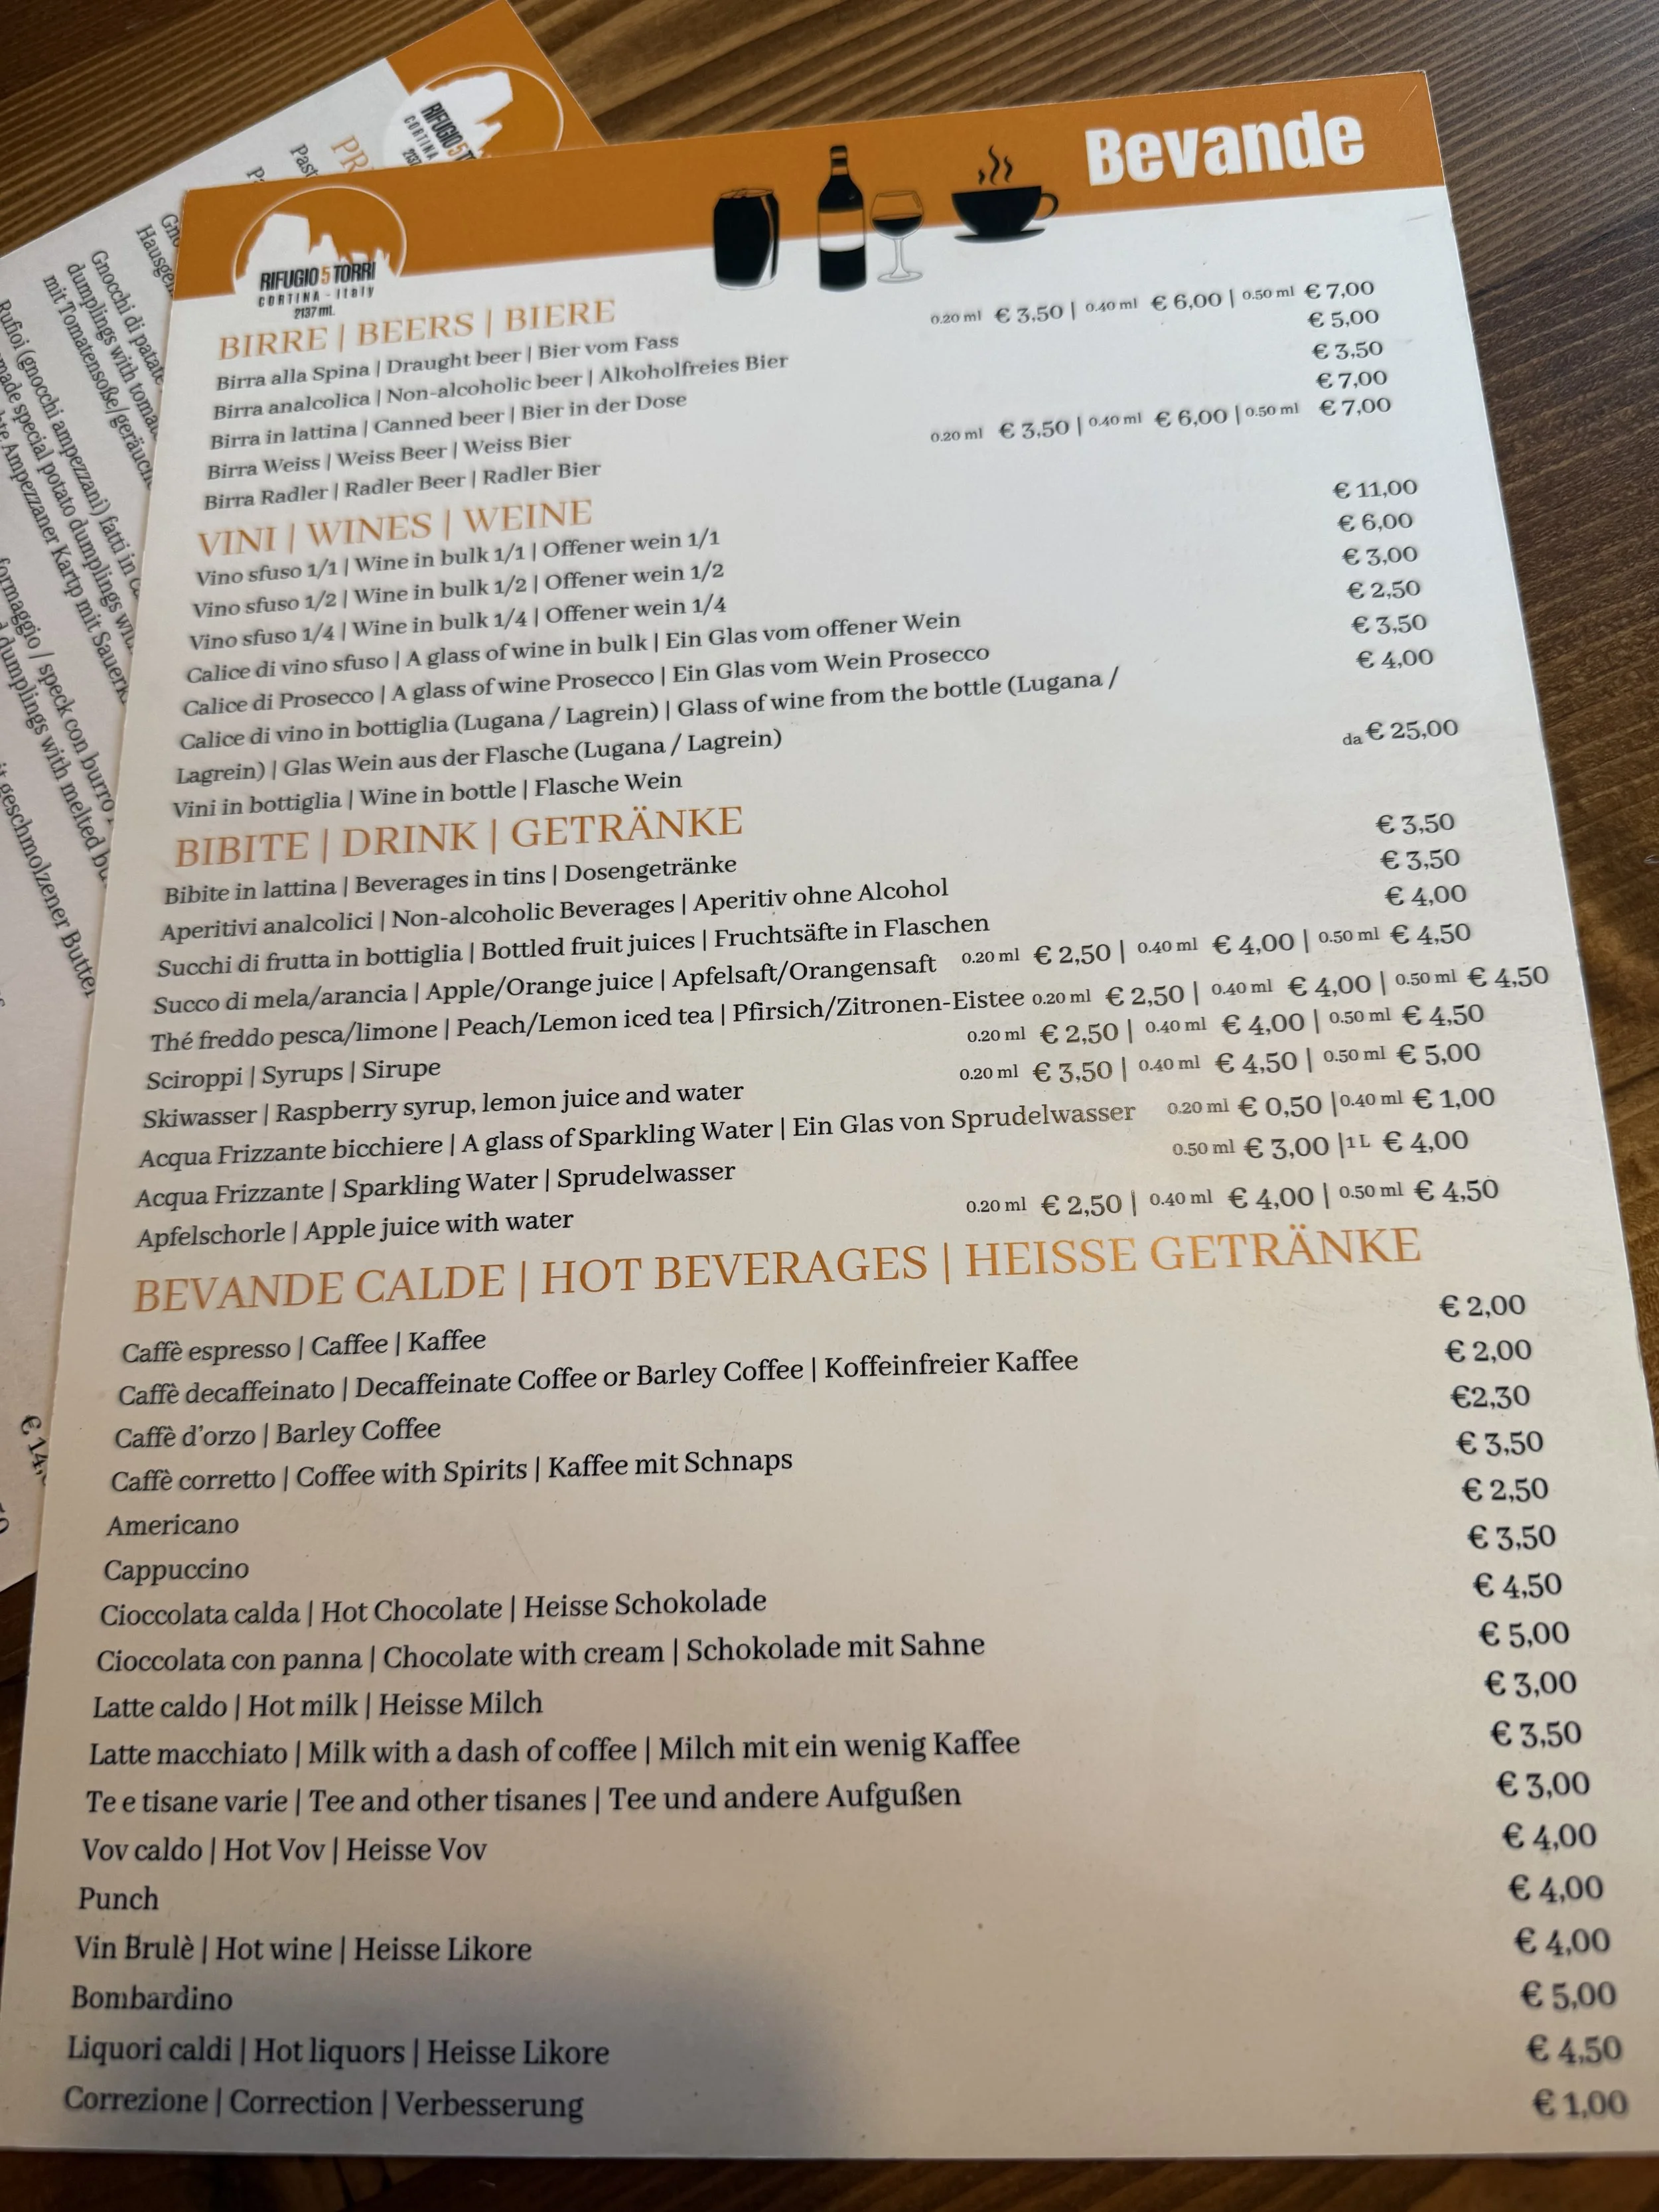
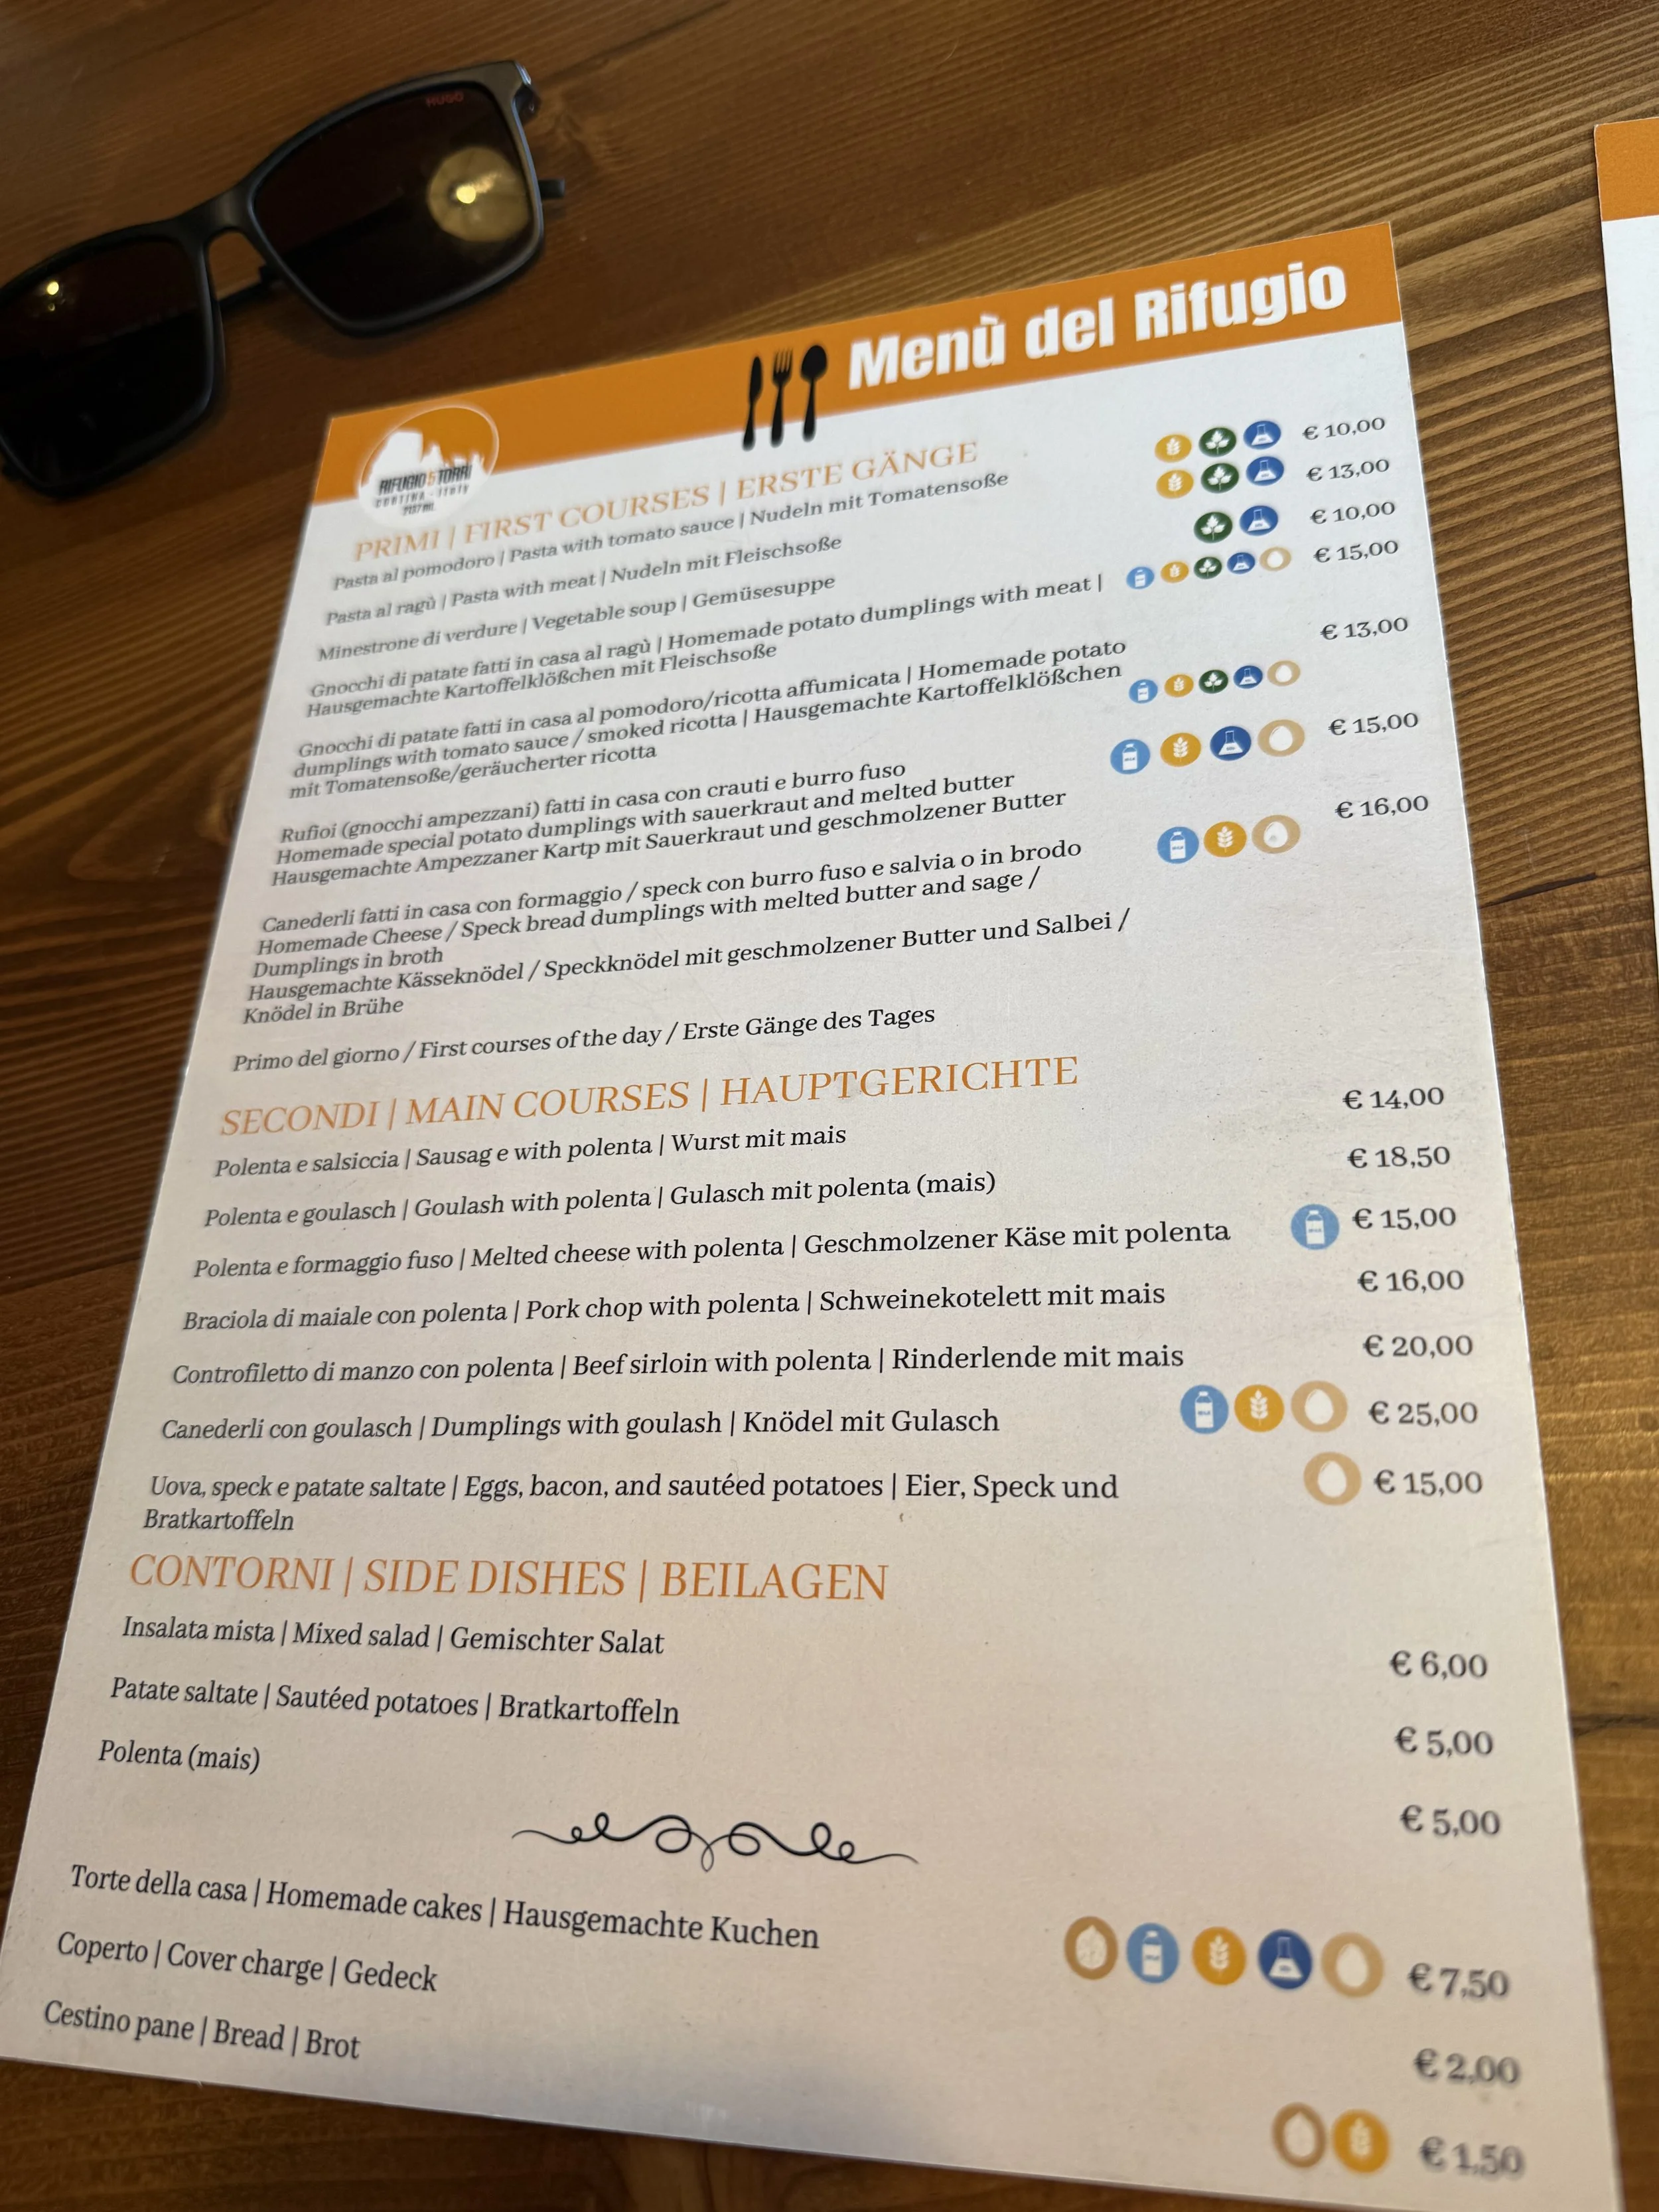
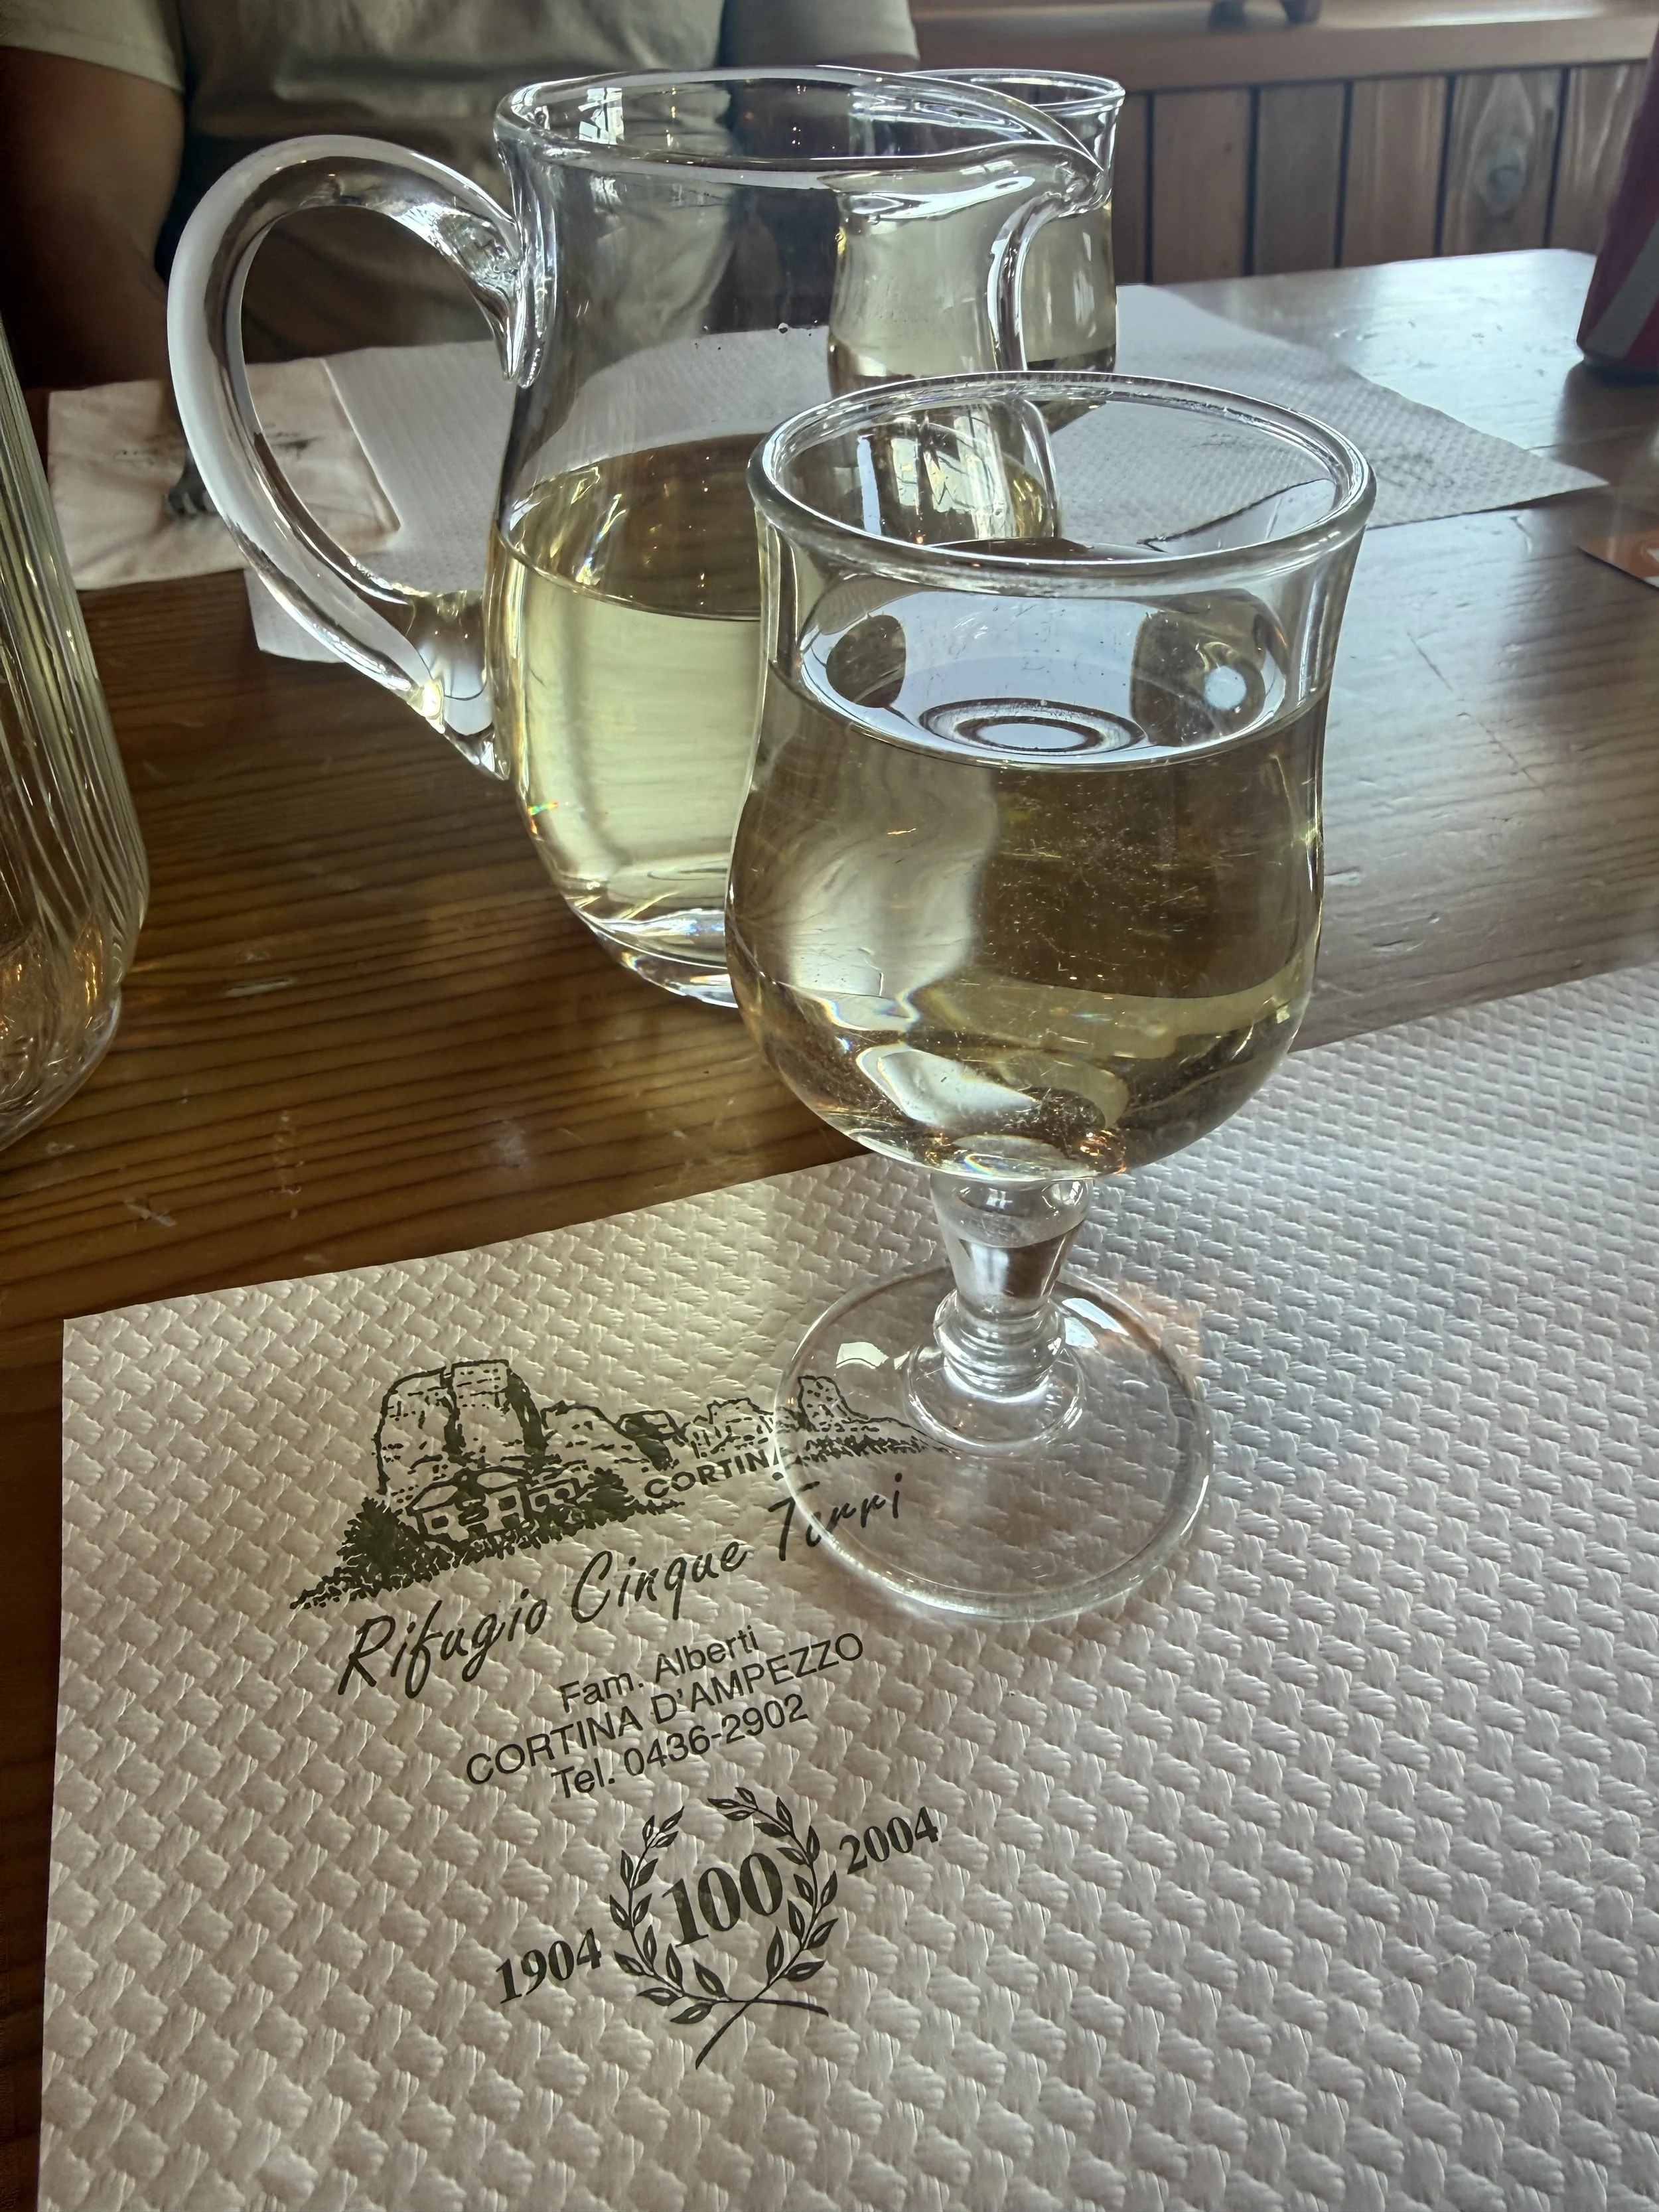
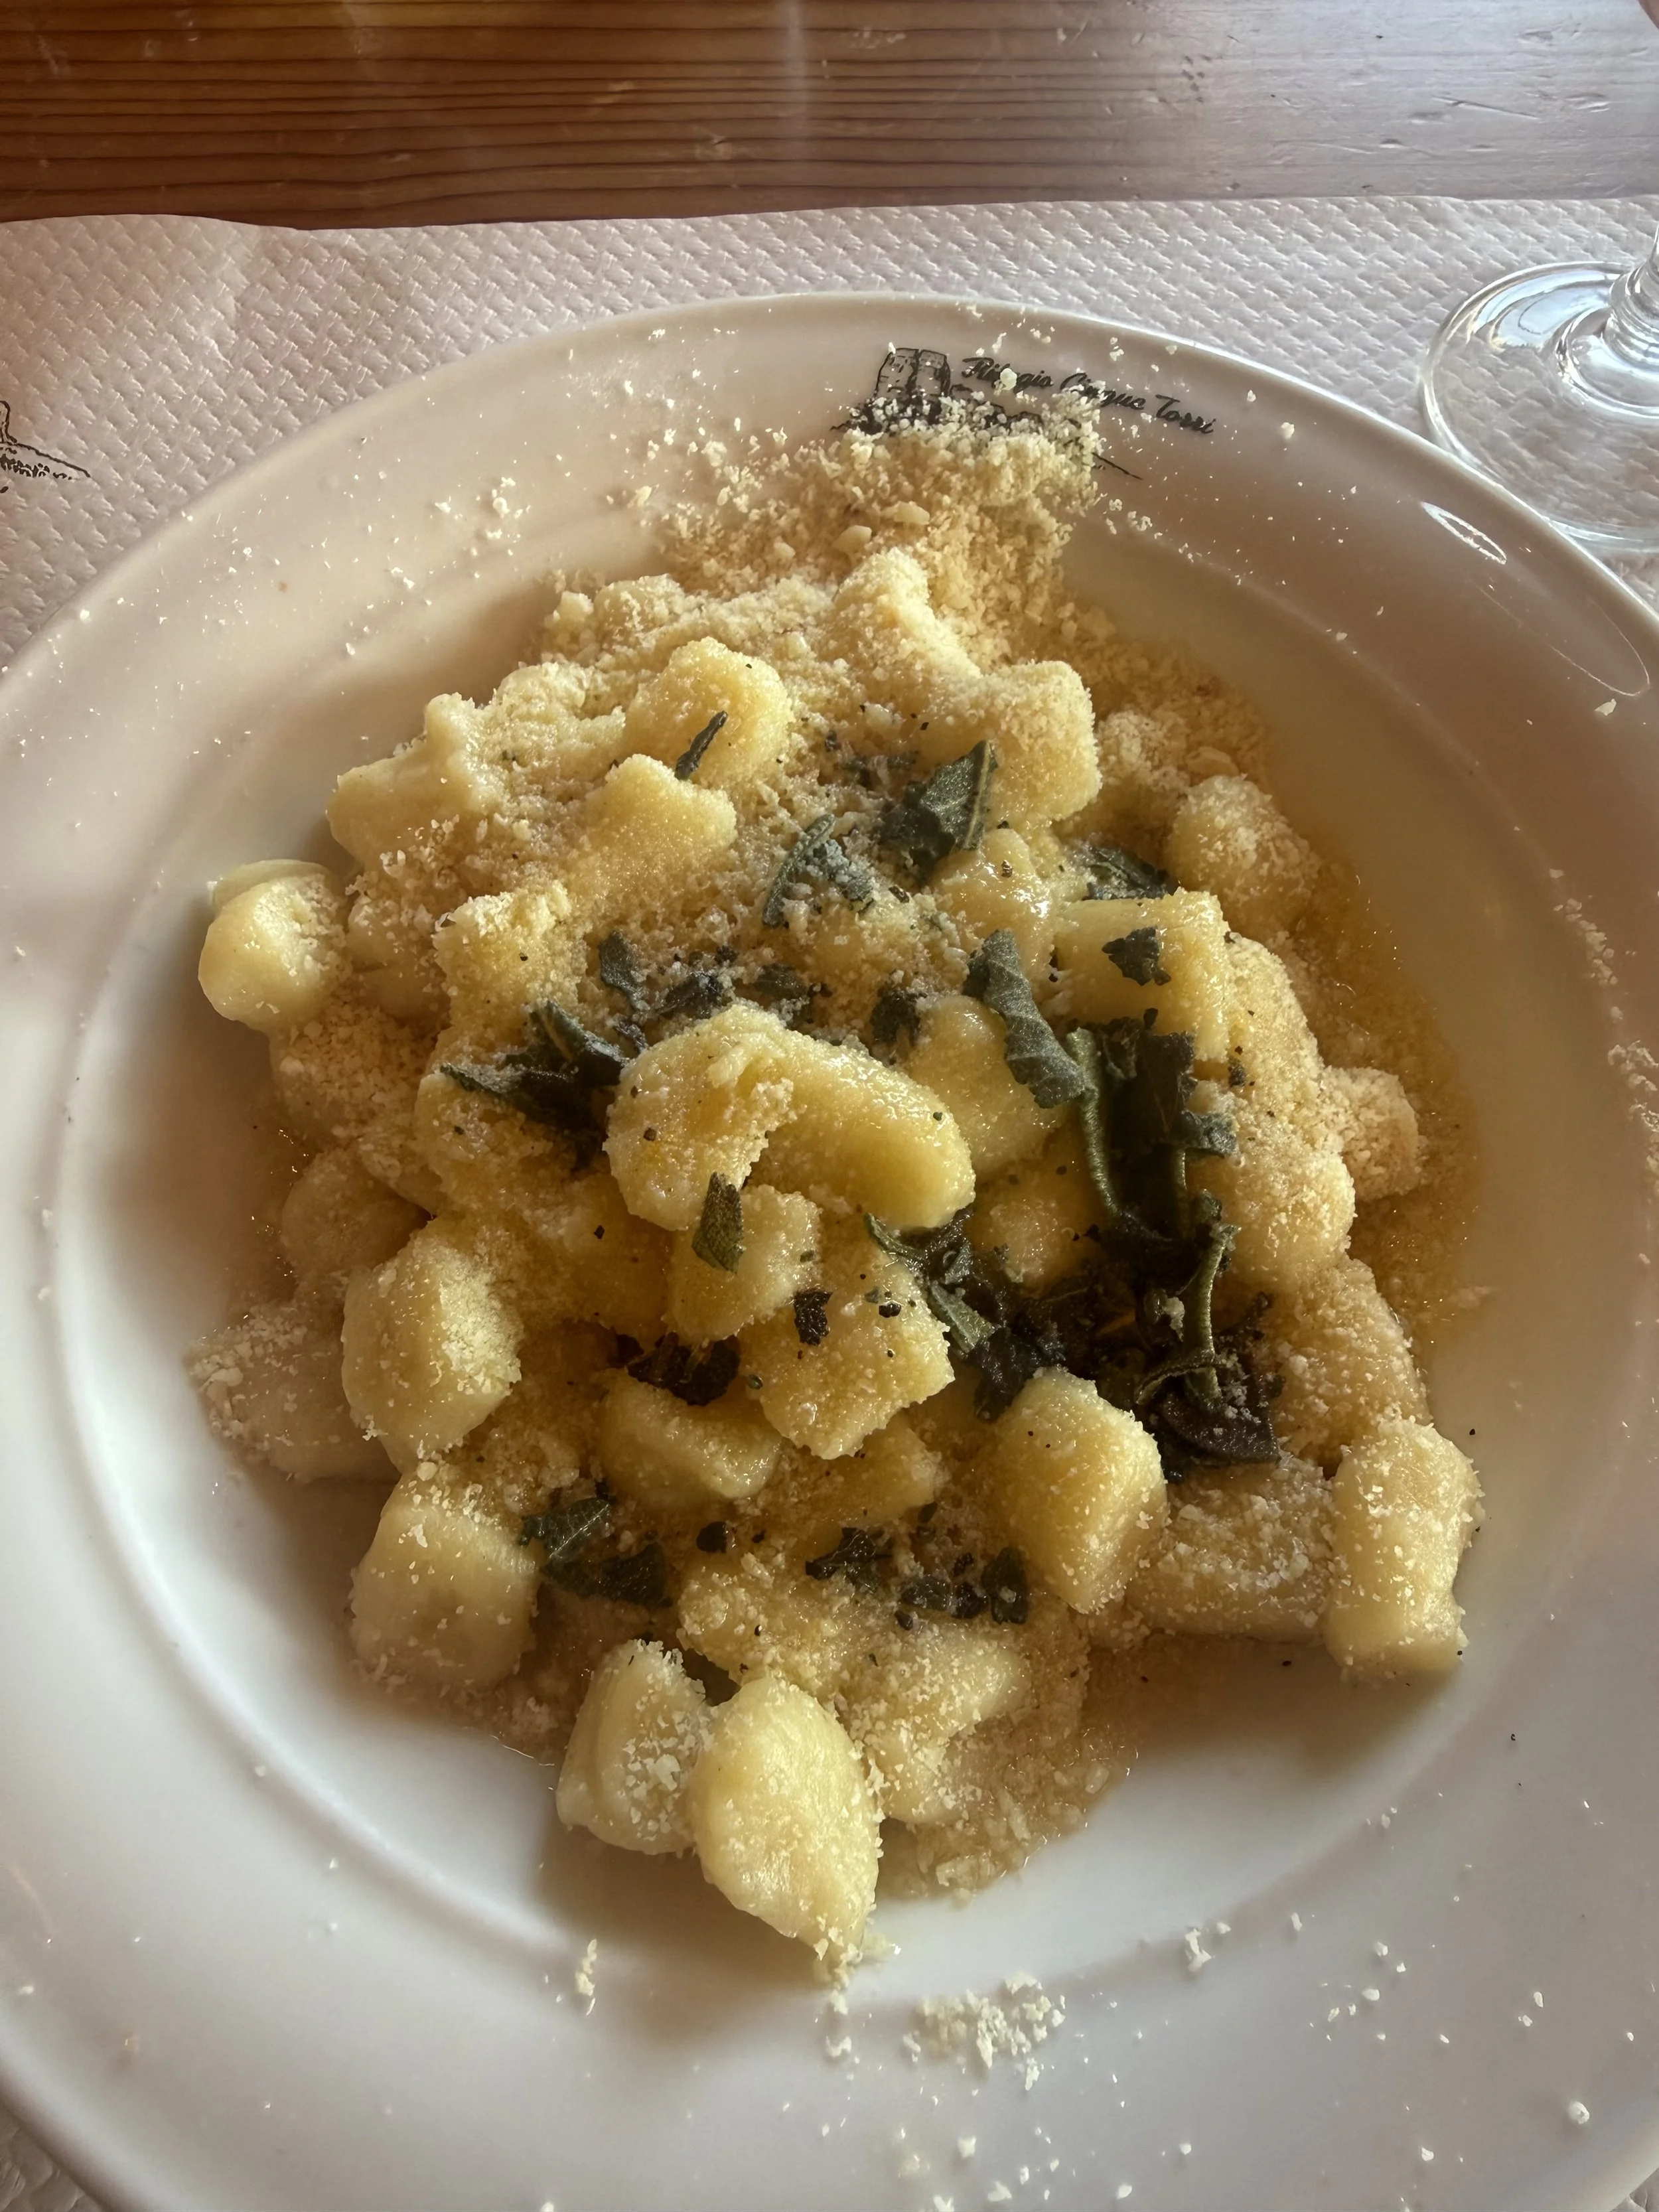
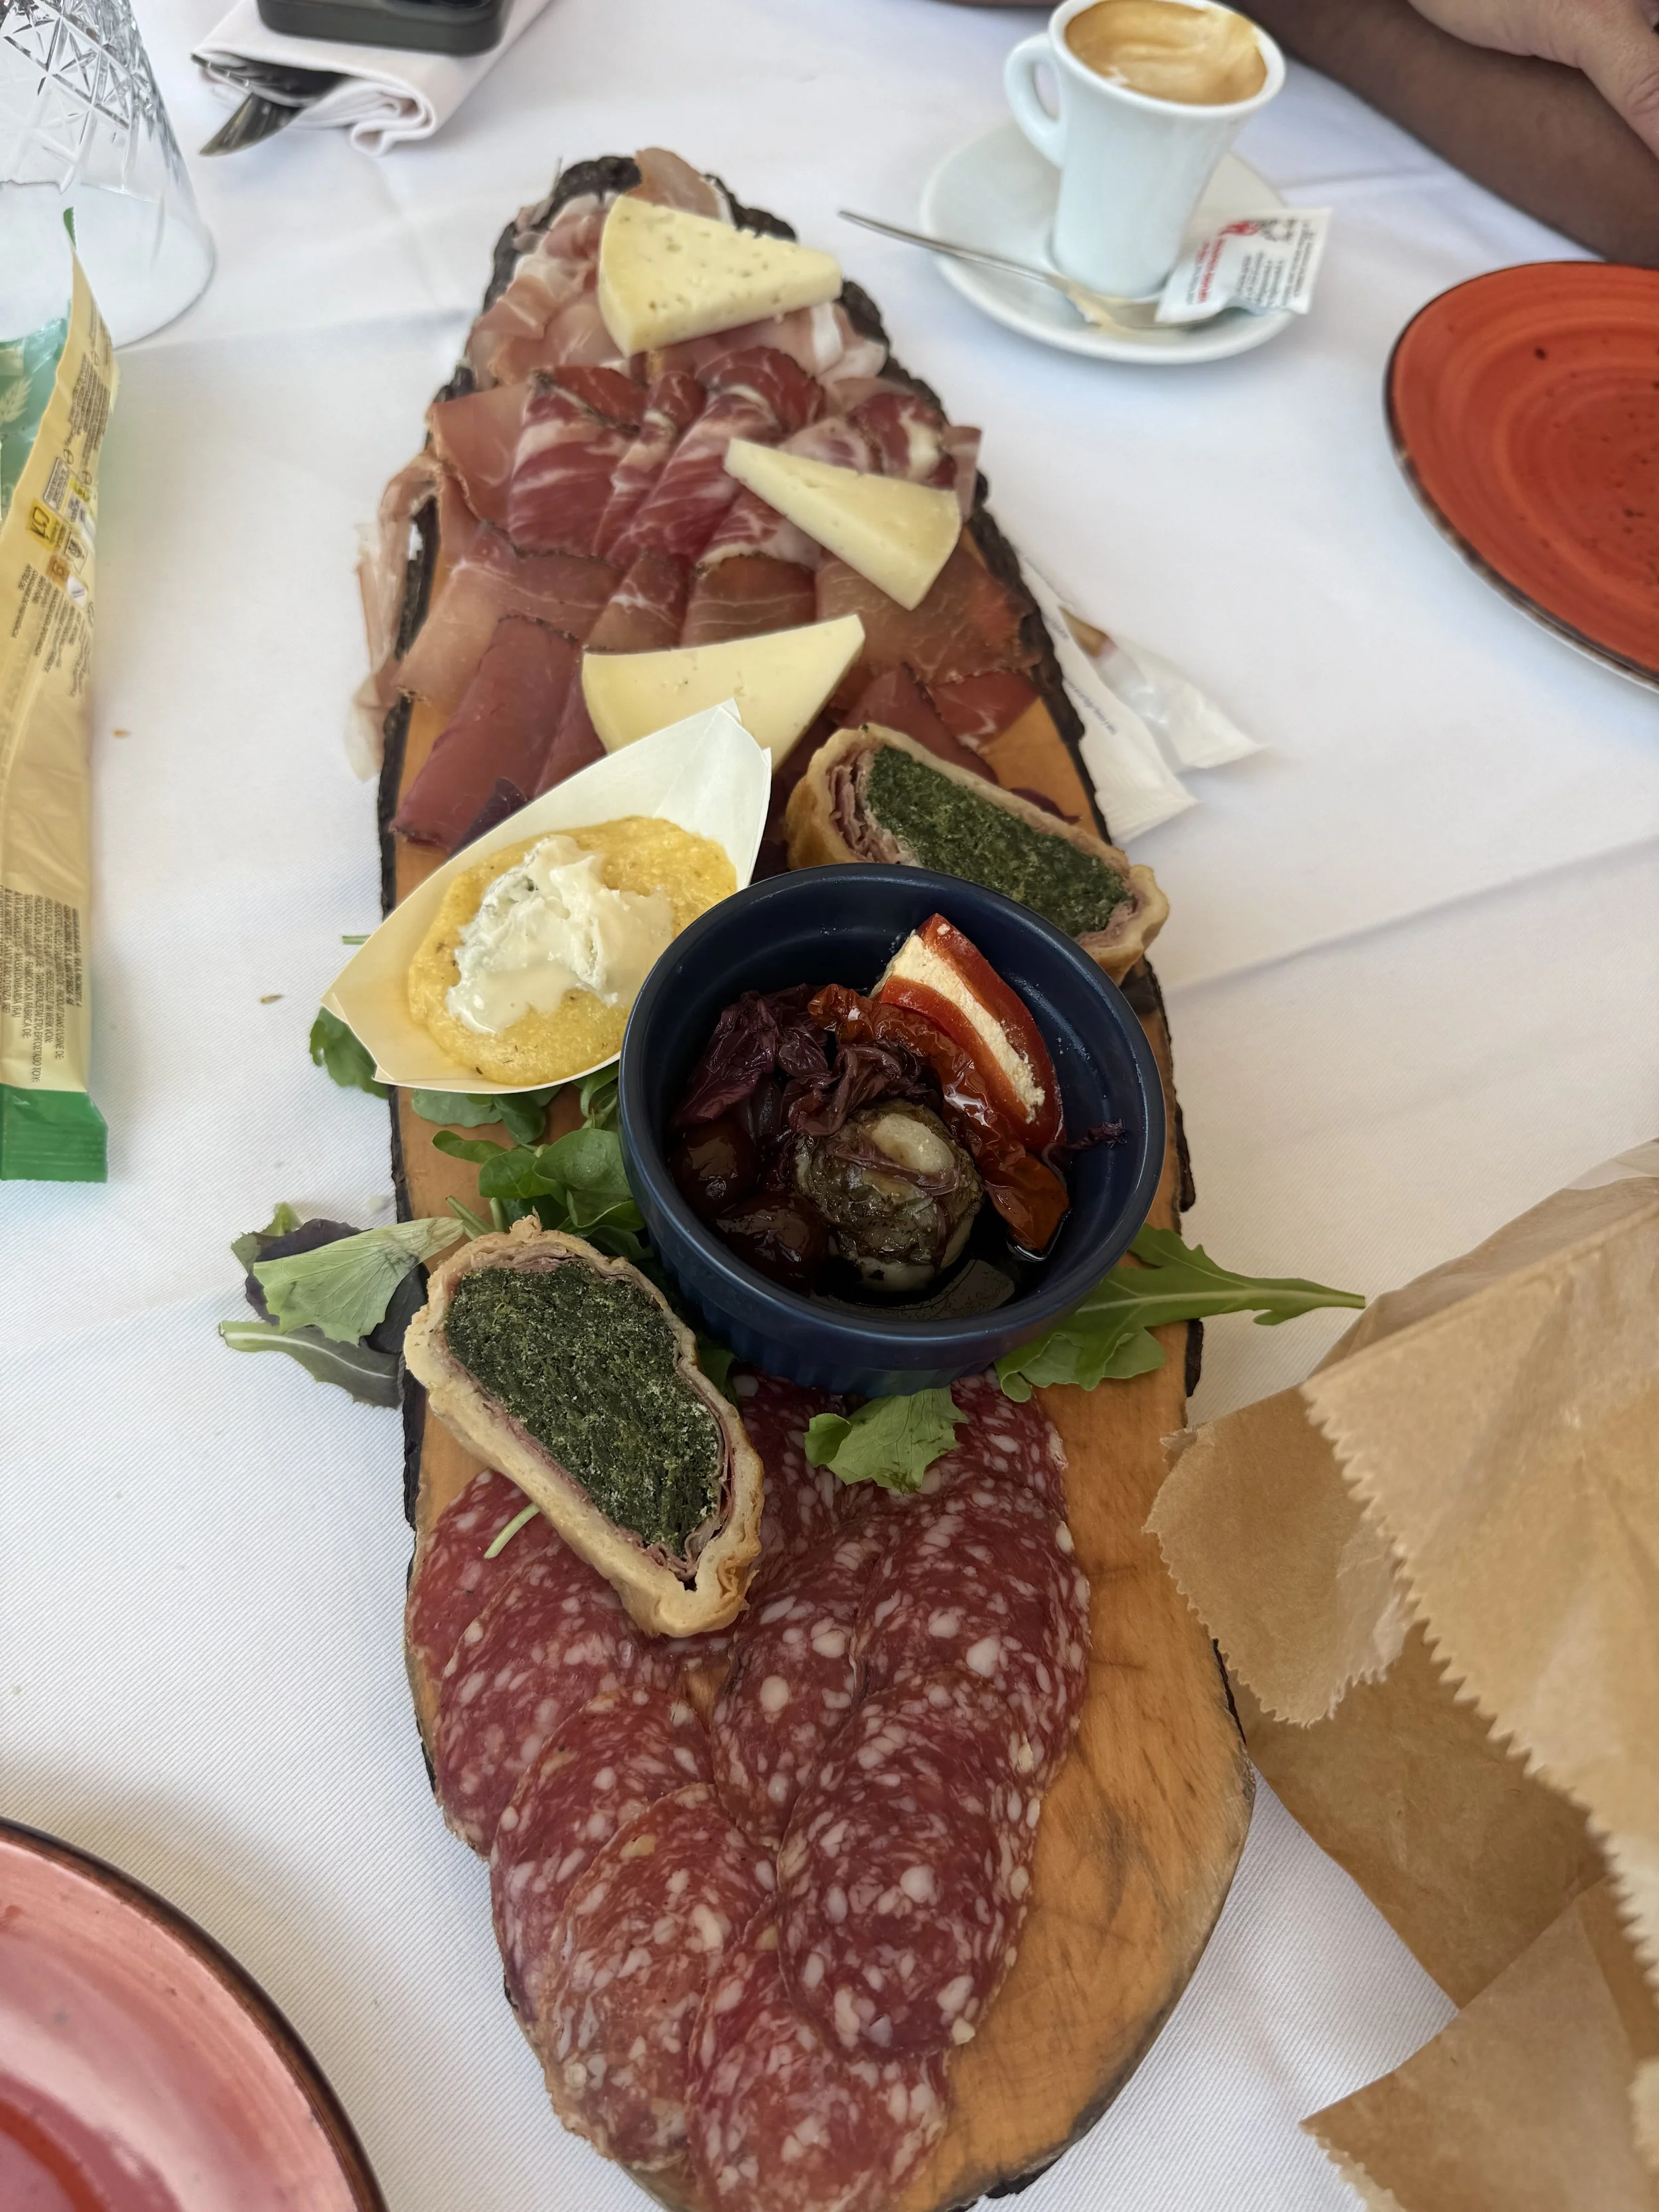
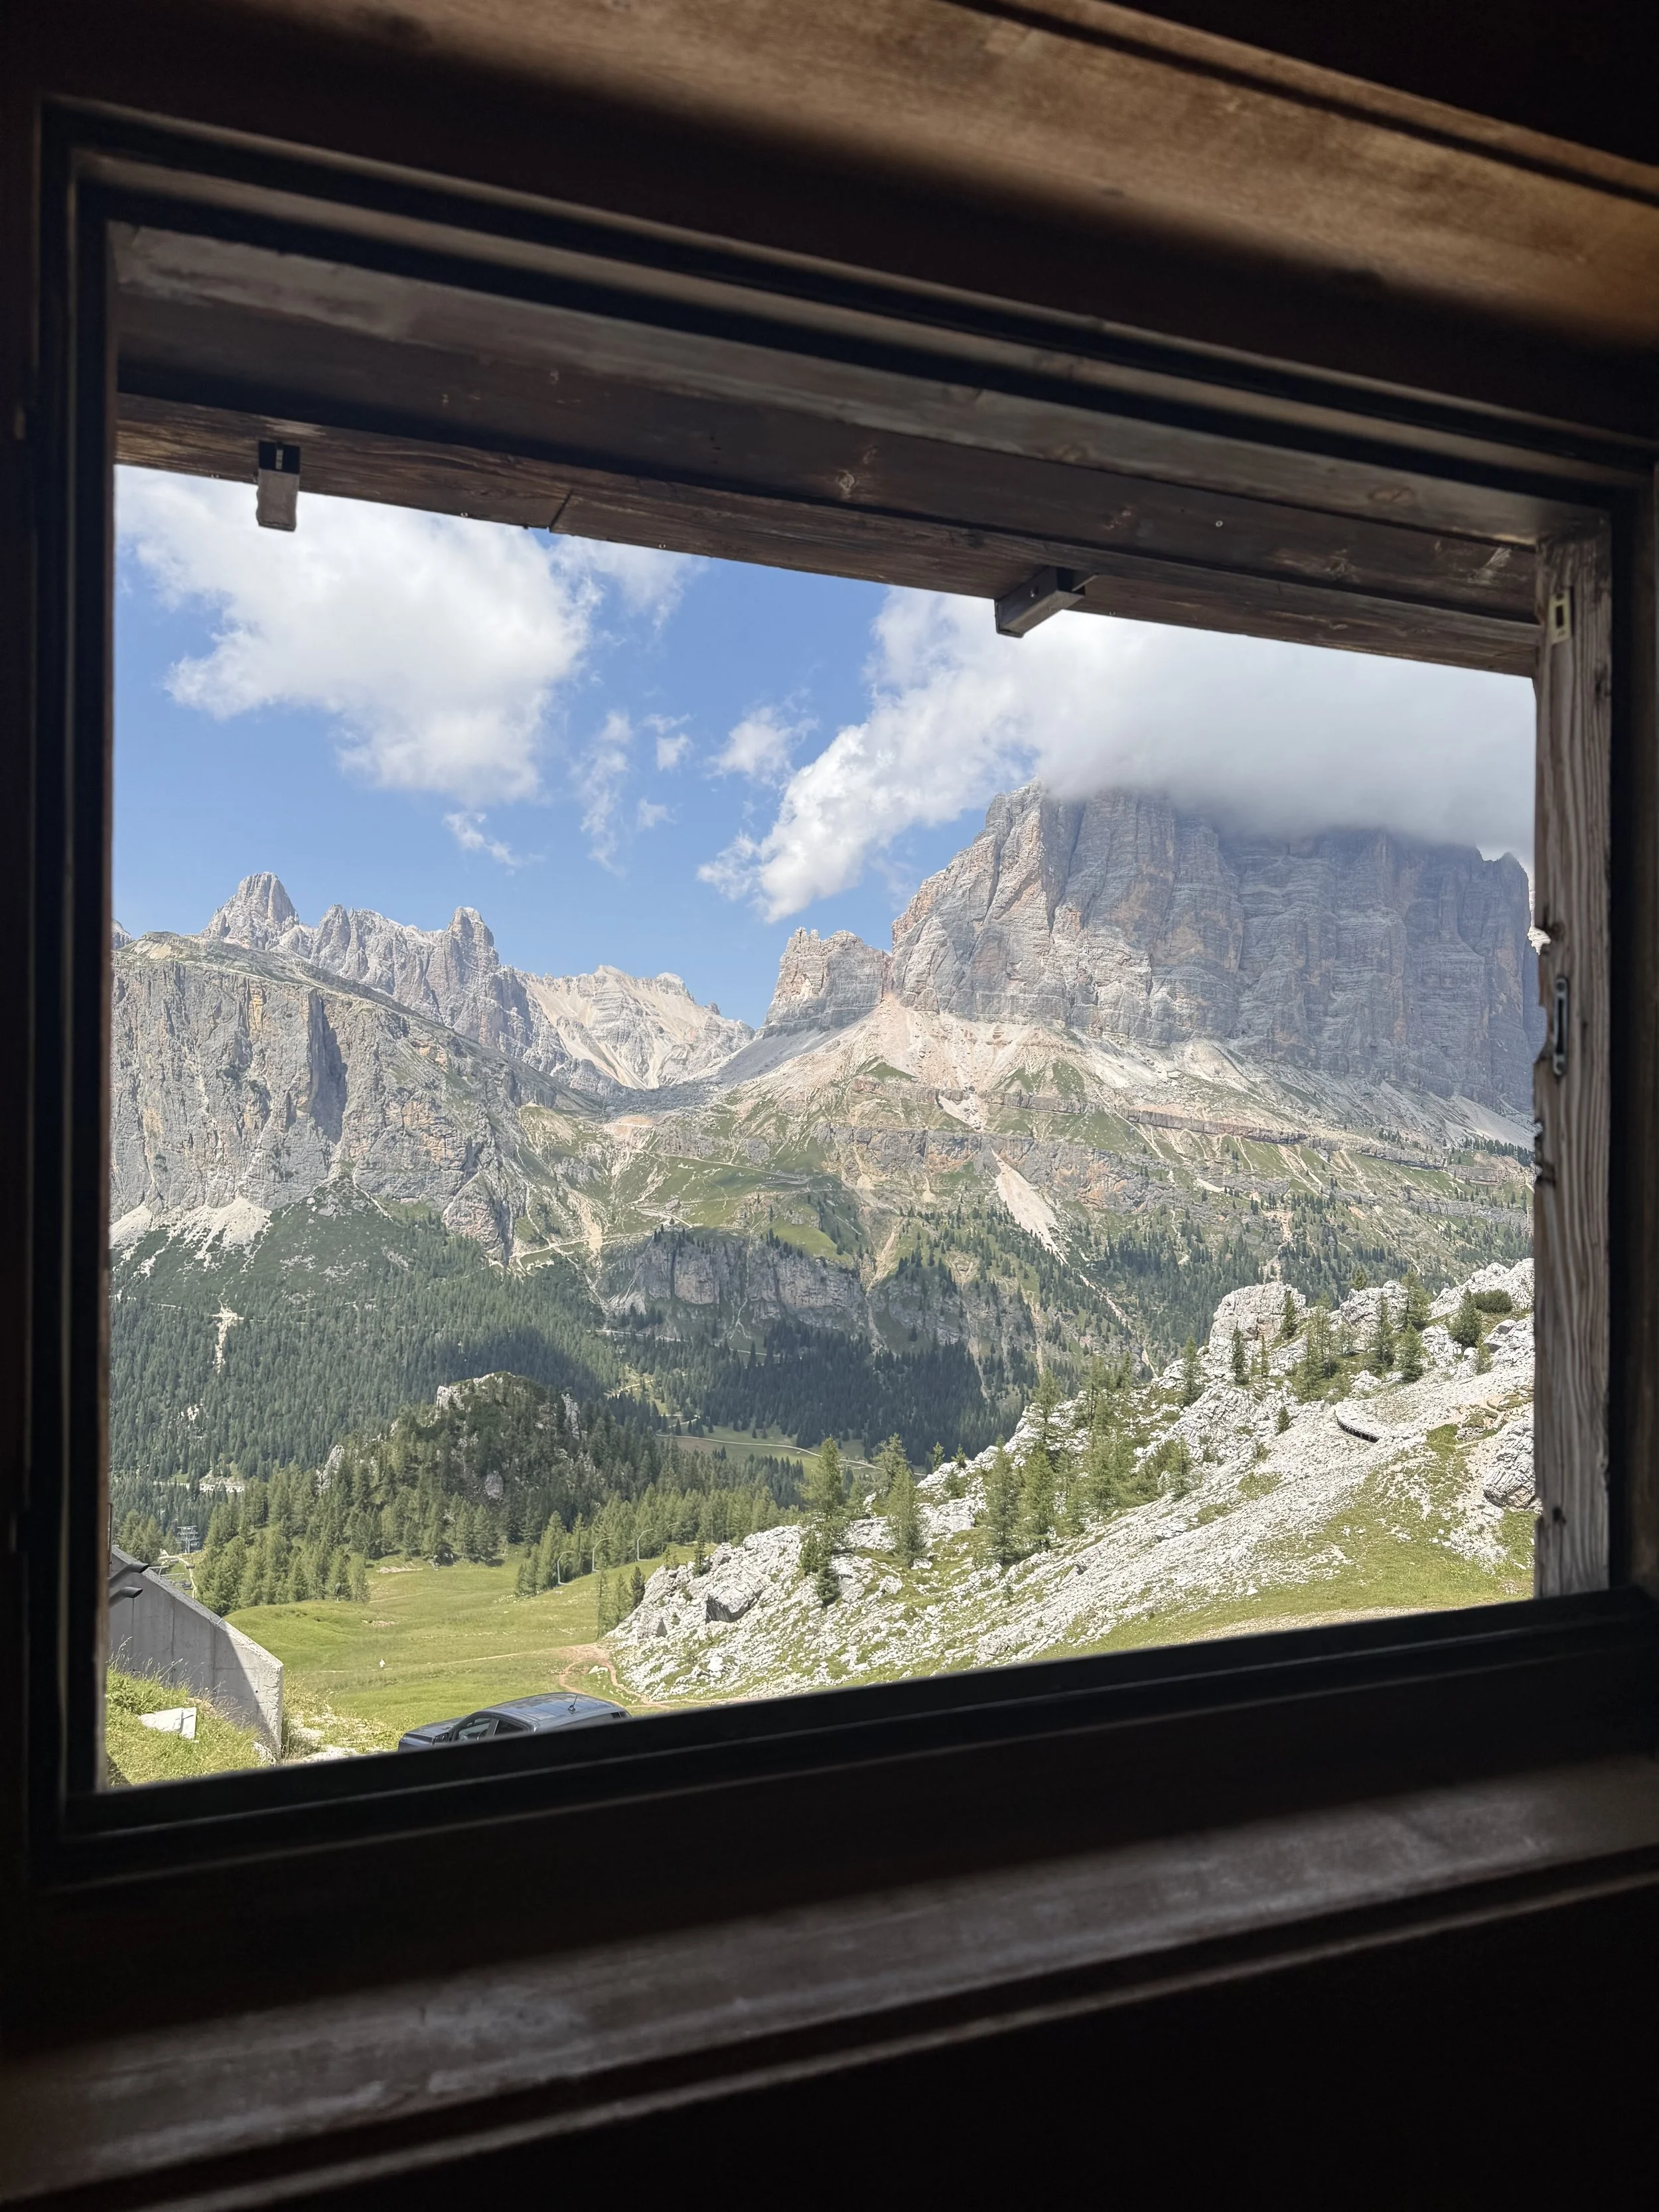
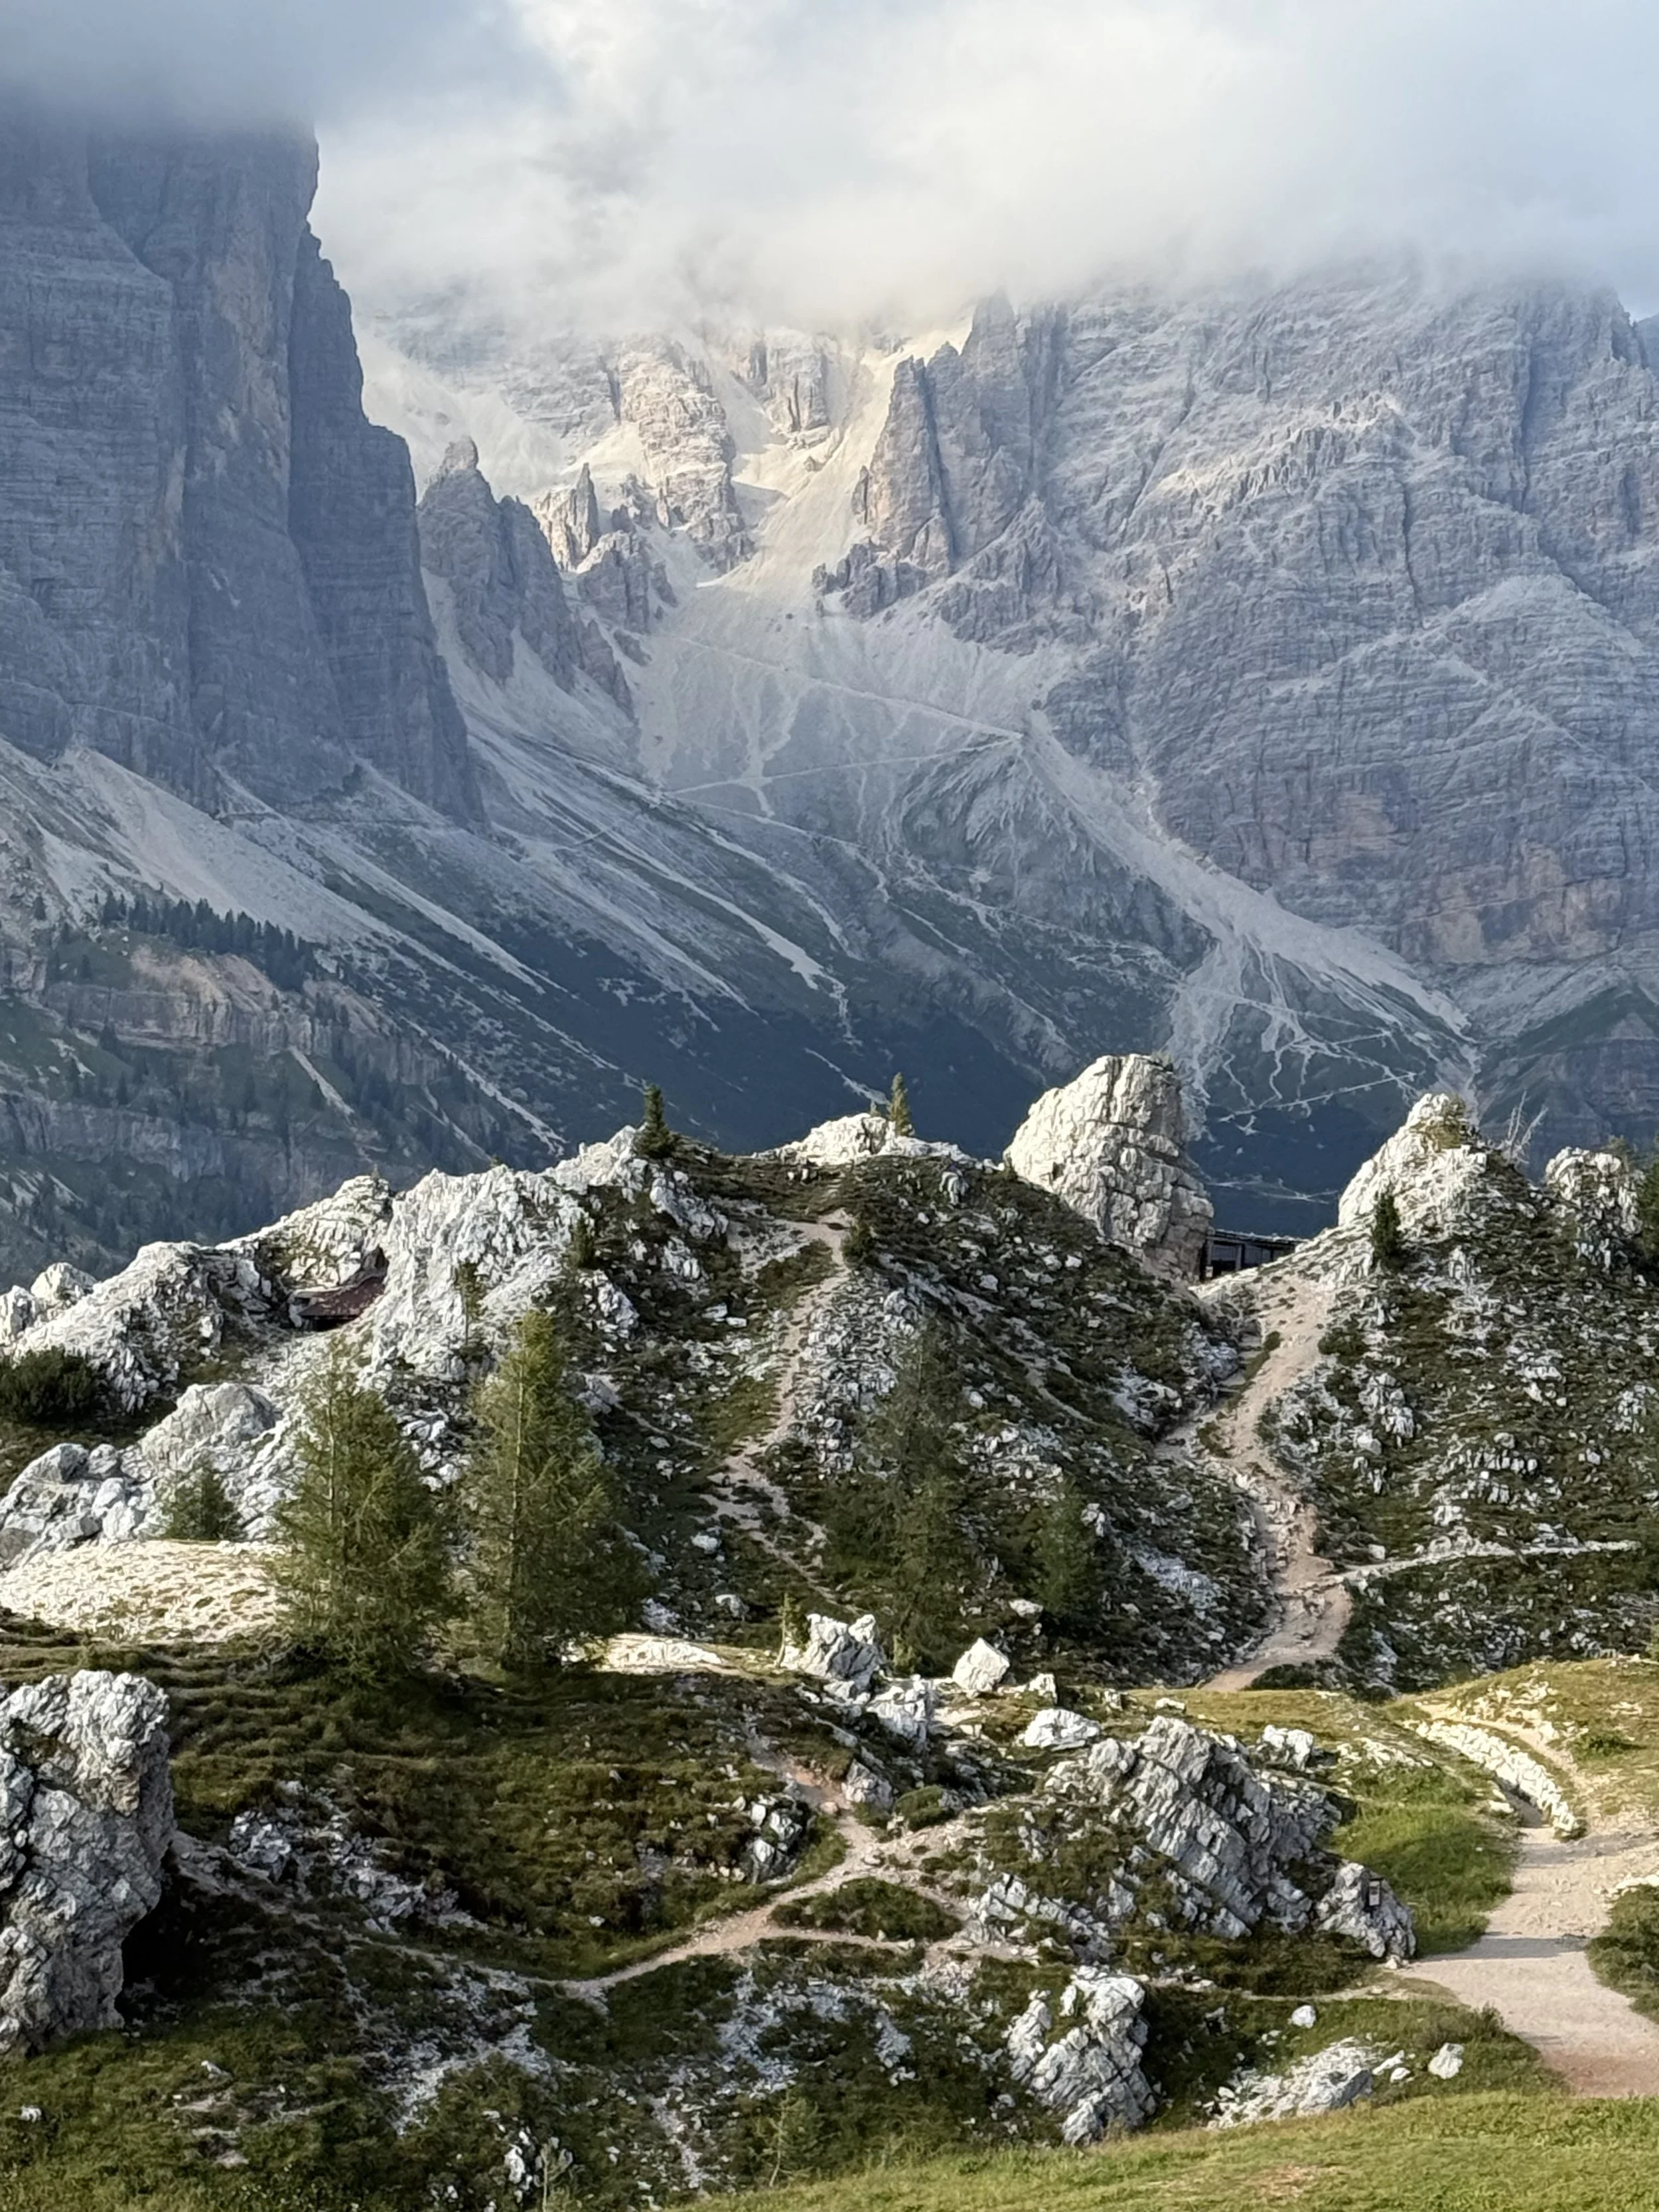
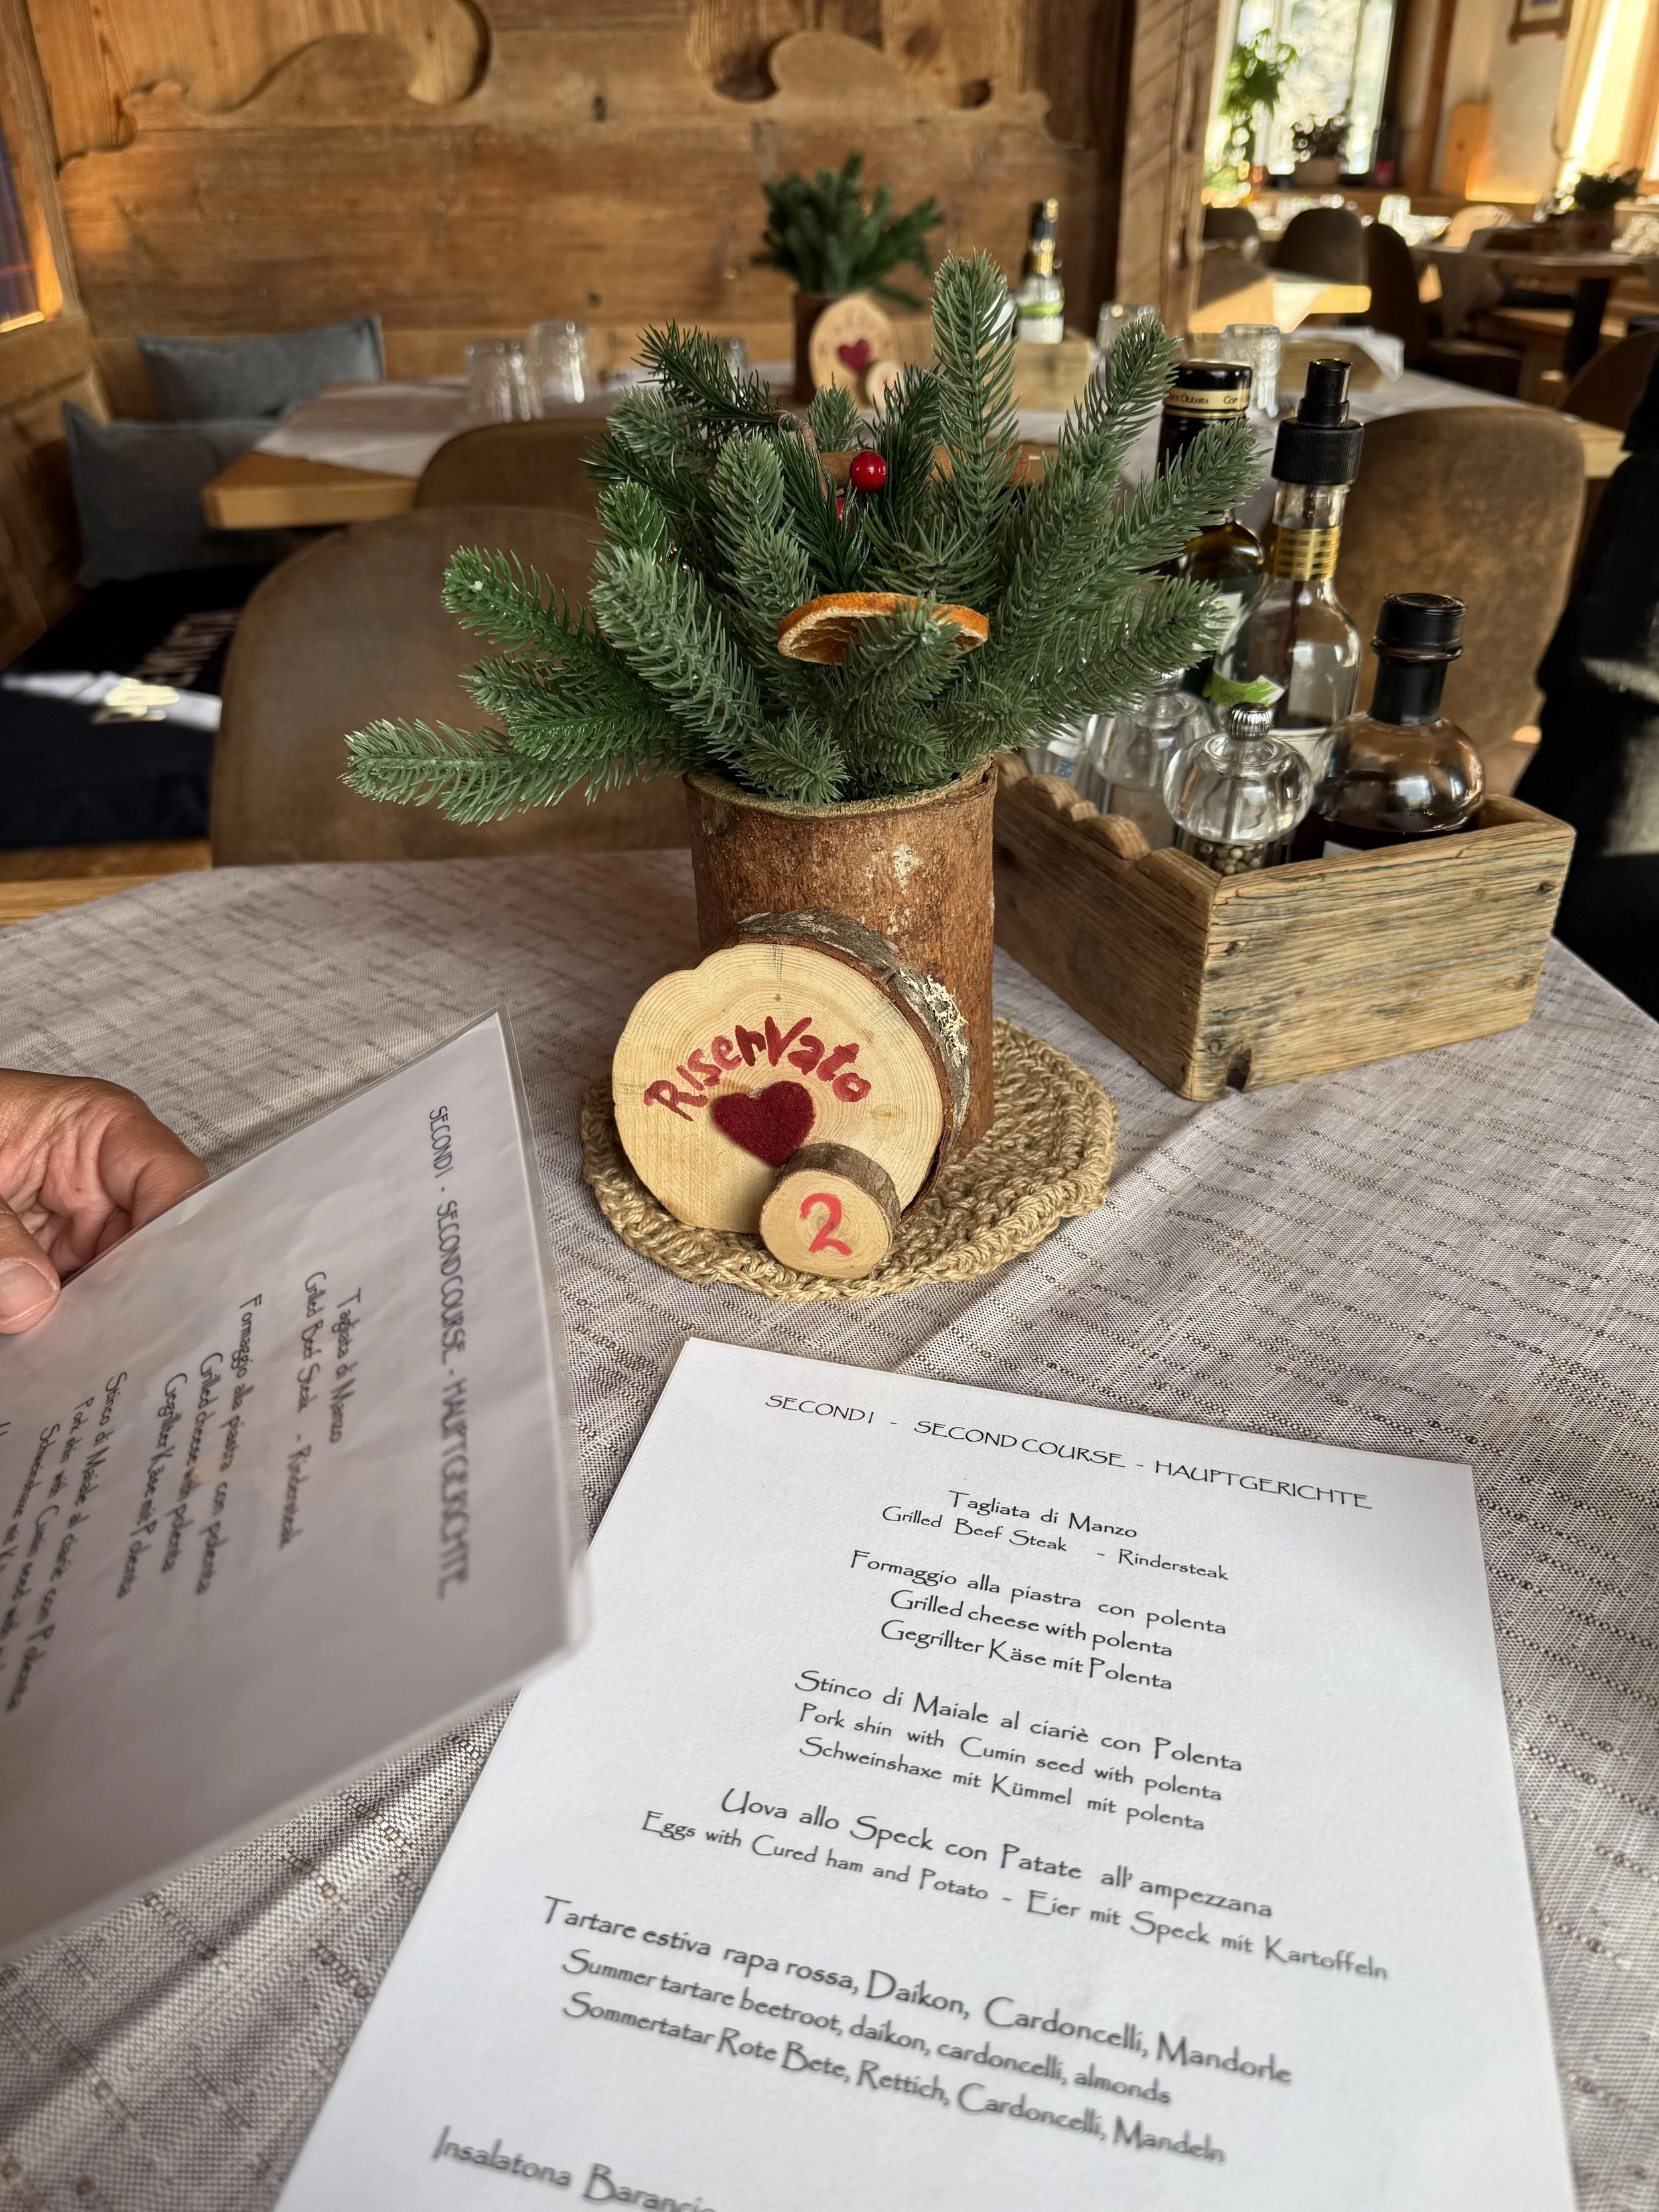
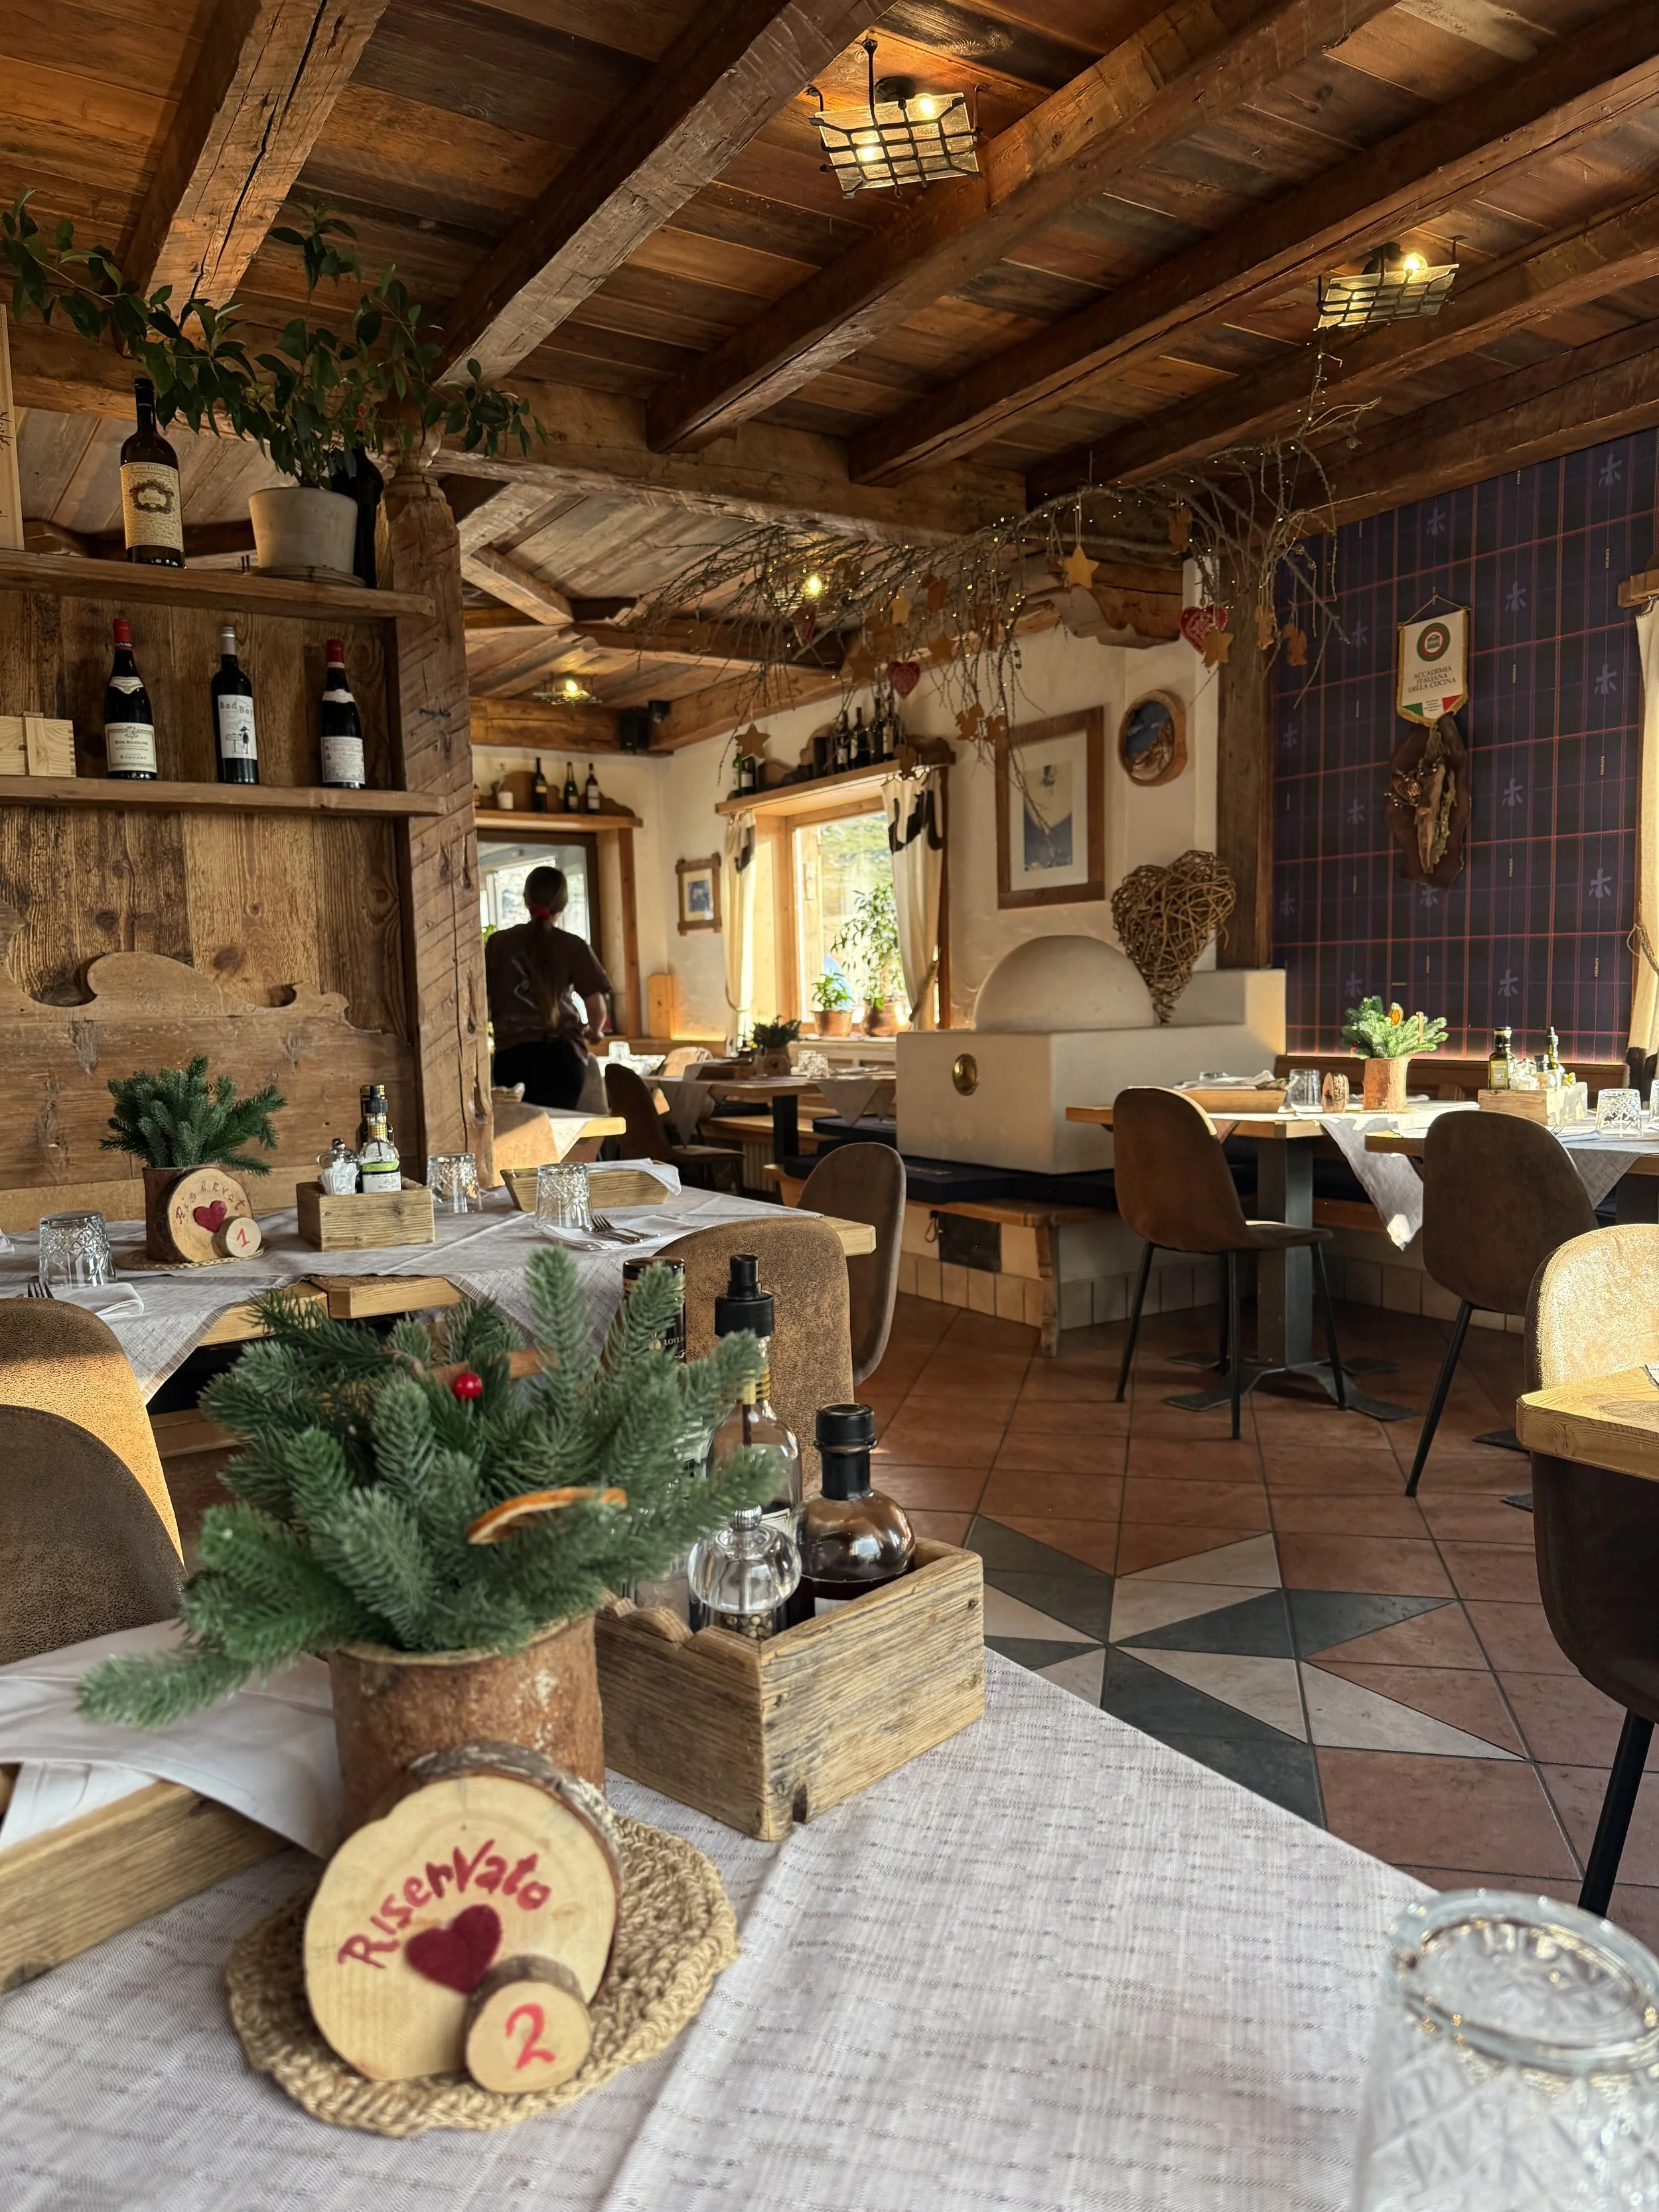
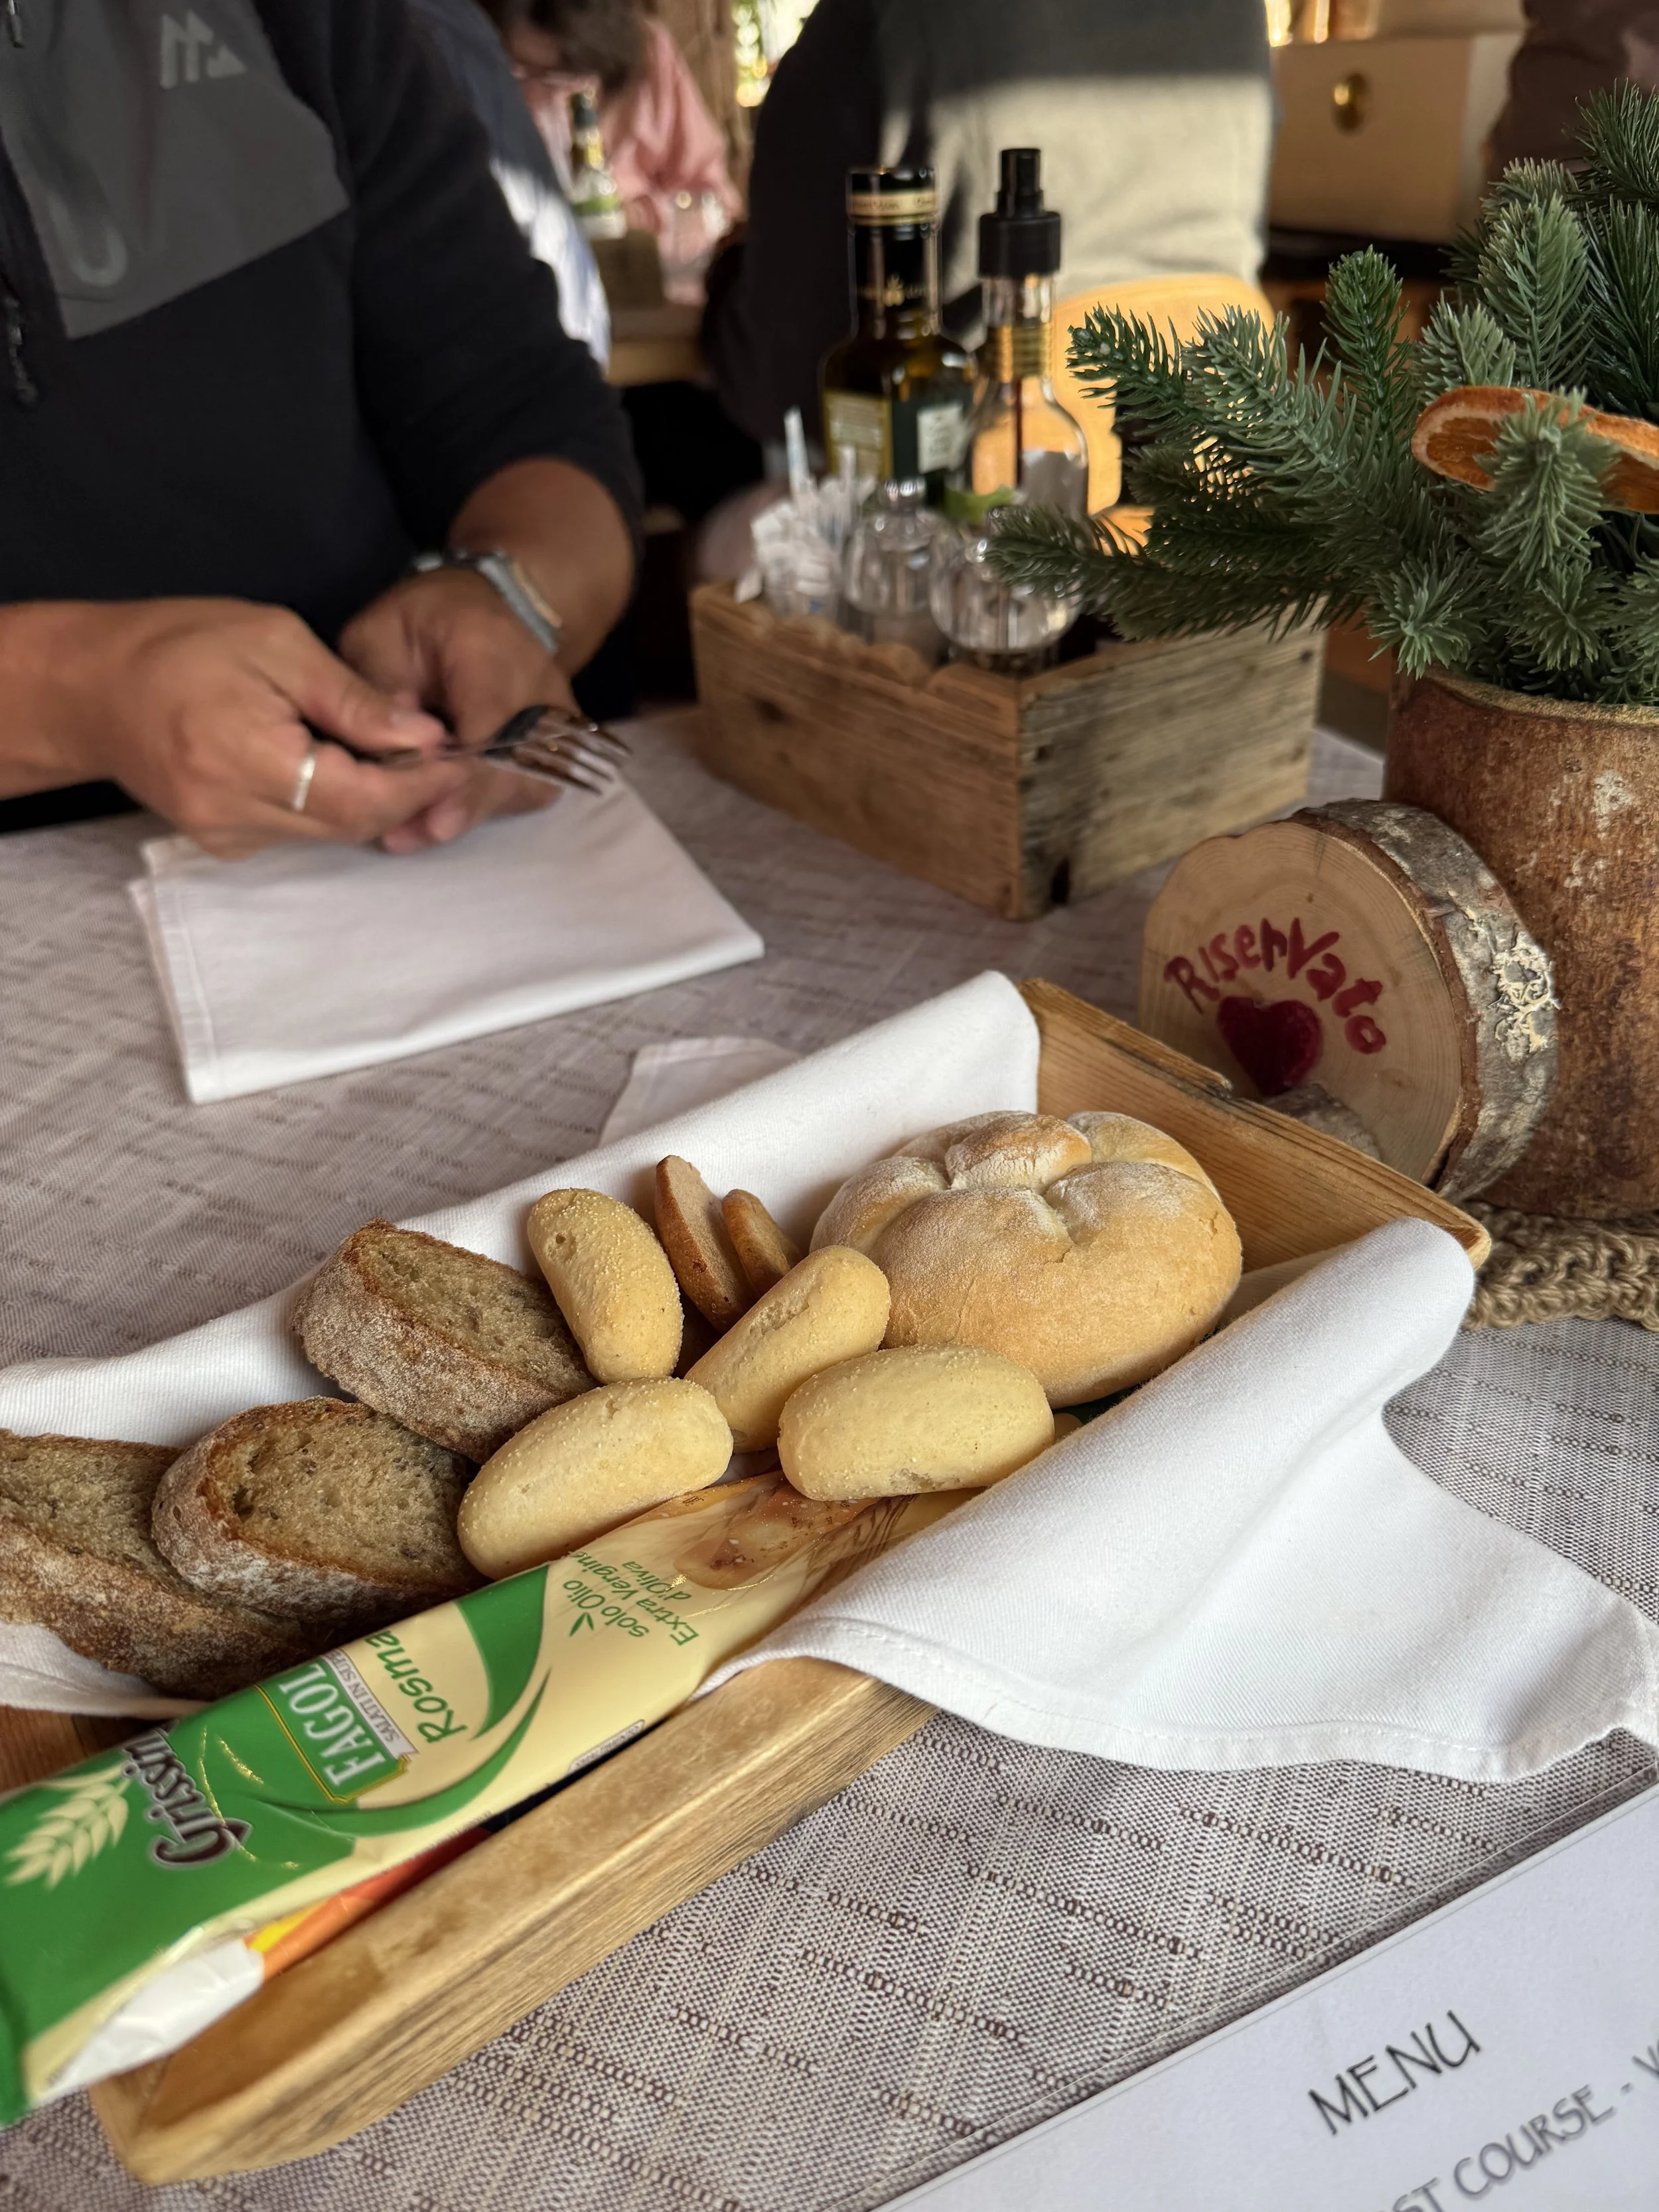
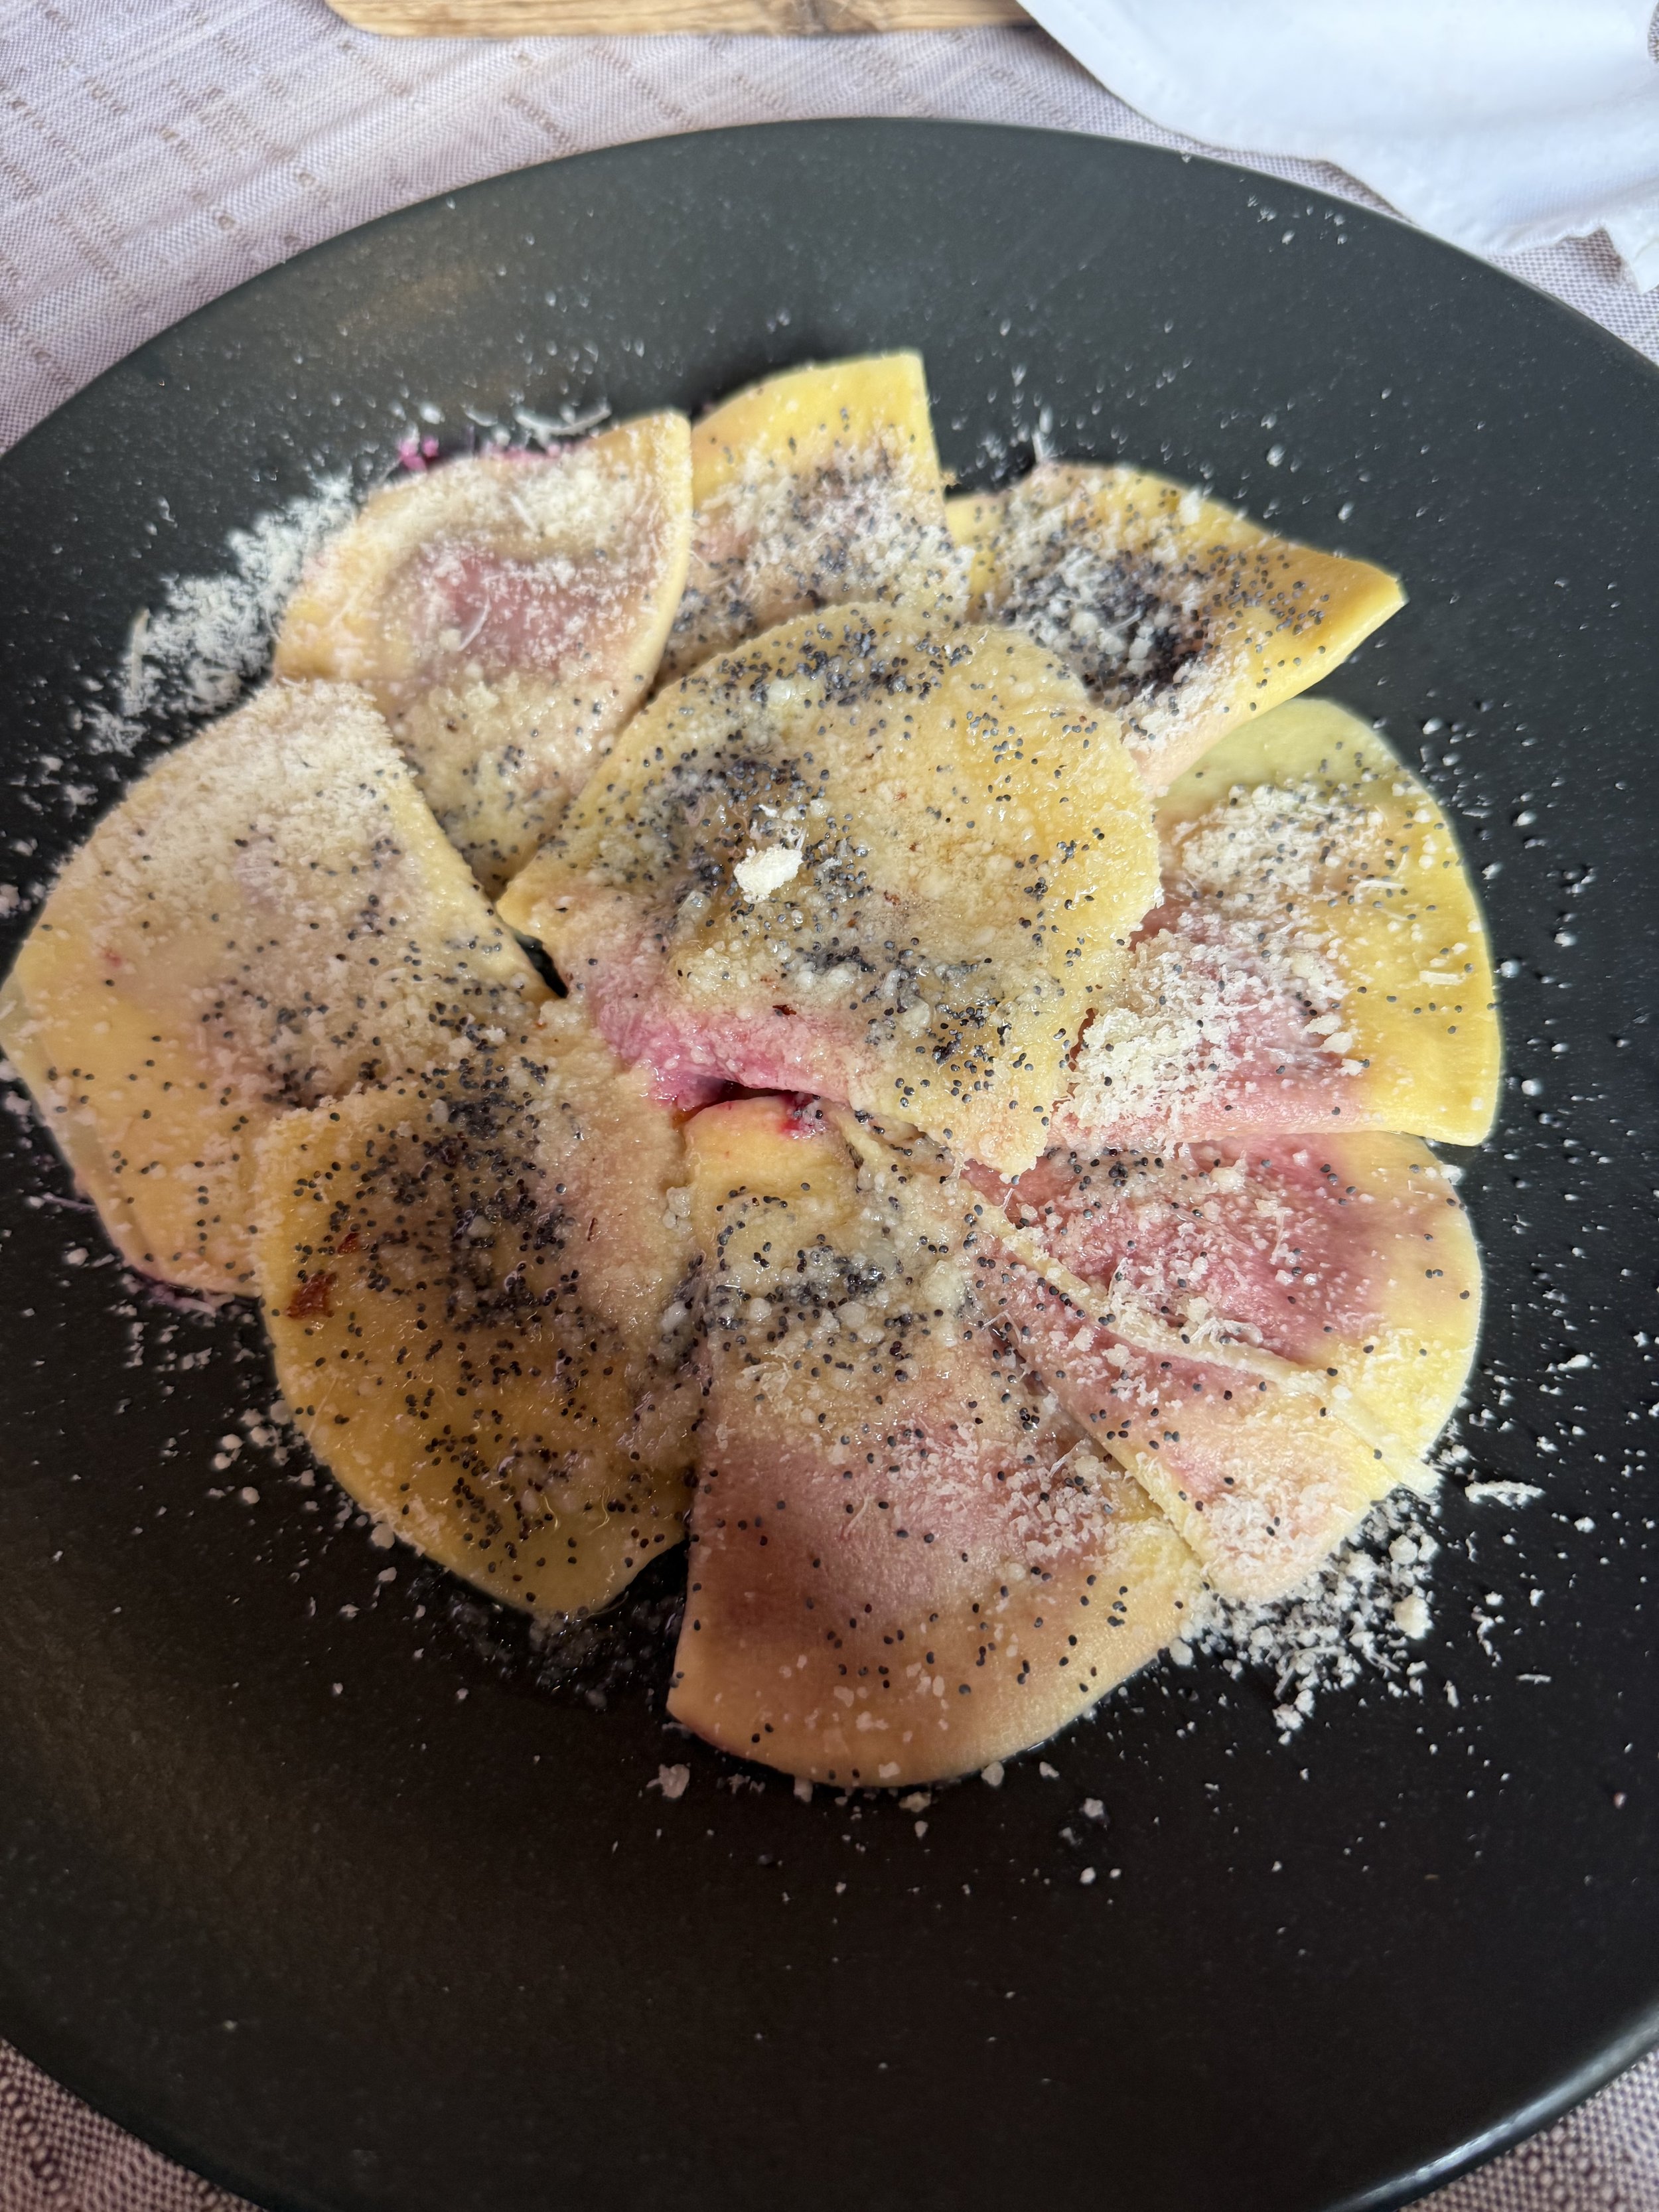
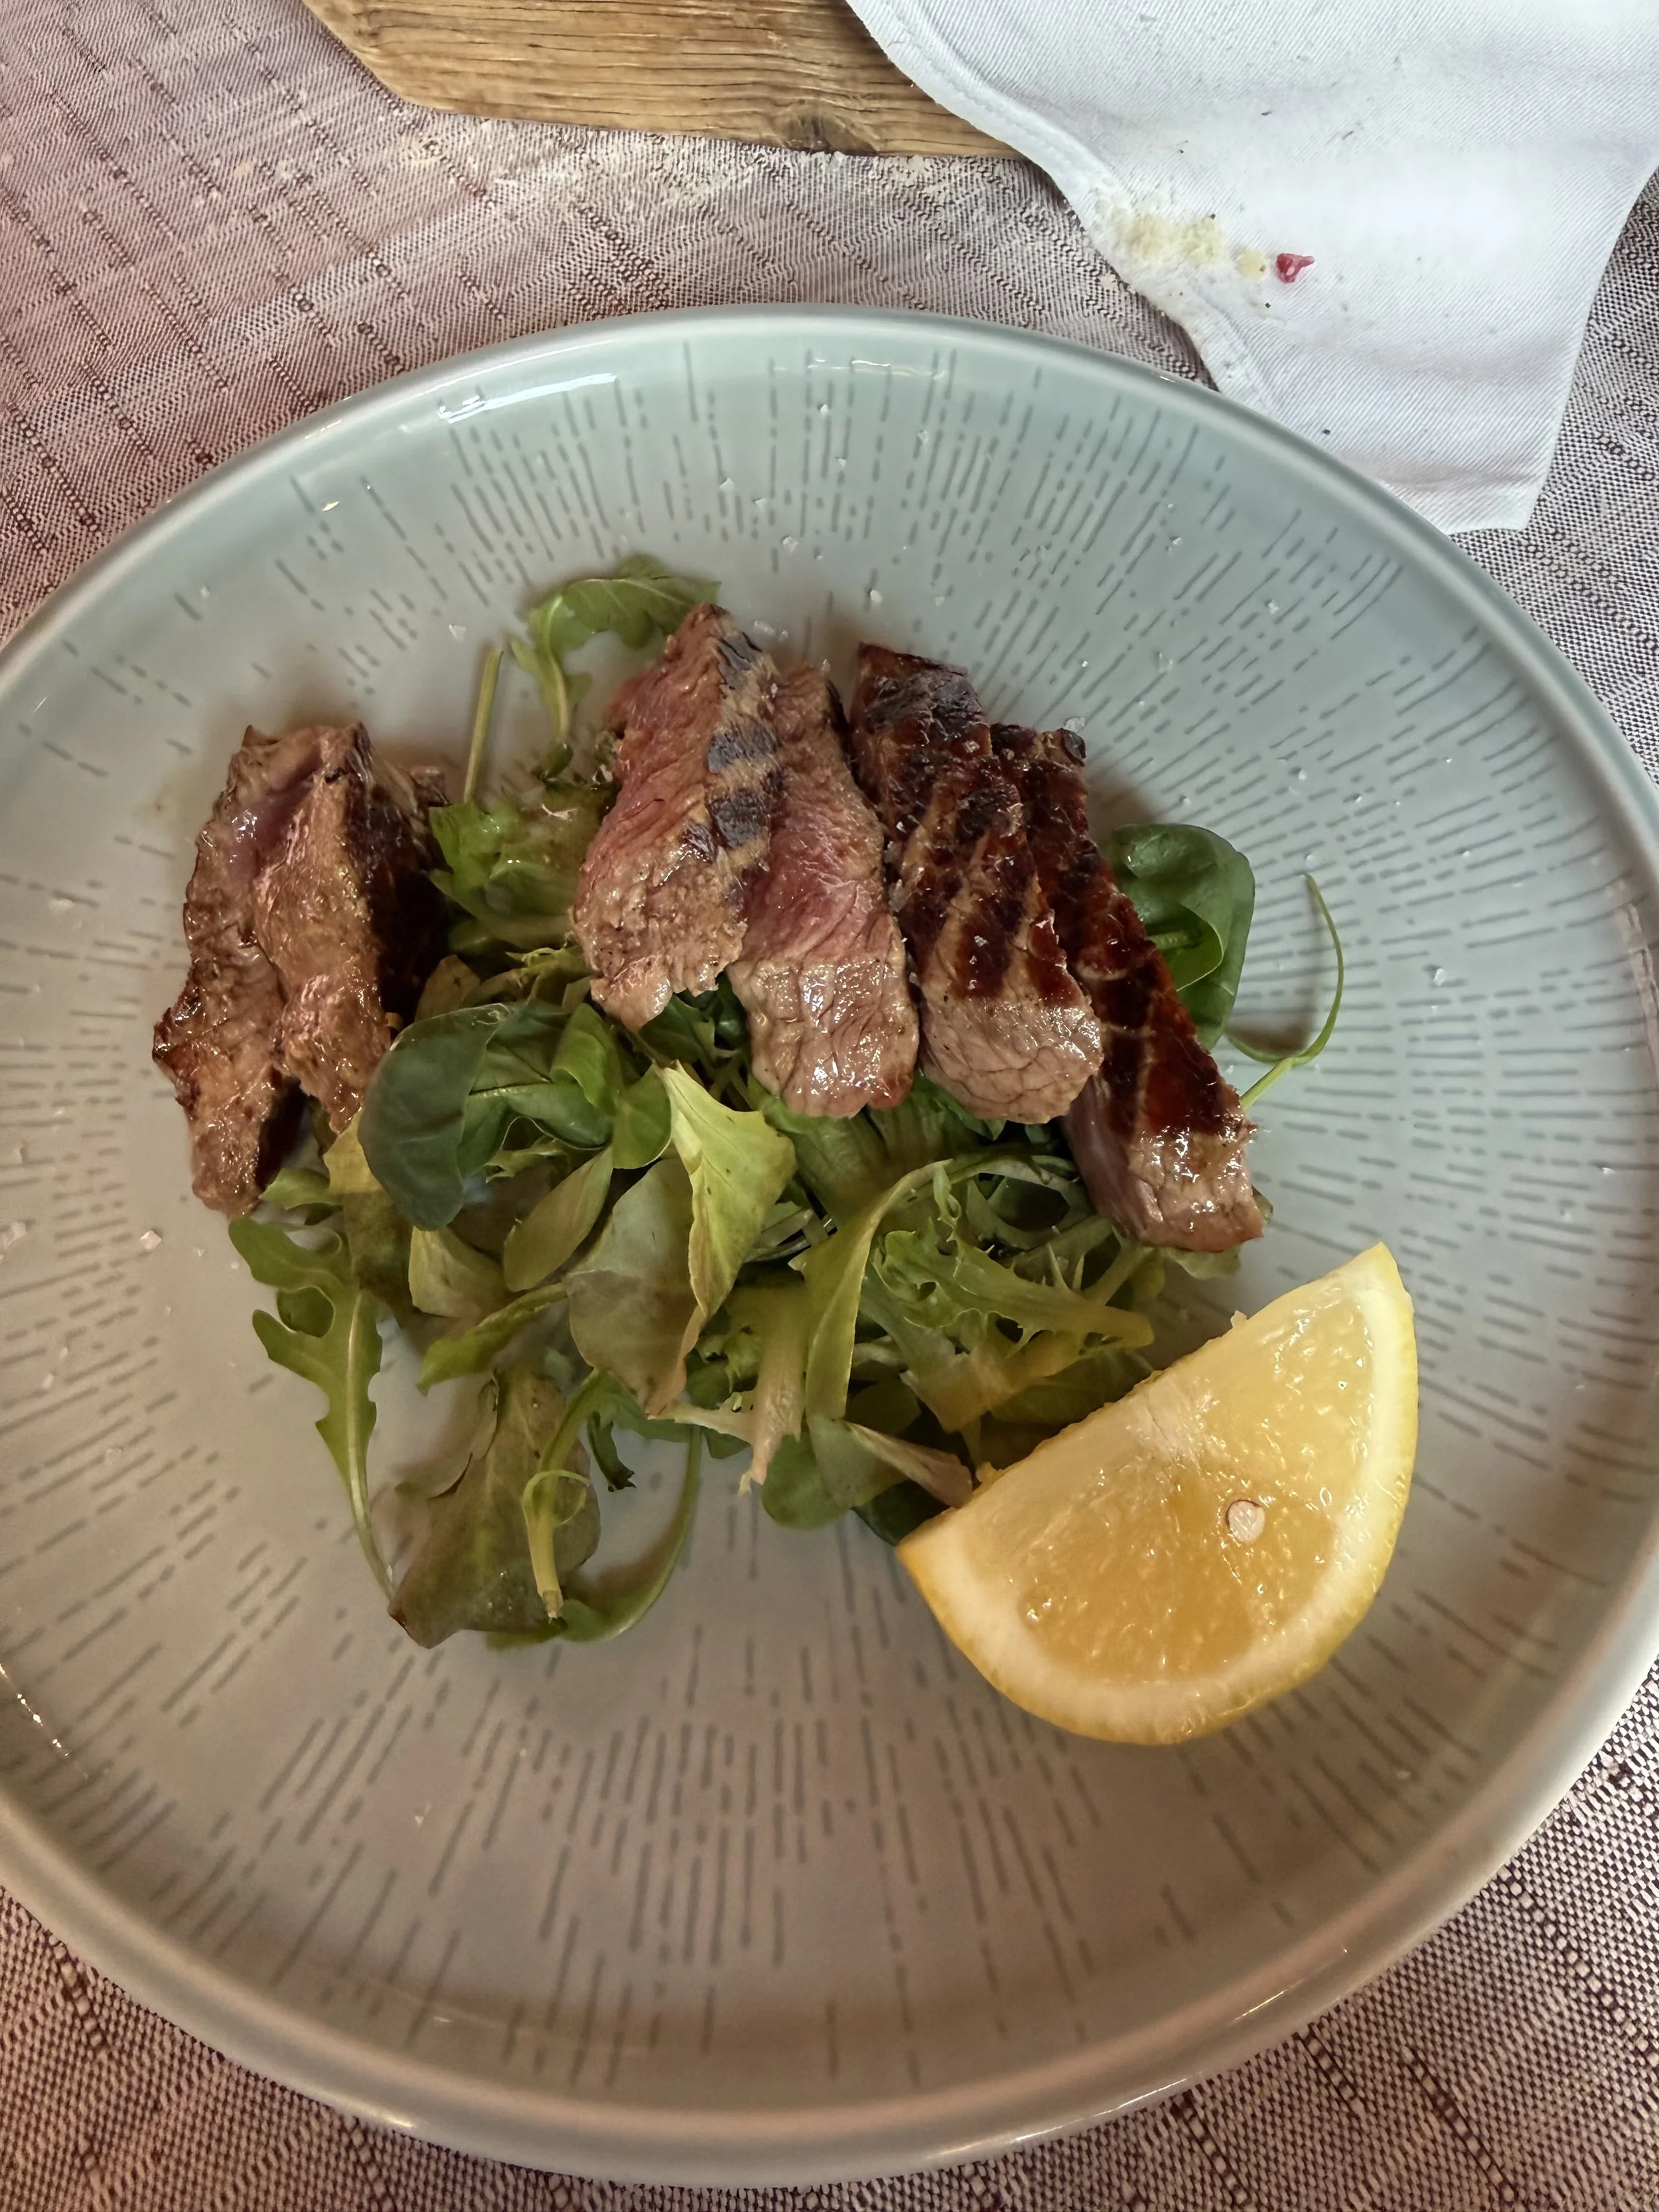
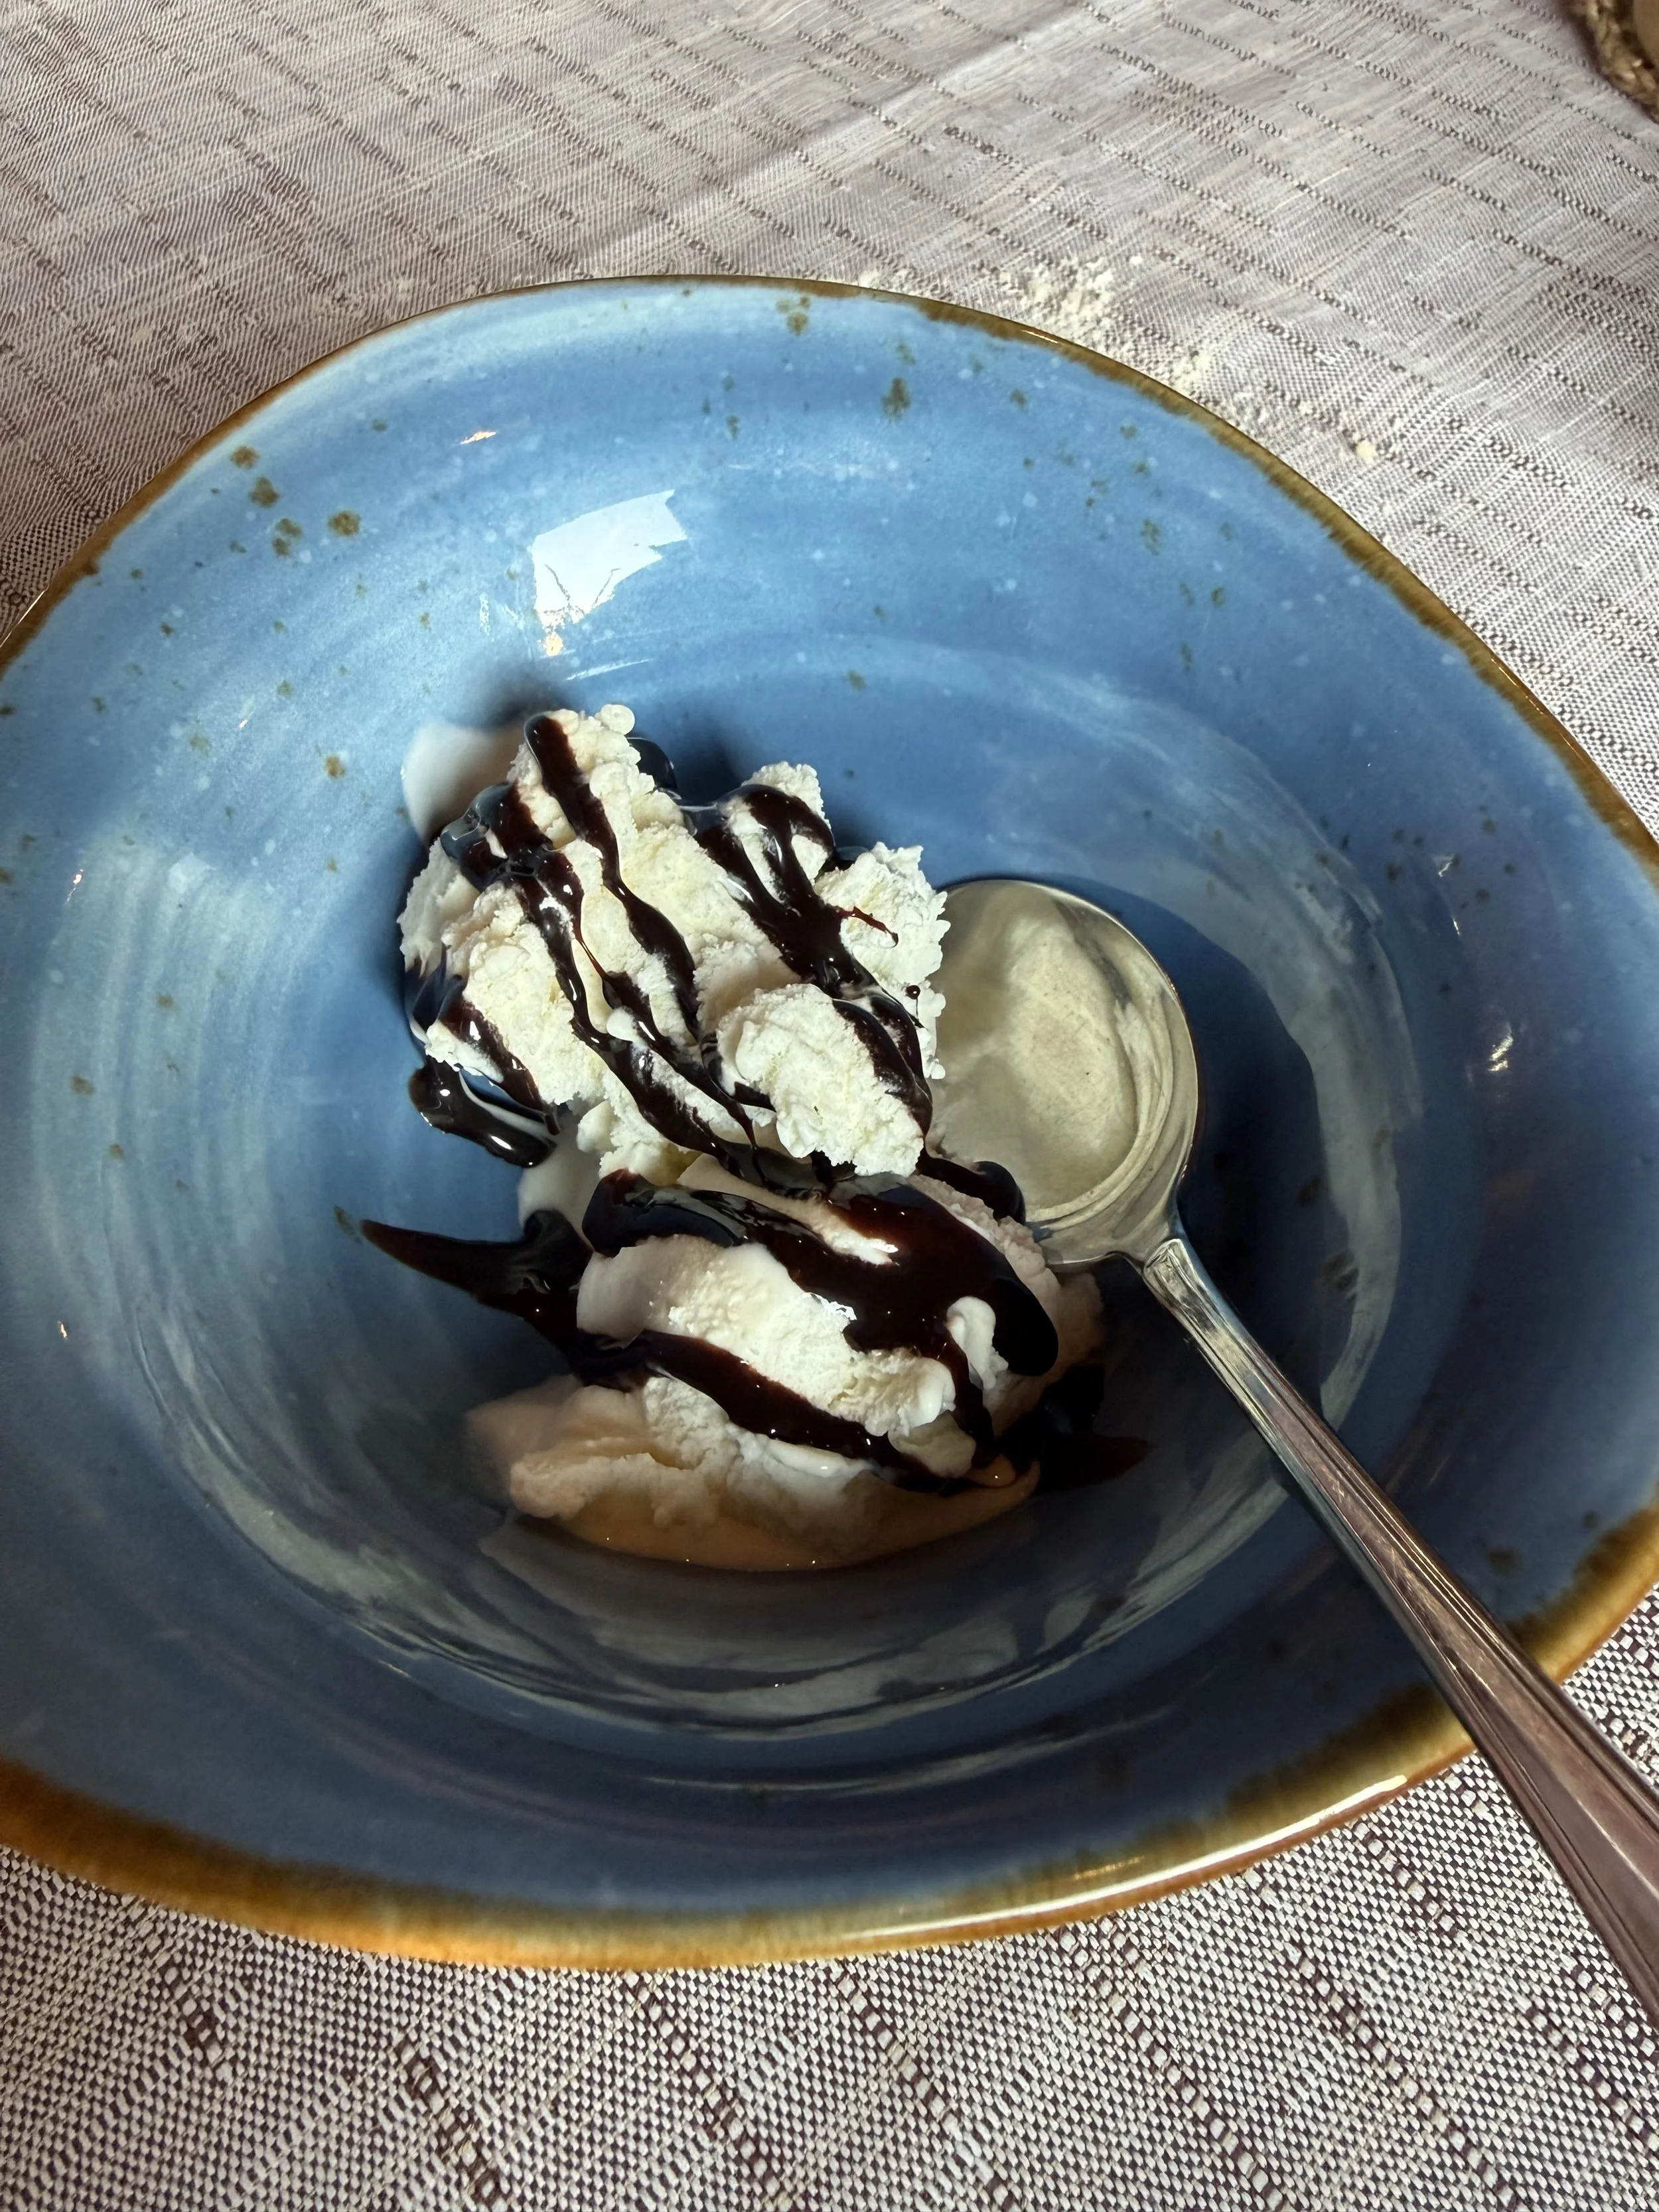
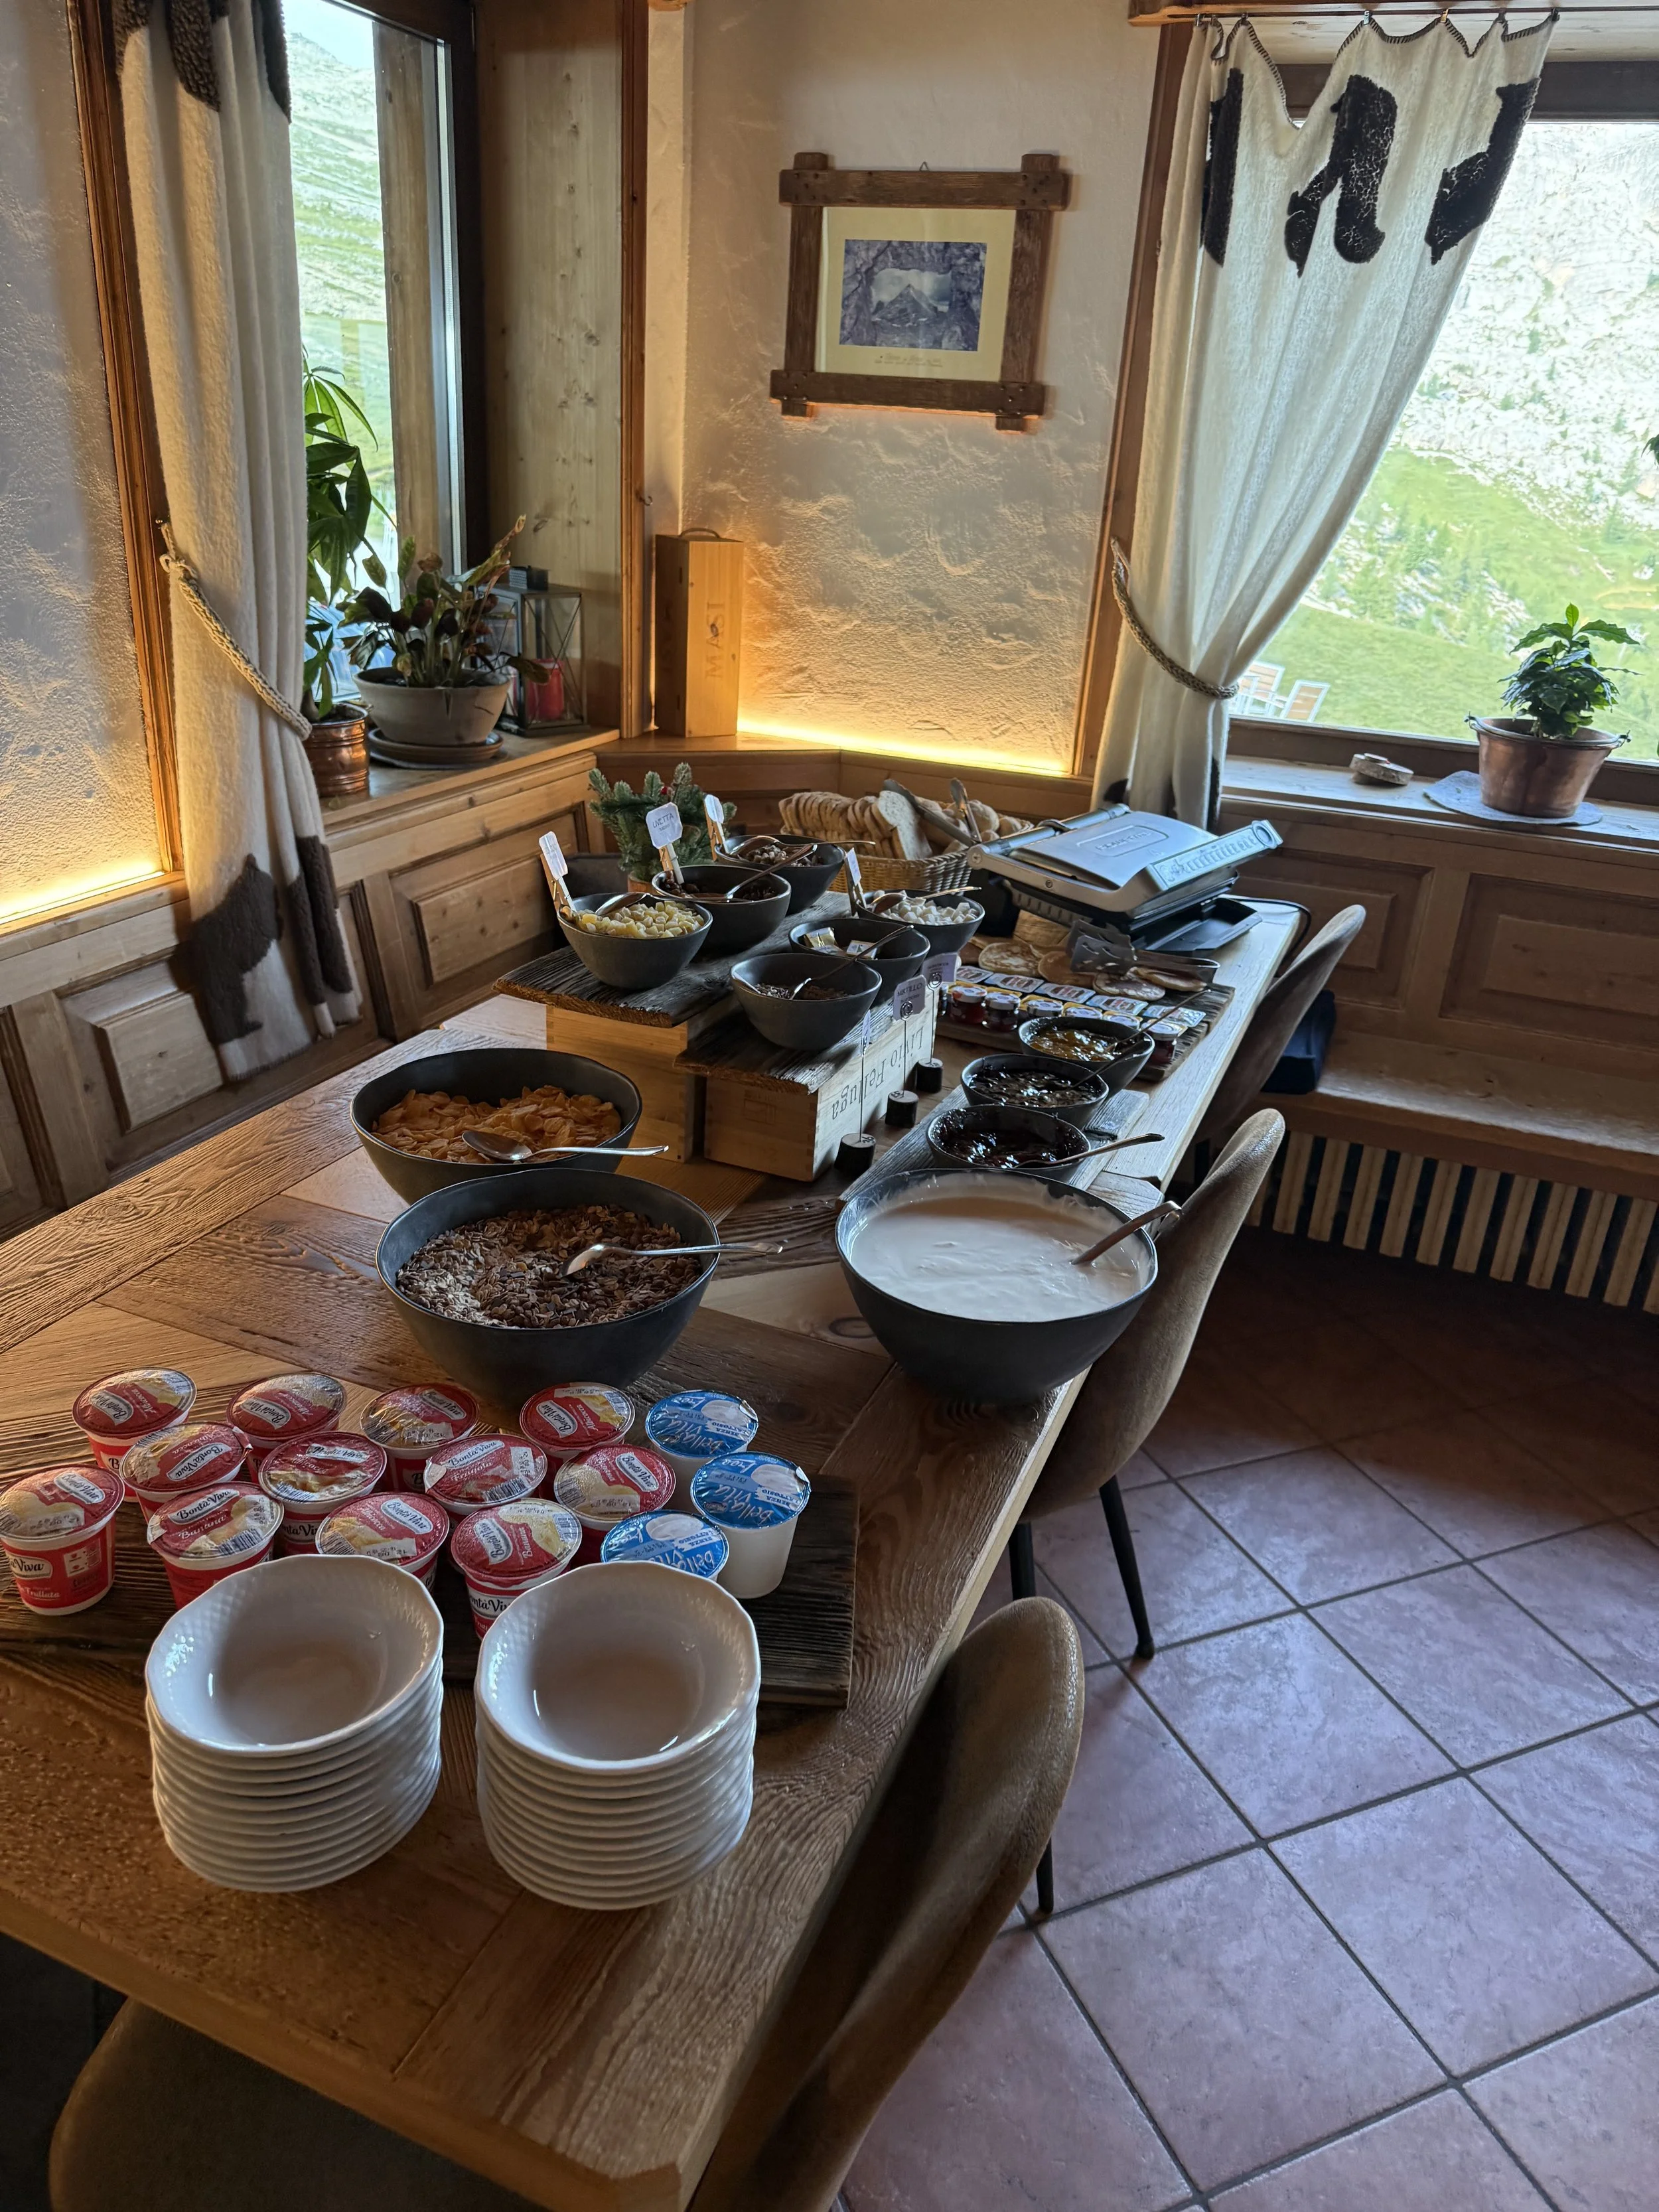
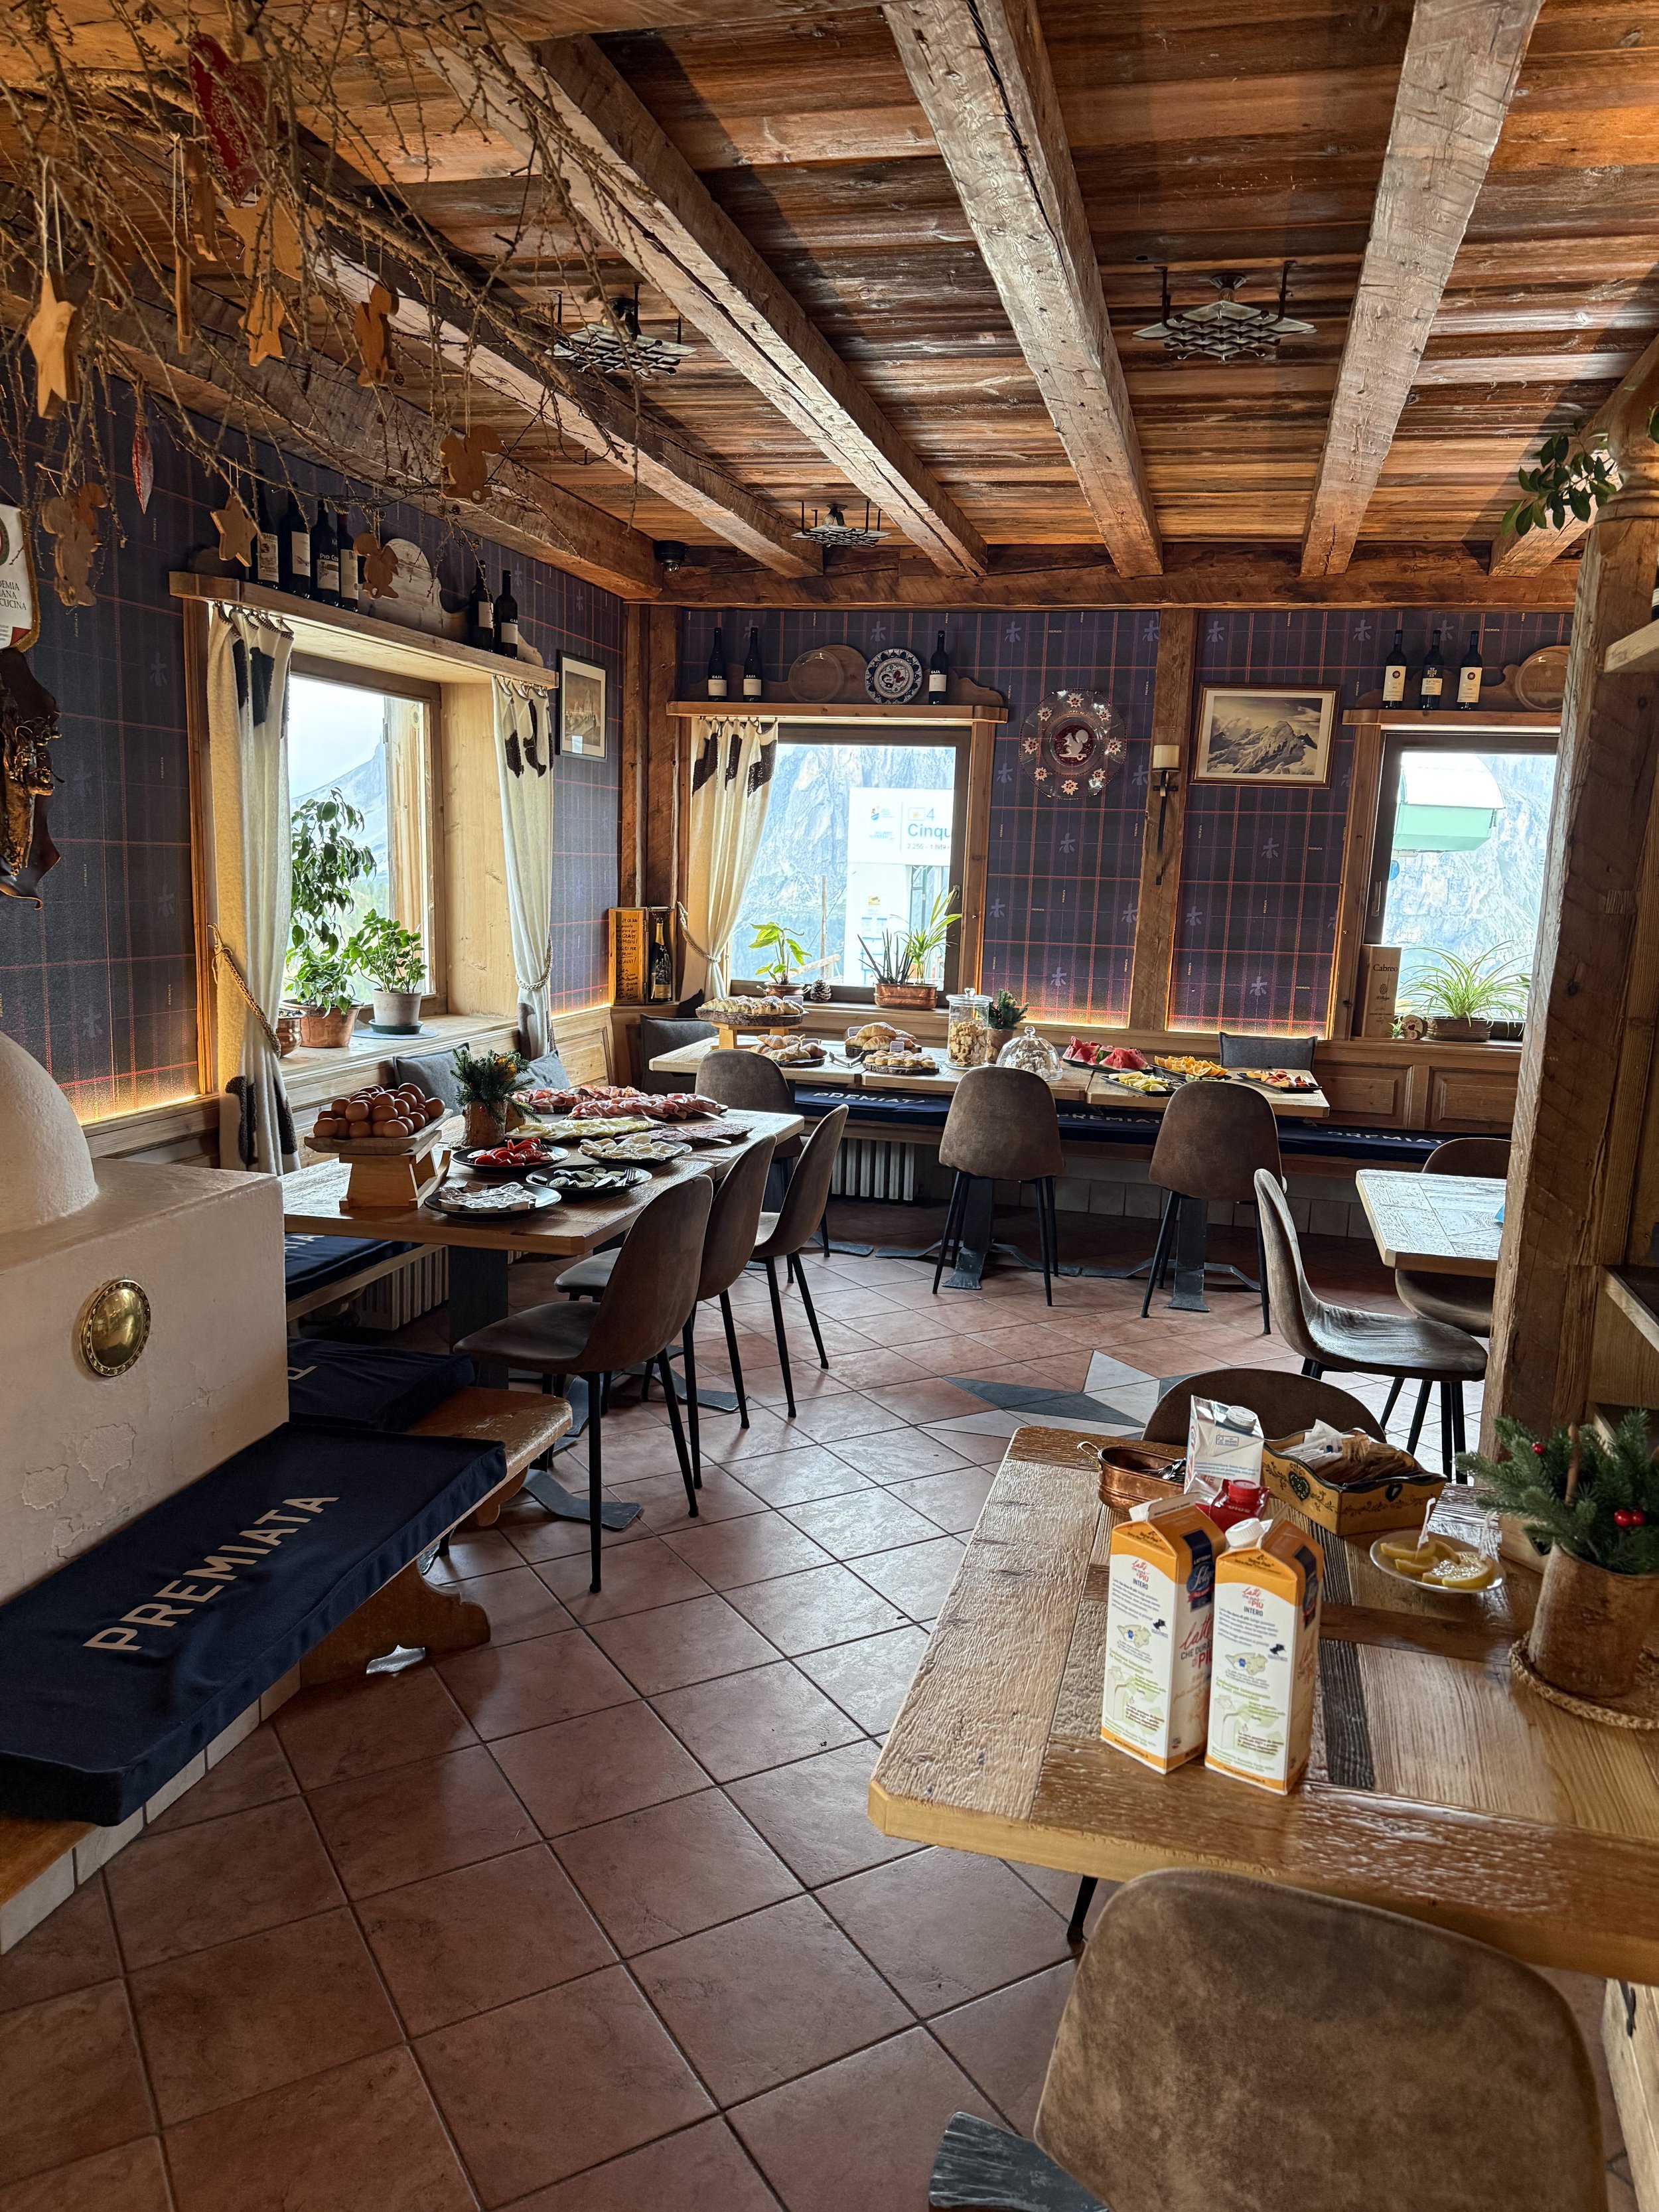
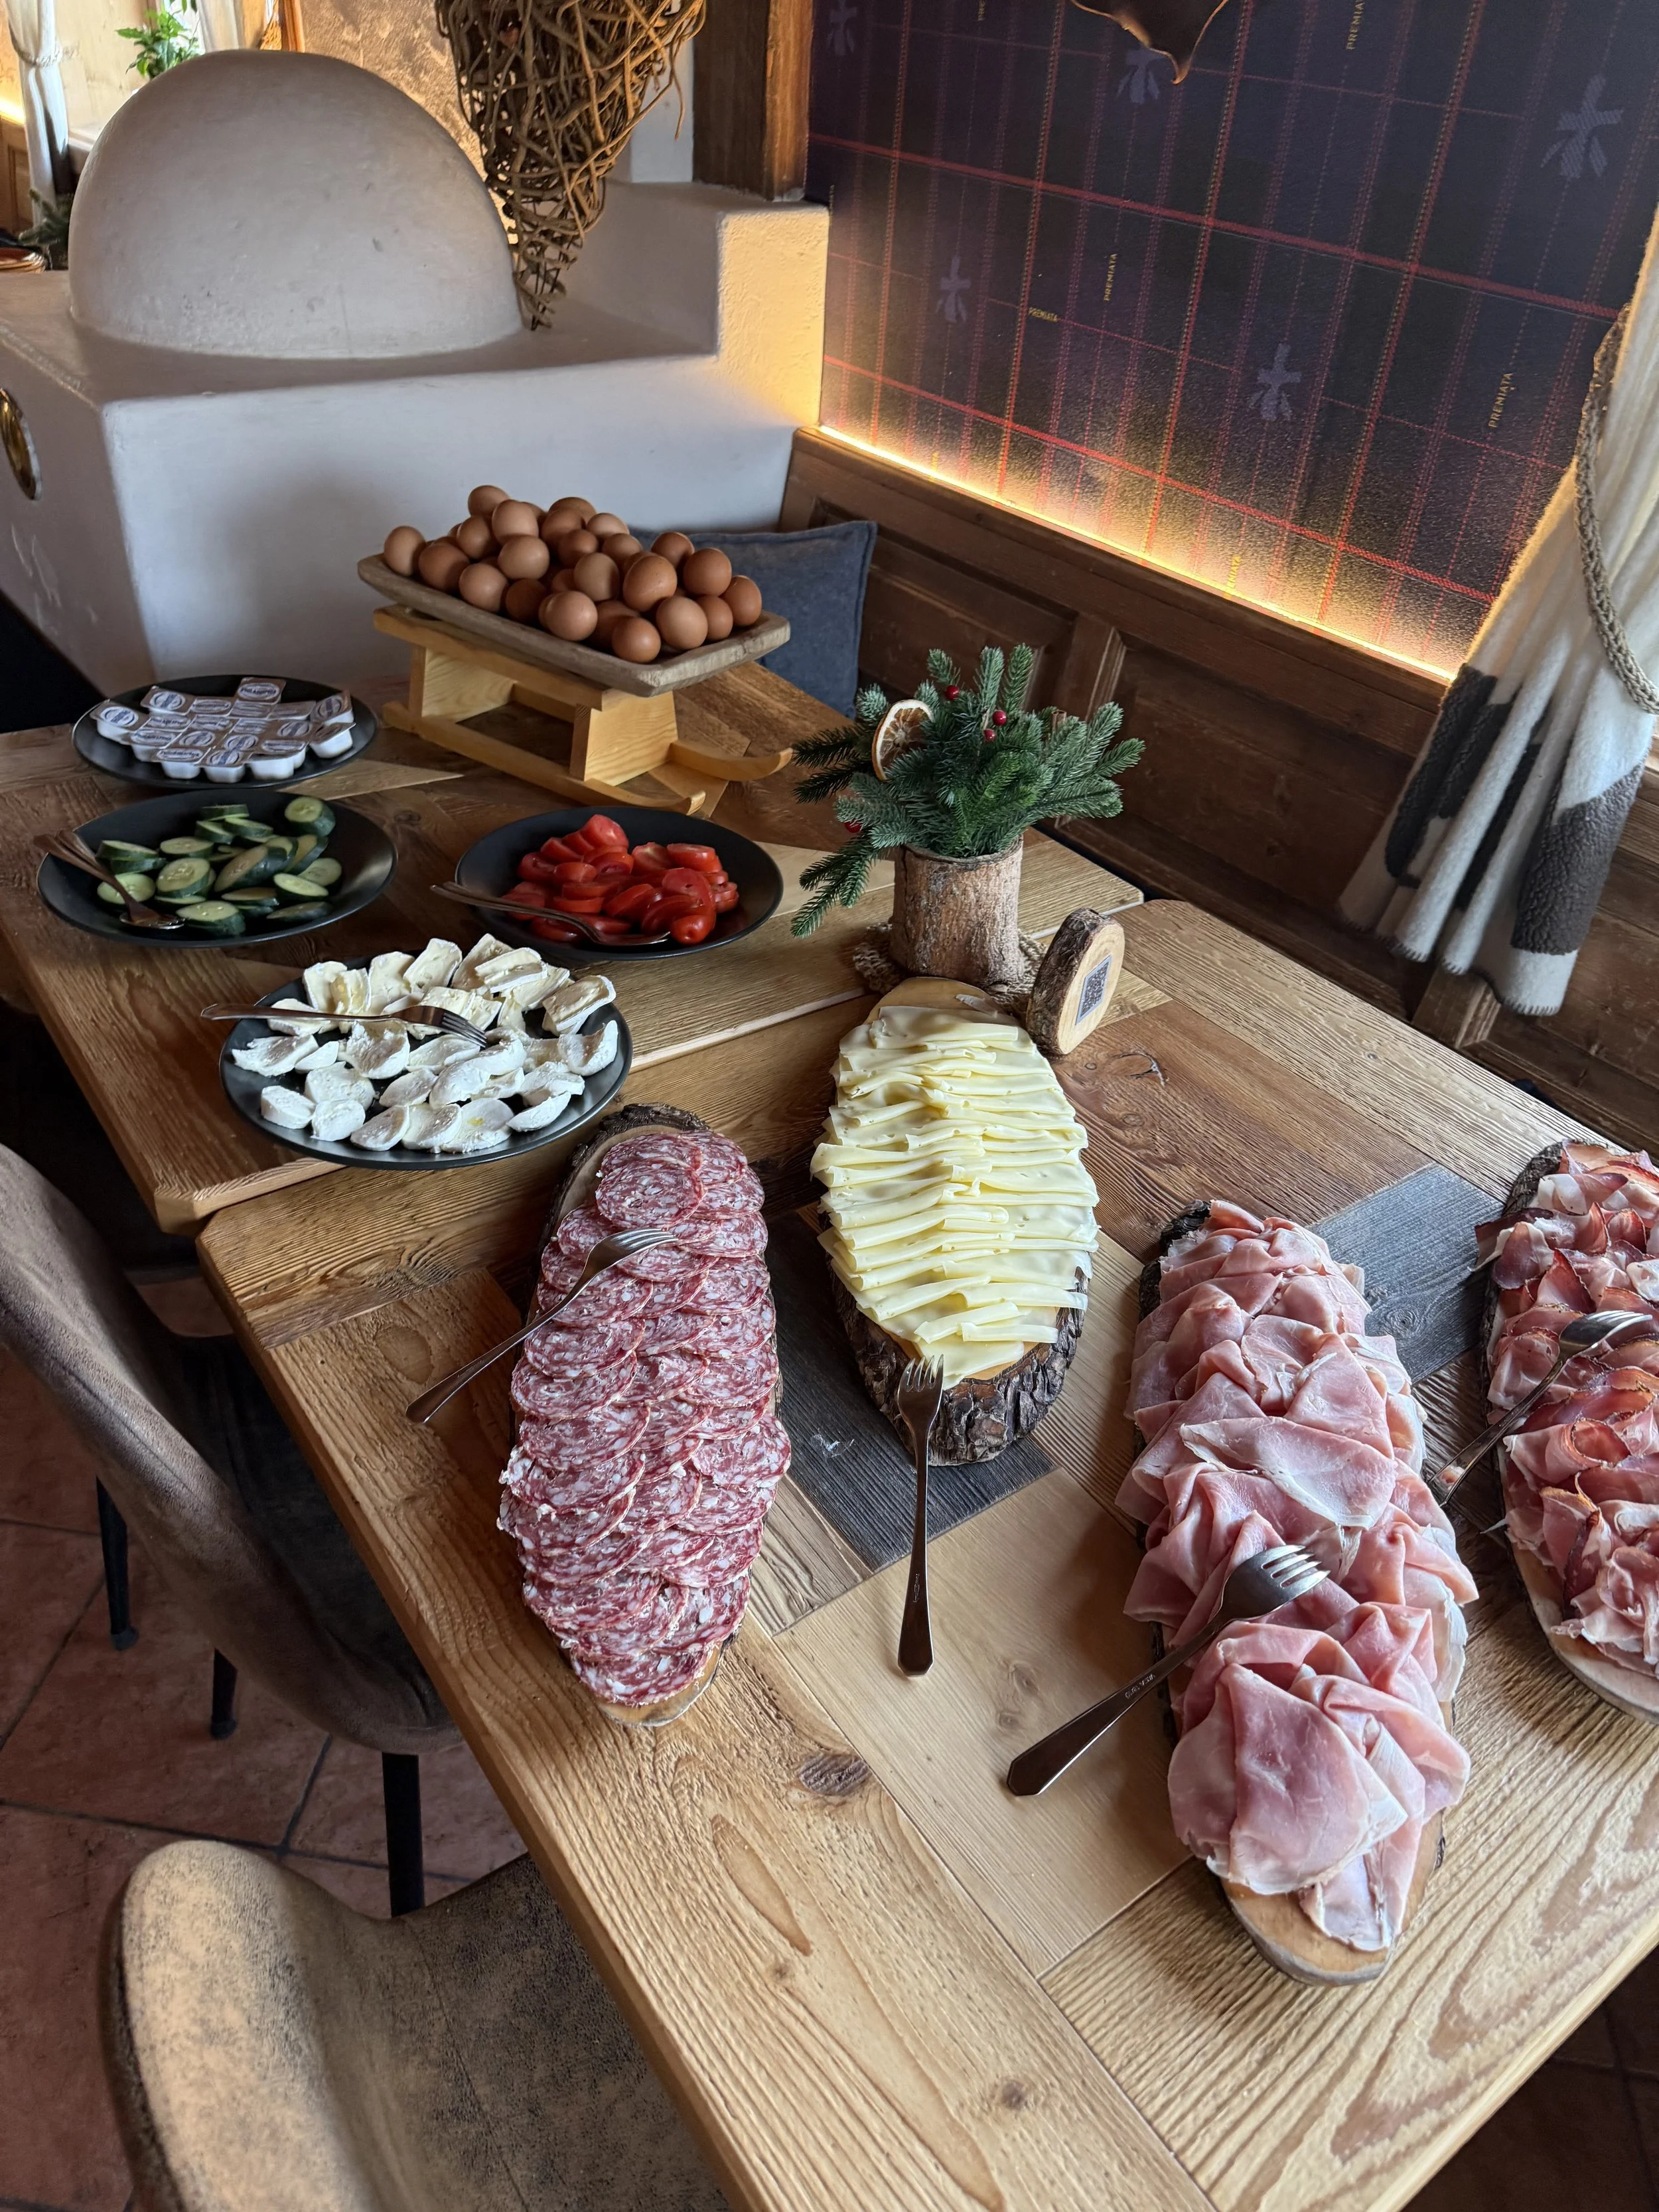
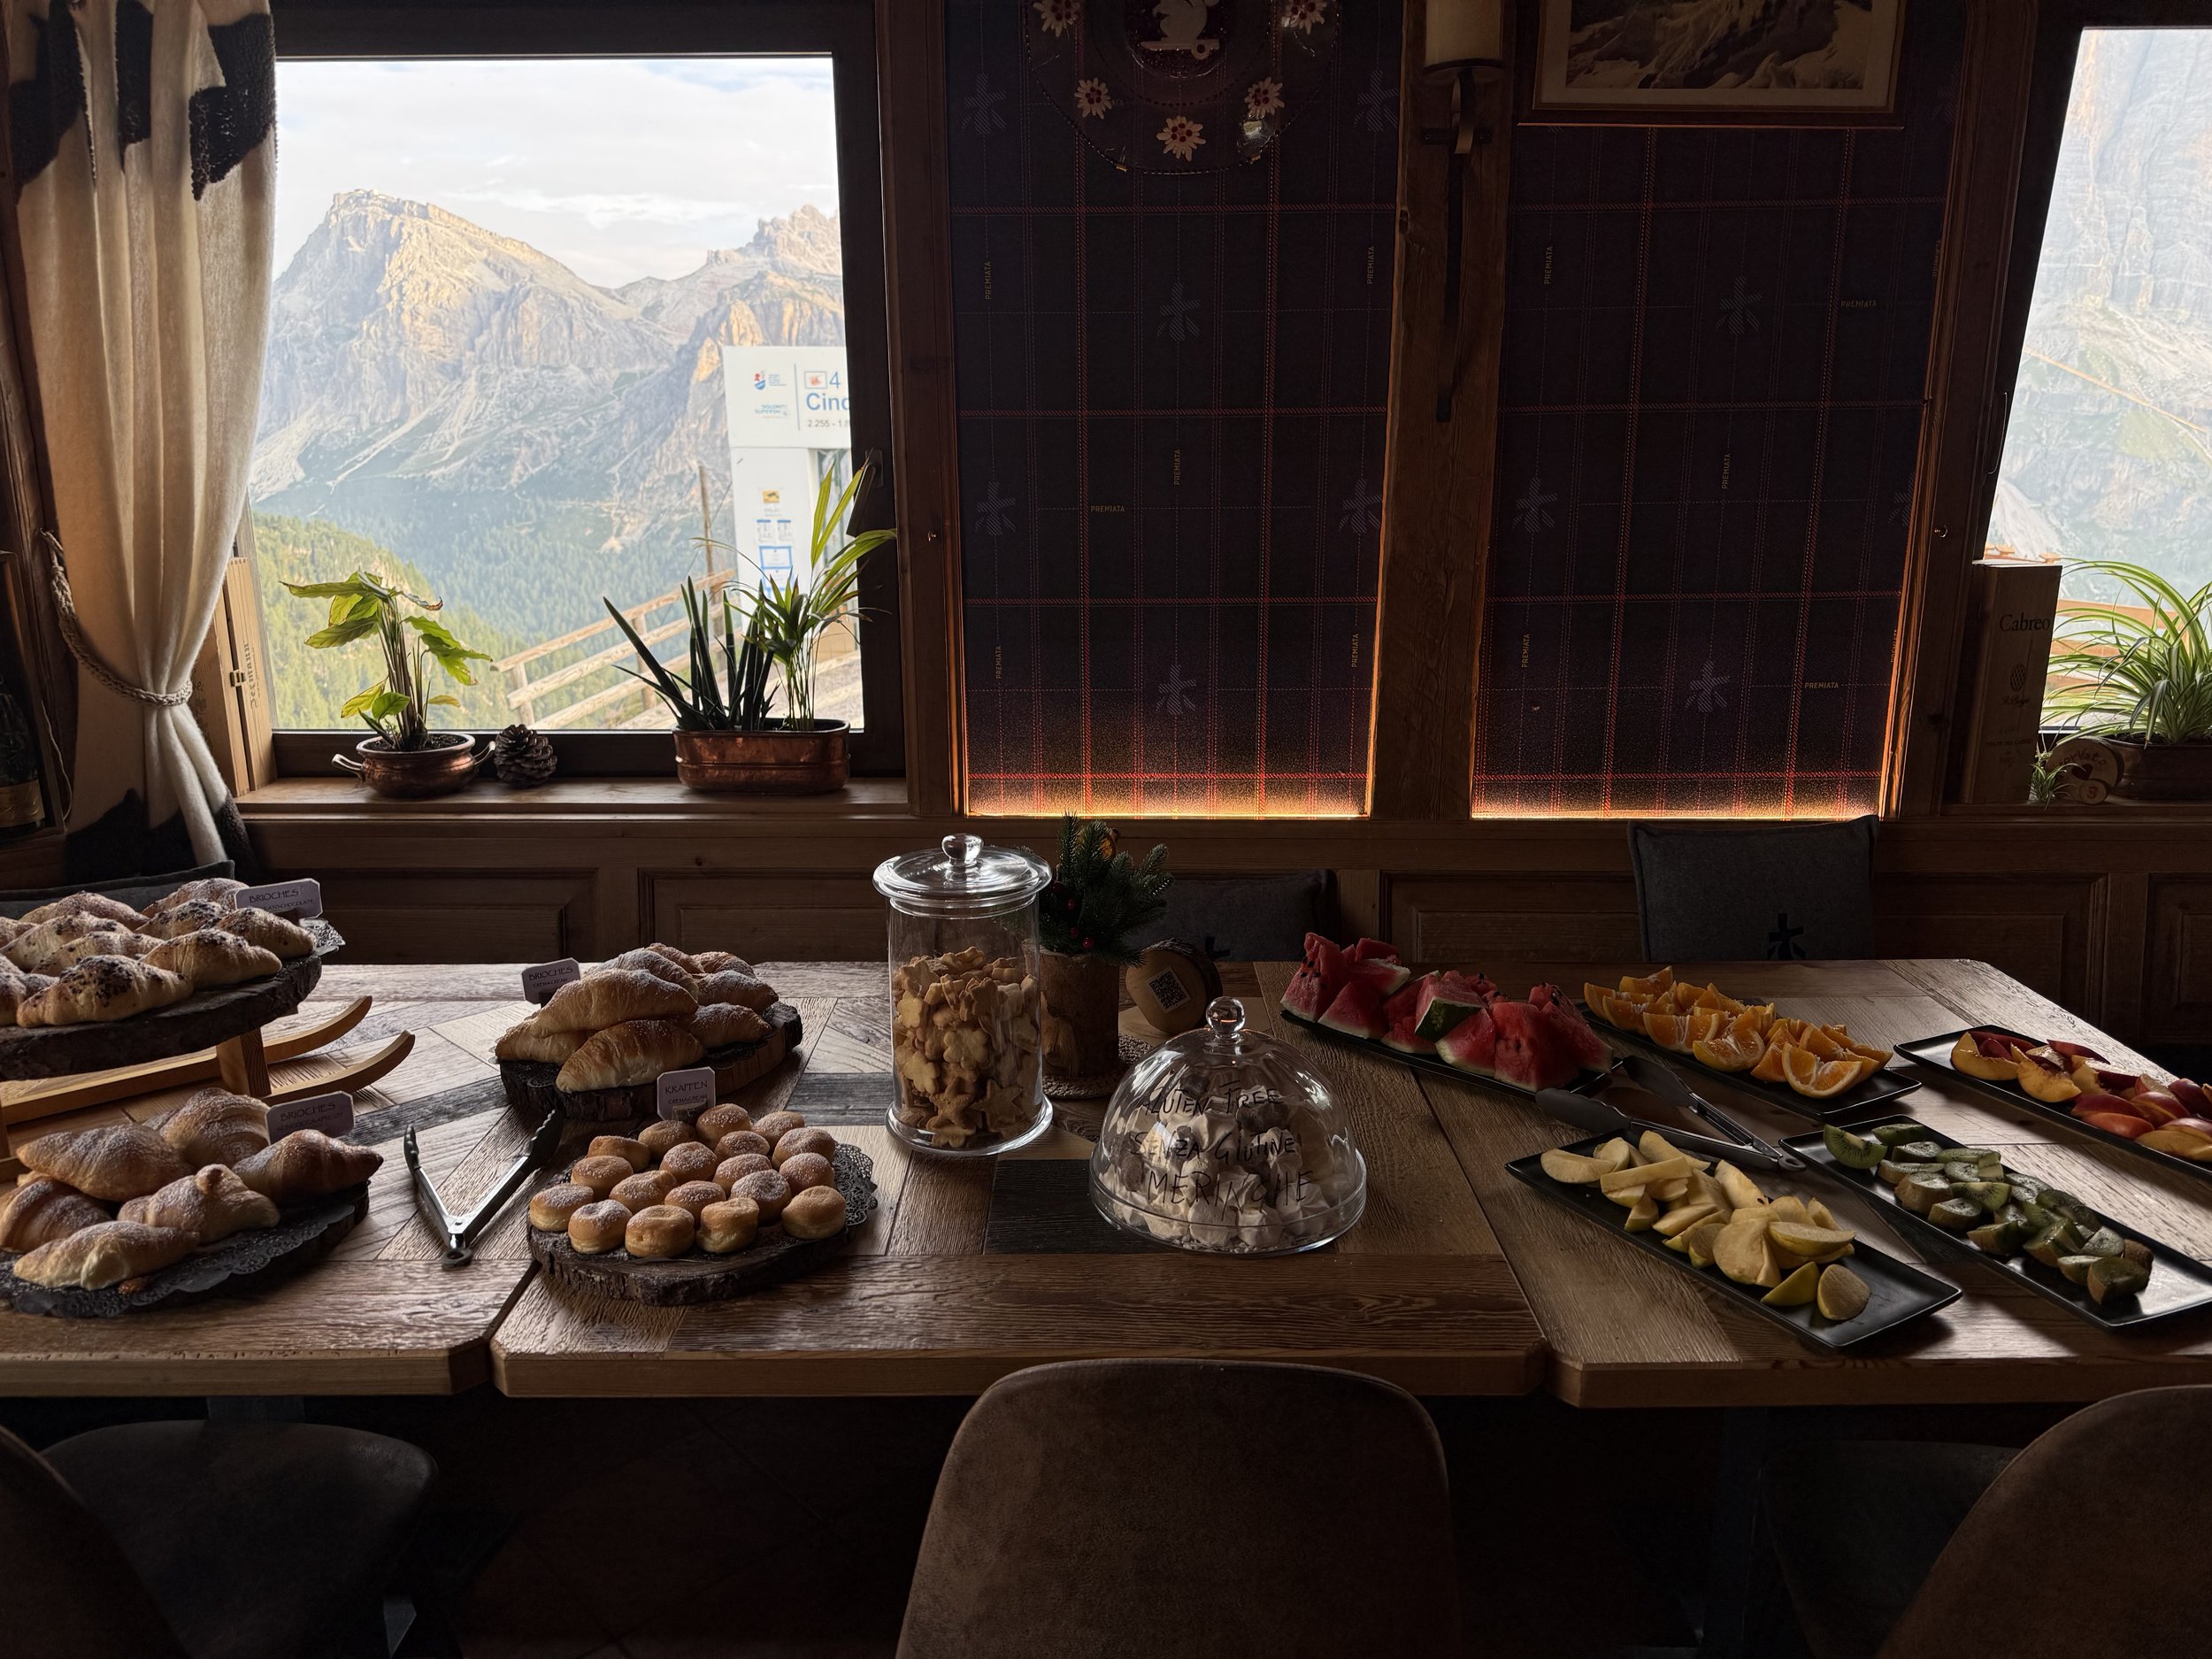
I’ve also decided to give this hut a separate section because it was the most beautiful hut we stayed at, it was also the best food throughout our whole trip. Every evening dinner is at a set time, usually 7pm. You would head to the restaurant, be given a menu where you get to pick what you would like to for starter and then your main course. Usually the starter was a huge bowl of delicious pasta, so you will not be going to bed hungry! Followed by a meat course, at this refuge it was steak and oh my days… it melted in the mouth! I would also add that wine is extremely cheap in Italy, so did have a couple of drinks on this evening.
Breakfast was equally amazing, a great way to get you setup for the day.
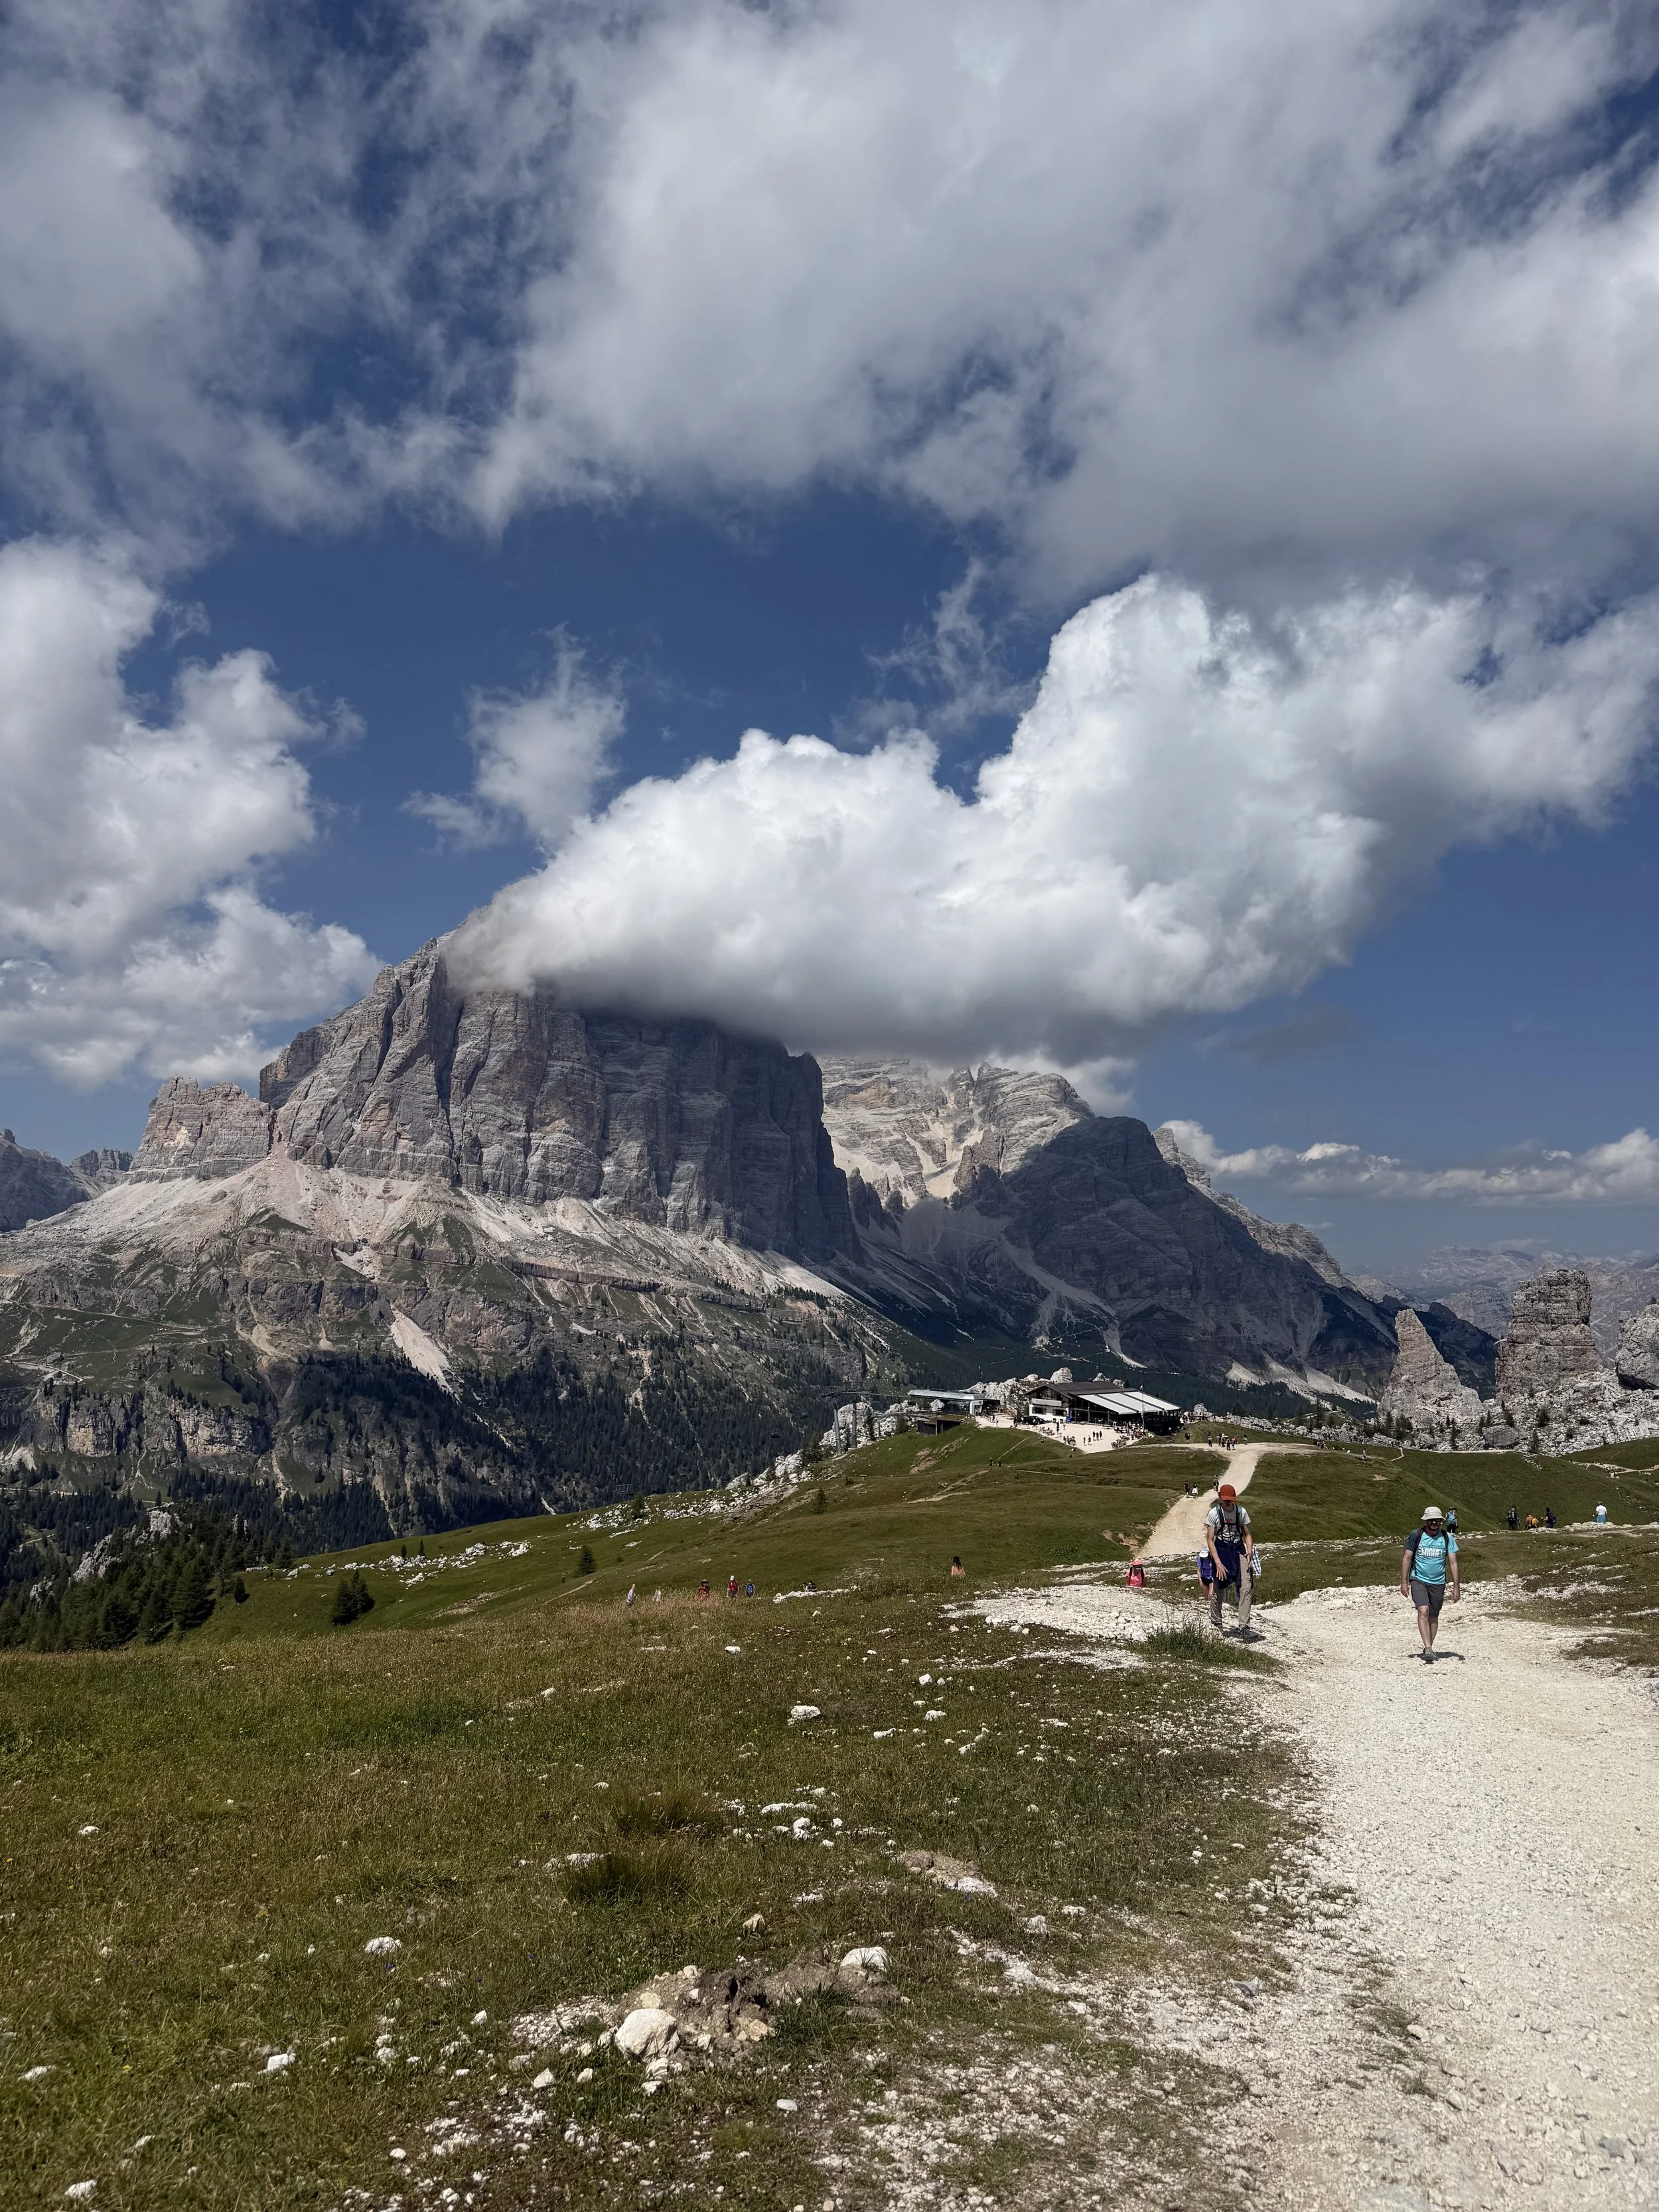
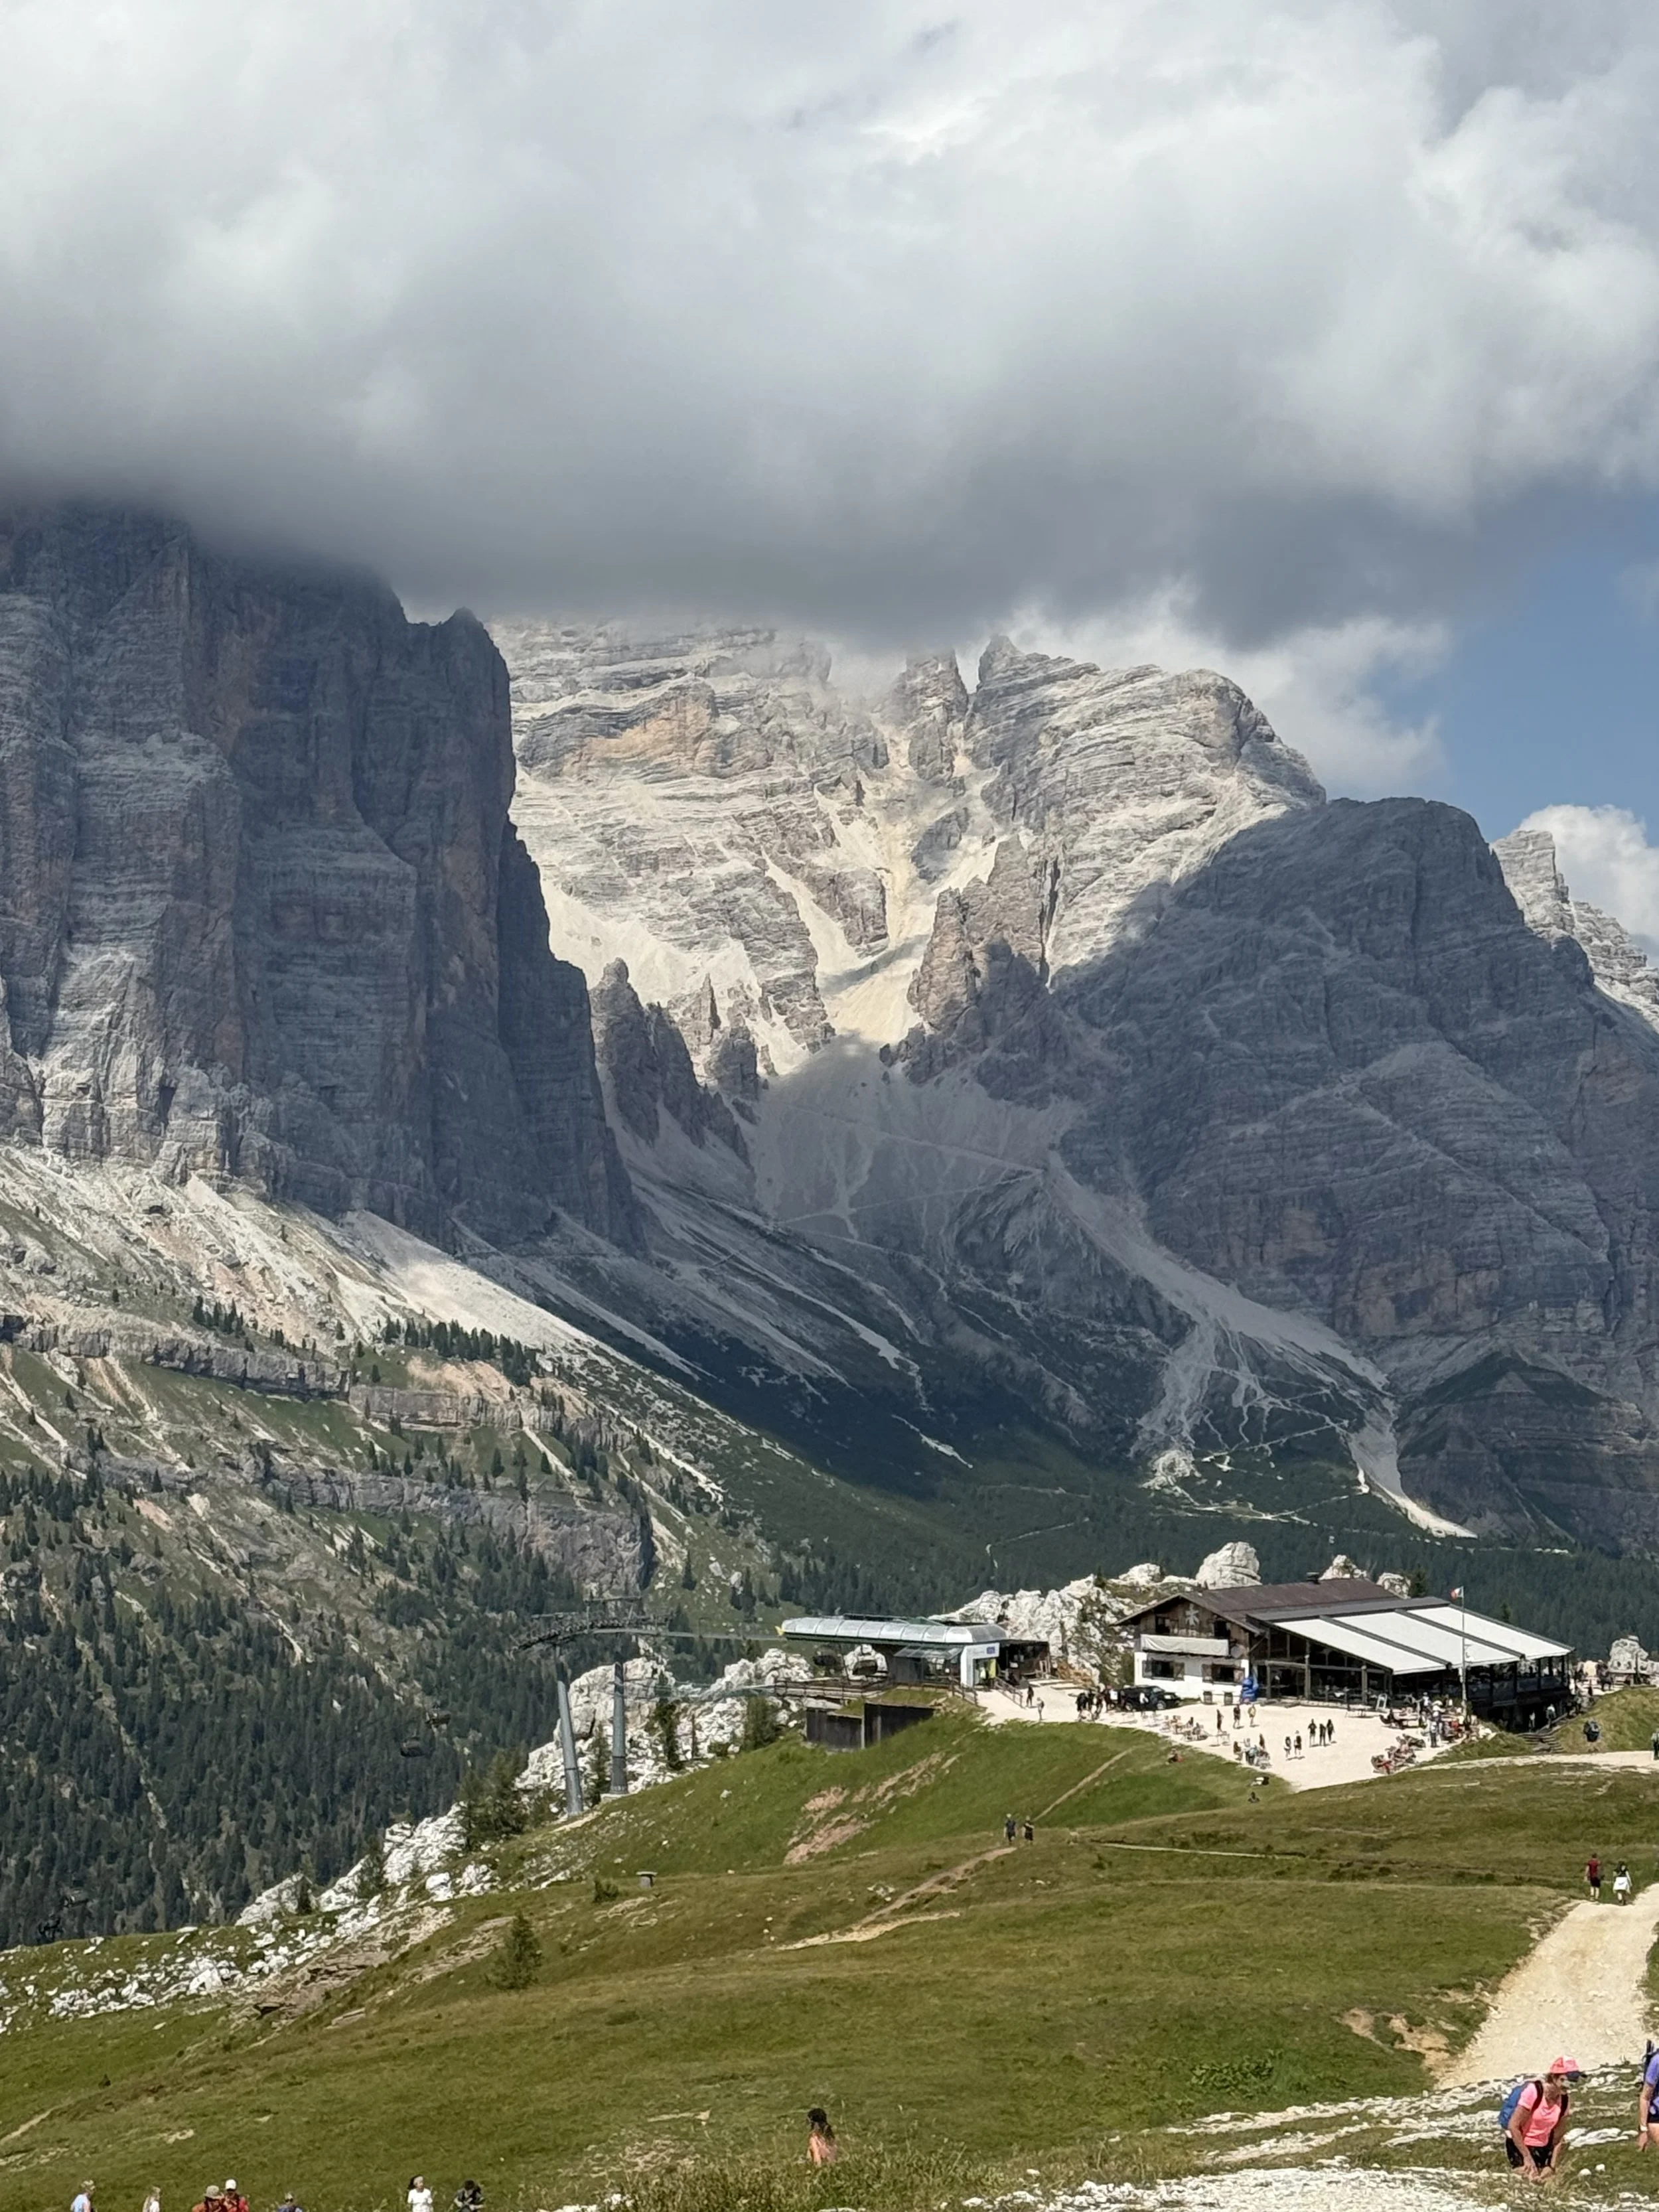
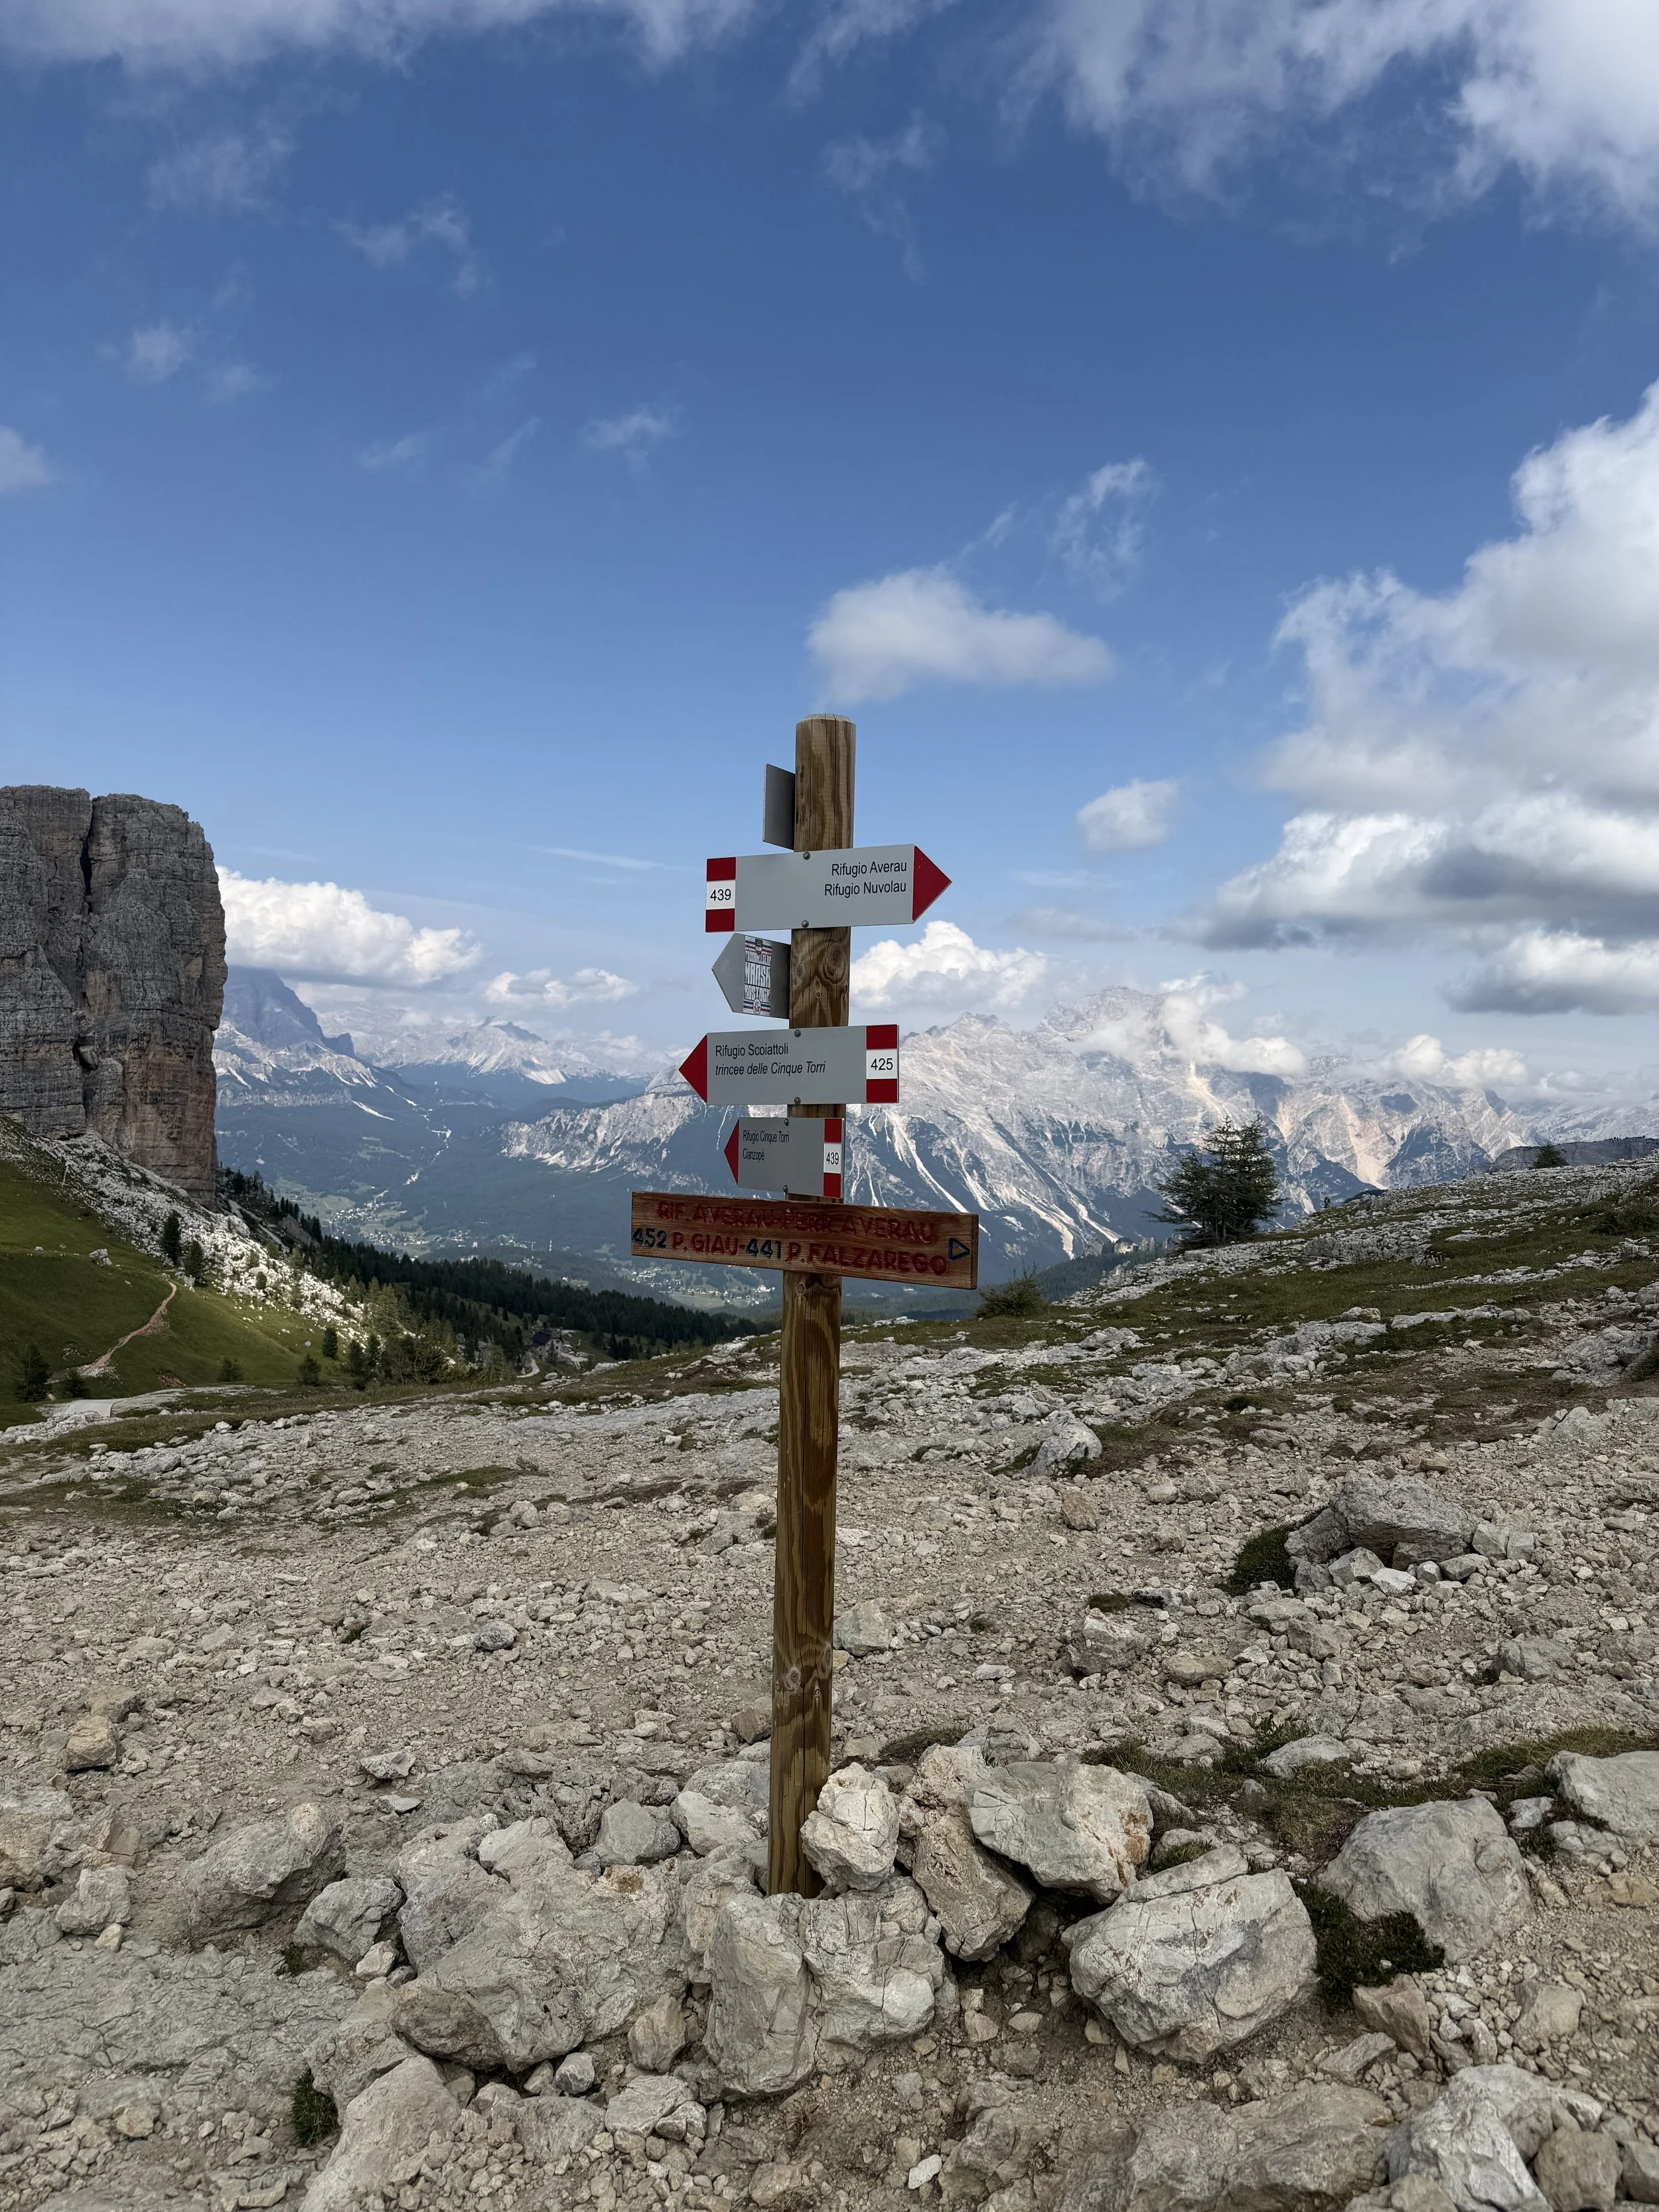
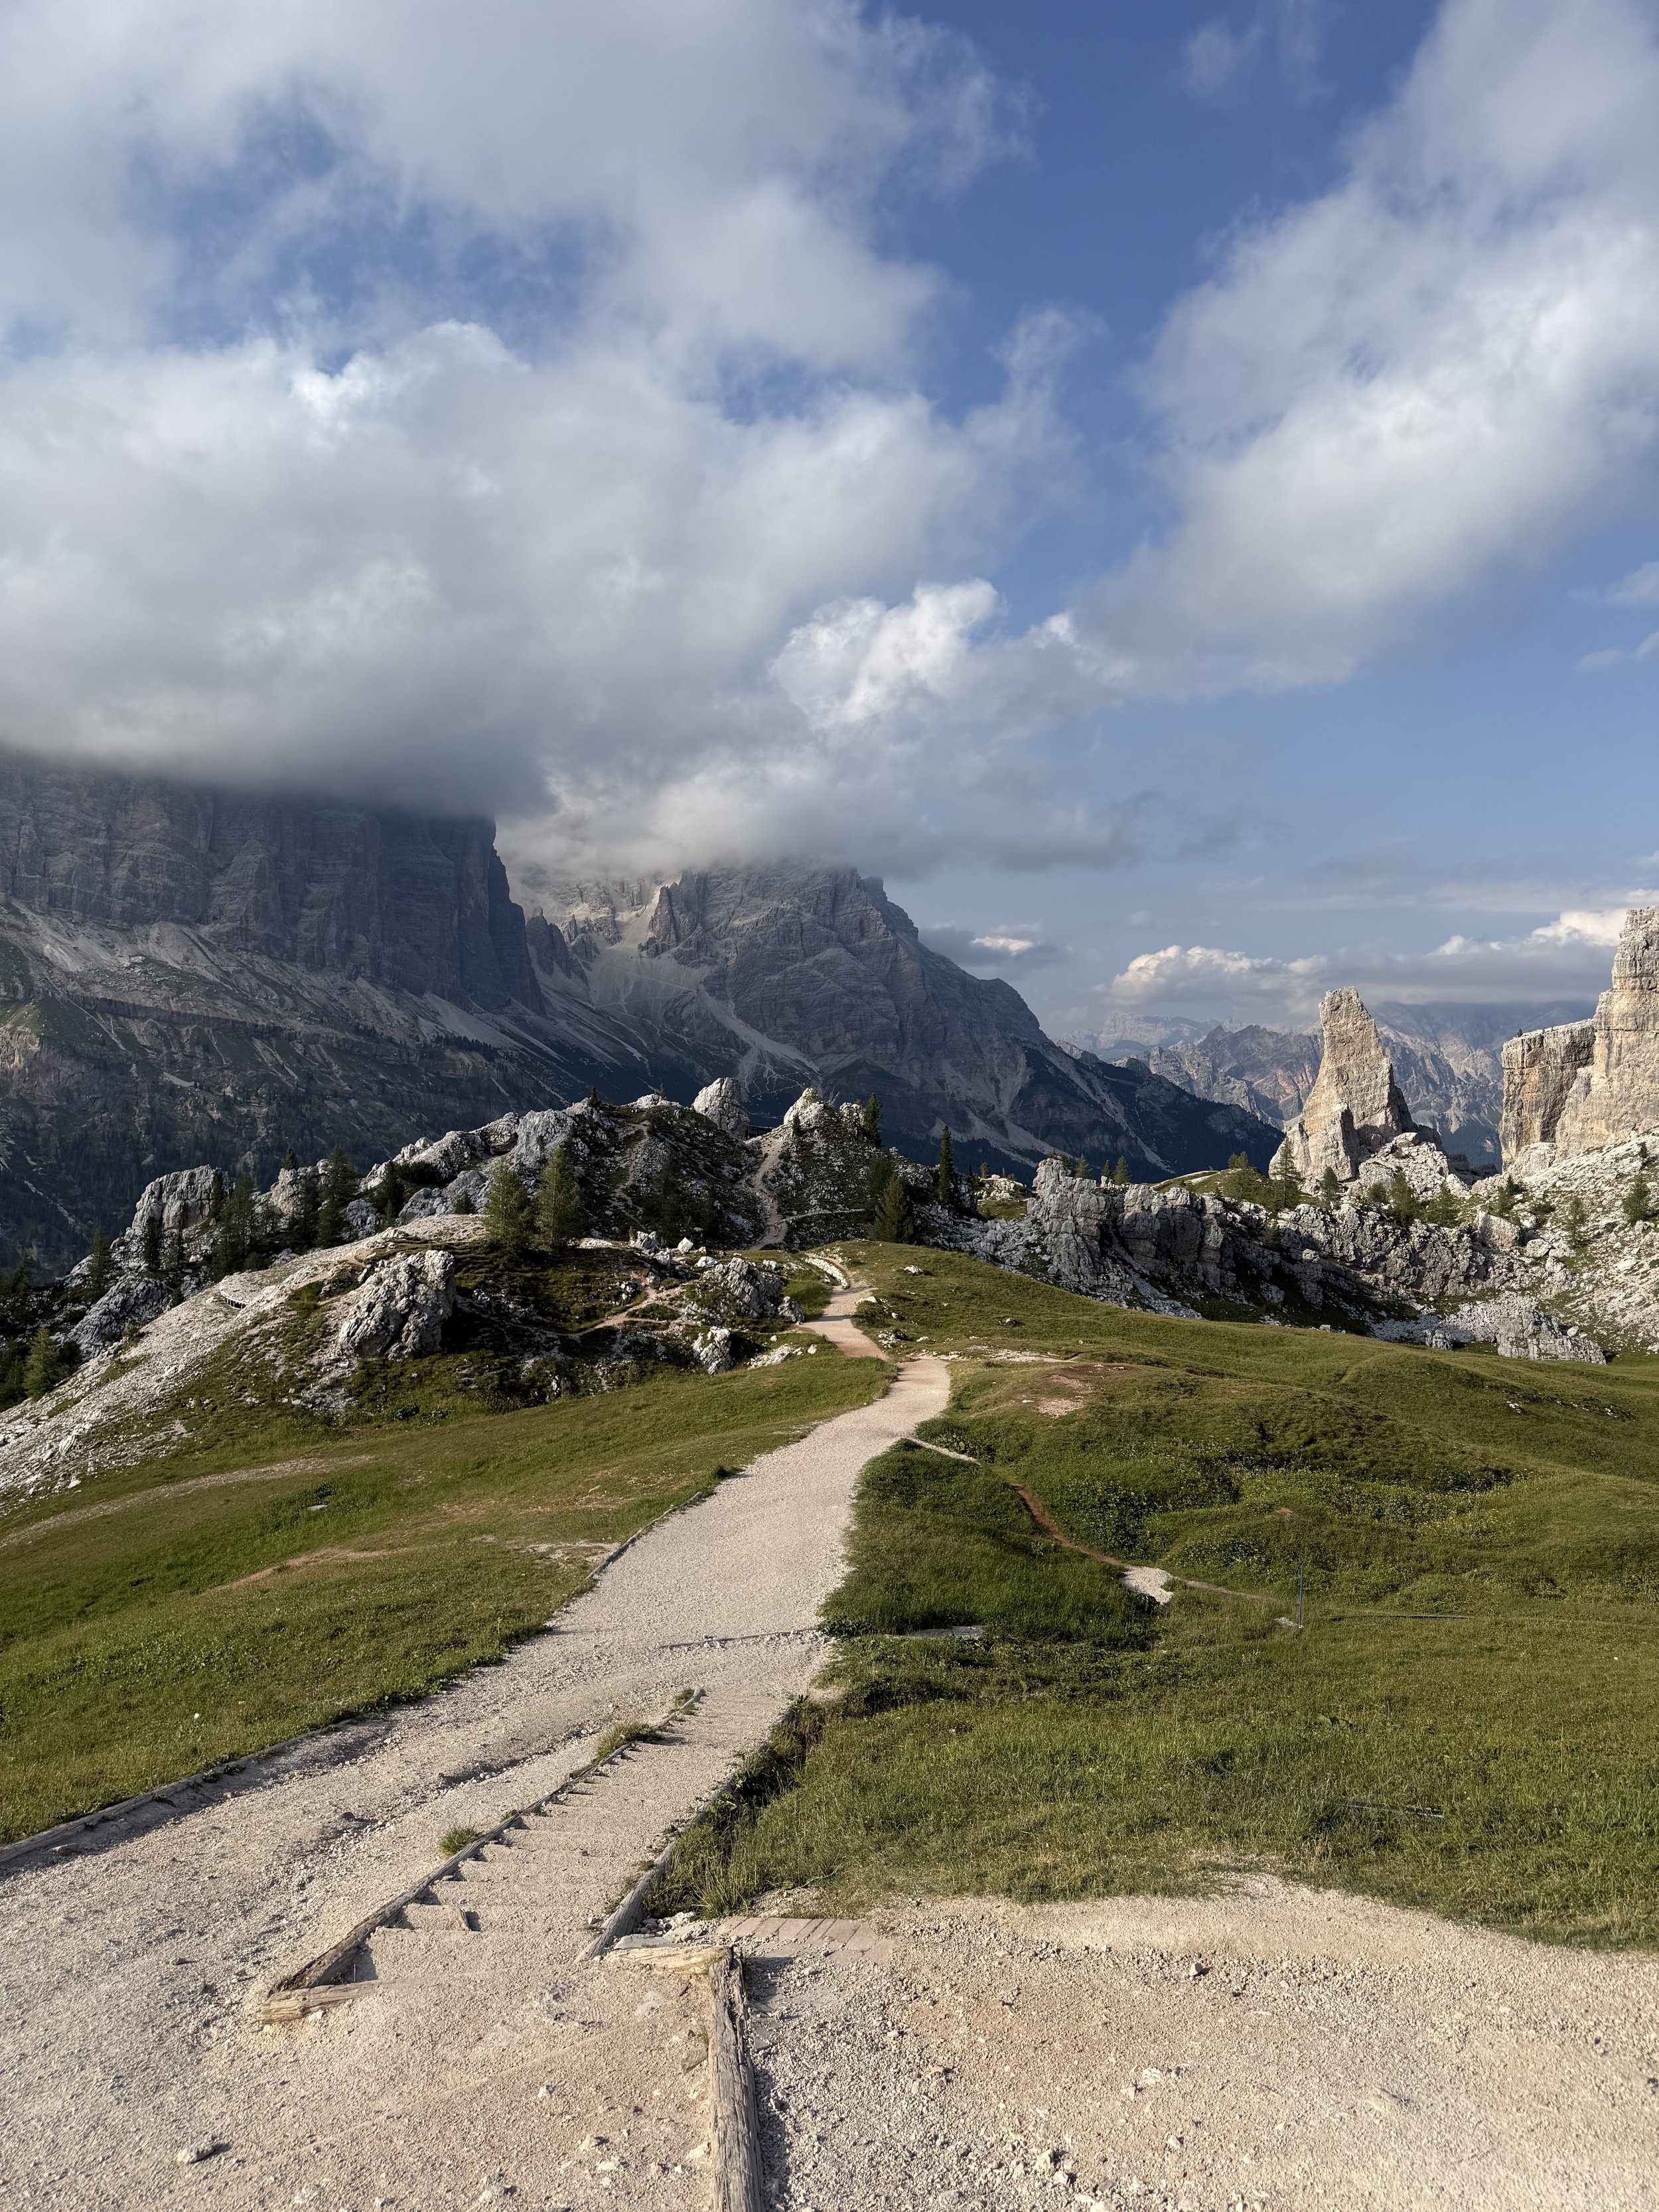
Day #4: Rifugio Scoiattoli - Rifugio Lagazuoi
Stay: Rifugio Lagazuoi, 2,752 meters (9,029 feet)
Half board: Euros 230 total (115 deposit pre-paid) this was in a shared dorm.
Hike Time: 5 to 5.5 hours, spanning about 6 miles with roughly a maximum of 3,000ft of elevation gain (depending on route)
MORNING: There are a few options for this route depending on if you want to continue in a circular route, or if you want to utilise cable cars.
Plan A (good weather) Scoiattoli → Dibona → Forcella Col dei Bos → Forcella Travenanzes → Lagazuoi
Part of this is repeating day 1
It’s the official high Alta Via 1 line.
The official AV1 stage specifically recommends staying high for the scenery rather than dropping to Passo Falzarego.
It gives you a completely different experience from your Day 2 around Cinque Torri.
Plan B (poor weather, low cloud, or strong wind) Scoiattoli → CAI 441 → Passo Falzarego → CAI 402 → CAI 401 → Rifugio Lagazuoi
Simpler navigation.
Lower and generally less exposed.
Easy to bail out if conditions deteriorate.
Also an official refuge-to-refuge connection.
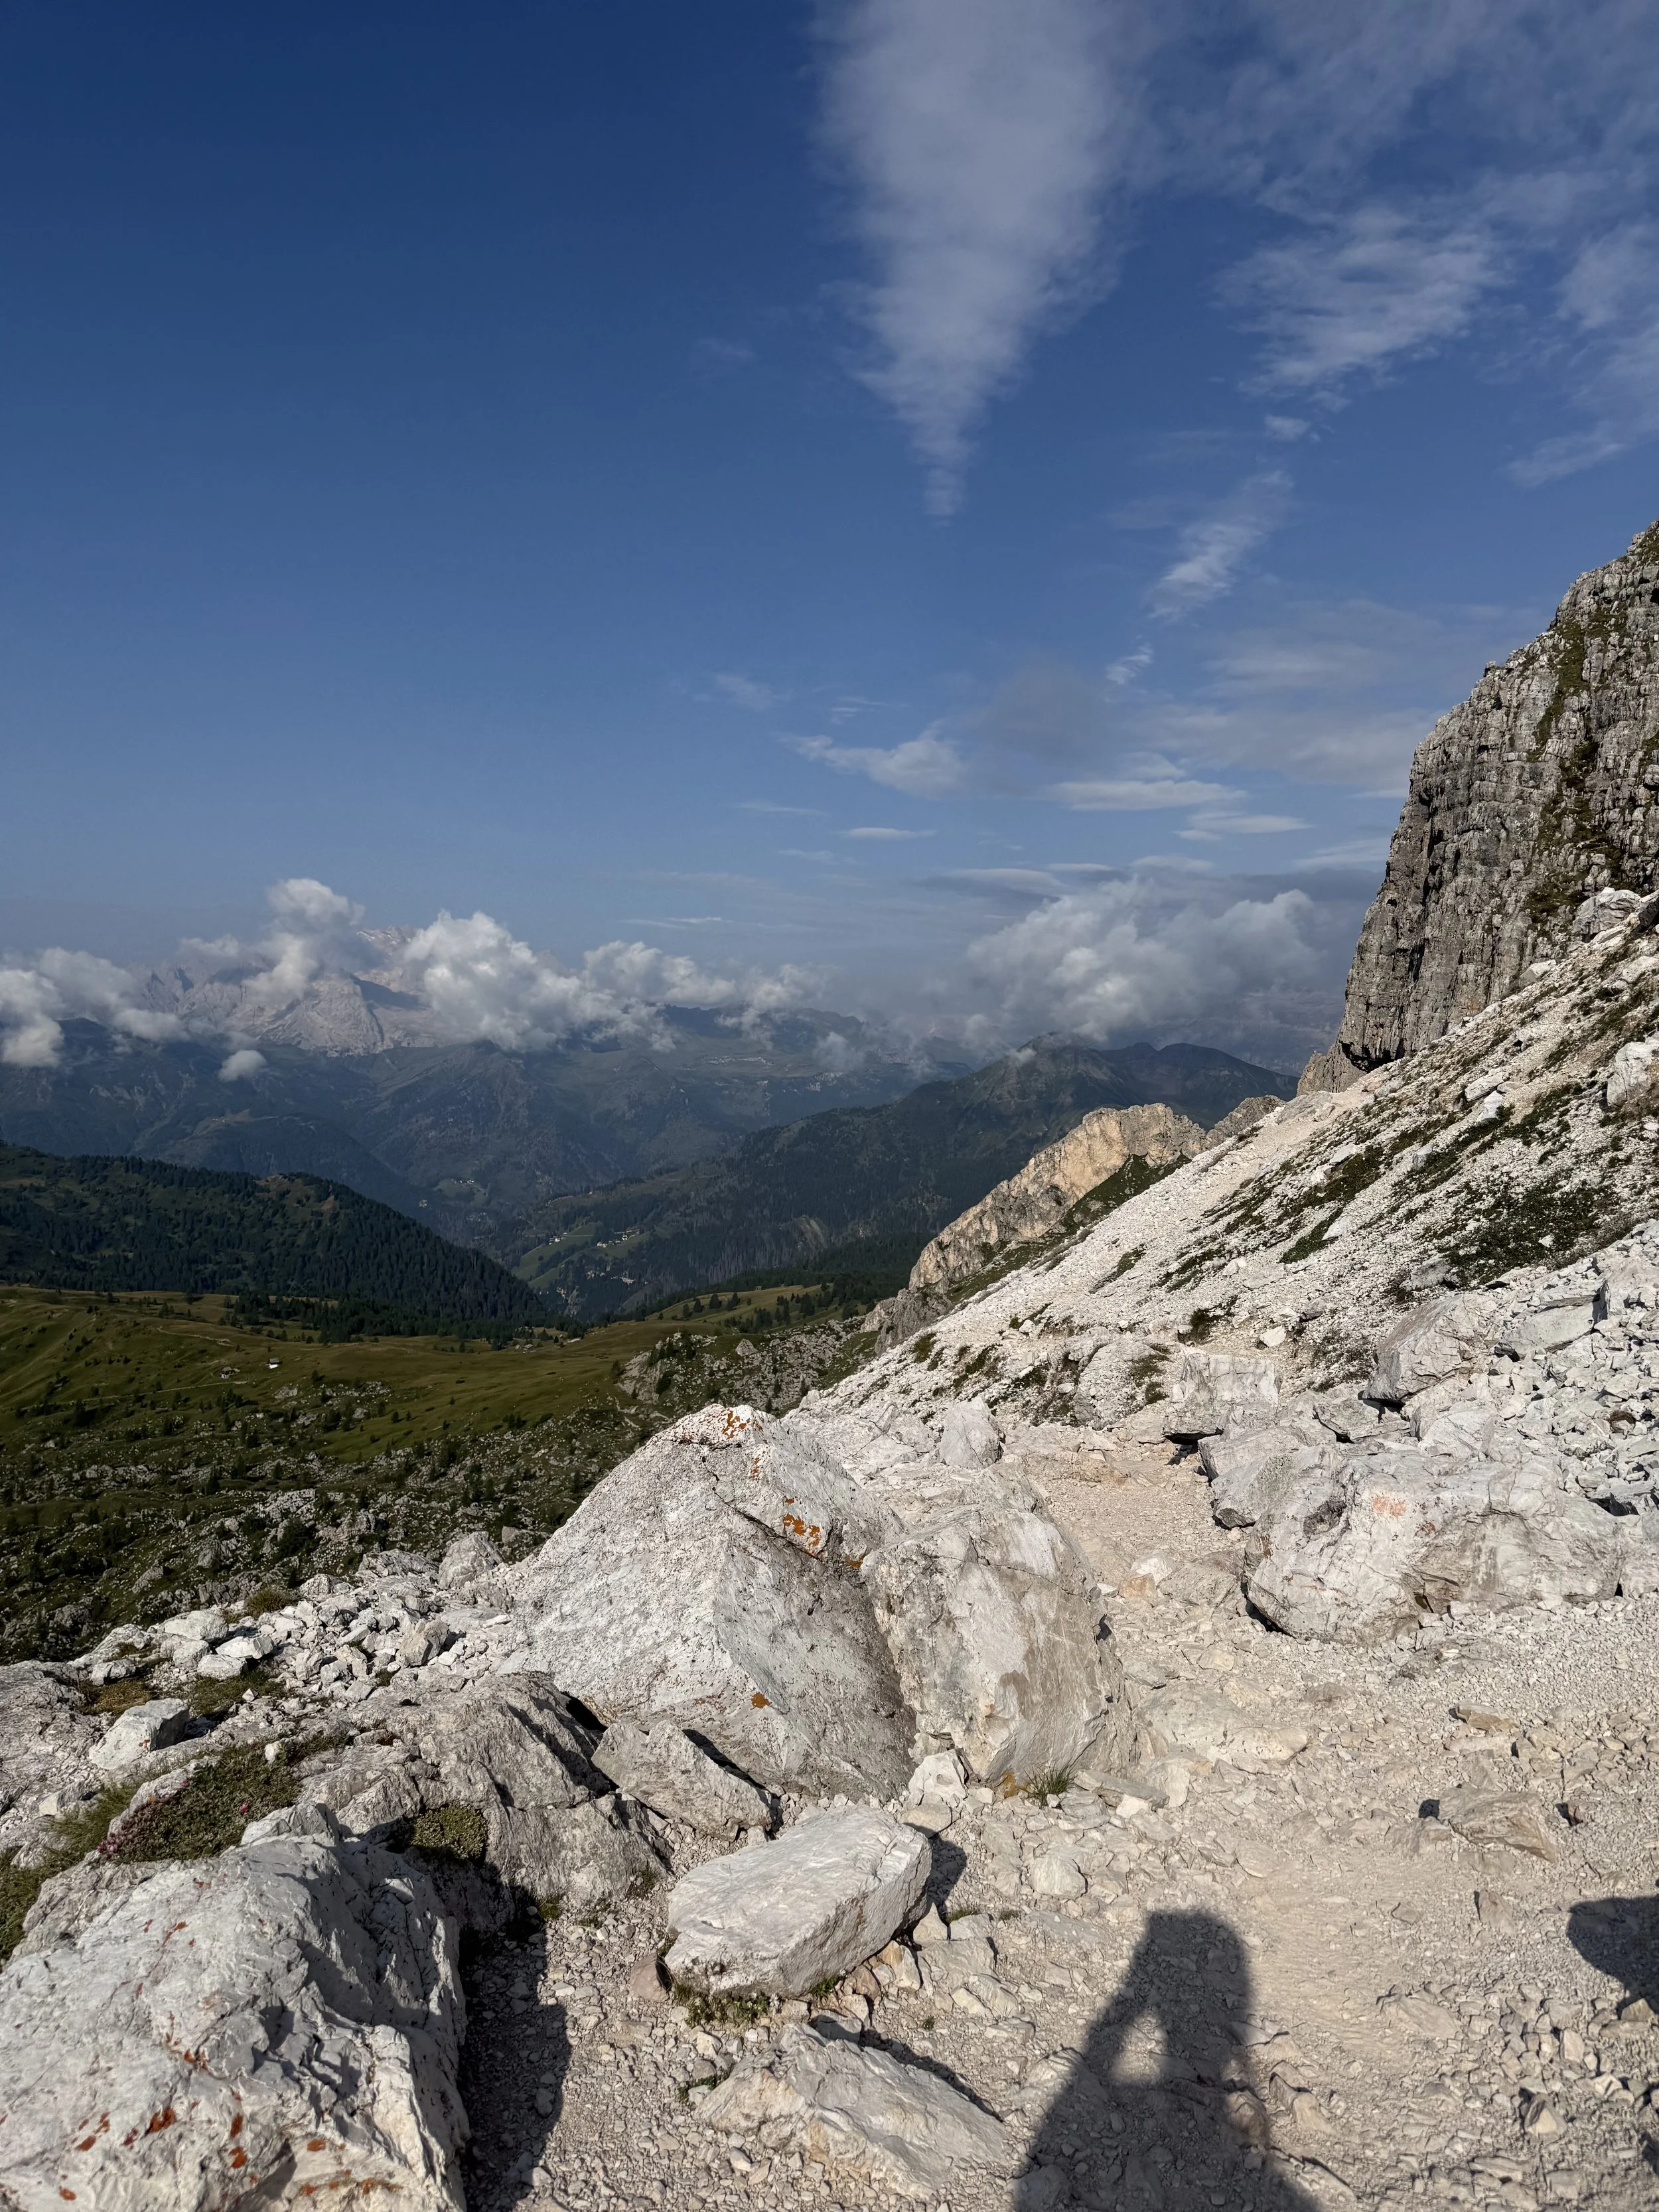
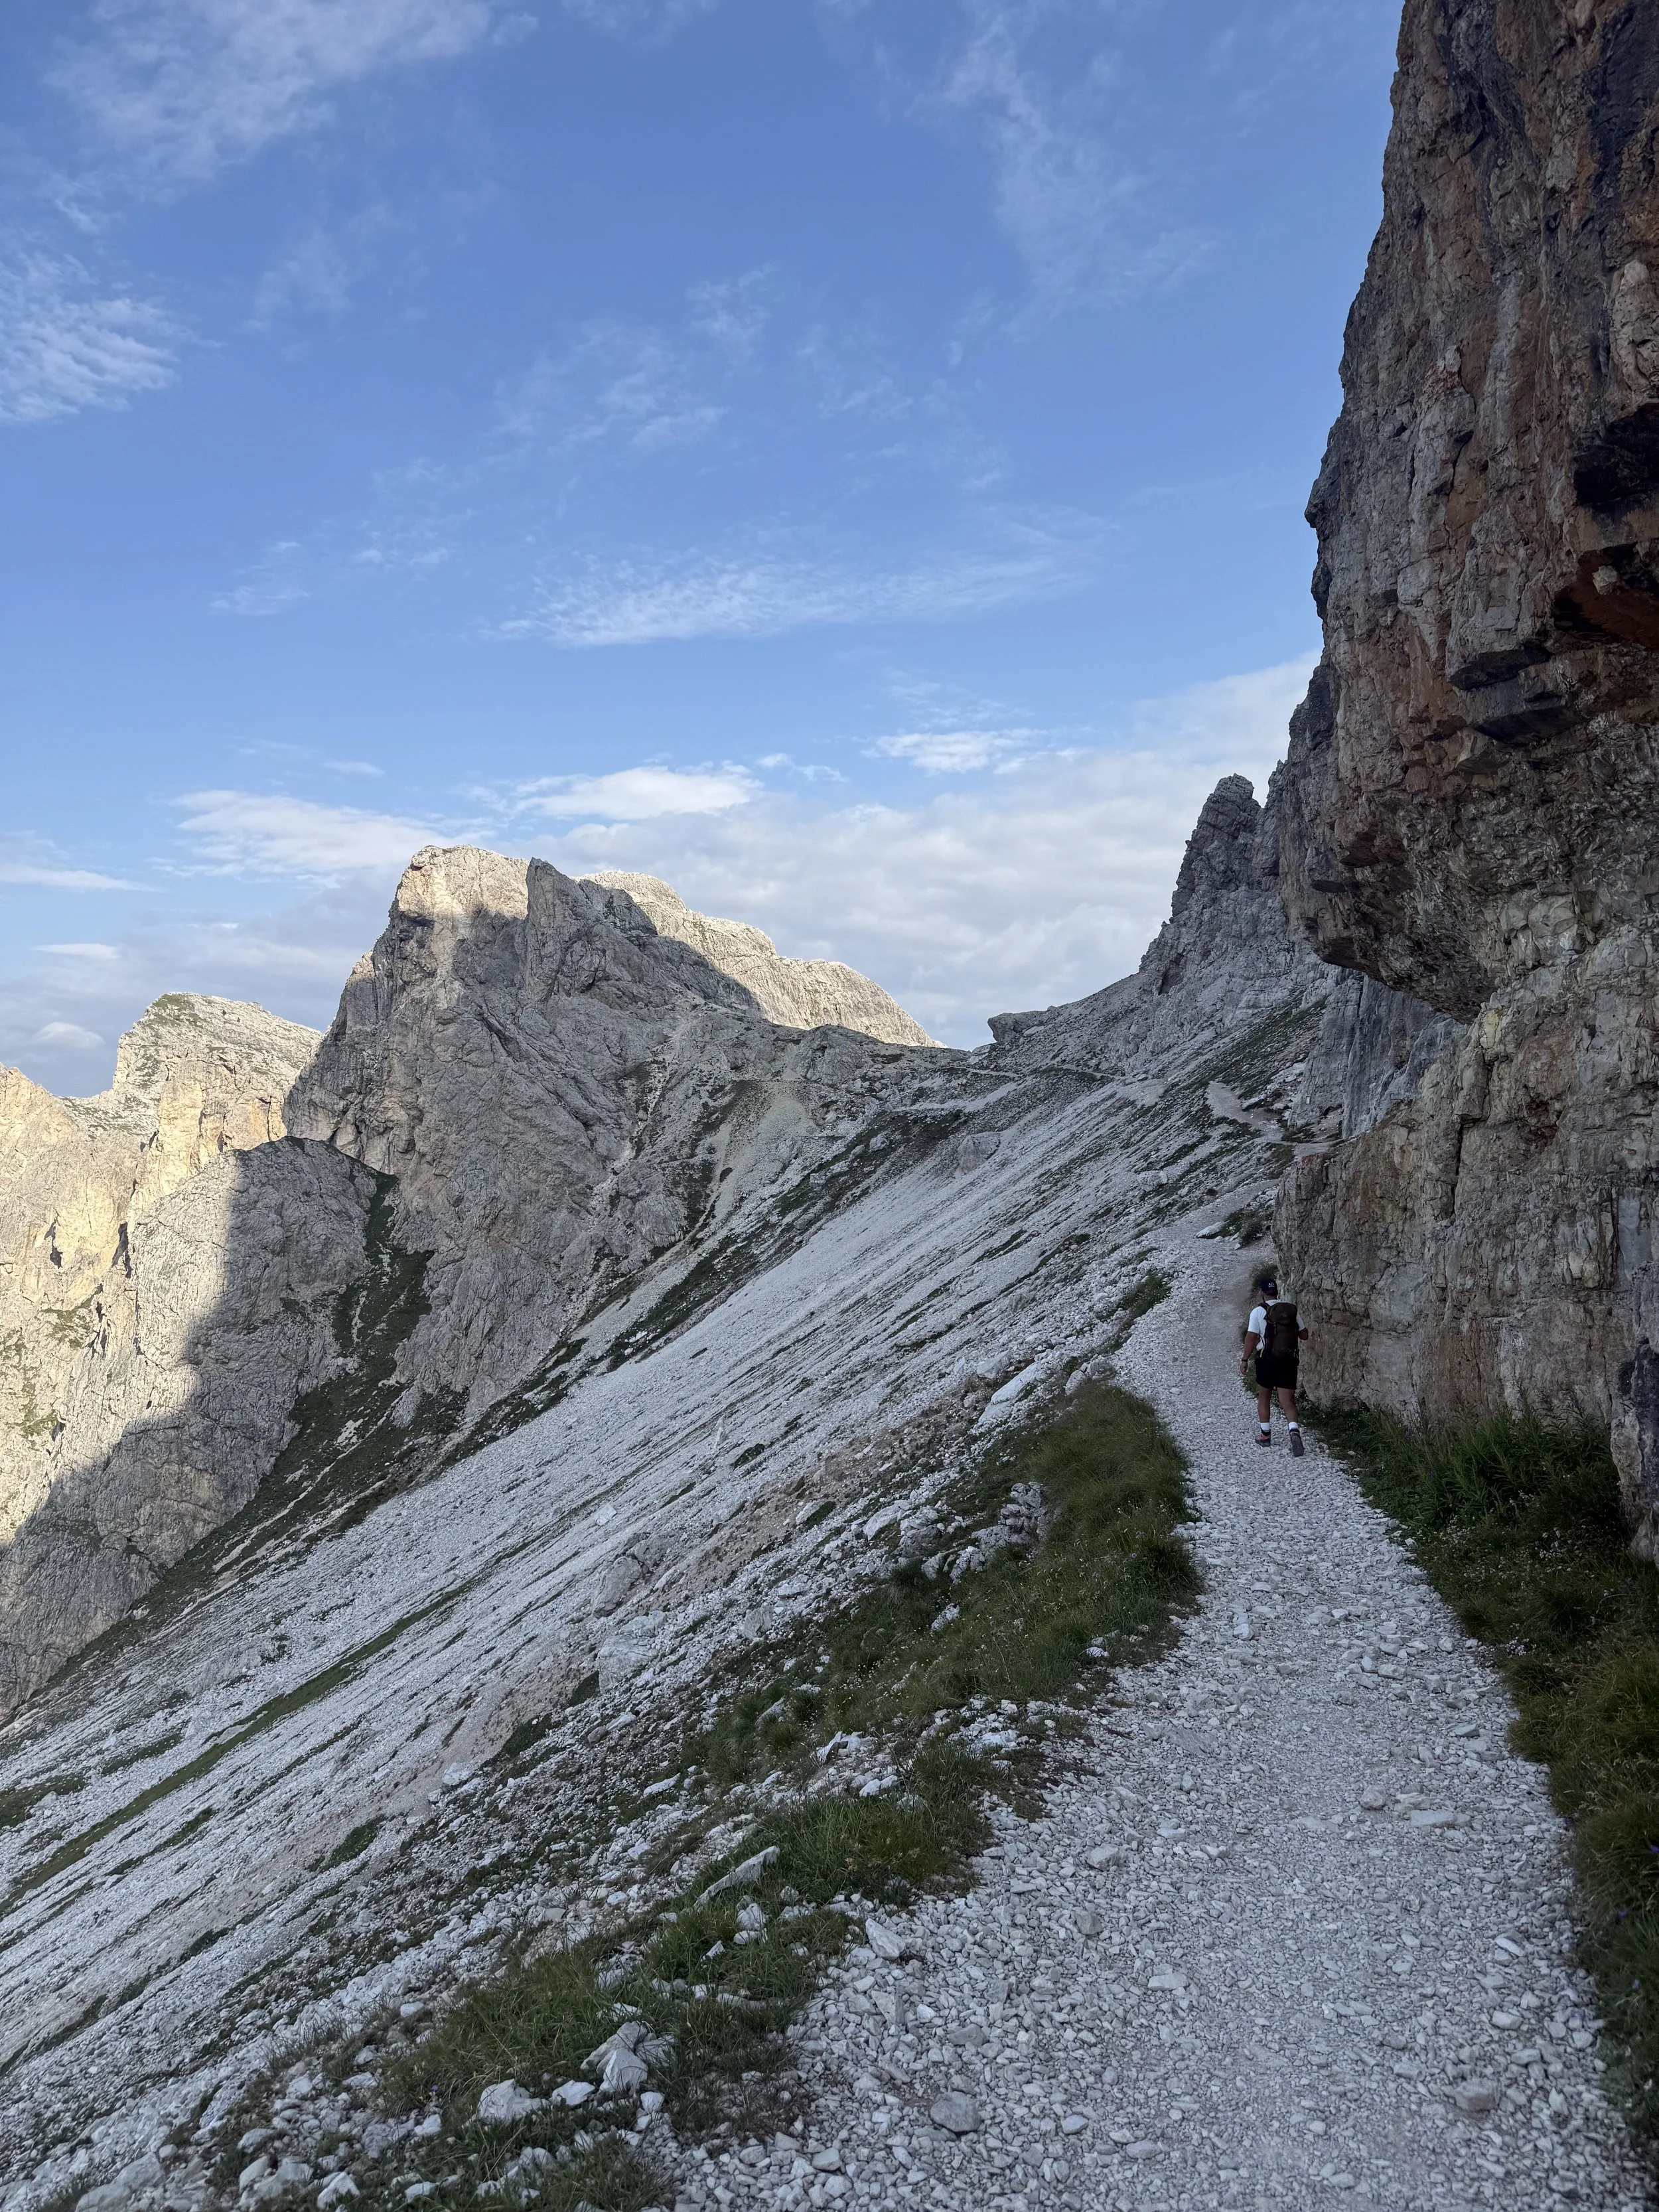
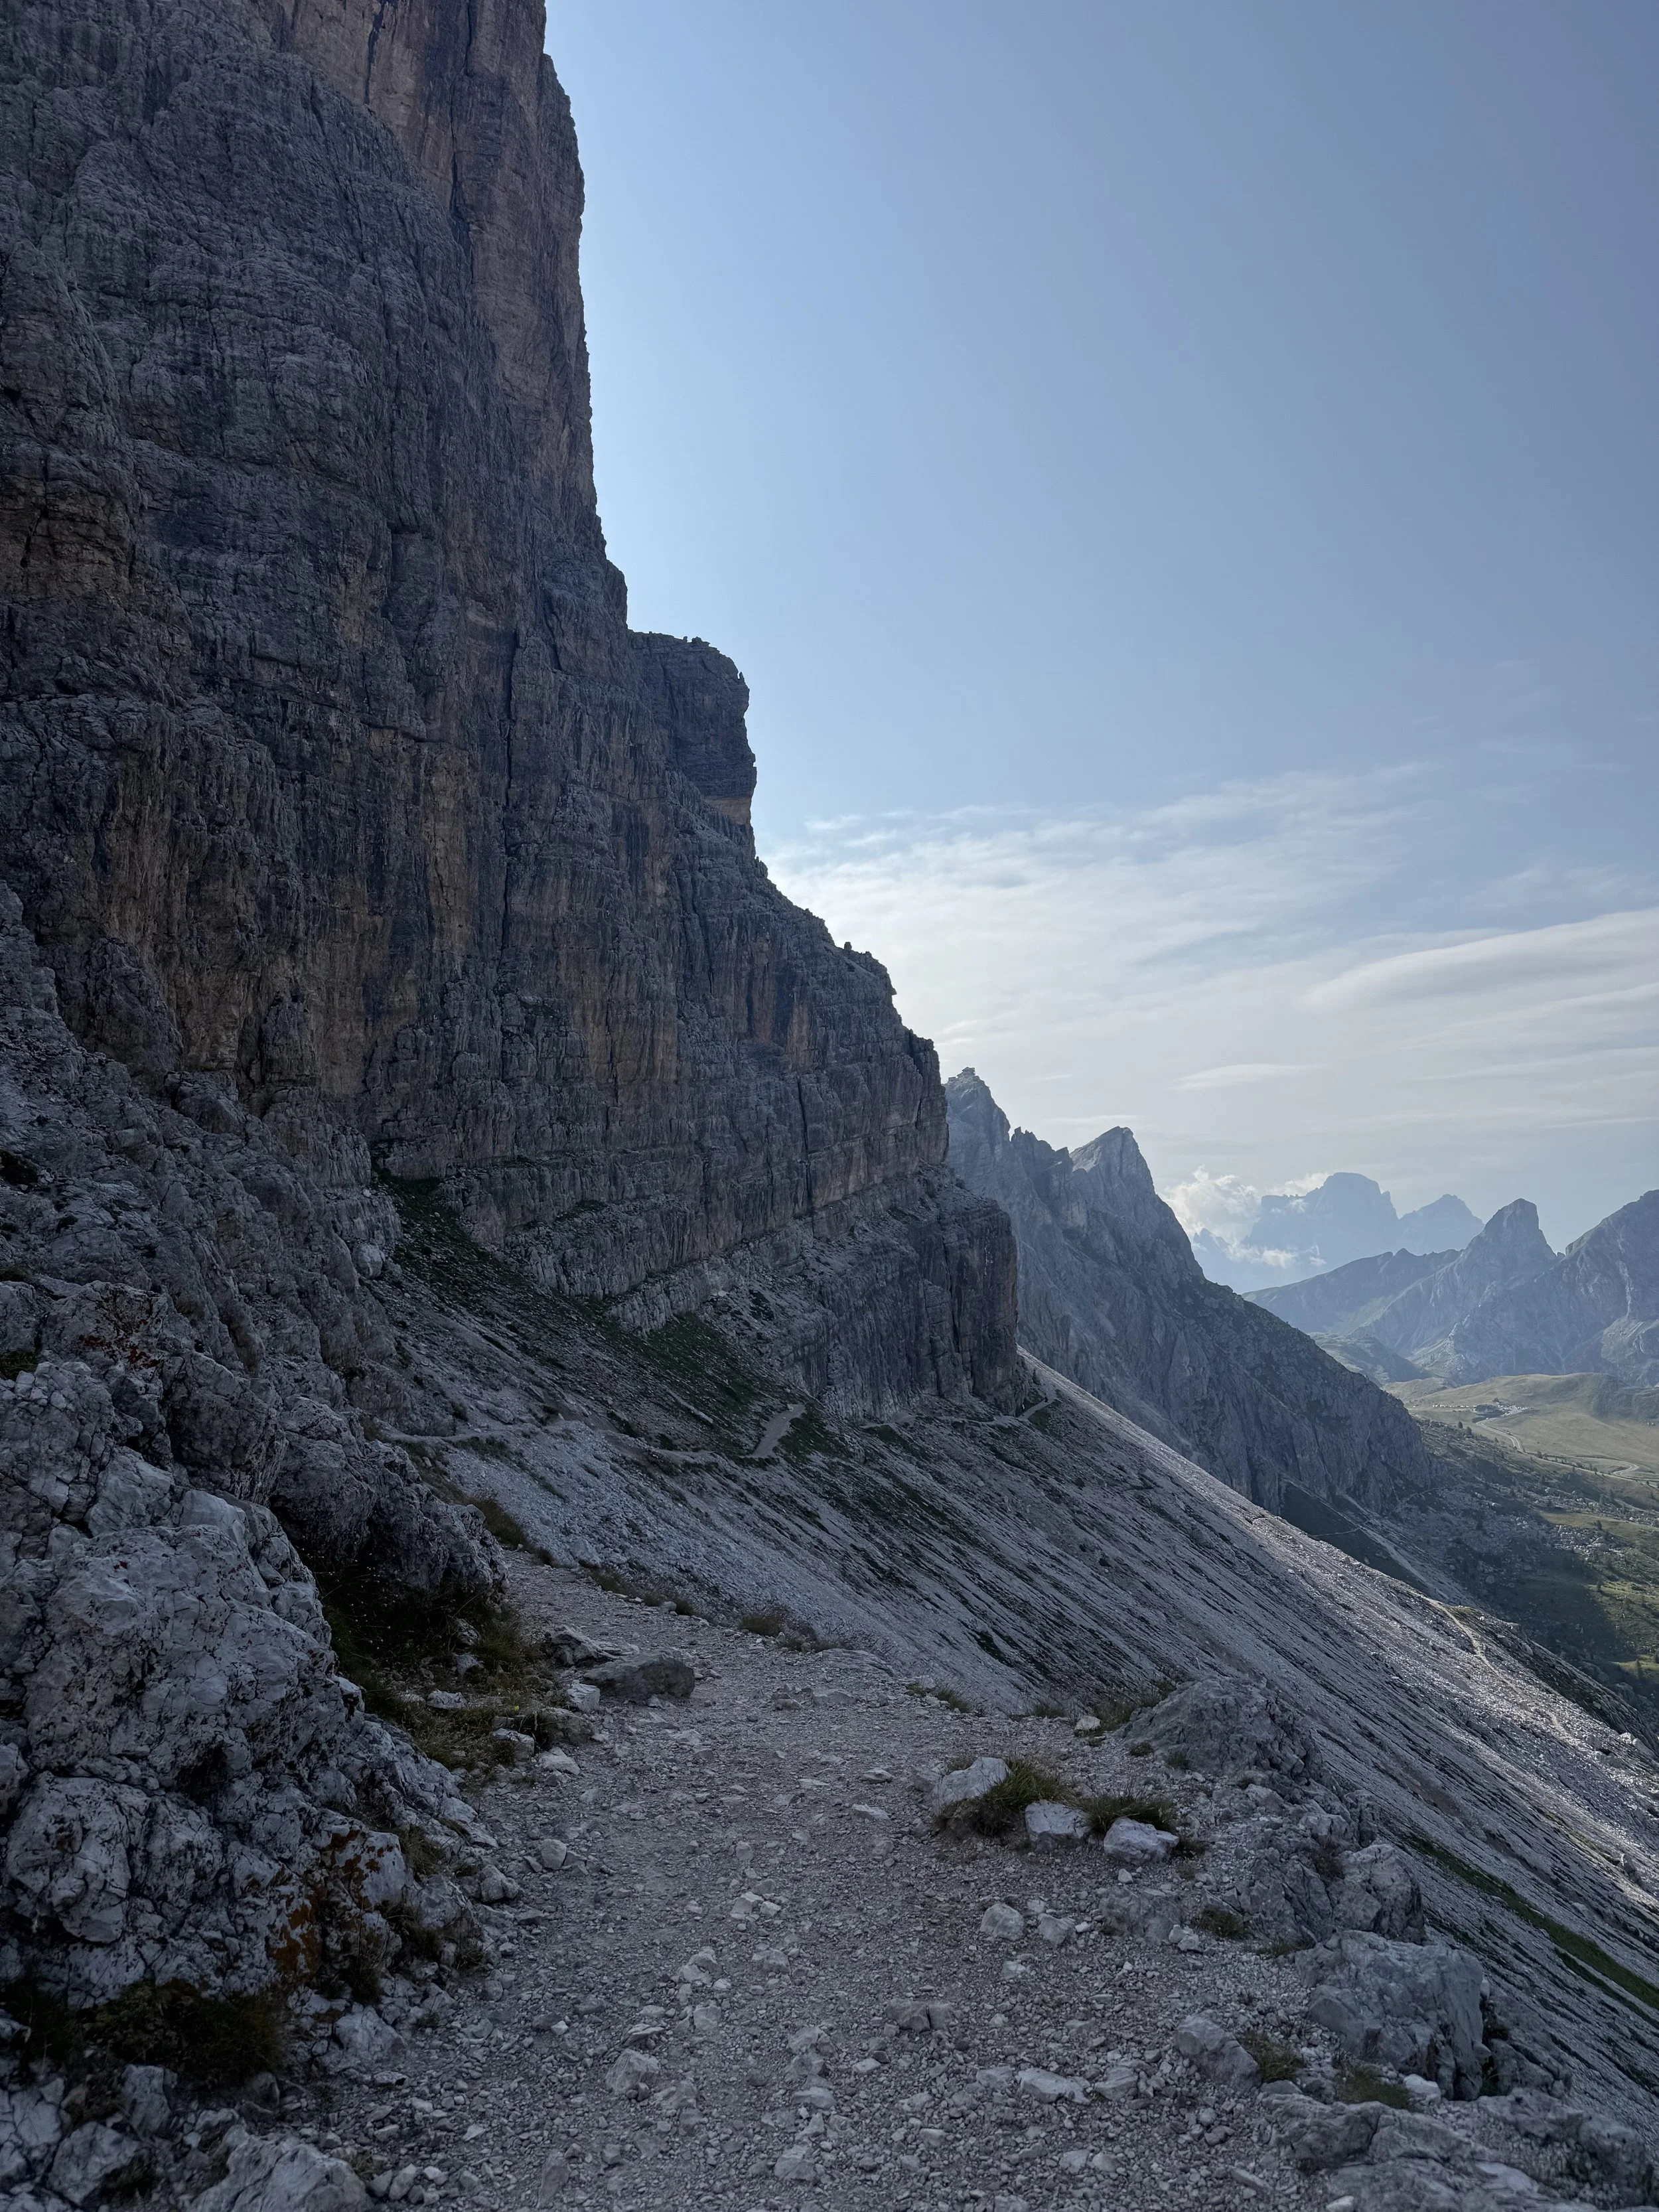
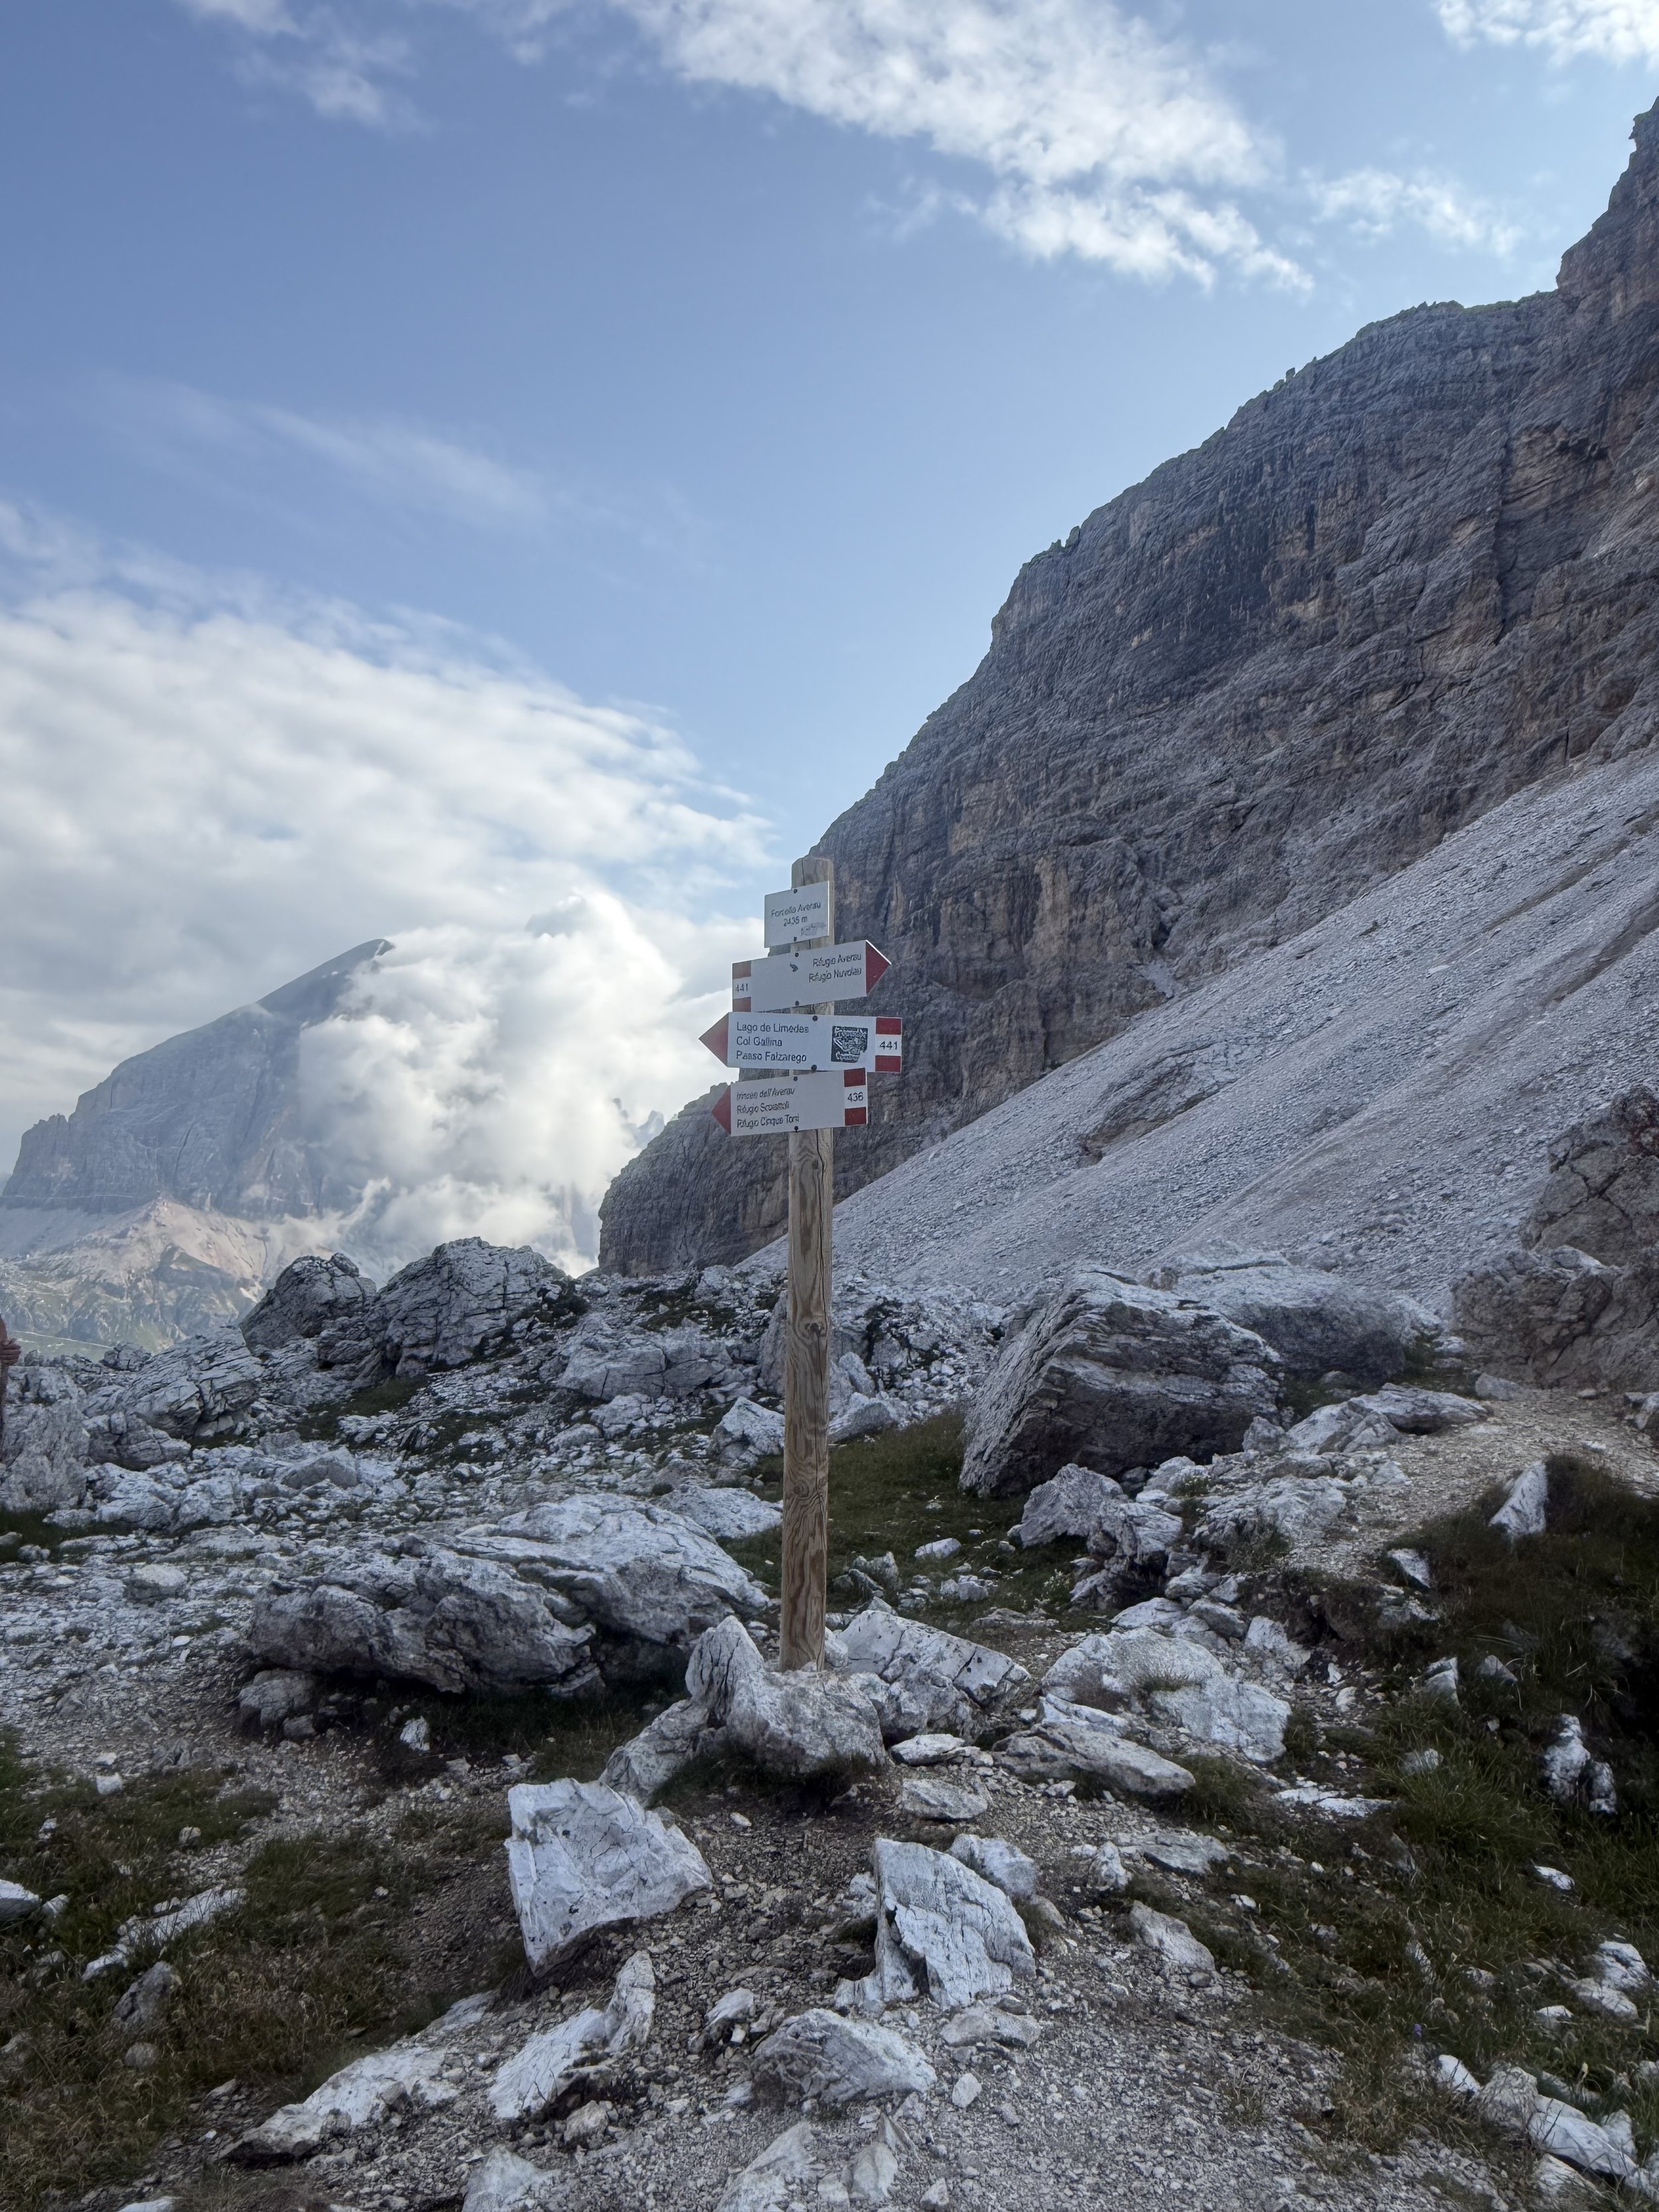
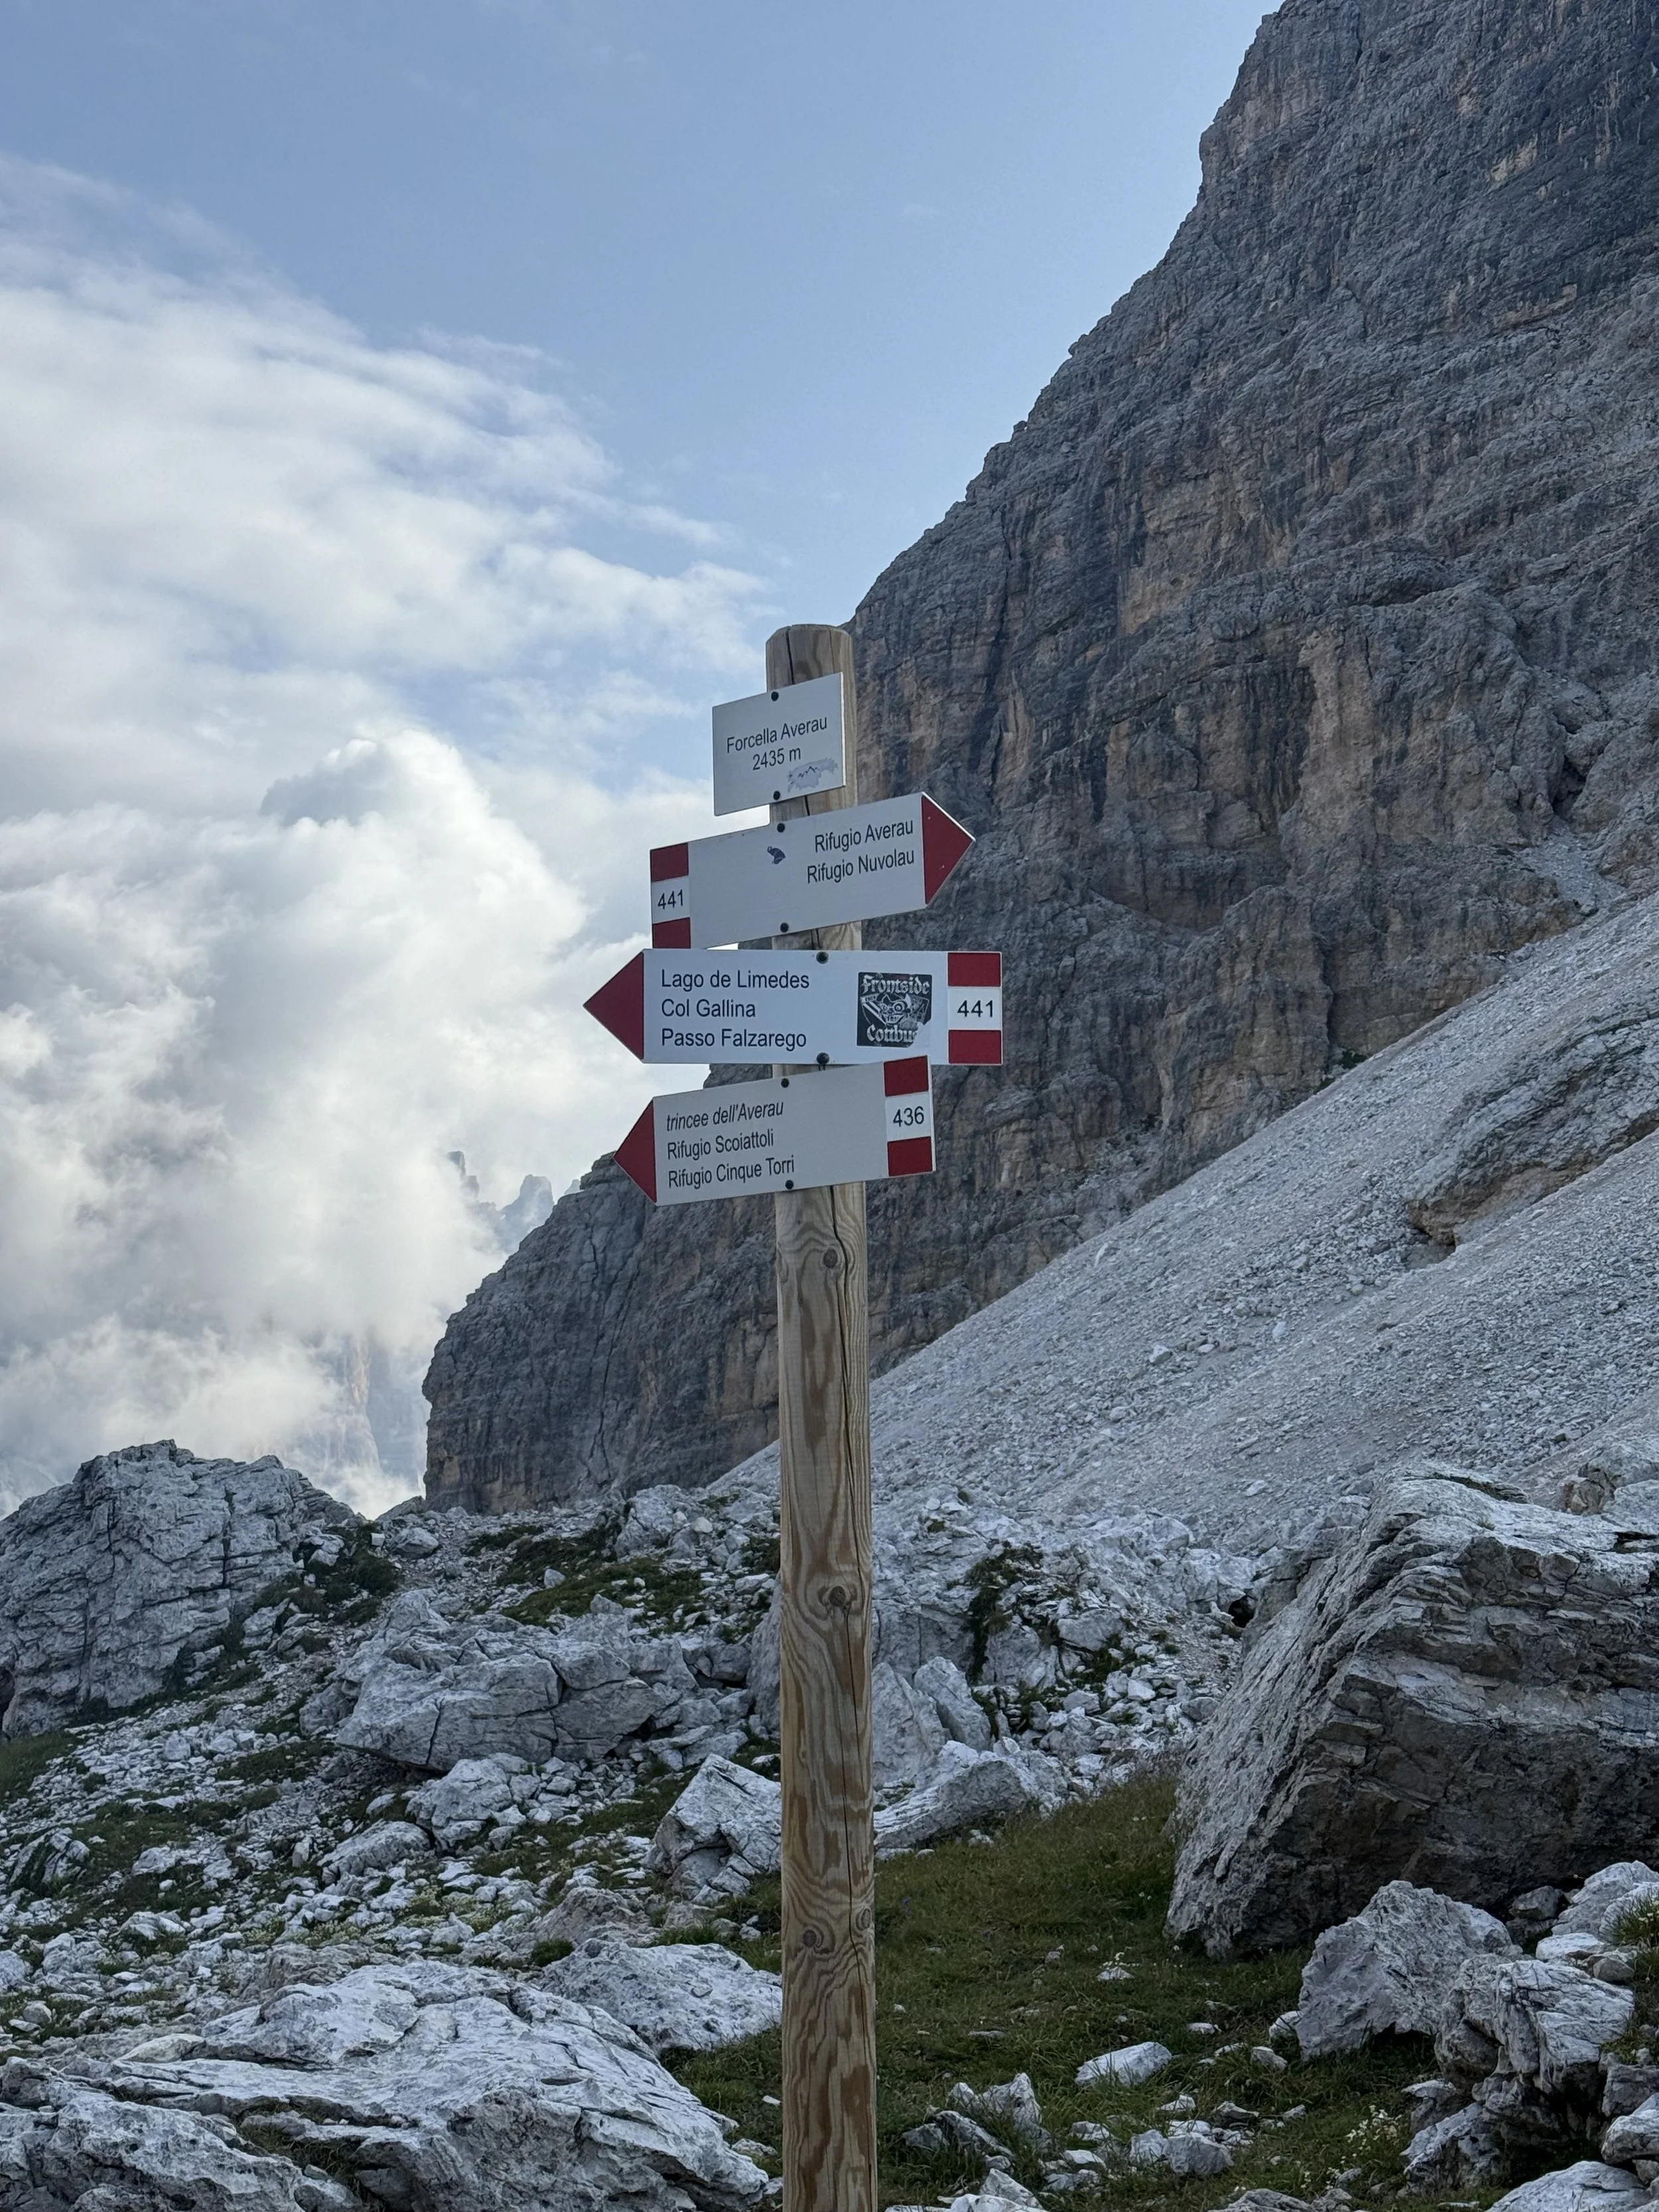
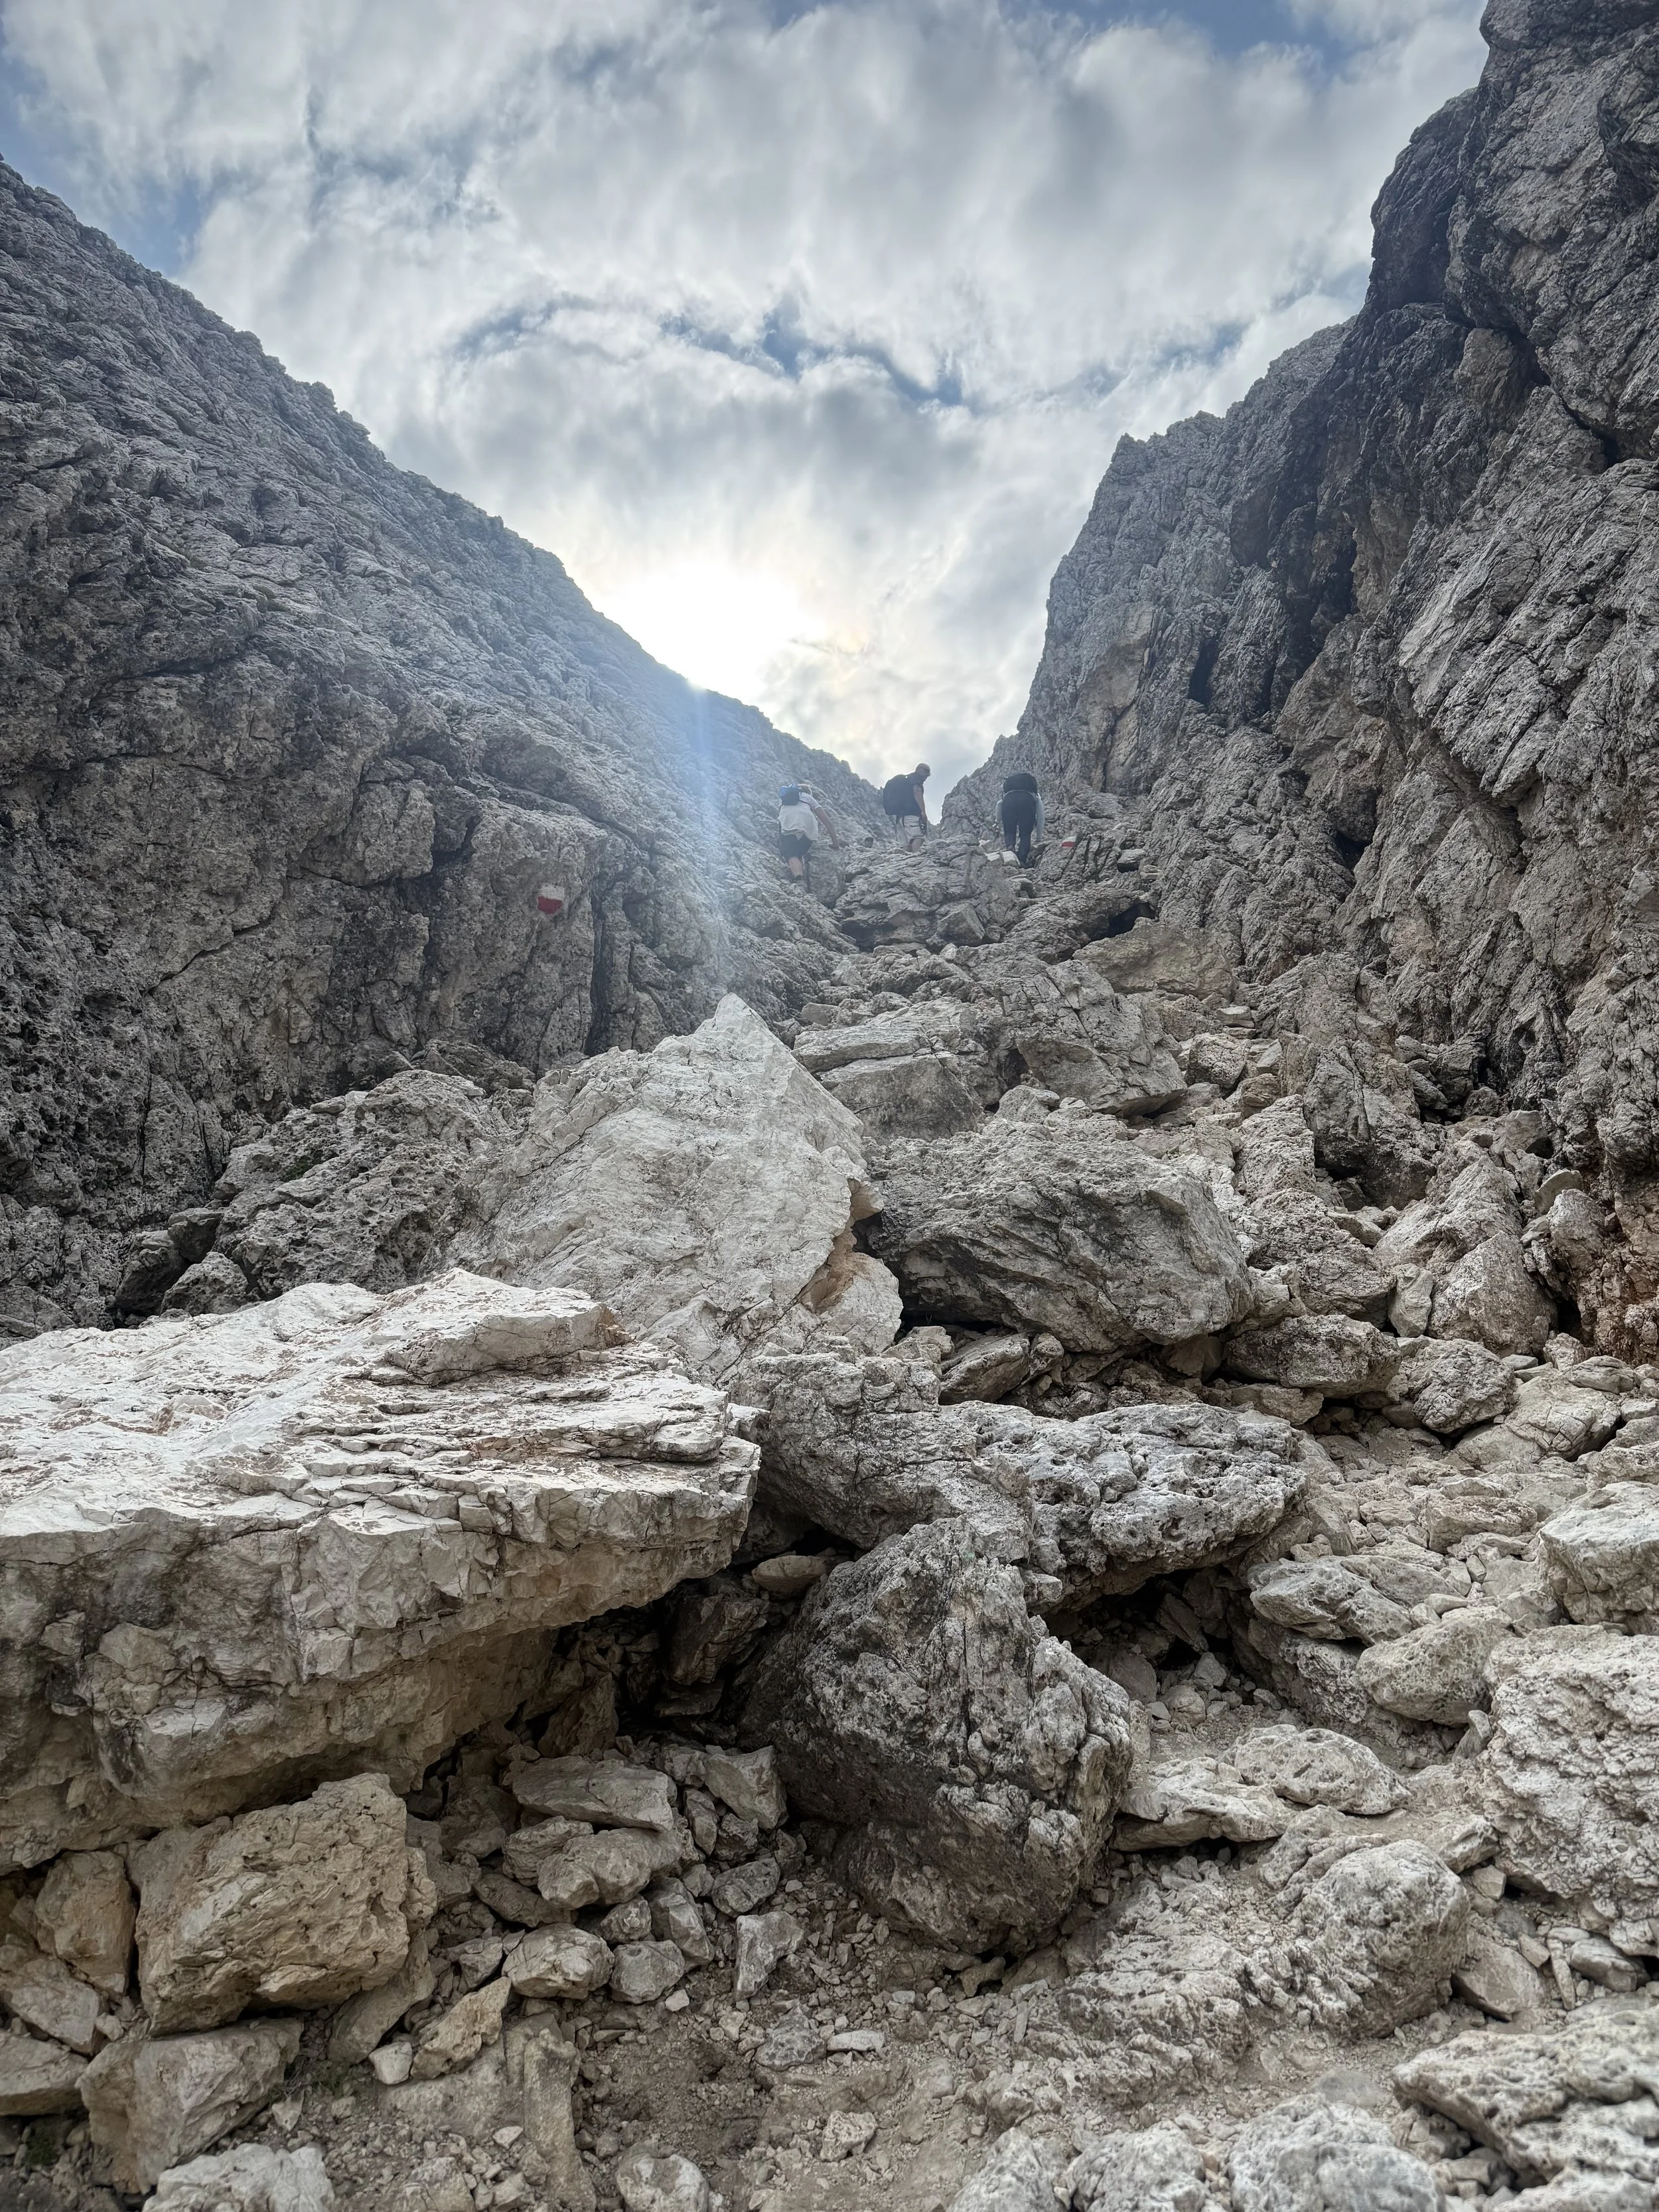
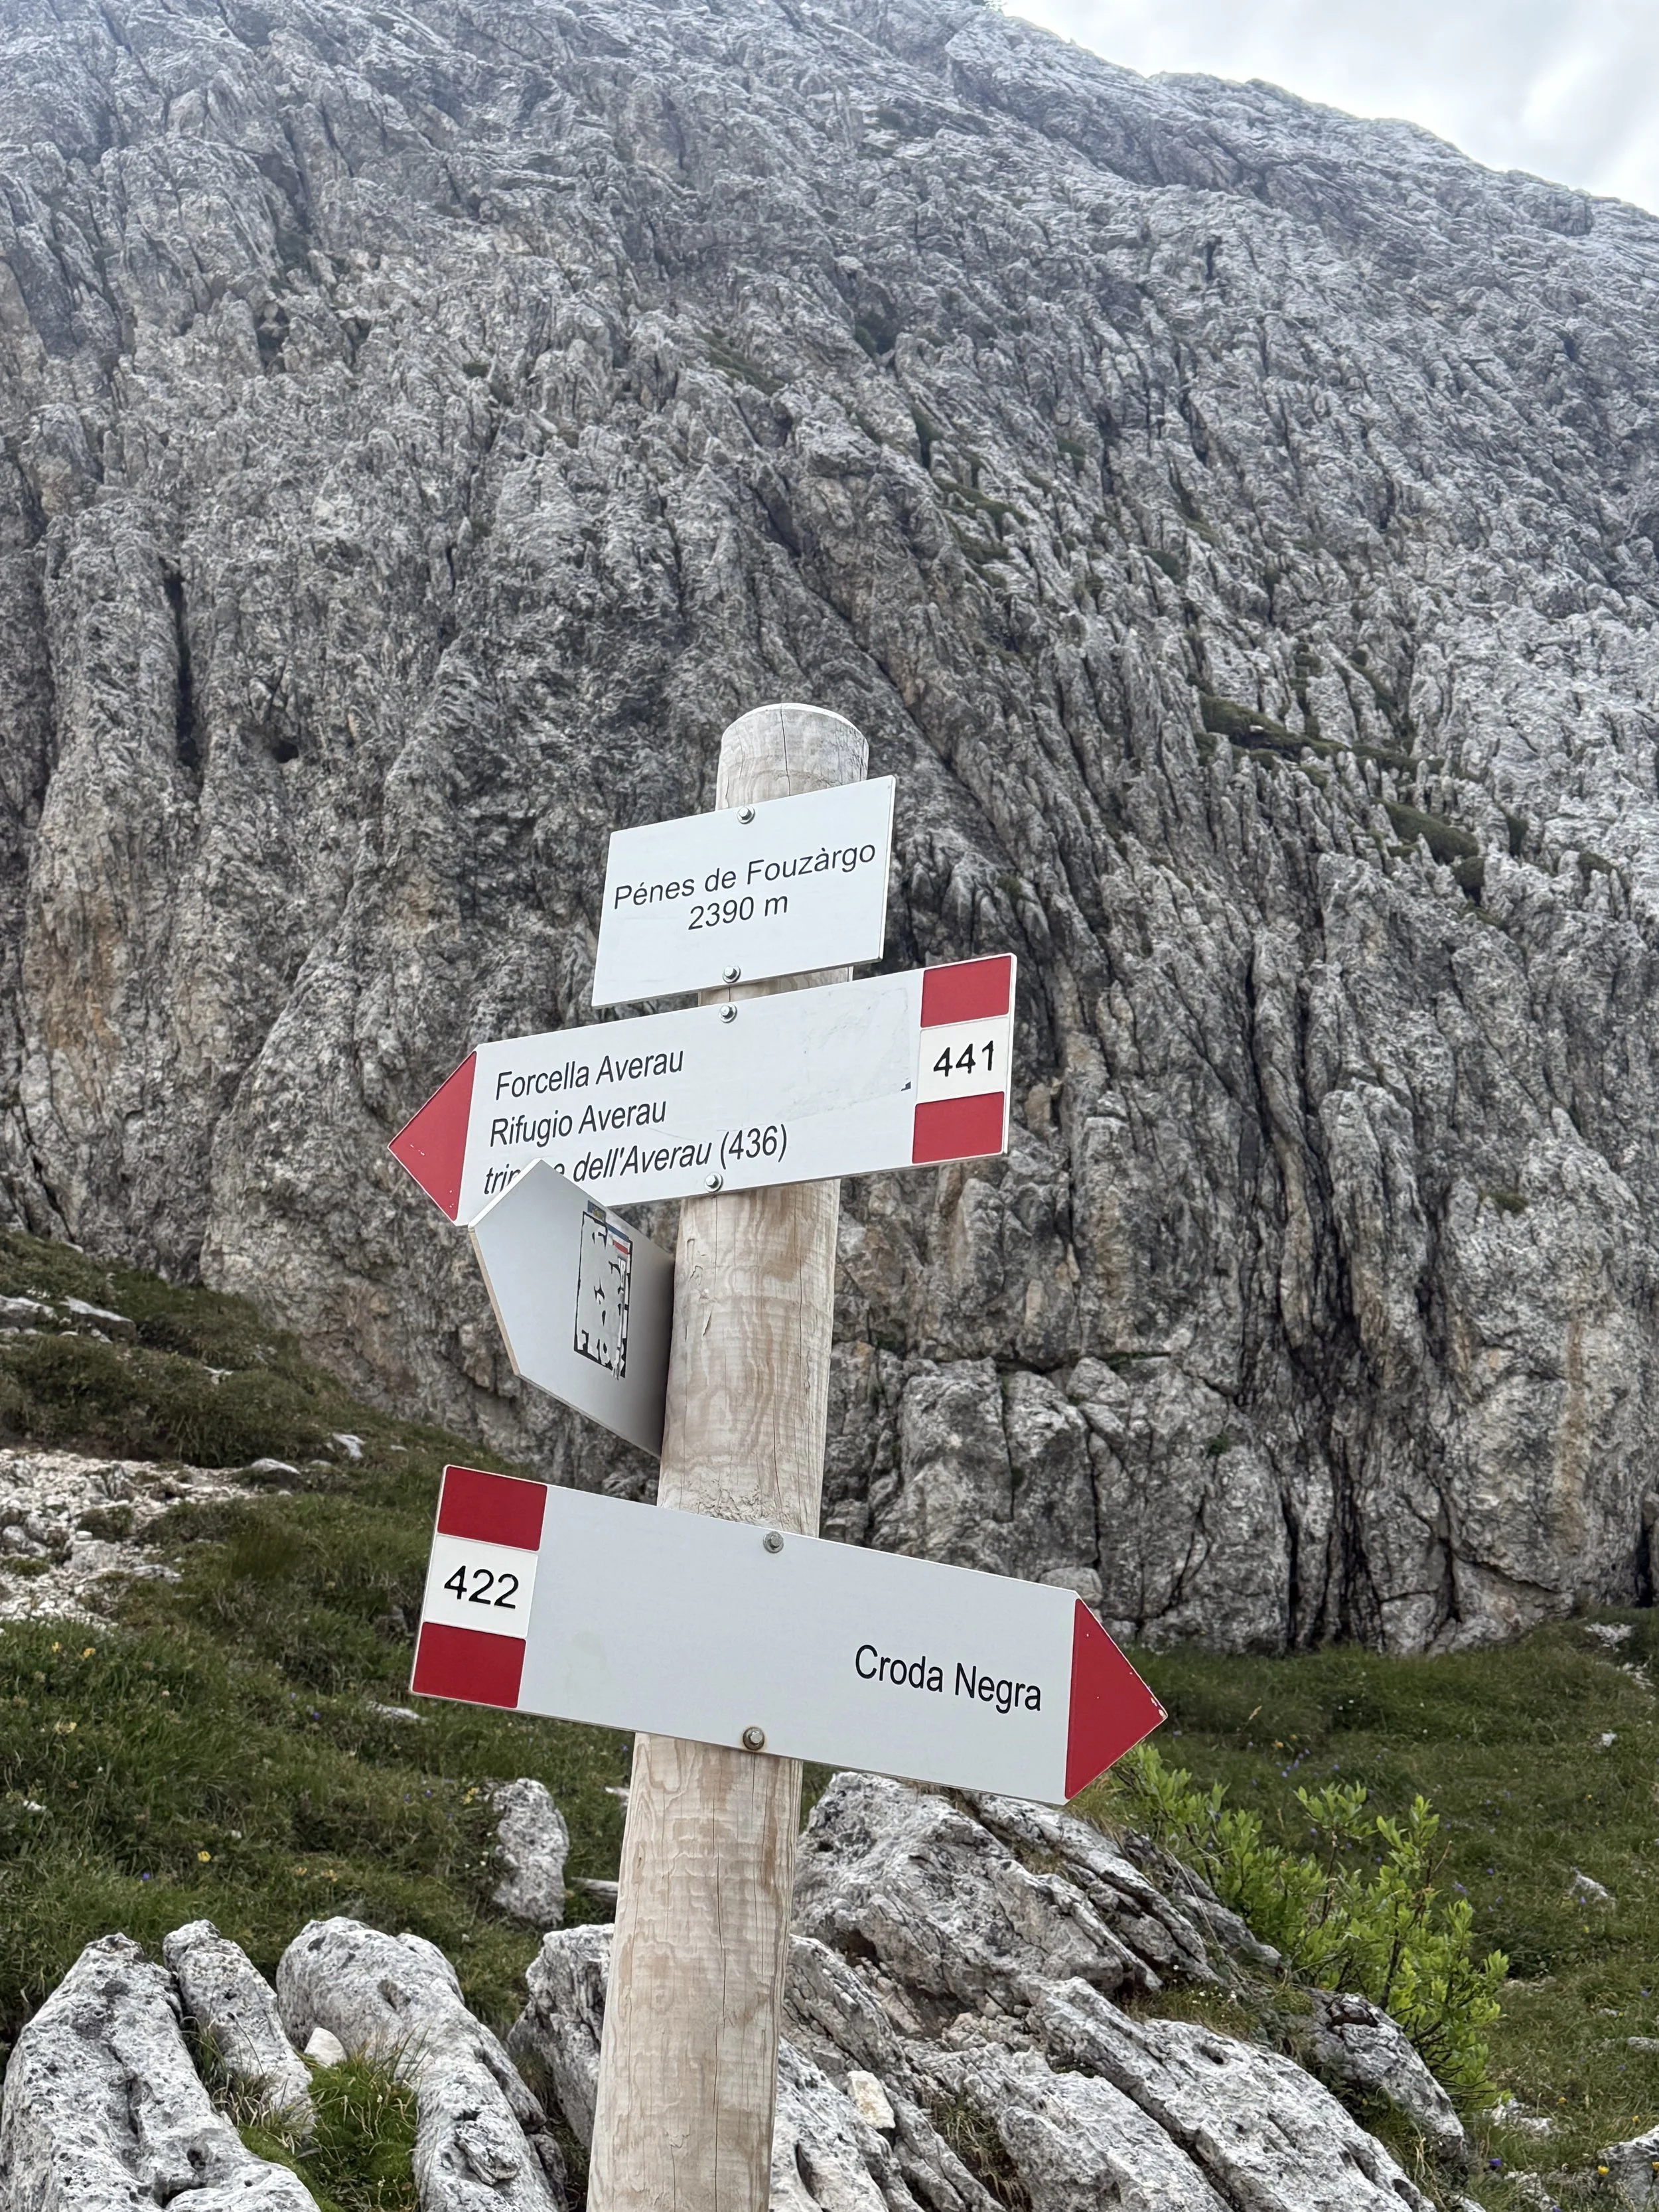
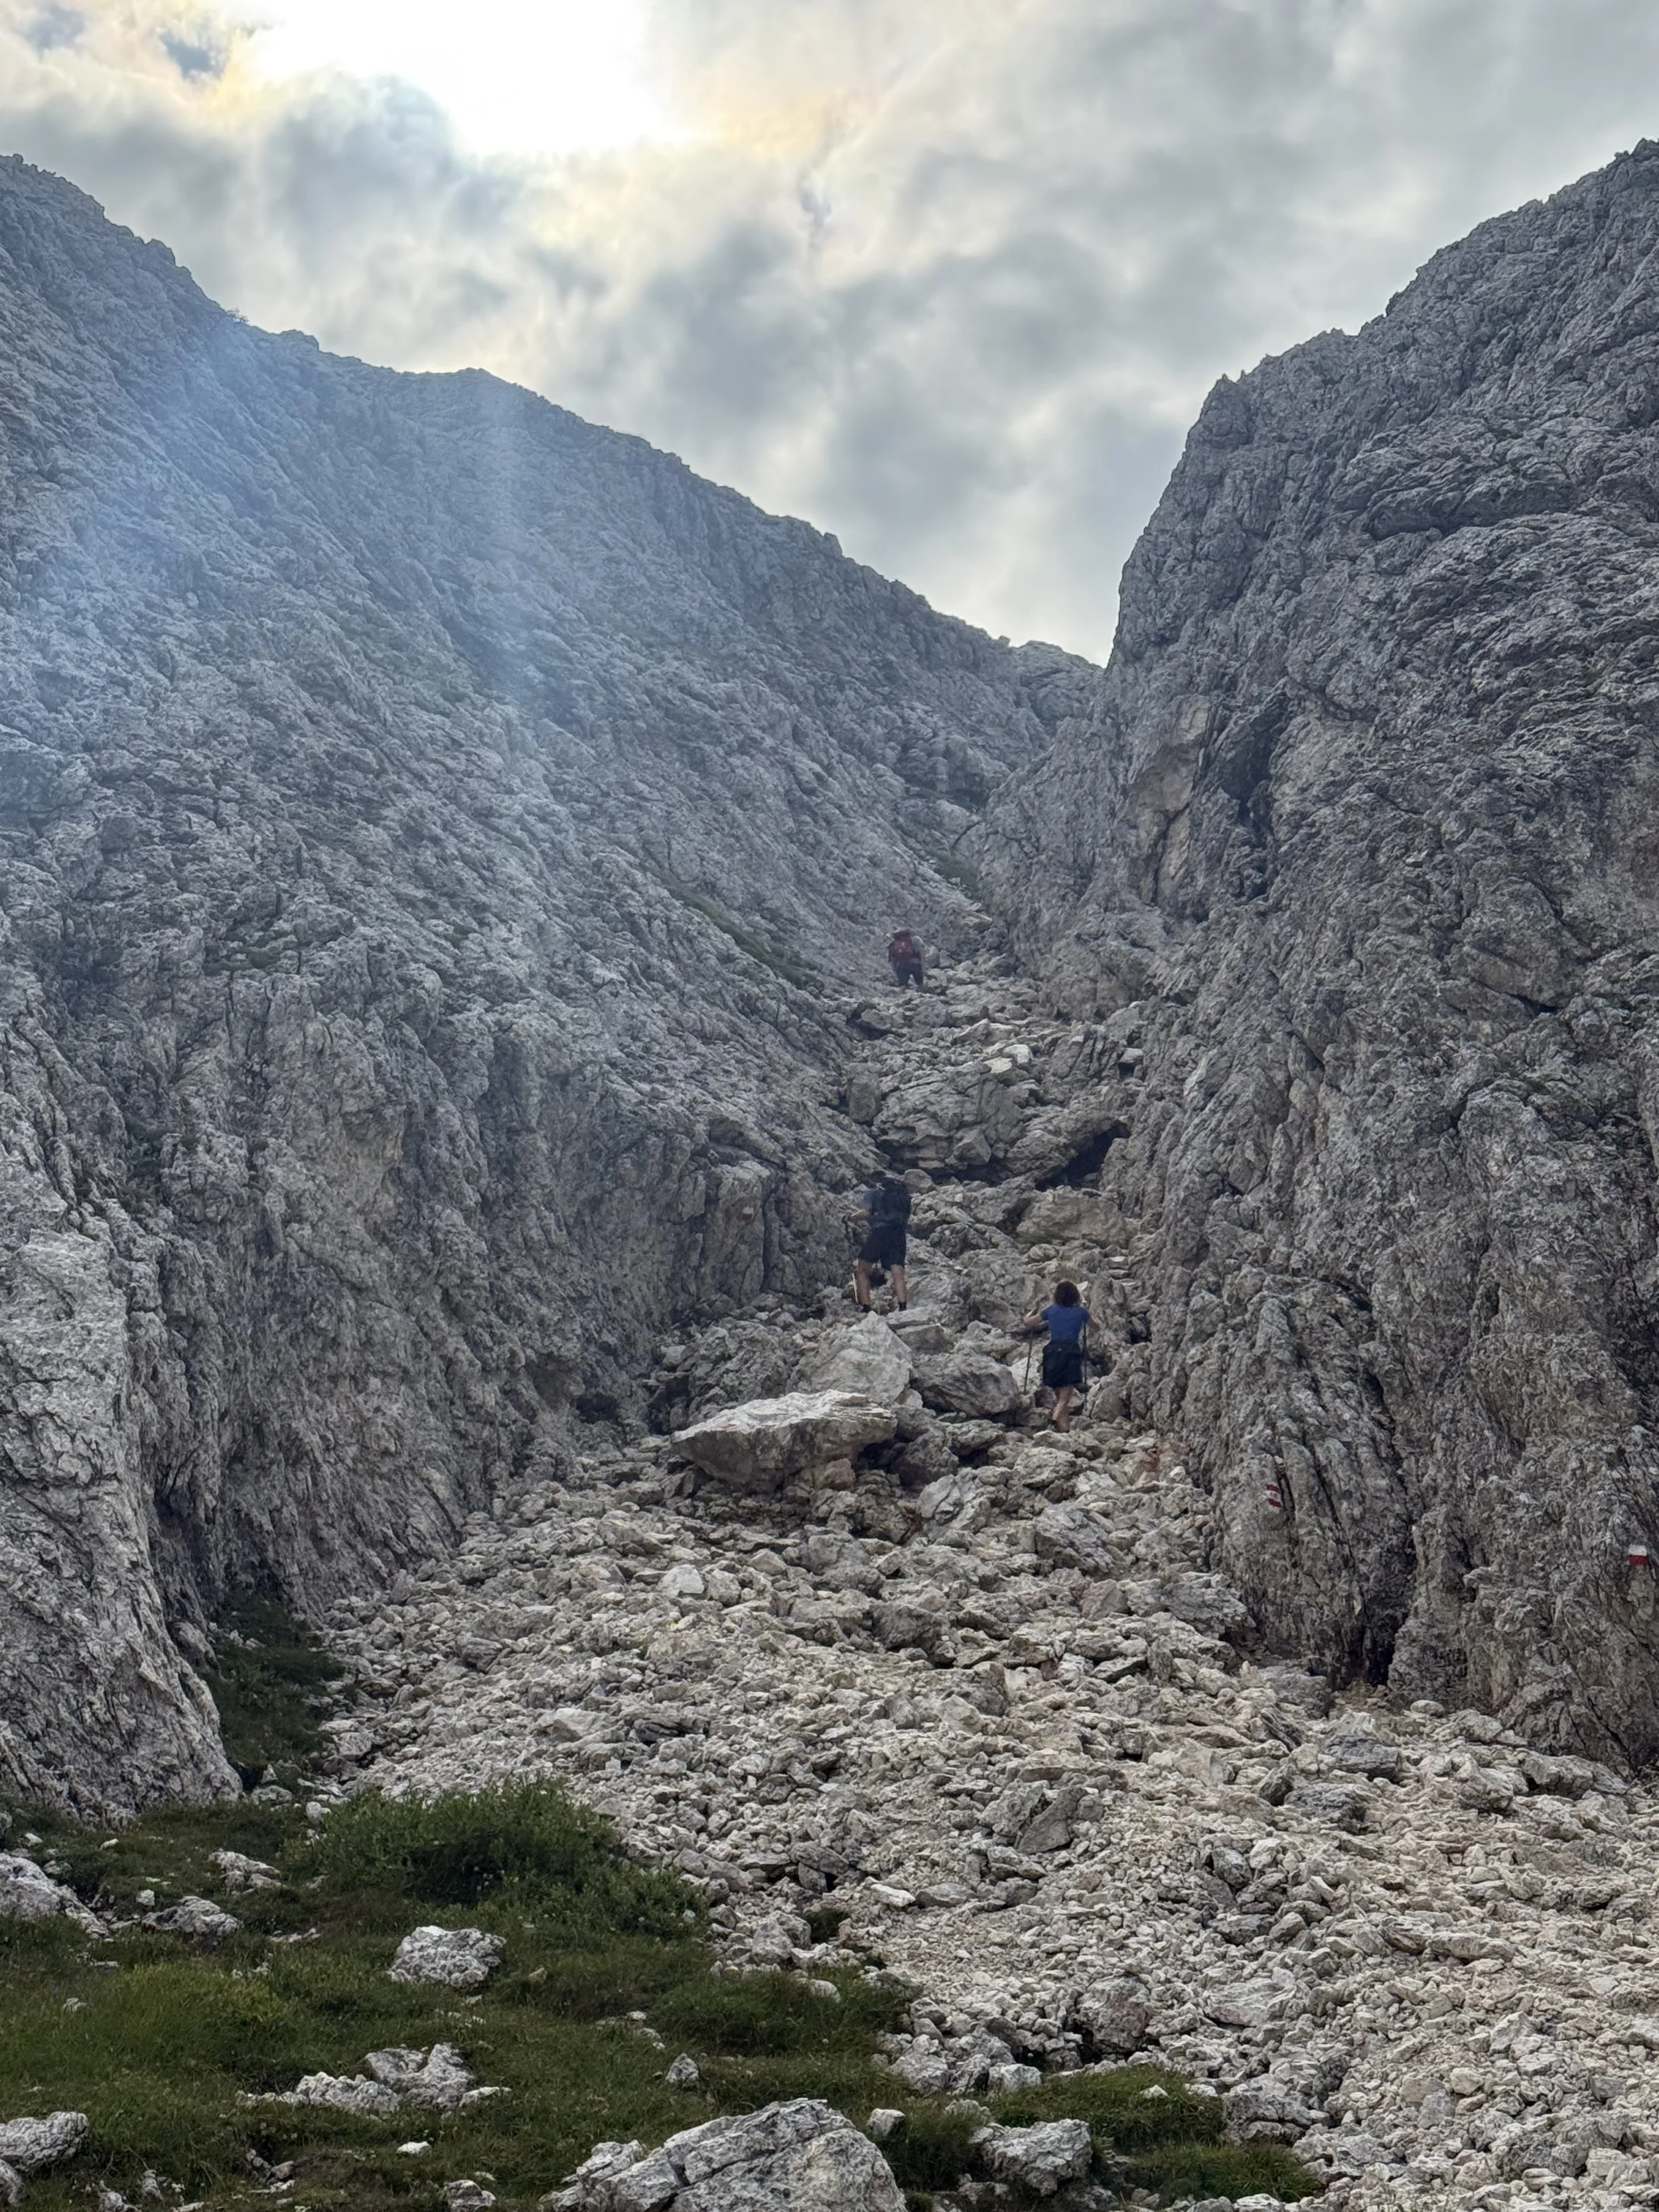
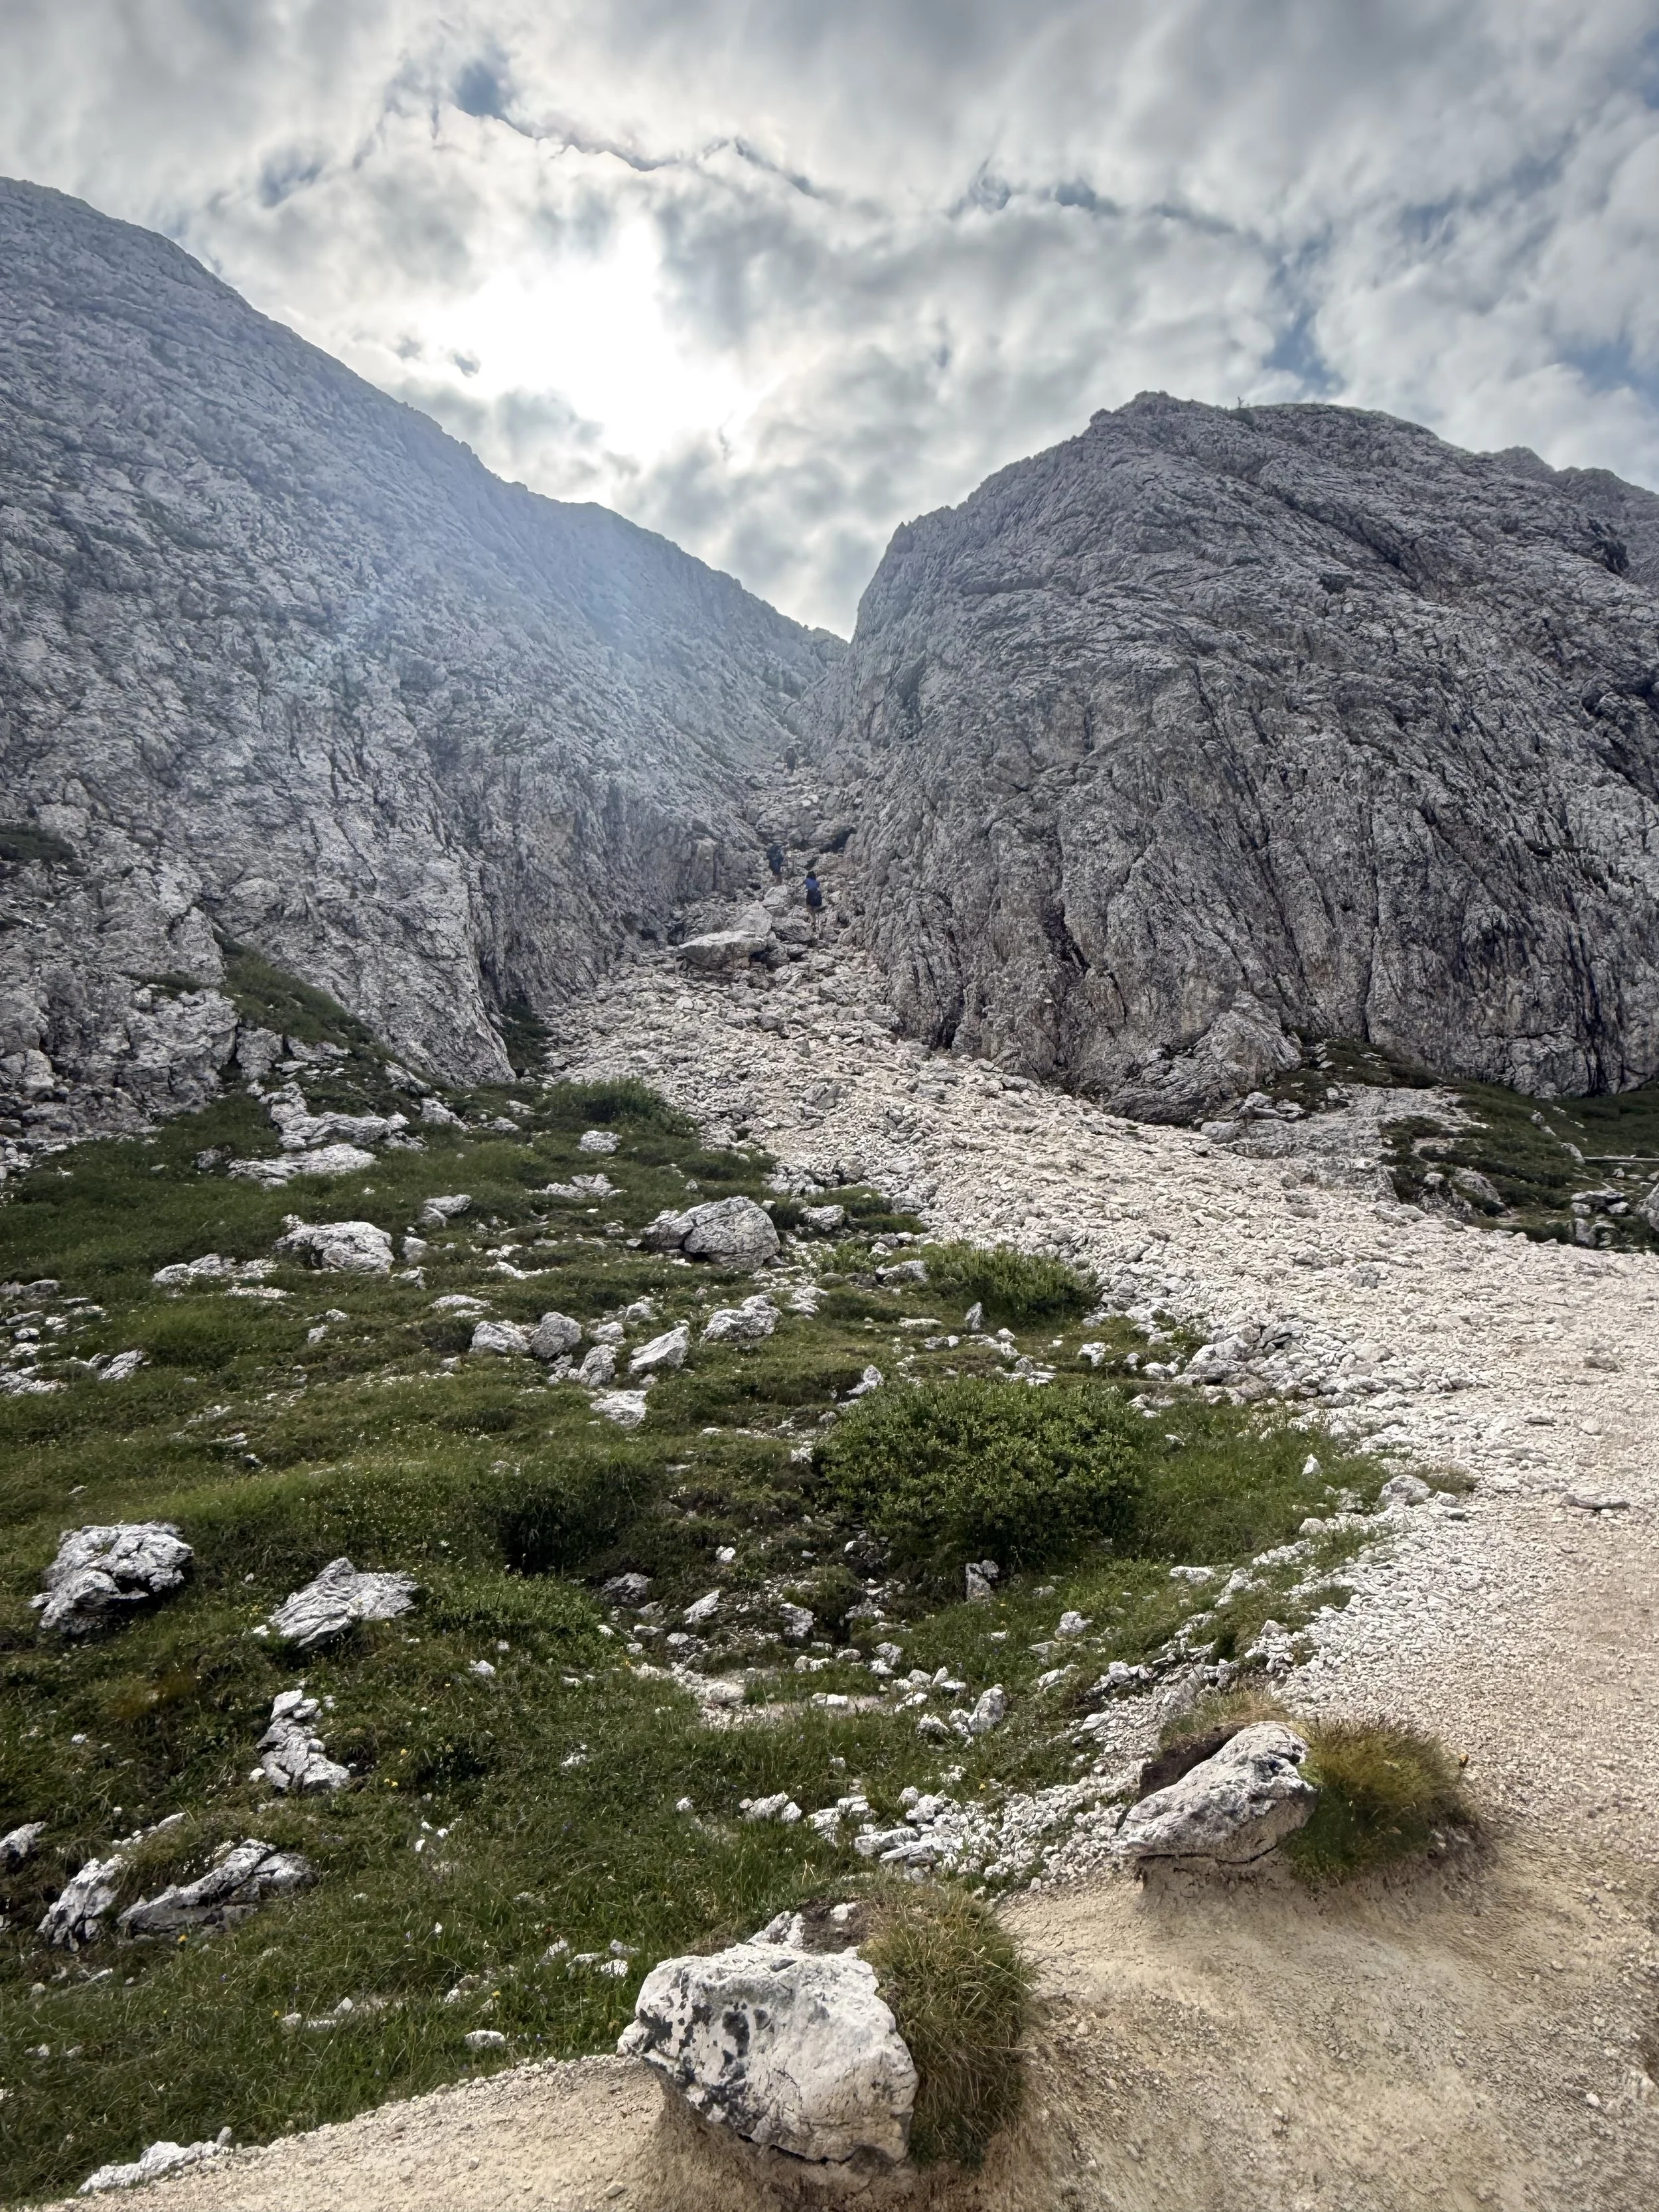
What we actually did: We continued on the Alta Vita route (Stage 4 Variant of Alta Via 1) and headed up to Rifugio Averau, there’s then a path that leads to Penes de Fouzargo. There is a small amount of scrambling, so please be careful, I’ve added a photo below so that you can see what it’s like.
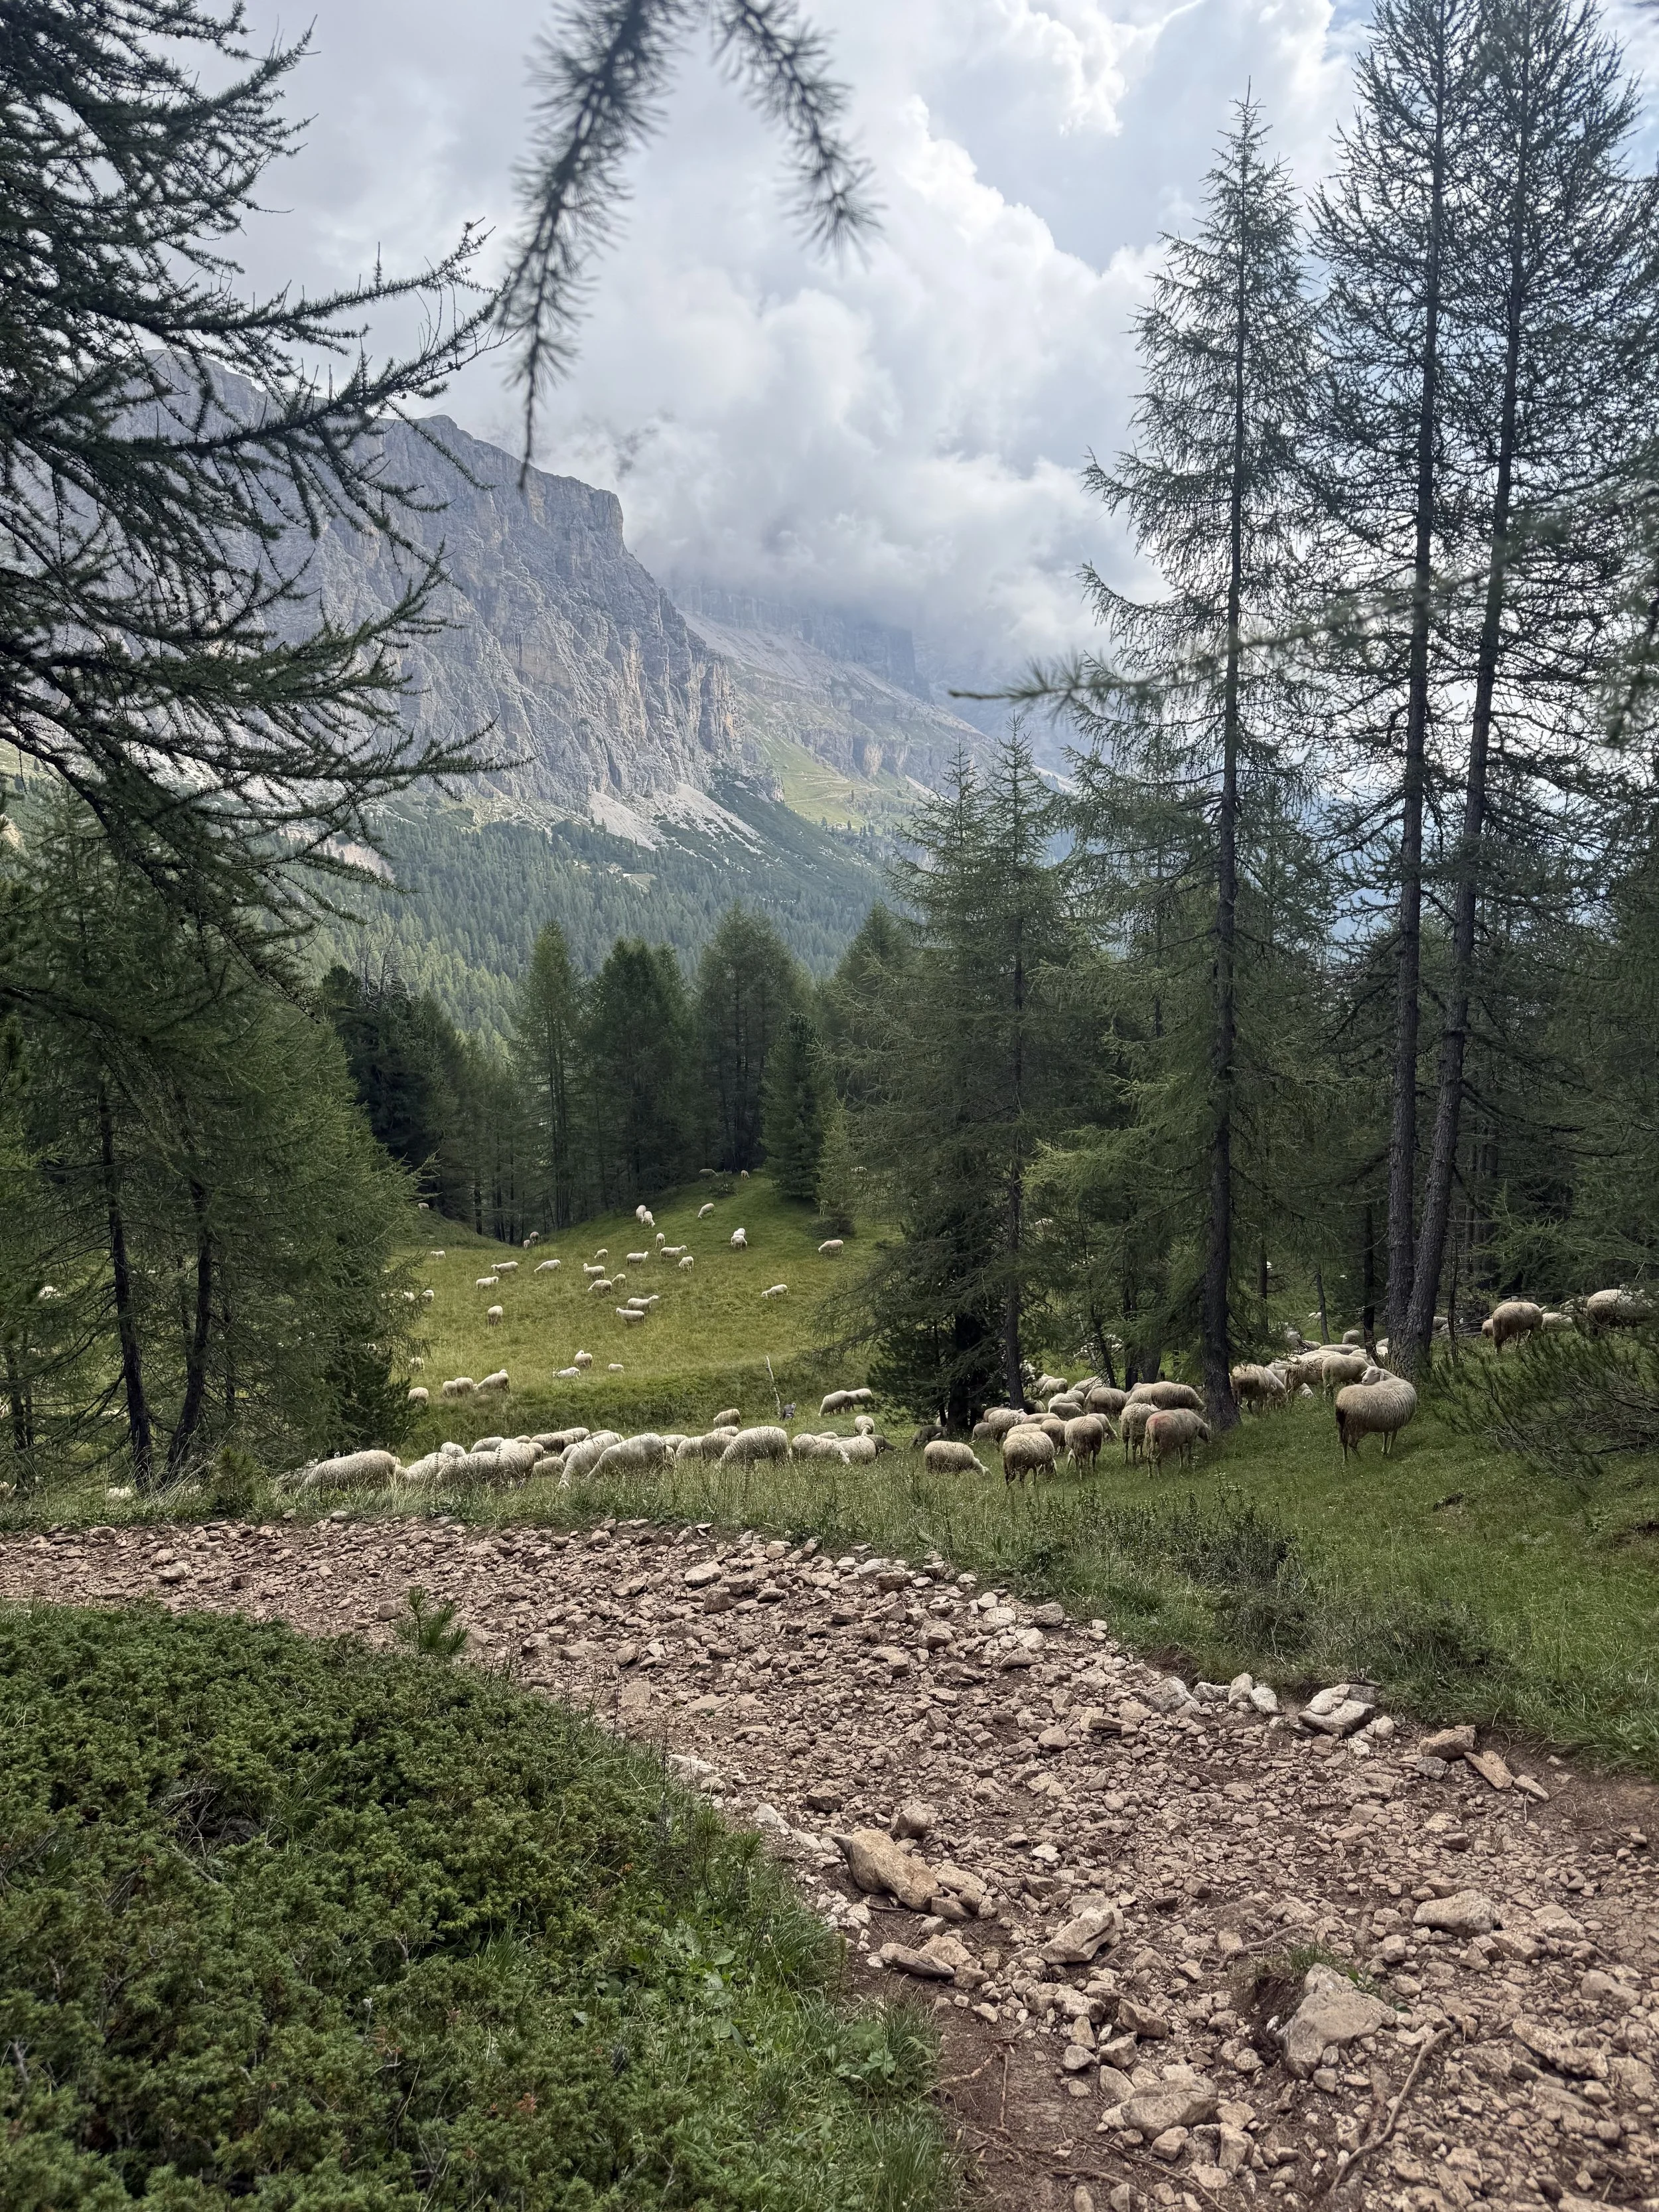
Rifugio Averau to Passo Falzarego
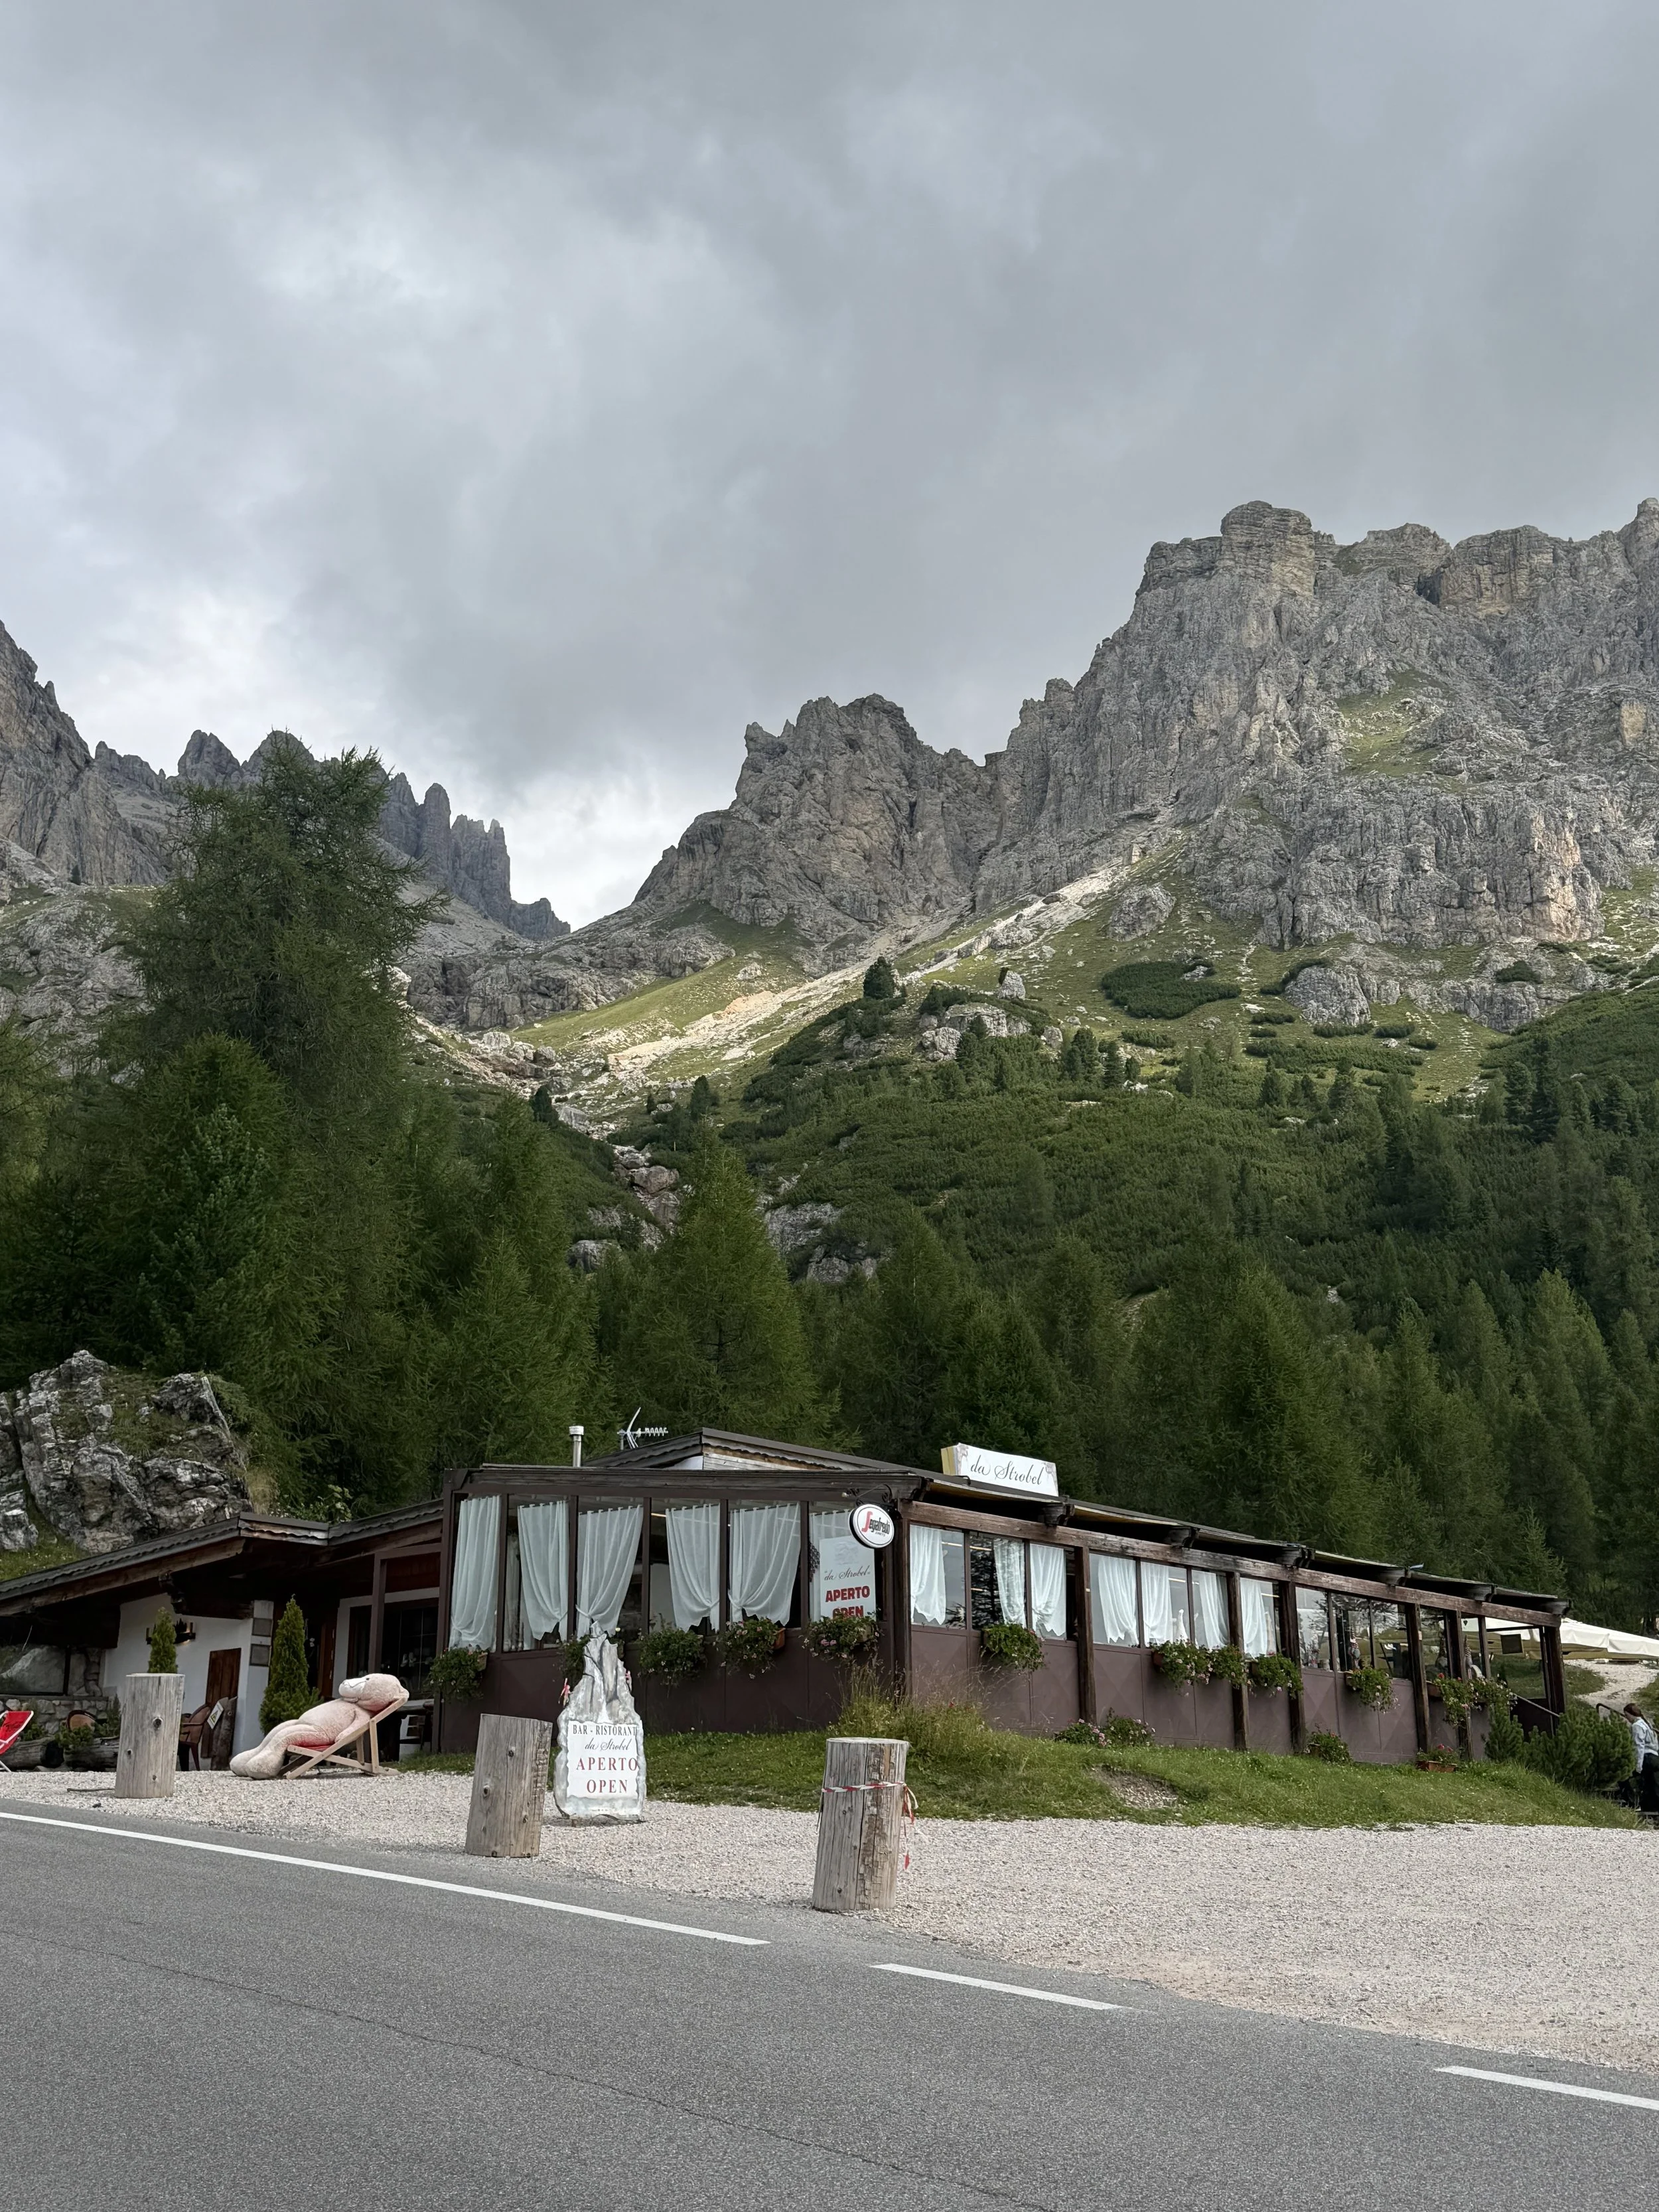
Passo Falzarego to Rifugio Lagazuoi
The Trail: From the pass, you have two major hiking options to ascend to Lagazuoi:
Option A (Trail 402 & 401): A steep, switchbacking mountain path via Forcella Travenanzes.
Option B (The WWI Lagazuoi Tunnels): A unique, highly adventurous route climbing straight up inside the mountain via historic military tunnels. Requires a helmet and headlamp.
Option C (Cable Car): If your legs are tired, the Lagazuoi Cable Car runs directly from the pass to the refuge terrace in less than 10 minutes
Evening: Sunset from the refuge terrace
Rifugio Info: Dinner from 6.30 to 7.30 pm
Breakfast from 6:30 to 8:00 am (summer)
CHECK IN from 2.30 pm to 6.30 pm
CHECK OUT at 9 am
Day #5: Rifugio Lagazuoi - Lagazuoi Carpark
Stay: N/A
Walking Distance: 2.38miles, 1hr, 2,278ft decent and 2,88ft accent
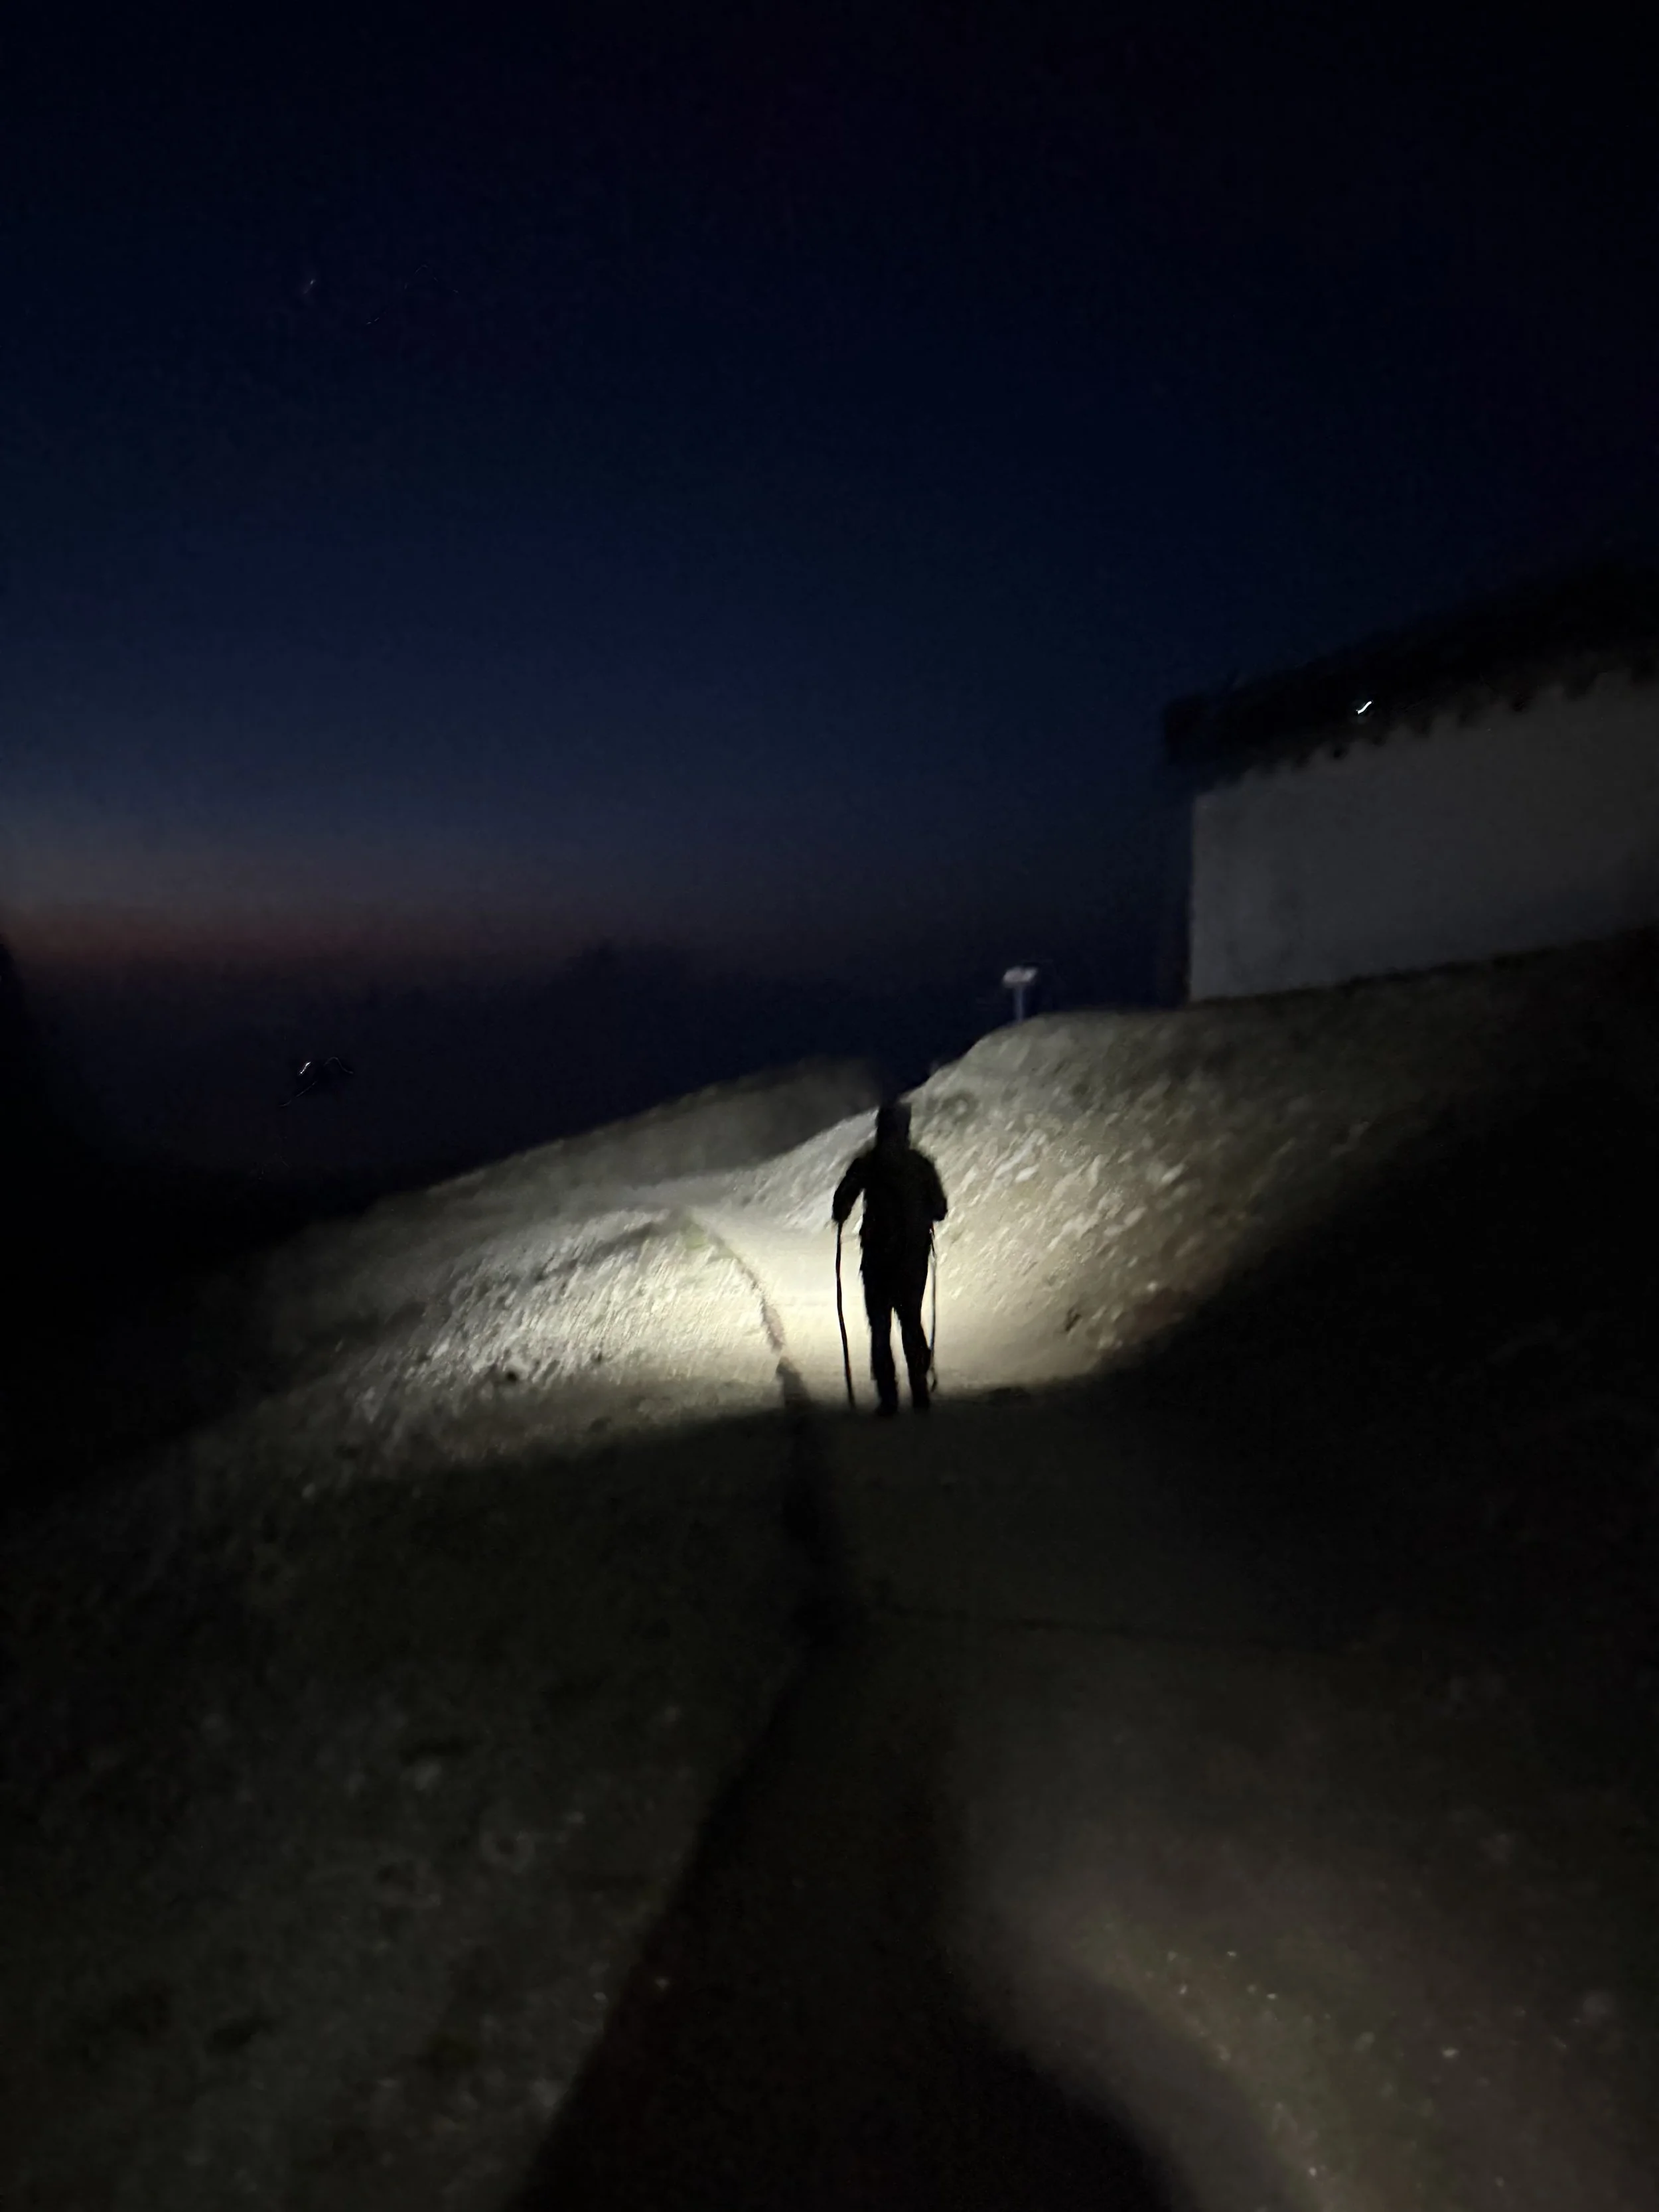
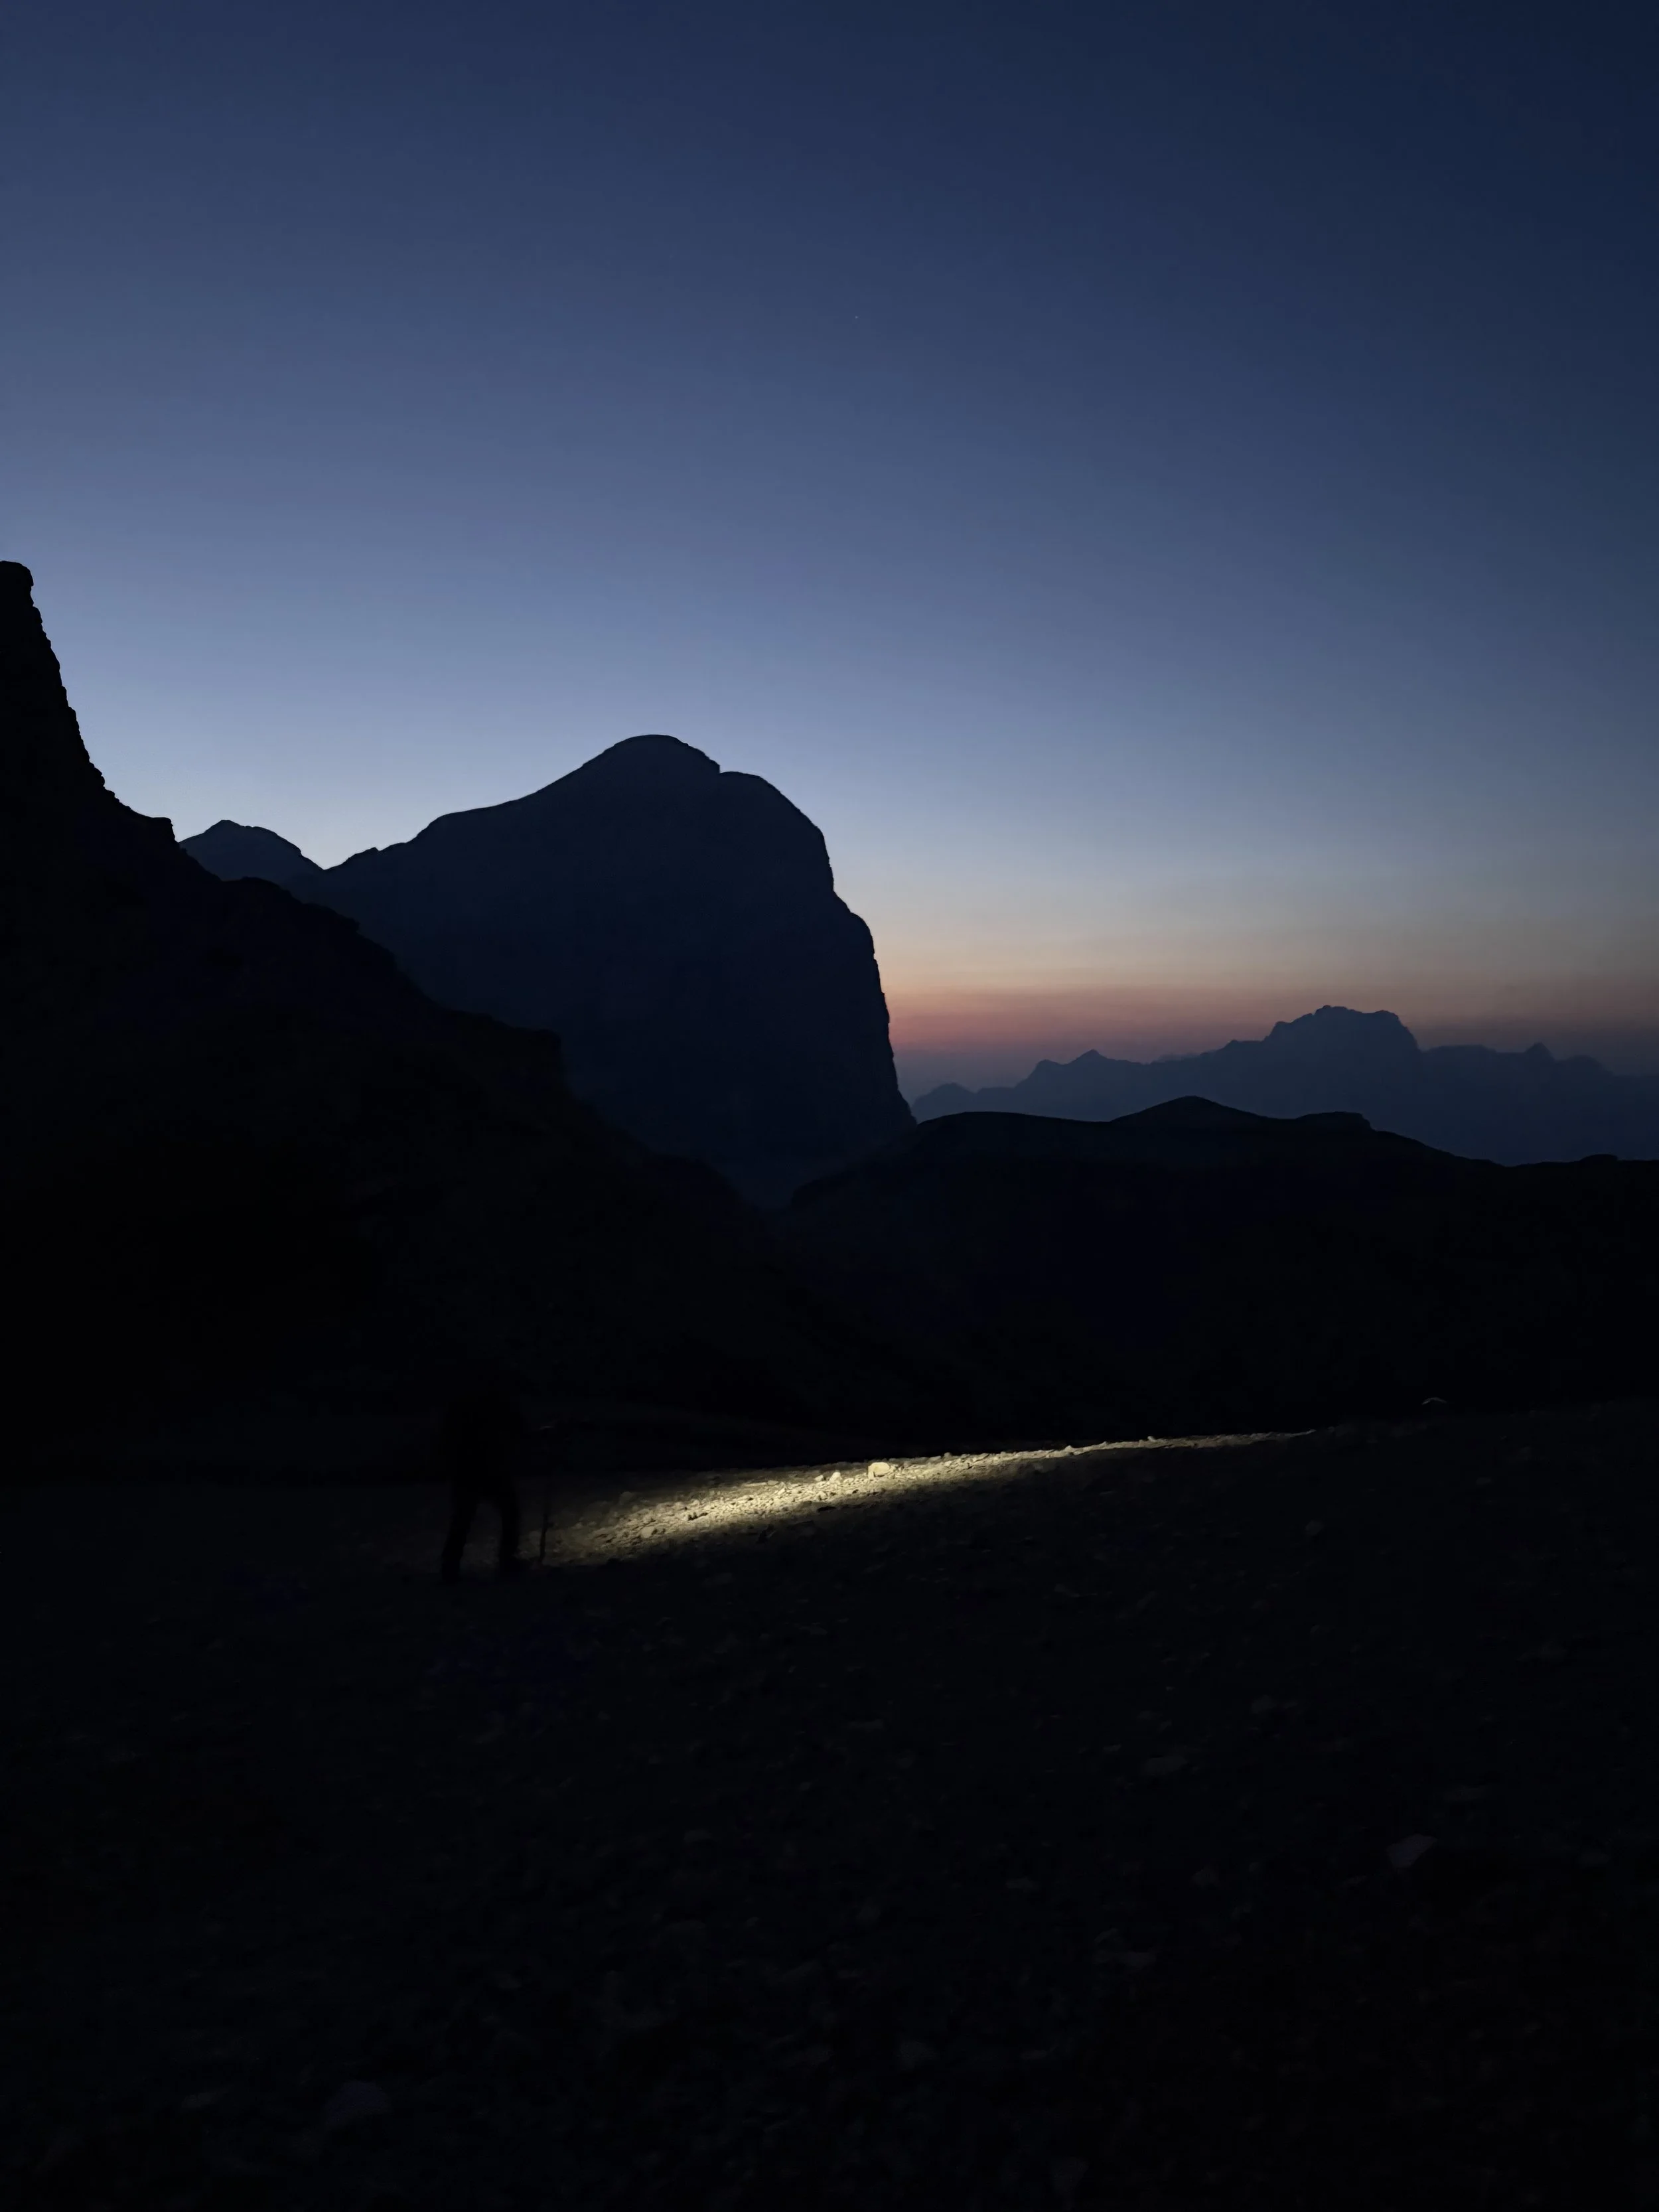
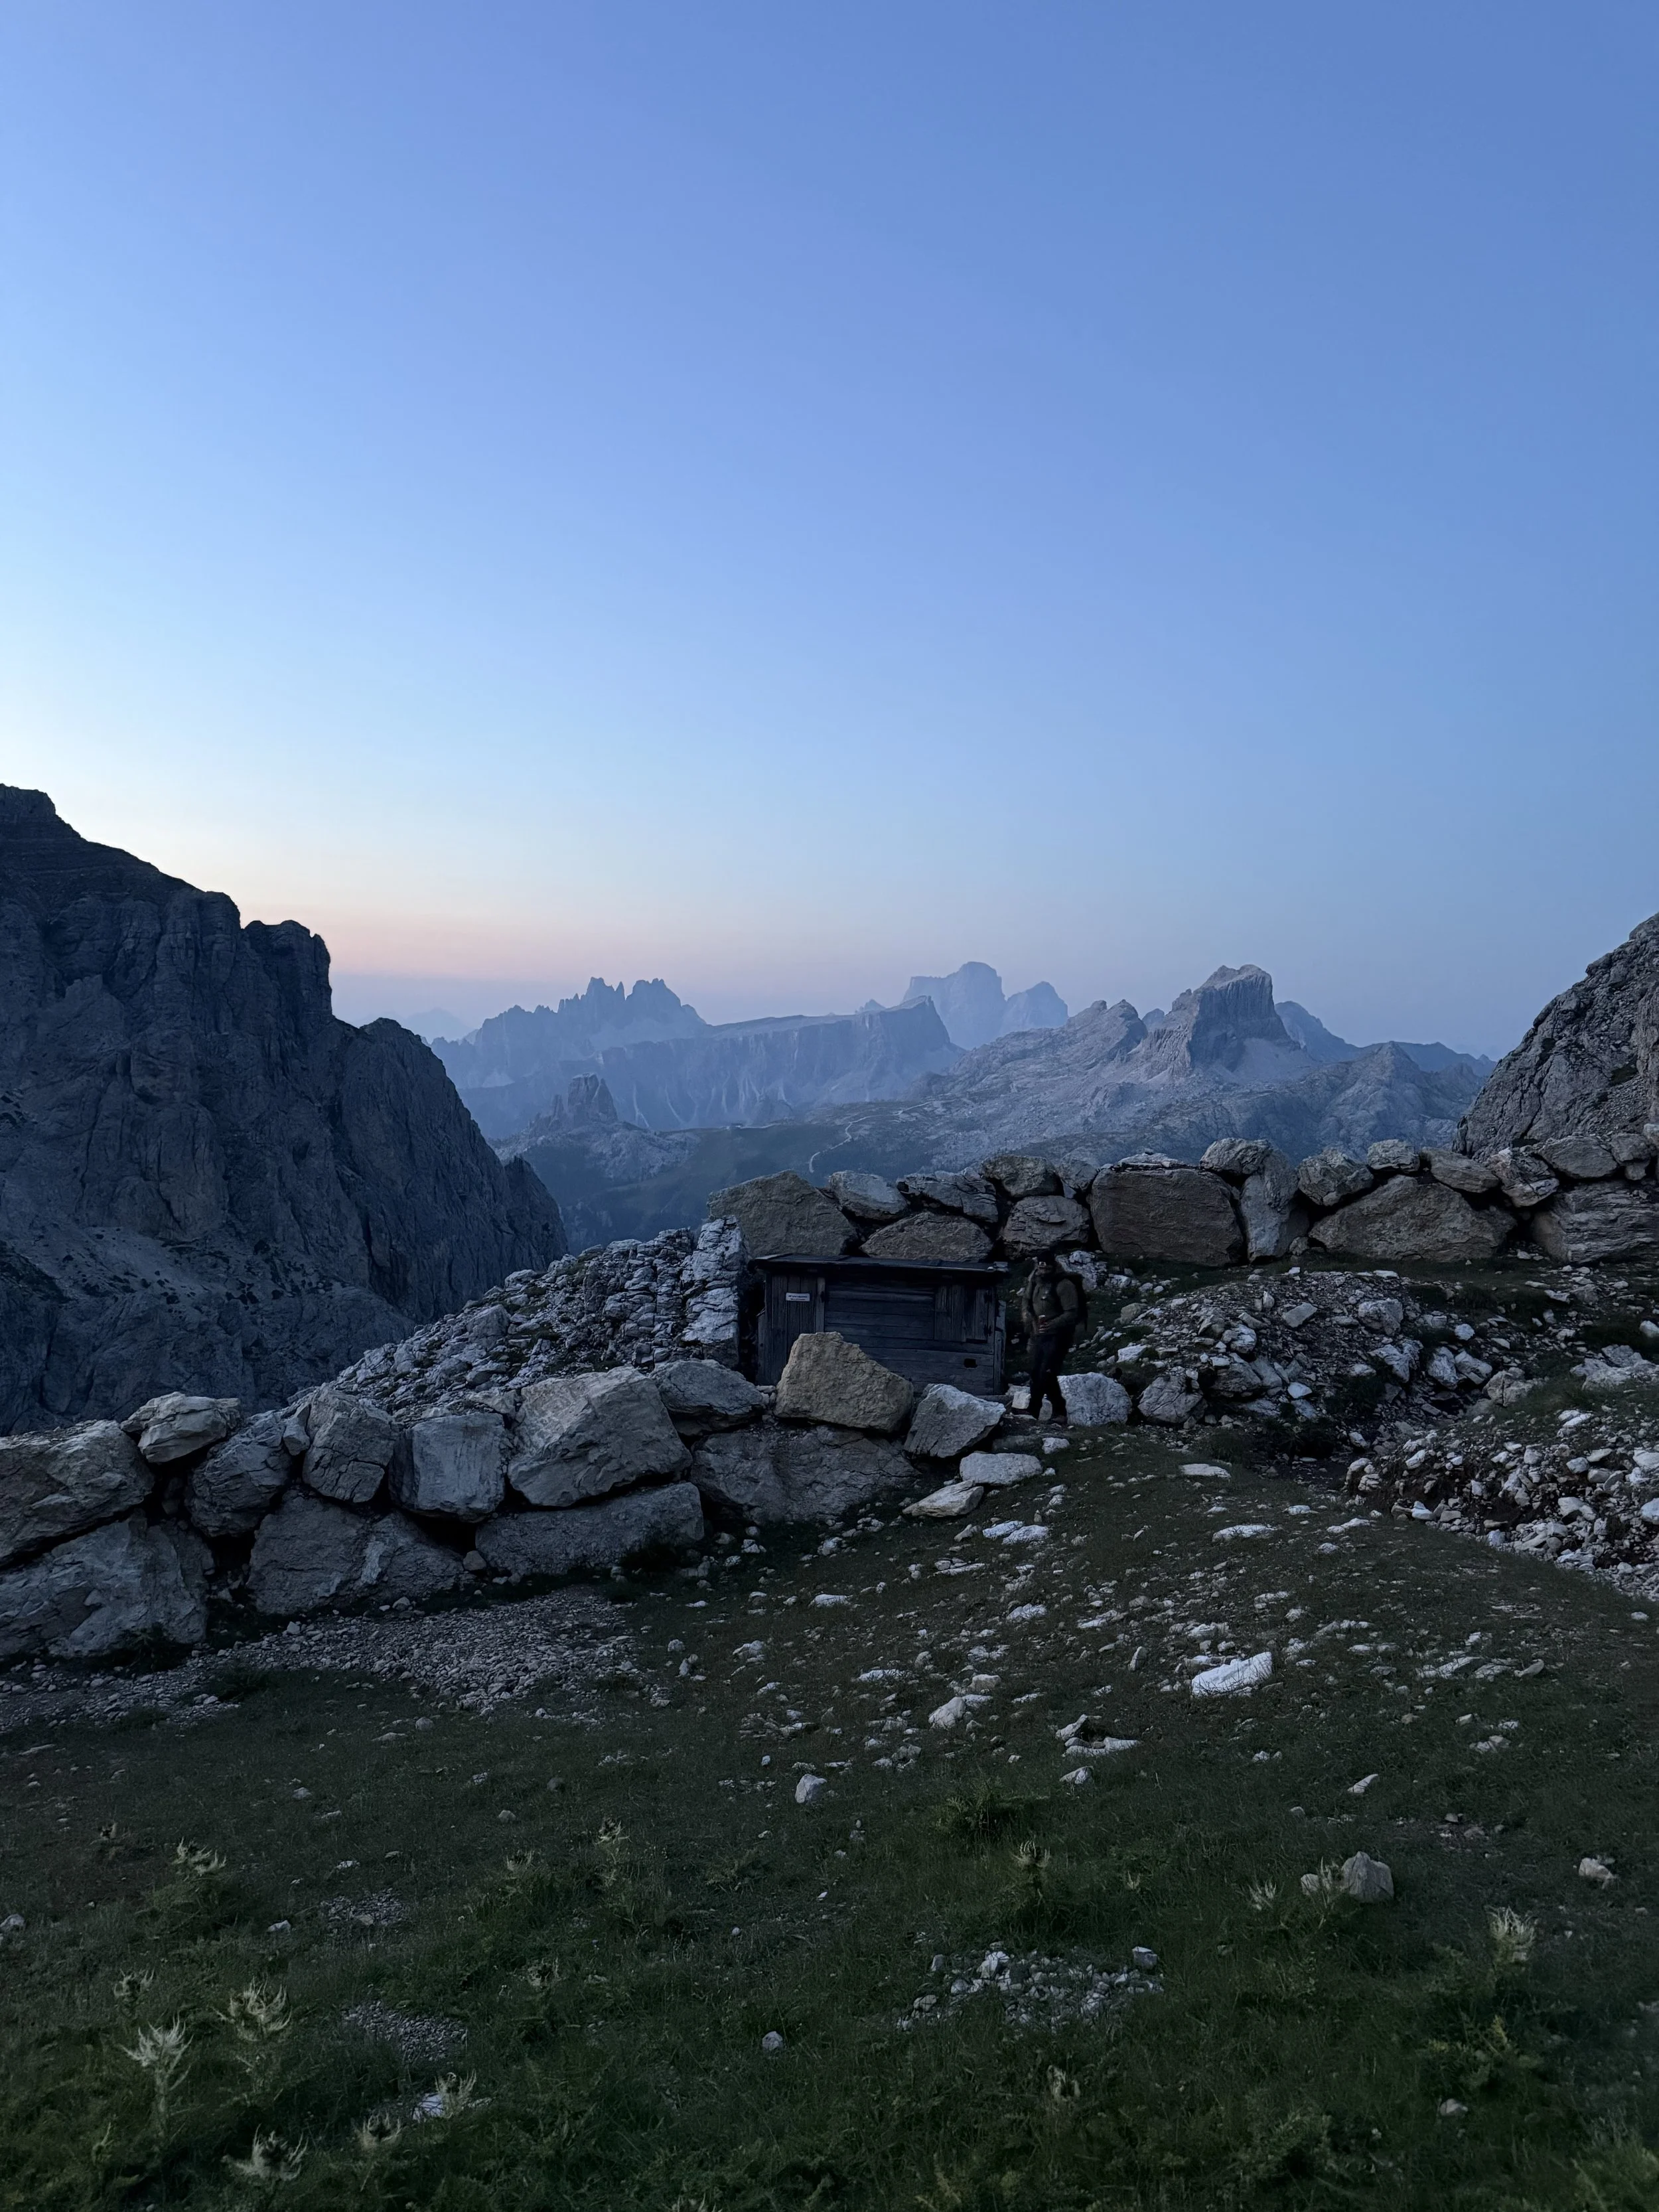
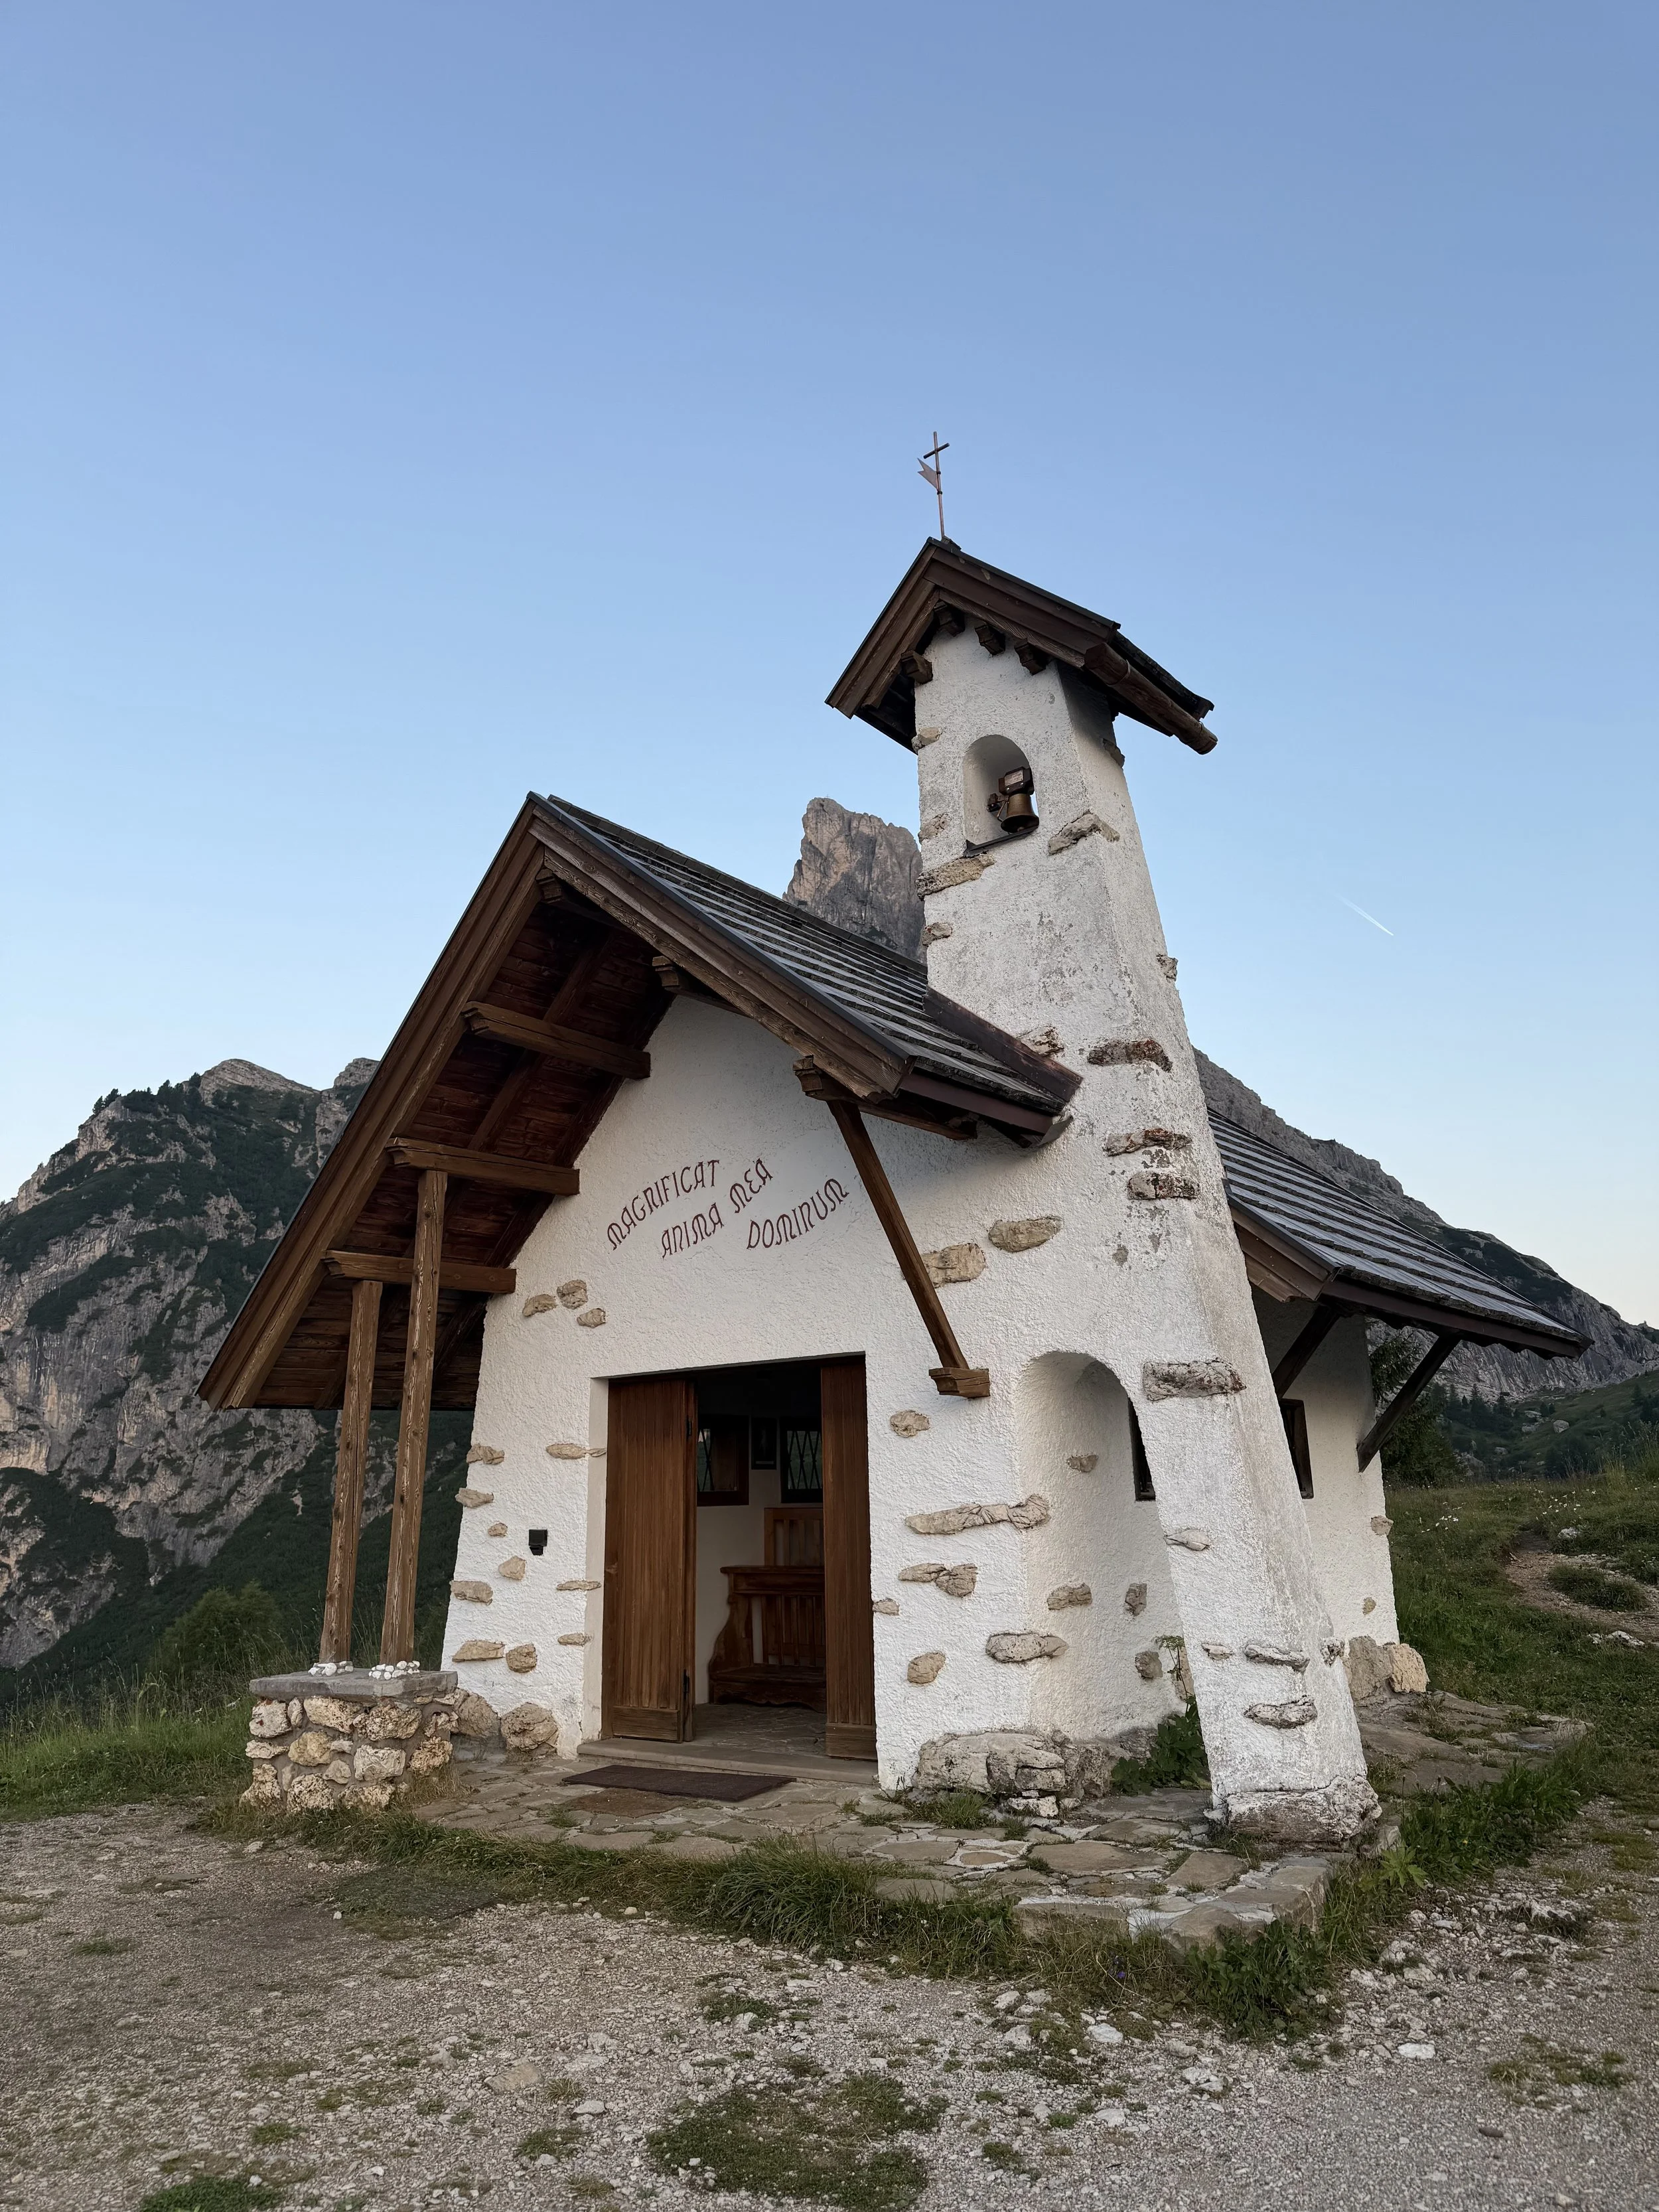
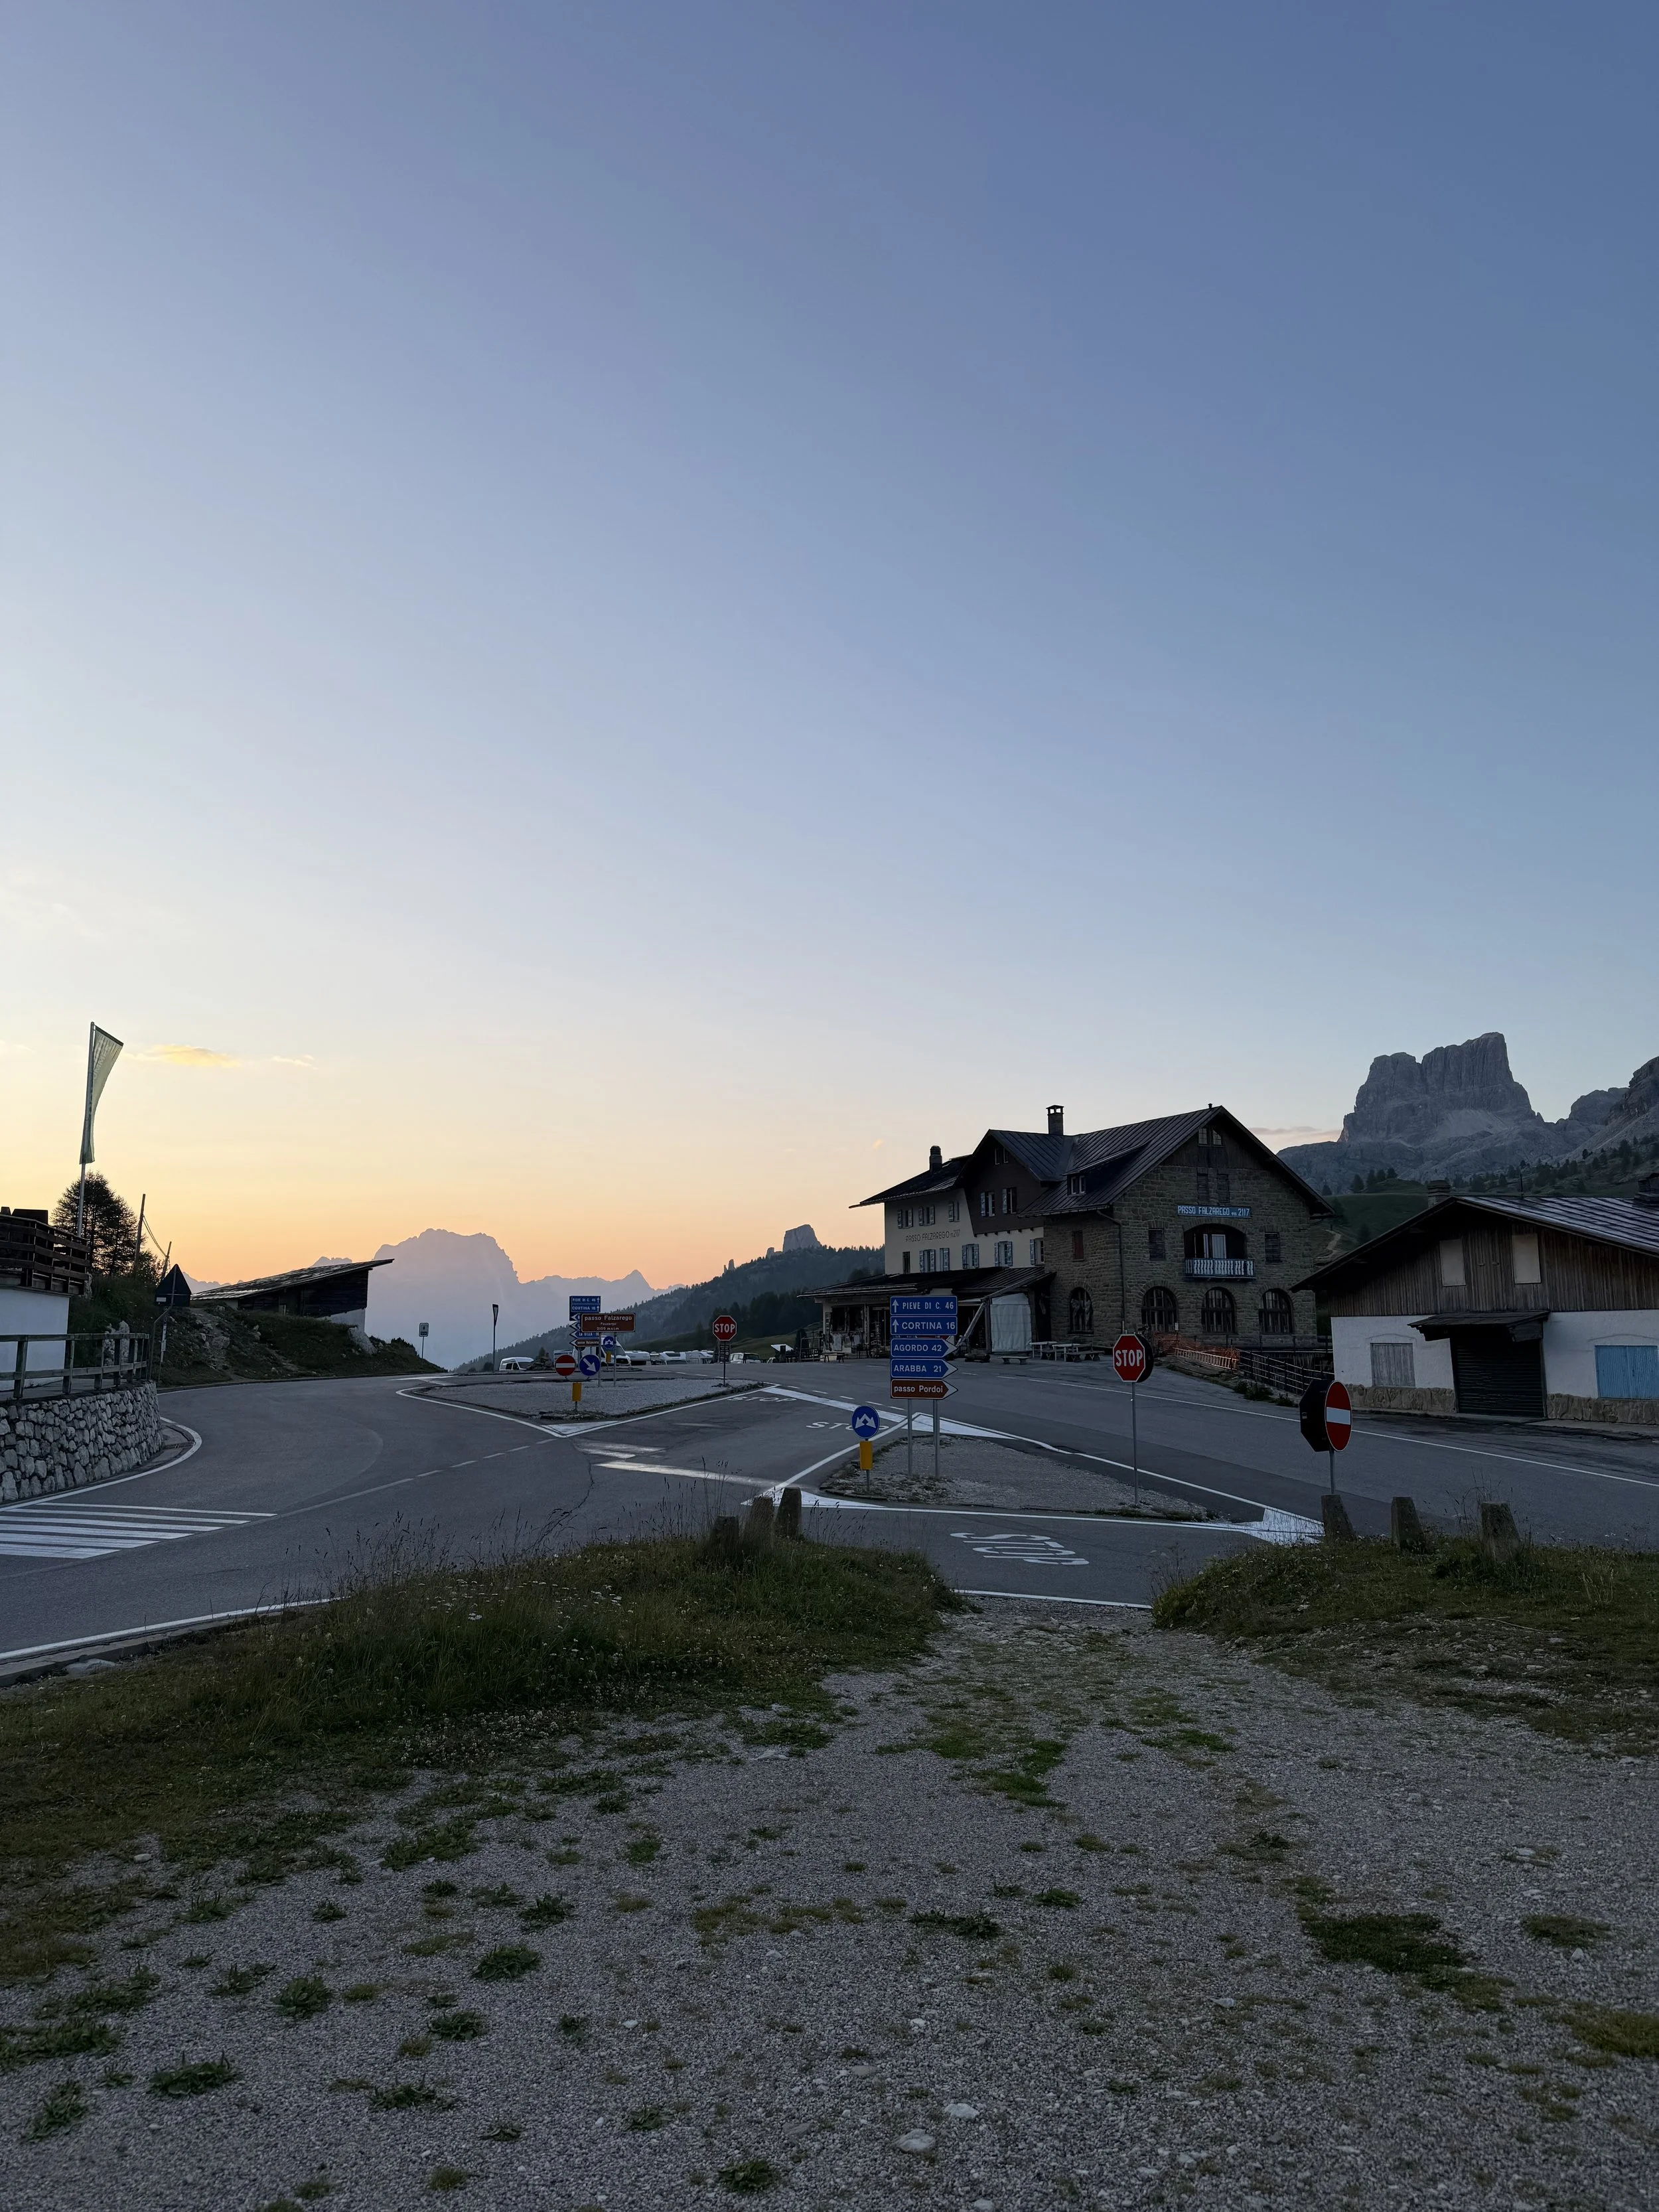
MORNING: Get to the car asap! First cable car is 9am, we decided to walk down the mountain very early in the morning so that we could see the sunrise and make it back in time for our flight.
This is the easiest, and least dangerous option for getting up of down Lagazuoi:
We did this in reverse to get down the mountain: It is a well signposted and wide path. The hike takes about an hour and a half and the route doesn't have dangerous sections. Online it has been referred to as suitable for everyone, including families with children (obviously this is weather dependant).
The Frontline Trail begins at the Falzarego pass, next to the parking lot of the Lagazuoi cable car. Here starts the path no. 402, which crosses the Italian front line and leads through the Italian emplacements below the Berrino point.
Then the path crosses again the Italian front line and leads up to the Travenanzes saddle at an altitude of 2507 meters, to the Austrian front line. Afterwards, you turn left onto the trail no. 401 and reach the Lagazuoi saddle at an altitude of 2572 meters, which was split in two by the Austrian trenches.
The path continues on the Muraglia Rocciosa crest where you can see the machine-gun emplacements in the tunnel targeting the Berrino point and the Col dei Bos.
The trail ends at the Lagazuoi Refuge (2752 m)
AFTERNOON:
13:00 flight home
How to Navigate the Dolomites?
The best comprehensive map for trekking this route in the Dolomites is the Alta Via 1 - Trekking in the Dolomites guidebook by Gillian Price, published by Cicerone Press and priced at around £14.35. To download the official GPX files for your Alta Via guidebook, you can register the book directly on the Cicerone Press Website. You do not need to buy the book directly from their website to get the files, retail copies from Amazon or local bookshops work perfectly fine. I personally bought mine on Amazon as it was slightly cheaper.
Alternatively you can use the Tobacco Cortina d’Ampezzo Dolomiti Ampezzane. The Tabacco Map 03 is a 1:25,000 scale topographic hiking map covering Cortina d'Ampezzo and the surrounding Dolomiti Ampezzane region in Italy.
How difficult is this hut-to-hut Dolomites hike?
Although much of our route follows or overlaps with the Alta Via 1, this is still a proper mountain hike and you need a level of fitness where you’re comfortable walking for around 6 hours on very hilly terrain (think 4 days in the Lake District back-to-back on the larger mountains but rocky mars-like terrain instead of bogs and lush green grass).
You don’t need climbing experience or specialist equipment for the route we took.
Who is this route suitable for?
We think this route is a good option for:
Fit walkers wanting to try their first hut-to-hut hike
Anyone wanting to experience part of the Alta Via 1 without committing to the full route
Regular hikers who are comfortable with steep and Rocky Mountain trails
Walkers who can manage several hours of sustained ascent and descent
It isn’t a beginner walking holiday. You should already be comfortable hiking for several hours and have a reasonable level of fitness before attempting it.
Cicerone describes the Alta Via 1 as suitable for beginners to alpine trekking, rather than people who are completely new to hiking. We think that’s an important distinction.
When is the best time to Hike in the Dolomites?
Weather can completely change the difficulty. The biggest variable in the Dolomites is the weather. A trail that feels straightforward in dry conditions can become much more difficult in rain, cloud or poor visibility. Summer thunderstorms are also common, particularly later in the day.
Check the mountain forecast before setting off, feel free to ask the rifugio staff about current trail conditions and don’t be afraid to use one of the easier alternatives if the weather changes.
The Dolomites summer trekking season runs from mid June to October, when the rifugi are open and winter snow has generally cleared from the paths. Cicerone has the following on their website which is very useful:
Mid June to early July: paths clear and huts freshly open, snow may linger on a few higher sections early in the season
July: can be a great time to visit with warm, long days and the mountain flowers at their peak
August: busiest period with the most reliable path conditions; recommended for first-time trekkers who want the safest experience, though accommodation books up quickly
September to October: arguably the finest conditions — crystal-clear skies, no summer humidity or haze, quieter paths. Colours shift from alpine green to early autumn yellows. Huts in the northern Südtirol region stay open into October; those in the southern Dolomites may close in late September
Afternoon thunderstorms are a regular feature of Italian alpine summers throughout the season. Start walking early each day to reach your destination before storms typically build, usually from midday onwards.
What should I wear and carry when hiking hut-to-hut?
This route is a fully-serviced trek, which means you can travel considerably lighter than on a wild-camping route. The guidebook's recommended maximum pack weight is 10% of your body weight plus 2kg weigh your pack on bathroom scales before you leave, and be honest about what you actually need. We ended up cutting our items back at the last minute, simply because we didn’t want to carry unnecessary weight.
Recommended items include:
30 - 50litre rucksack
Boots with ankle support and non-slip Vibram-type soles - these should be broken in before the trip
Waterproofs: high quality or Gortex jacket, over-trousers and rucksack cover
Warm layers: fleece, hat and gloves (useful even in summer at altitude and on cabled sections)
I packed a down Patagonia Gillet as I feel the cold
4 x moisture wicker tops
2 x athletic shorts
1 x hiking trousers
4 x pairs of socks
Sliders for the showers and for walking around the huts (walking boots stay in the kit room)
Water bladder (1.5 litres)
Head torch
Sleeping sheet or bag liner - silk is ideal for weight, if you don’t have one of these, they can usually be bought at the huts
Small towel and personal toiletries - you can rent a towel at the huts (some of the refuges have limited hot water hours)
High-factor sun cream (UV intensity increases by 10% per 1000m of altitude), sunglasses and hat
Trekking poles - strongly recommended for steep descents
Foam ear plugs for dormitory sleeping (I also like an eye sleeping mask)
Wild wipes for emergency moments
Cash in euros
Batterybank
Map
GPX tracks for the route are available free at www.cicerone.co.uk/1081/GPX
Emergency equipment and medical kit:
Bivy
Foil blanket
Medical kit including elastic bandages, blister plasters, normal plasters, antiseptic wipes, paracetamol, neuyrofen, antihistamines, electrolytes, bandages, arm sling, gauze and micro tape.
Advanced Navigation
For this route, you will be fine with the Alta Via map and guide however, if you love great maps and navigating, you could buy the Tobacco Cortina d’Ampezzo Dolomiti Ampezzane. The Tabacco Map 03 is a 1:25,000 scale topographic hiking map covering Cortina d'Ampezzo and the surrounding Dolomiti Ampezzane region in Italy.
Tabacco maps are widely considered the gold standard for navigating the Dolomites due to their extreme precision, trail classification, and regional reliability. Because the terrain in the Dolomites changes rapidly from gentle meadows to sheer limestone vertical drops, basic navigation apps like Google Maps often miss critical micro-topography or route hazards.
Why Experienced Hikers Choose Tabacco Maps
Official Mountain Rescue Endorsement: These maps are so highly detailed and accurate that they are officially used by the Alpine Rescue Services (Soccorso Alpino) across the region for search and rescue operations.
Crucial Trail Classifications: Unlike generic mapping tools, Tabacco clearly distinguishes trail types directly on the map. It explicitly tells you whether a path is a standard hiking trail, a difficult route requiring mountaineering skills, or a via ferrata (protected iron-cable climbing path).
The Perfect Scale (1:25,000): At this scale, 1 cm on the map equals 250 metres on the ground. This allows the map to display 25-metre contour intervals, making steep drops, ridges, and narrow mountain passes easily readable before you find yourself on a dangerous slope.
High-Altitude Navigation Markers: The map marks exactly what you find on the terrain, including Rifugi (mountain huts), bivouacs, cable cars, chairlifts, and local bus stops. This makes it incredibly easy to plan food and water stops or sudden exit routes if the weather turns.
Built for the Elements: The paper map is specifically printed on water-resistant, tearproof, and eco-friendly material, meaning it won’t fall apart during a heavy downpour or when repeatedly folded on a windy ridge
